Soggy sign
Azita from Fig and Quince designed our flyer for the block party, cute right? Here is it hanging on a post getting soggy. The rain was relentless, canceling the block party was the only option.

wet
Our block, one lonely dog walker out. What a miserable day.

pretty leaves wet sidewalk
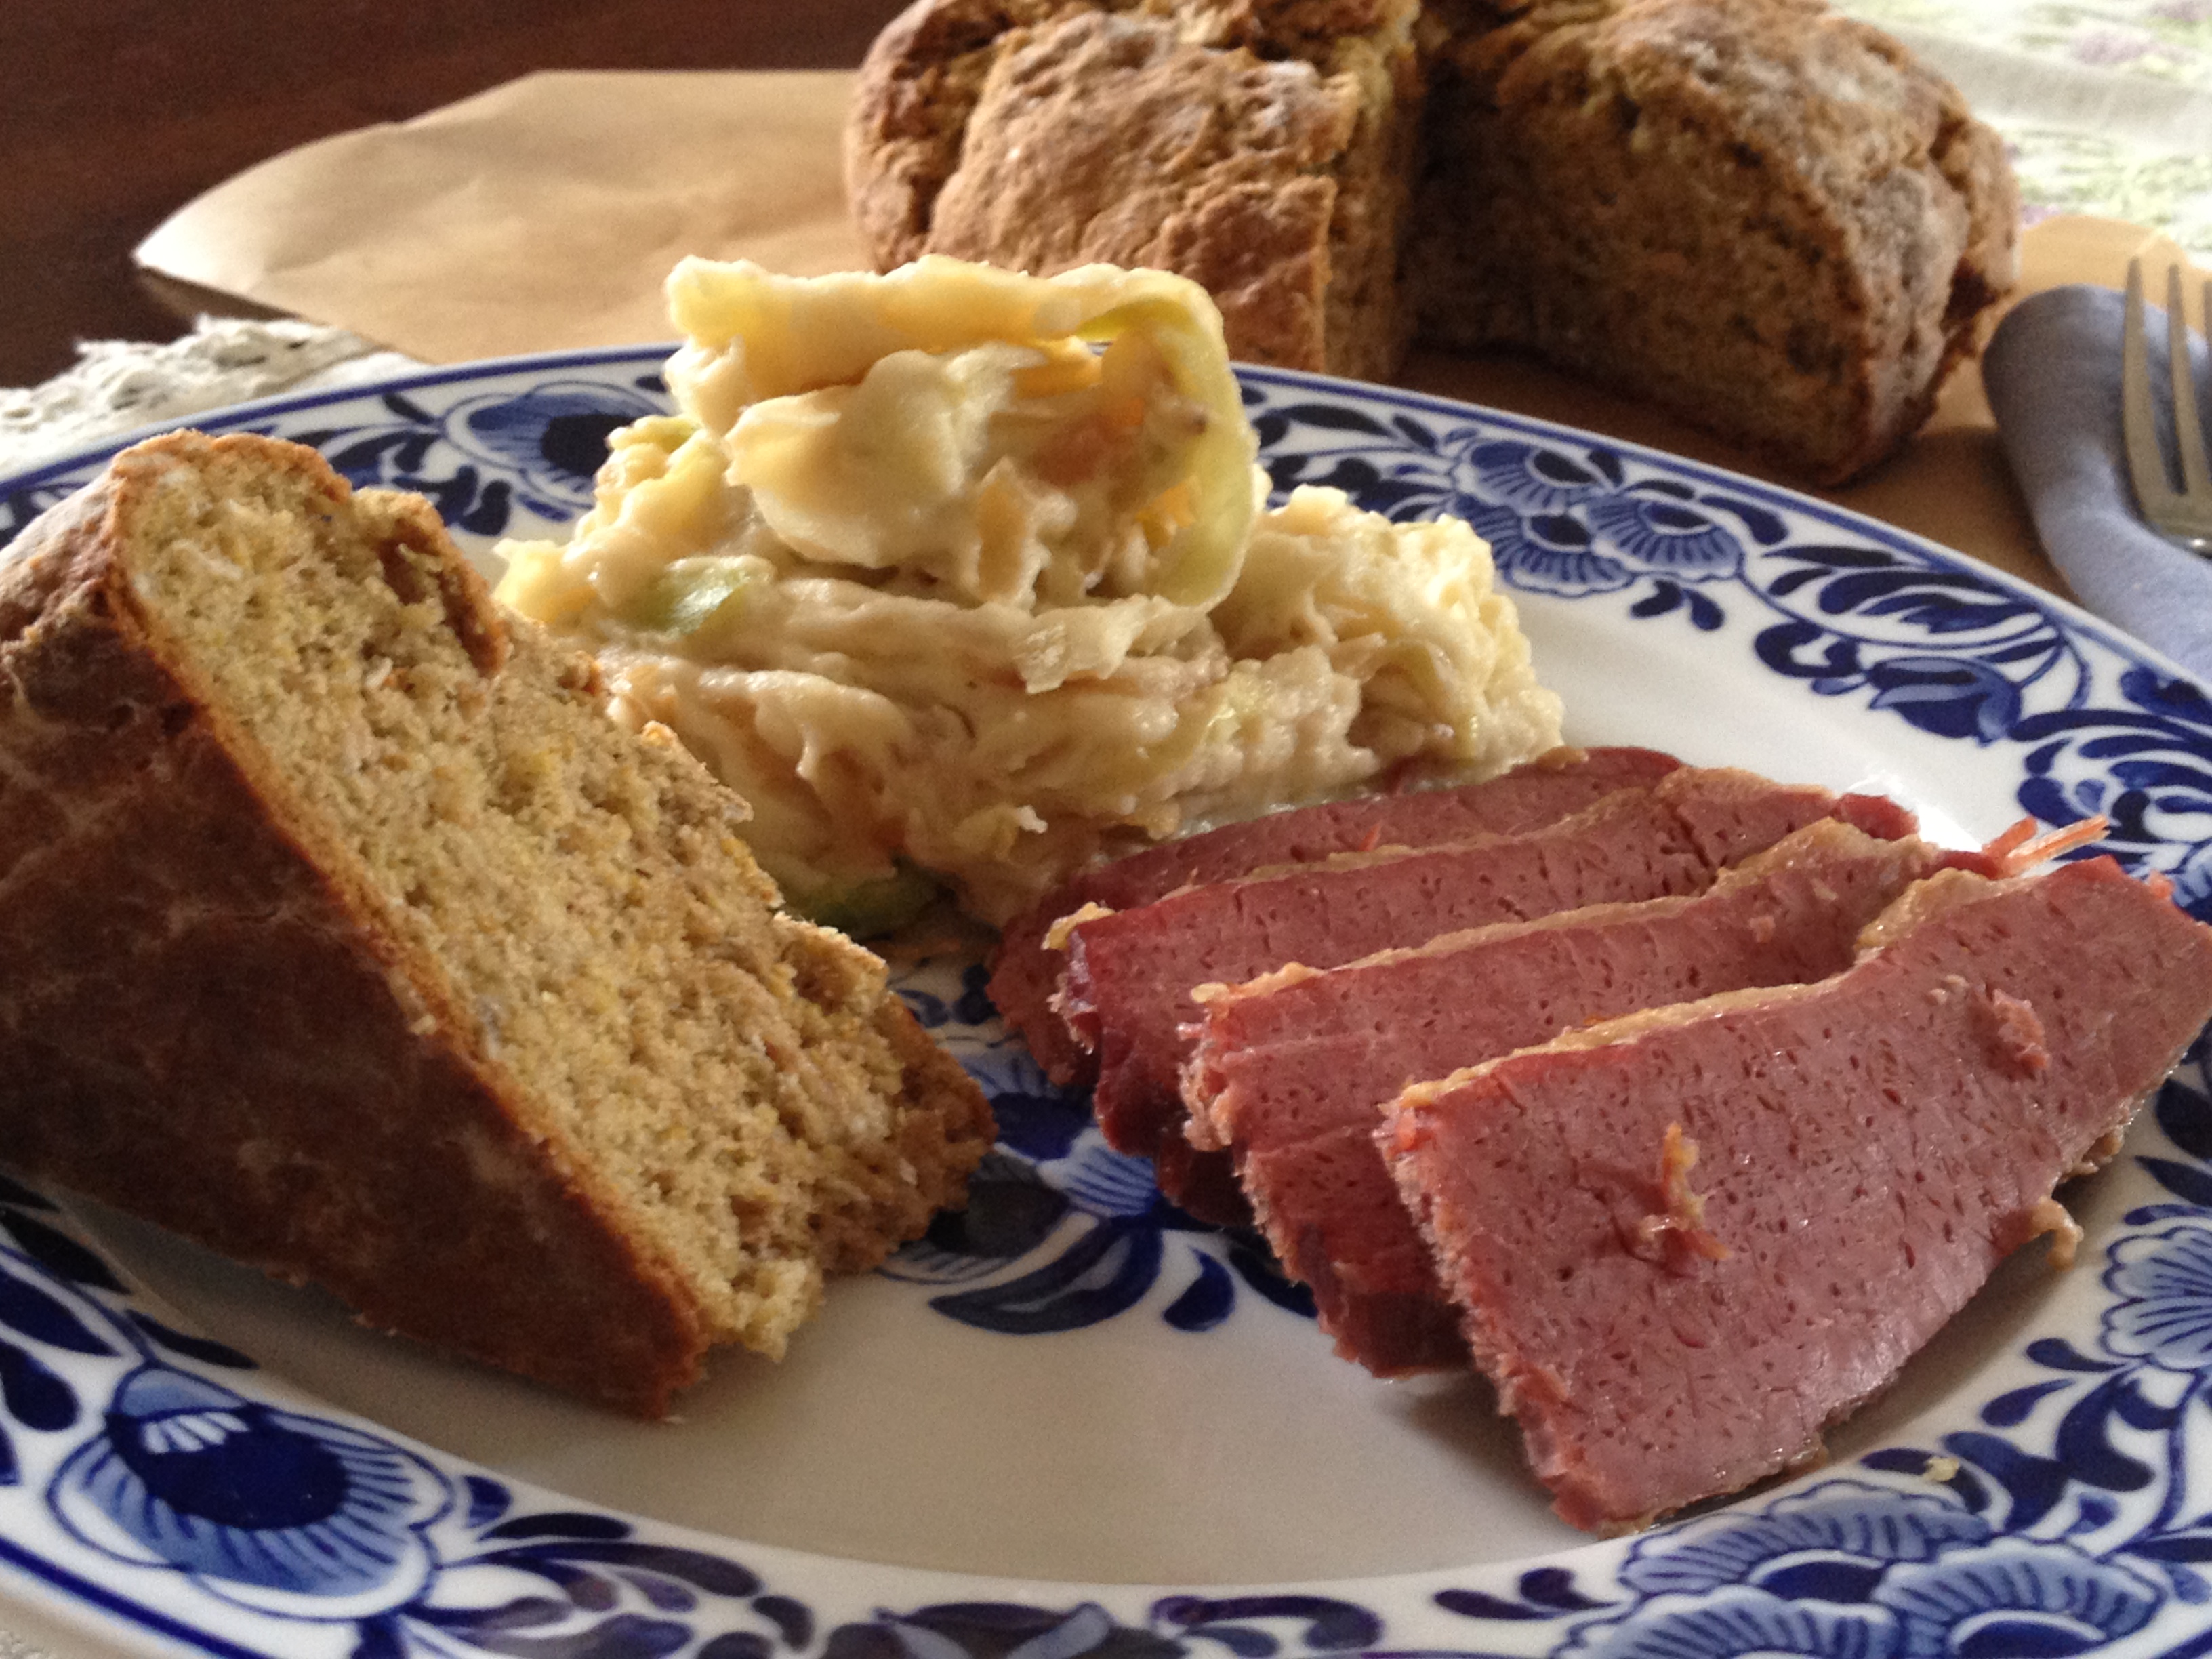
I love the Fall, the leaves turning and falling. The dogs love walking in the leaves that fall to the ground. It should have been a happy fun day, but we got rained out. All in all it was very disappointing, so I wanted to make something comforting. I haven’t made anything yet from Huckleberry, thumbing through the book my eyes were immediately drawn to this recipe for Comfort Food Biscuits, how appropriate. If you have followed my blog for any length of time you know I am biscuit/scone challenged. My biscuits have been likened to paper weights, hockey pucks, rocks. I am constantly searching for the elusive biscuit recipe that will be light and fluffy and pillowy. I thought this recipe sounded really good, lots of fat in the way of butter, cream cheese and heavy cream so it should produce a nice moist biscuit. Great step by step instructions. The only thing I was perplexed about was the baking temperature. It’s counter intuitive really, baking biscuits in a 350 degree oven didn’t make sense to me, every biscuit recipe I have ever made uses a hot oven 425 -450 degrees.
Comfort Food Biscuits
Makes 13 2 inch biscuits
3 cups (380 grams) all purpose flour
1 tbs +2 1/4 tsp baking powder
1 tbs sugar plus more for sprinkling
1 tsp kosher salt
3/4 cup (170 grams) cold unsalted butter cubed
3/4 cup (180 grams) cold cream cheese cubed
6 tbs (90 ml) cold heavy cream
egg wash
fleur de sel for sprinkling
In a very large bowl, combine the flour, baking powder, sugar and salt and toss well. Throw in the cold butter and work it with your fingertips until the pieces are pea and lima bean size. Then do the same with the cream cheese. Add the cream. Lightly toss to distribute.
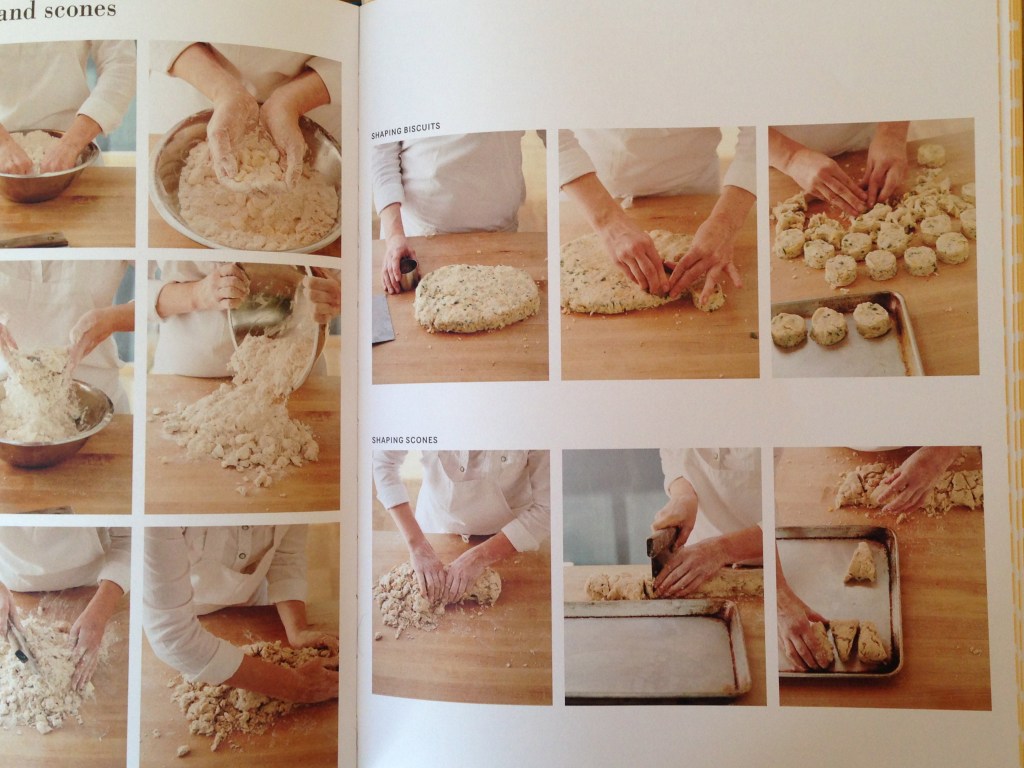
Immediately dump everything onto a clean surface with more than enough space to work the dough. Using only the heel of your palm, quickly flatten out the dough. Gather the dough back together in a mound and repeat. After two or three repetitions, the dough should begin holding together. Be sure to avoid overworking. You should still see some pea size bits of butter through it.
Flatten the dough to a 1 inch (2.5 cm) thickness and cout the biscuits. Transfer them to an ungreased sheet pan. Very gently push the scraps back together and cut once more. Freeze for at least 2 hours before baking, or up to 1 one month, tightly wrapped.
Preheat your oven to 350 degree F or 180 degrees Centigrade. Remove the biscuits from the freezer Space them with plenty of breathing room on two ungreased sheet pans, brush with egg wash and sprinkle with both sugar and salt. Bake from frozen until cooked through, nicely browned, and easily lifted off the pan about 30 minutes.
Instructions
Disclosure: My results in no way reflect on the actual recipe since I am biscuit challenged.
I followed the instructions or at least I tried, the dough felt dry to me. I weighed the ingredients except for the flour and the heavy cream, in retrospect I should have weighed the flour also, that might be the key as to why the dough felt dry. Have I said I am biscuit challenged, well I am. Overworking the dough seems to be my mantra. I used the heel of my palm pressed and gathered and eventually it came together but only after a lot of work (overwork?). When I cut a biscuit with the cutter and picked it up it sort of fell apart,it was too dry. I had to put the dough back in the bowl and add another tbs of cream and really carefully incorporate, press it into another disc and cut the biscuits, this time they held together but my fear is that at this point I overworked the dough, in the photo’s above the dough looks soft mine was not it was tightly packed. They made exactly the amount indicated, I placed in the freezer for the requisite time (2 hours). I pre heated the oven to 350 degrees. I had to smack my hand to keep me from taking the temp up over 400 degree’s. To be fair it looks like the biscuit dough in the photo’s above is not the same recipe, it looks like the Herb biscuits which has more liquid in the form of buttermilk but a bit less fat so it should have evened out I would think. We’ll see what happens when I bake them. Note: I decided to try weighing three cups of flour using the same measuring cup and method and it was 420 grams and the recipe calls for 380 grams, hence the dry biscuits, I removed approximately 1/2 cup of flour to make it 380. You see why it’s important to weigh ingredients when you bake. When I cut 3/4 cup of butter it was less than the 170 grams so I added a smidge more.
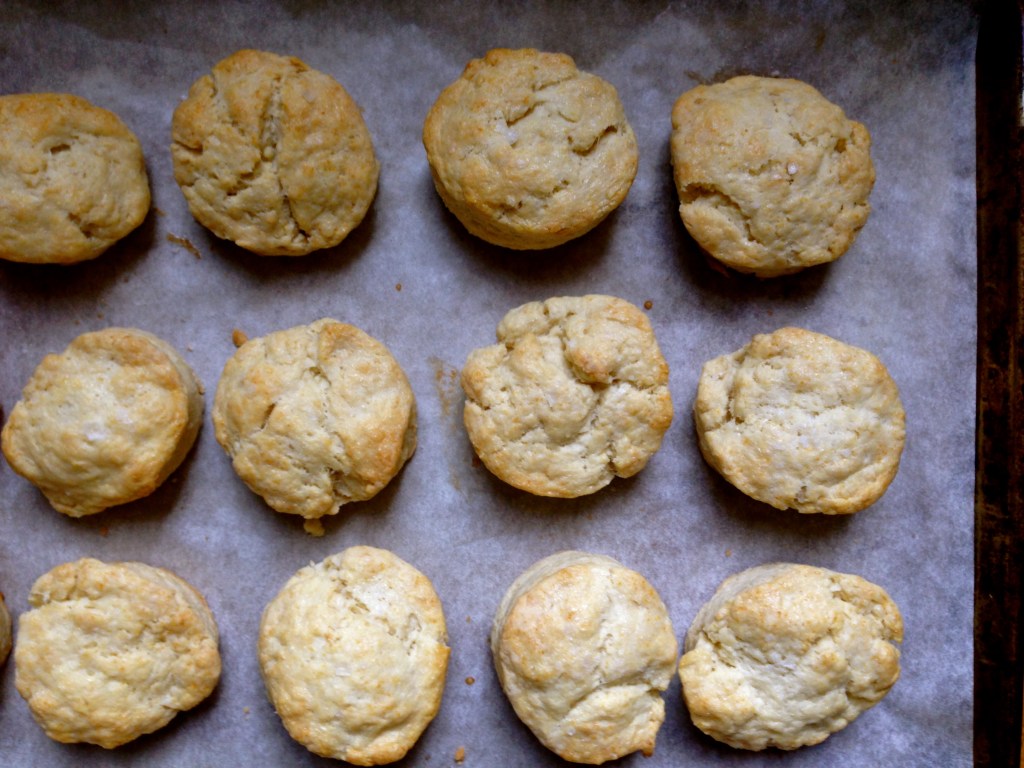
The Results:
Well, I think I overworked them, they were not pillowy, light and fluffy as I hoped. The flavor was good though. I am beginning to think I have unrealistic expectations when it comes to biscuits, I have the same problem with pound cakes. All biscuits are supposed to be like the ones you get in the refrigerator section of the supermarket, you know the ones in the can and pound cake should all be like Sara Lee. On a positive note, they rose nicely, flavor was really good and I am sure they are perfectly acceptable biscuits but one day I will go to LA and taste one from the source Huckleberry Bakery and Cafe. I really look forward to making more recipes from the book.
If I were to make these again I would do a few things differently:
1. weigh the flour and all ingredients
2. add more liquid if it looks to dry, that would help me not over work the dough.
3. Bake at a temperature higher than 350 degree’s, maybe with a commercial oven it works but with my less than wonderful oven it was too low and the biscuits looked anemic ( In all fairness I did not use egg wash, I brushed with cream)
I boosted the color in iphoto so they look more golden brown than they actually came out of the oven so the photo’s have been touched up.
biscuits
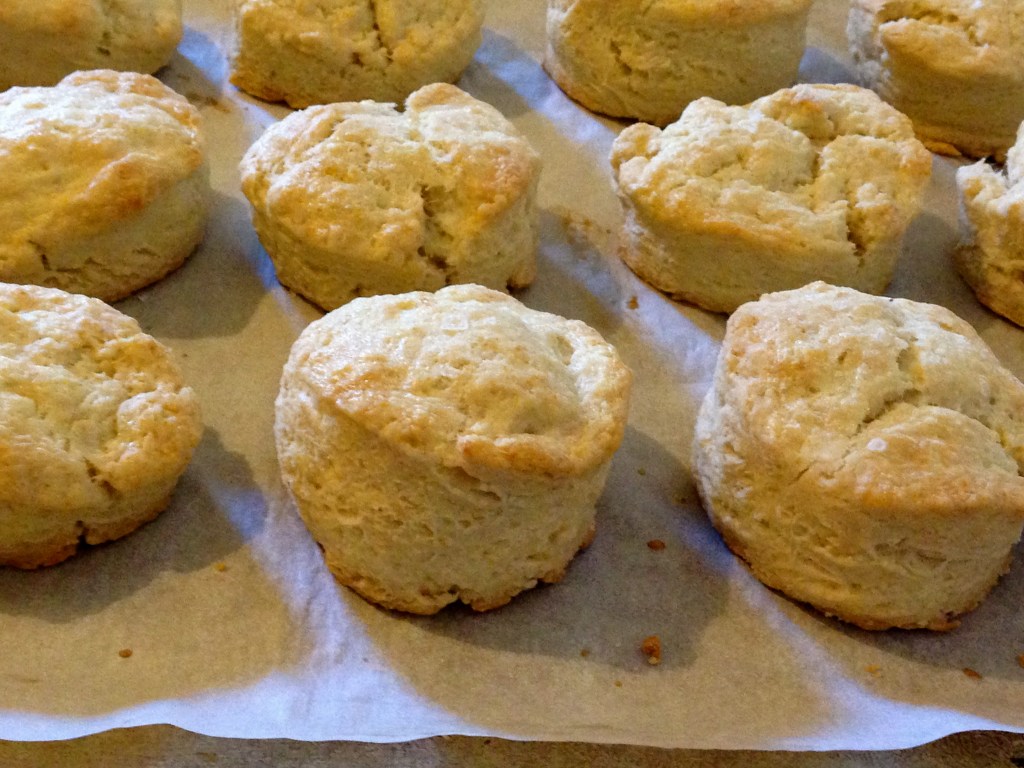
close up