Skip to content

Archive for

Kreative Bloggers Award

Kreative Bloggers

Kreative Bloggers

I want to thank Cupcake Artist for nominating me for this wonderful award. I truly appreciate it. I am sorry this is a little late being posted, I have been crazy busy with work and have had very little time to post anything, but I did want to acknowledge this and let her know how thankful I am and truly appreciative. Please visit her blog, you will find amazing and delicious recipes and she is so talented at decorating. Her tiramisu cake has me drooling.Scroll down to see those that I nominated, and if you see your blog you are officially notified that you have been nominated for an award. I apply no pressure to follow the rules but it is fun to do so, I know I always like to know more about the talent behind these great blogs. I named 7 blogs as the rule states but there are hundreds that I love and follow so you are all wonderful and very talented and creative or should I say Kreativ!!!

THE RULES

1 Visit and thank the blogger who nominated you.
2 Acknowledge that blogger on your blog and link back.
3 Share 7 random interesting things about yourself.
4 Nominate 7 Kreativ Bloggers for the award, provide a link to their blogs in your post, and notify them on their blogs.
5 Copy and paste the award somewhere on your blog.

RANDOM FACTS ABOUT ME

1. I never know what to say when asked to talk about myself

2. I have two pugs, my household consists of 1 human (me) and my furry buddies

3.  I rarely cook for myself unless I am going to post something here or enter a contest

4.  Favorite movie EVER, Rosemary’s Baby (Horror is my favorite genre)

5.  Favorite TV show- Dexter (so sad this is the last season)

6. I am not what could be classified as an “adventurous eater” no, intestines, brains, eyeballs etc… although I do love escargot!!

7. Favorite food, eggs benedict ( I could eat it every day)

Blogs I love and nominate: 

1. Salted plates

2. Cottage Grove House

3. Foxes Loves Lemons

4. Real Simple Food

5. Baking With Gab

6. Brooklyn Locavore

7. Brooklyn Farm Girl

Vanilla Ice Cream

Vanilla Ice Cream

Vanilla Ice Cream

I know you are probably thinking how boring, really Suzanne, vanilla ice cream, yawn. Well, you’re right, it can be boring on it’s own but just think of what you can do with vanilla ice cream. My favorite milk shake and ice cream soda’s (black and white) I always make with a chocolate base and vanilla ice cream. There is nothing better than a scoop of creamy vanilla on a warm piece of pie or cobbler or crisp. Ice cream sandwiches, I love using vanilla ice cream with a chocolate wafer. I always keep at least a pint of plain vanilla ice cream in the freezer, and the recipe I use can be changed to add whatever you want, fudge, caramel or fruit swirl, turn it into strawberry ice cream, praline or butter pecan, coffee or chocolate, the possibilities are endless. So here is is my basic vanilla ice cream recipe. Super easy and the results are fantastic.

Makes 1 quart

2 cups heavy cream

2 cups whole milk

6 egg yolks from large eggs

1/2 +2 tbs sugar

pinch of salt

1 tbs pure vanilla extract

2 tbs corn syrup or Lyles Golden syrup (optional)

Add cream and milk to heavy medium size saucepan and heat on med/high until milk scalds but should not come to a boil. While milk/cream is heating beat the egg yolks, sugar and salt with a whisk until its creamy, thick and light in color. When milk has scalded pour half into eggs whisking constantly, mix thoroughly and add back to the pan with the rest of the milk. Reduce heat to medium and cook stirring constantly with a wooden spoon until it thickens and coats the back of the spoon, you know it’s done when you can draw a line on the back of spoon and the line stays intact. Remove from heat and add the vanilla extract. Pour into a bowl and cover with plastic wrap, the wrap should sit on top of the custard. Let cool to room temperature then refrigerate over night,

Add the optional corn syrup and follow manufacturers instructions for your ice cream maker. When done (should be the consistency of soft serve ice cream) place in freezer container and let sit in the coldest part of the freezer at least 4 hours but preferably overnight,

Spiced Plum Cobbler

Plum Cobbler

Plum Cobbler

When summer rolls around and there are what seems like endless stalls of delicious fruit and vegetables to choose from at the farmers market my thoughts turn to pies in all forms. A cobbler although not considered a pie is similar in principal. Plums are one of my favorite summer fruits and I literally am like a child in a candy store when I see all the wonderful varieties at the market. I saw these gorgeous blood plums the other day and bought a lot of them, most I eat  a la naturale, but with the rest I make spiced plum jam and this simple cobbler. The crust was inspired by the galette dough with a little extra sugar and less liquid, making it biscuit like. I used the plums, skin and all, and gently spiced them. It’s wonderful served warm with vanilla ice cream or just a little thick heavy cream.

Crust

1 cup all purpose flour
1/4 cup cornmeal
2 tbs brown sugar
1 tsp baking powder
1/2 tsp baking soda
1/2 tsp salt
4 tbs cold unsalted butter cut into tbs size pieces
1/4 cup sour cream
1/4 cup cold milk
Cut the butter into the dry ingredients, add the sour cream and milk and mix just until combined.
Fruit and Assembly
6 ripe plums (I used blood plums) cut into 1/2 inch thick slices
1/4-1/2  cup brown or turbinado sugar (more or less depending on your taste and sweetness of fruit
1/4 tsp cinnamon
pinch of nutmeg (1/8 tsp)
pinch of allspice (1/8th tsp)
 Combine plums, sugar and spices, stir.
Place spiced plums in 4 (8 oz size) individual ramekins. Spoon the dough over the plums, spread so it’s covering almost all of the fruit, sprinkle top with a little sugar (optional) and bake at 375 degrees for 30 minutes or until cobbler is golden brown and bubbly.
IMG_2632

2 Galettes And a Trip to Mealku

Galette

Galette #1

I was asked to visit the office of a food website called Mealku, and thrilled that they want to feature me as a cook on their site. They needed to do a photo shoot and asked me to bring a signature dish or something that is going to give people some insight into my cooking style. Well, that’s not so easy as I am all over the map and it’s very hard to figure out what screams me when it comes to food. It’s wonderful that this is happening in the summer when fresh produce is at it’s peak and there is a bounty of fresh and delicious fruit and vegetables to choose from. I thought that making something with a pastry crust really does represent me, I am well known in my neck of the woods for my pies. I decided for transport purposes it would be easy to make a free form tart or galette. I have used Julia Childs recipe for many years and love it. The recipe allows either one large tart or two smaller. So I decided to do two small tarts, blackberry nectarine. I am also bringing some homemade vanilla ice cream. I will tell you more about Mealku in another post, it’s a very exciting and innovative venture. Galette #2 is going to my Daughter today is her birthday!!
Galette Dough
From Baking With Julia written by Dorie Greenspan
1/3 cup ice water
3 tbs sour cream, yogurt or buttermilk
1 cup all purpose flour
1/4 cup cornmeal
1 tsp sugar
1/2 tsp salt
7 tbs cold unsalted butter cut into tbs size pieces
Stir the sour cream and ice water together. Put flour, cornmeal, sugar. and salt into your mixing bowl and whisk to combine. Add the cold butter and toss to coat with the flour mixture. Using either your hands or a pastry cutter work the butter into the flour until it resembles large crumbs (about the size of peas) Add the sour cream/water and stir with fork to combine. Gather the dough and gently press into a disk, wrap in plastic wrap and refrigerate for at least 2 hours or overnight. This is enough dough for 1 large or 2 smaller galette’s, if making 2, divide dough in half and wrap each individually. Dough can be frozen also for later use. Defrost in the refrigerator.
To make the galette’s generously flour your work surface, remove one of the disks and roll into a rustic looking circle, place whatever fruit or filling you like in the center and gather up the edges, leaving some of the filling exposed. Brush with egg wash or heavy cream, sprinkle with some sugar (optional). Place in the freezer for at least 15 minutes before putting in the oven. Bake at 400 degree’s for 40-45 minutes or until golden brown and bubbly.
Looks like large crumbs

Looks like large crumbs leave some pea size chunks of butter

Dough is wet but thats ok!

Dough is wet but thats ok!

Wrapped in neat packets

Wrapped in neat packets

Galette #2

Galette #2

Happy 4th Of July!! Retro Recipe-Fruit Cocktail Cake A Review

Fruit Cocktail Cake

Fruit Cocktail Cake

I am not sure exactly of the origins of this cake it appeared in the 1950’s, some say it hails from the South. I found this cake while researching some recipes,I saw a cake in James McNair’s “Cakes” it’s called plantation cake and in the headnote he describes a fruit cocktail cake that is so wonderful he reworked the recipe keeping the basics of the cake very similar. So I decided I wanted to find out what a fruit cocktail cake was, I surmised that it contains fruit cocktail (duh) so I looked up some recipes and found some that were handed down from Moms and Grandma’s all basically the same, a yellow sheet cake containing fruit cocktail and a sweetened condensed milk icing poured over the cake while it’s hot. All contain shredded coconut, some pecans some macadamia nuts. This cake is moist, sweet (even though I reduced the sugar) and fruity. This would make a great cake to take to a potluck, it’s baked in a 9×13 pan and it’s so rich one small square is enough so it feeds a lot of people. I combined recipes I found on the several different sites and the plantation cake from James McNair, so this is my version of a fruit cocktail cake. I probably could have made my own fruit cocktail but why do that, nothing wrong with canned fruit every now and then, as a matter of fact I have really fond memories of eating fruit cocktail, I loved it as a kid. I even remember ambrosia, at almost any function someone brought it, I used to love picking the fruit cocktail out of the creamy stuff. This bad boy is on it’s way to an annual 4th of July BBQ. An all American dessert to celebrate Independence Day! NOTE: The recipe called for 1 1/2 cups sugar for the cake, because I used fruit cocktail which is sweet I reduced the sugar to 1 1/4 cup, I used fruit cocktail in its own juices. Next time I make this cake I think I will use pineapple as Mr. McNair suggests. It’s good, but pineapple has more flavor in my opinion than fruit cocktail. Another option would be making your own fruit cocktail in a flavorful simple syrup. This cake is easy to make, no mixer required, it comes together in a flash.

Verdict: I cut the cake into pieces to bring with me to the BBQ, tasted it and I am not in love with it. The texture bothers me and in my opinion it’s not flavorful enough, maybe it was the canned fruit which I rarely if ever use, who knows, but I think Mr. McNair was most likely on the right track when he added pineapple instead of fruit cocktail. The cake has no fat added, I guess the fruit cocktail with the juice is supposed to add moisture, well it did but the cake itself is a bit chewy and not light like a cake should be in my opinion. Question, has anyone ever tried the fruit cocktail cake before? If you did what did you think about it. I would also think about adding yogurt or sour cream to the cake.

Makes a 9×13 cake

Topping

1 cup chopped nuts (I used walnuts)

1/2 cup packed light brown sugar

1/4 cup (1/2 stick) butter at room temperature

Cake

20 oz fruit cocktail with juice

3 cups flour

1 1/4 cup granulated sugar

1 tbs baking powder

1 tsp salt

3 eggs at room temperature lightly beaten

2 tsp vanilla extract

Icing

1 cup shredded sweetened coconut

1 can (14 oz) sweetened condensed milk

2 tbs butter

Pre-heat oven to 350 degrees F. Grease a 9×13 rectangular baking pan and set aside.

Make your topping, combine nuts, brown sugar and butter and crumble with your hands. Set aside.

Sift flour, sugar, baking powder and salt into a bowl. add the rest of the ingredients for the cake  and whisk to mix well.

Pour batter into prepared pan and crumble the topping evenly on the cake. Bake until tester comes out clean approximately 45 minutes.

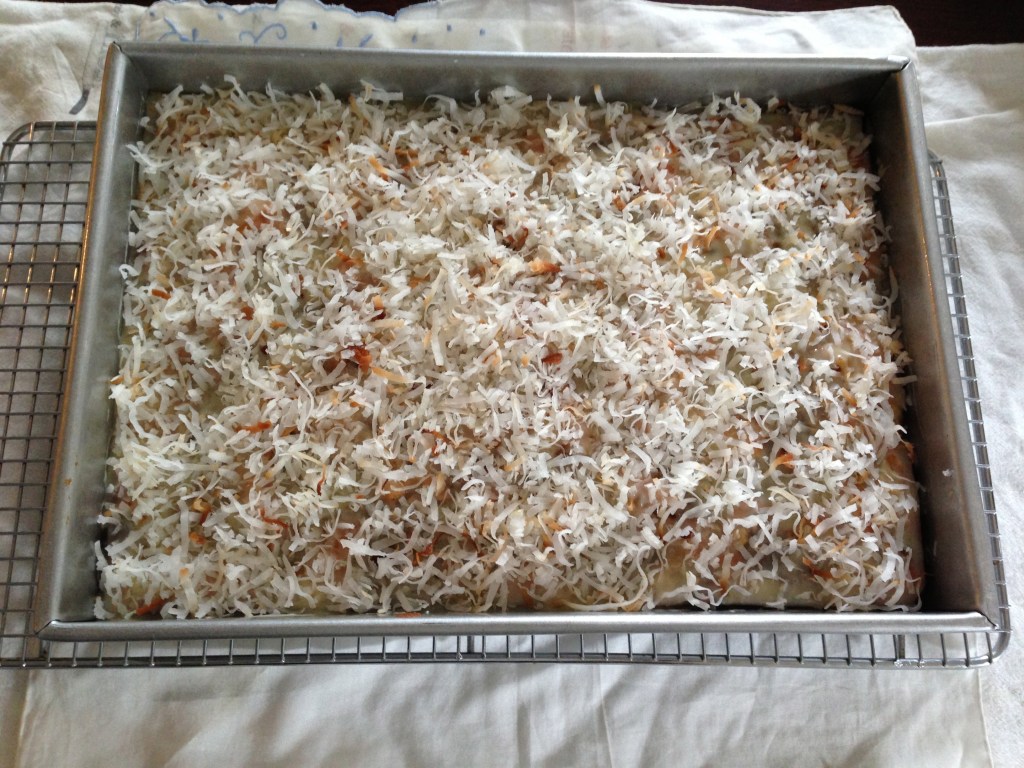
Make the icing, heat a skillet over medium heat add the coconut and toast until it starts to turn a golden brown.  Set aside to cool. Alternately you can put the coconut on a sheet of foil and place in the 350 degree oven for approximately 10 minutes stirring occasionally.

Either in a heat proof measuring cup or small saucepan heat the condensed milk and butter until its pourable and butter is melted. Pour over the cake while it’s hot, sprinkle with the coconut. Serve warm, room temperature or cold.
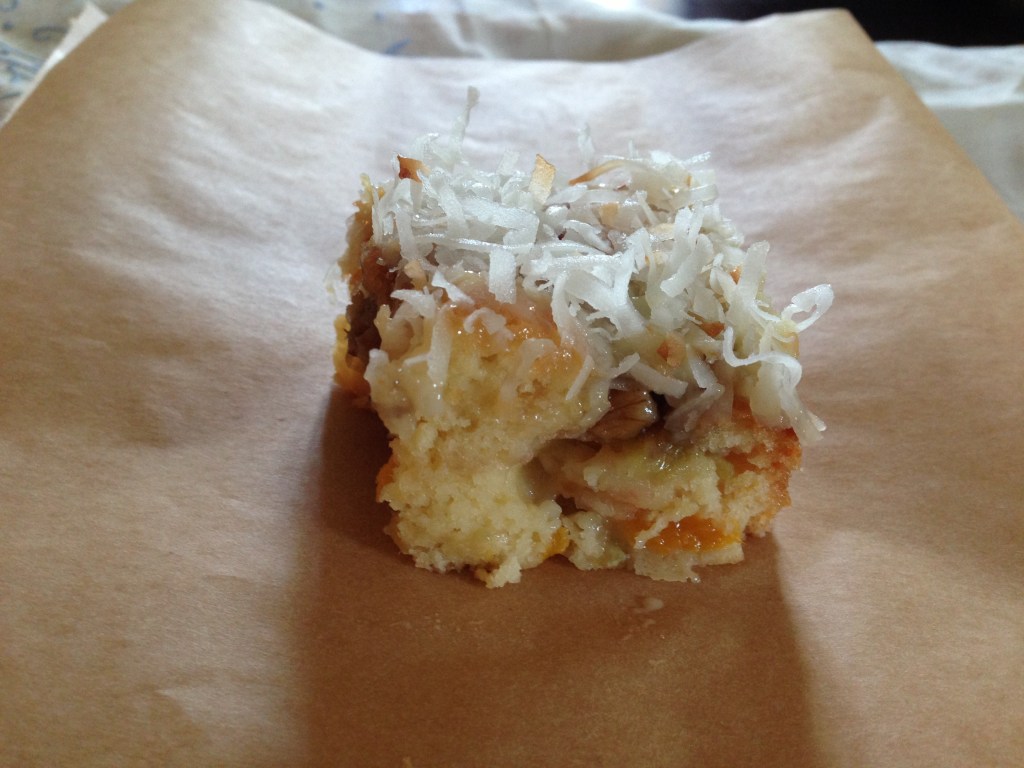
Piece of Cake

Piece of Cake