Skip to content

Posts tagged ‘vegetarian’

French Onion Soup

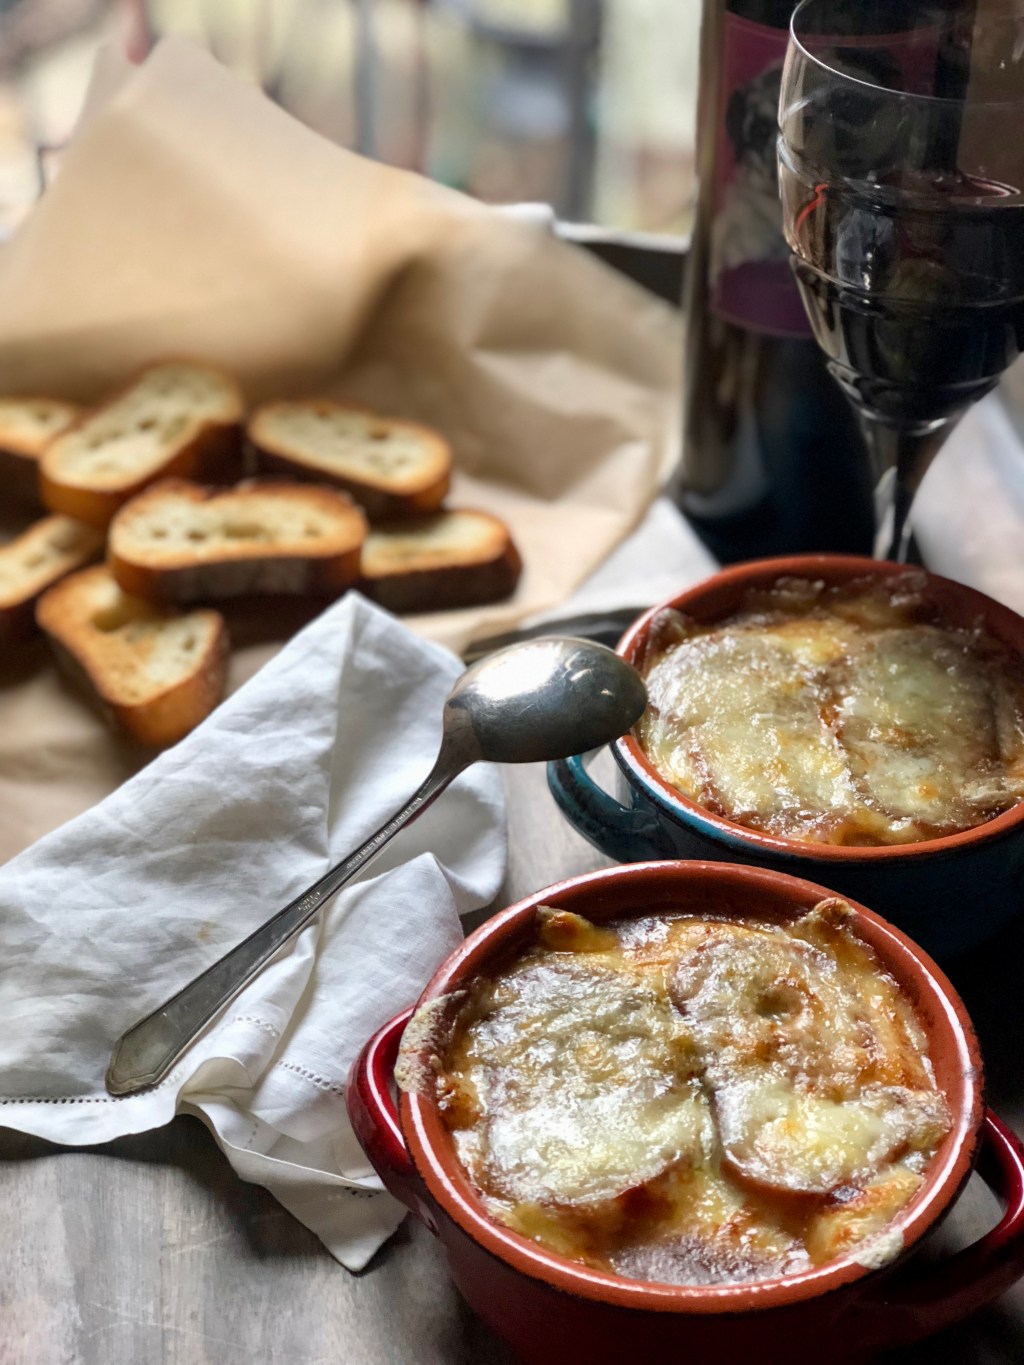
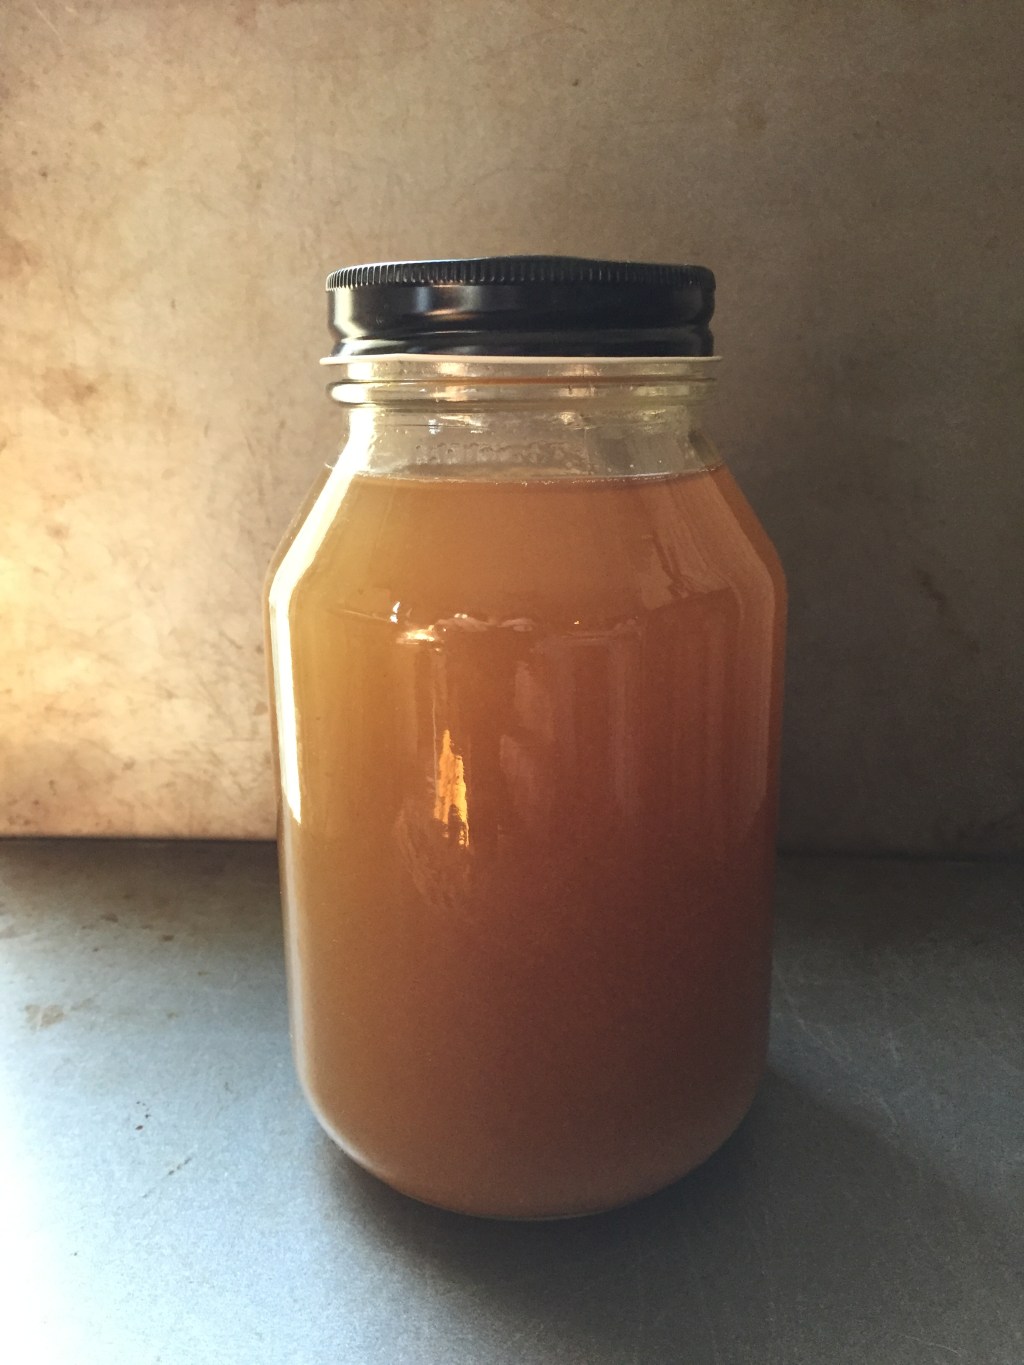
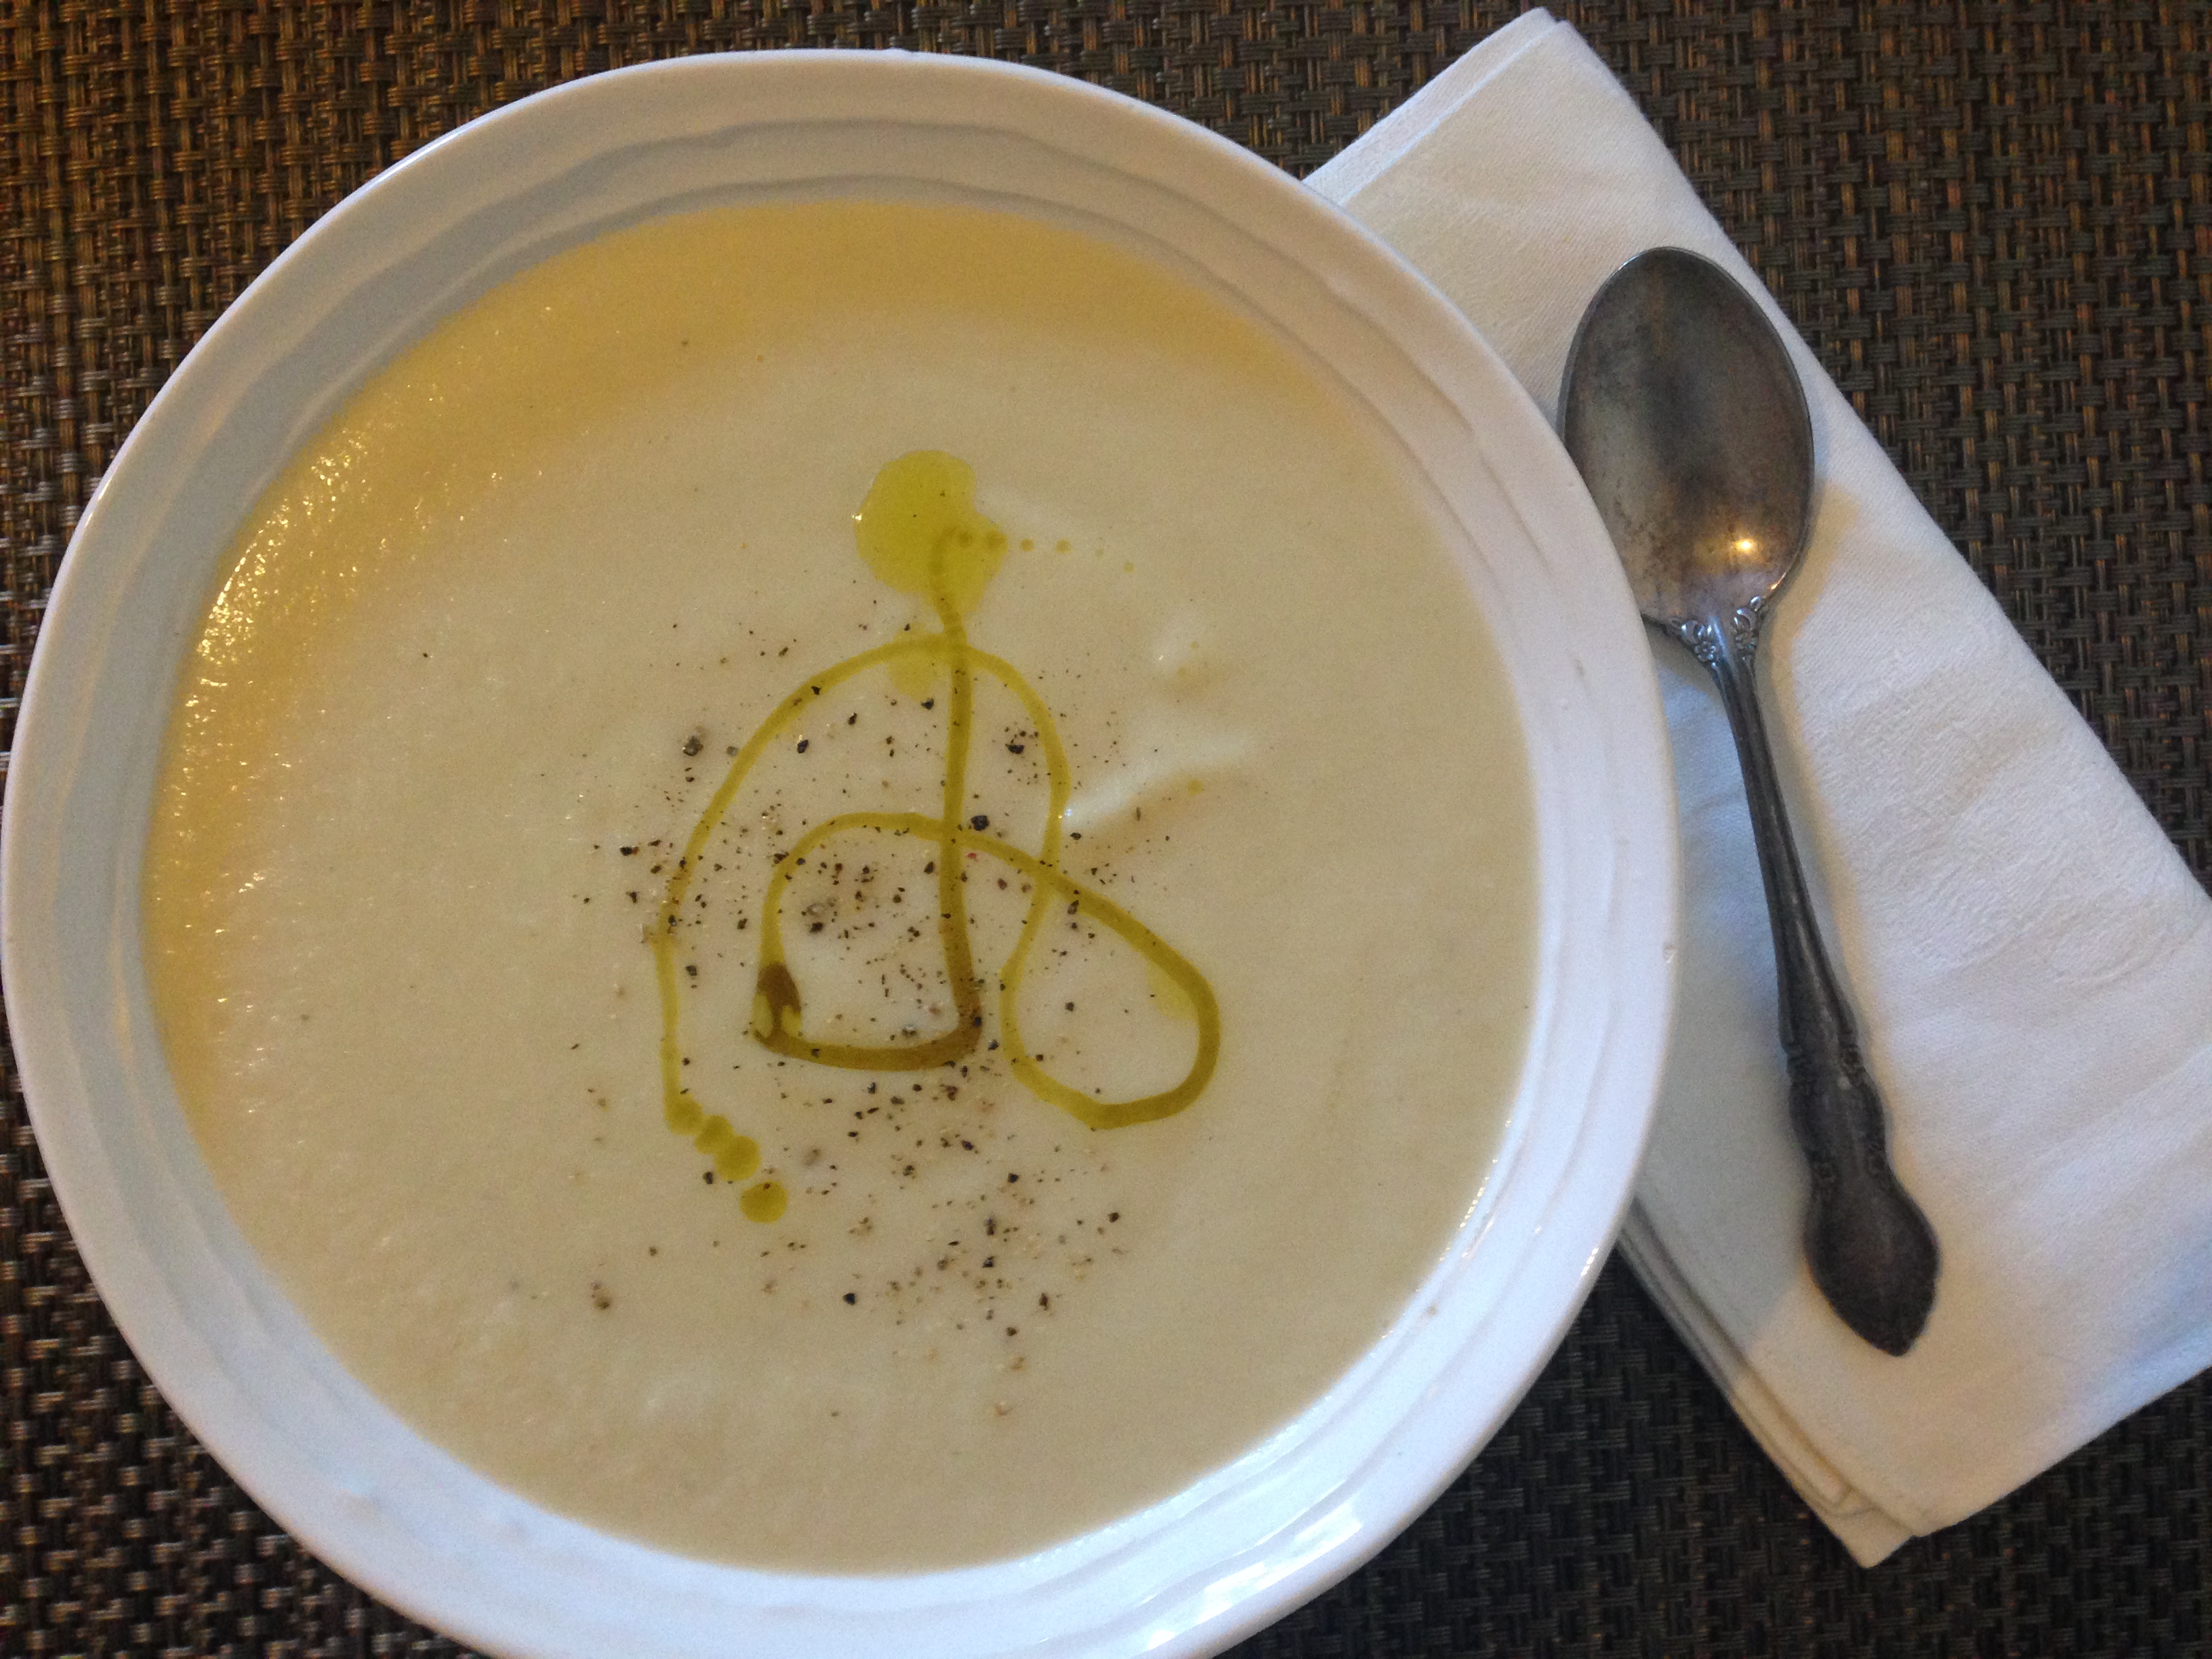
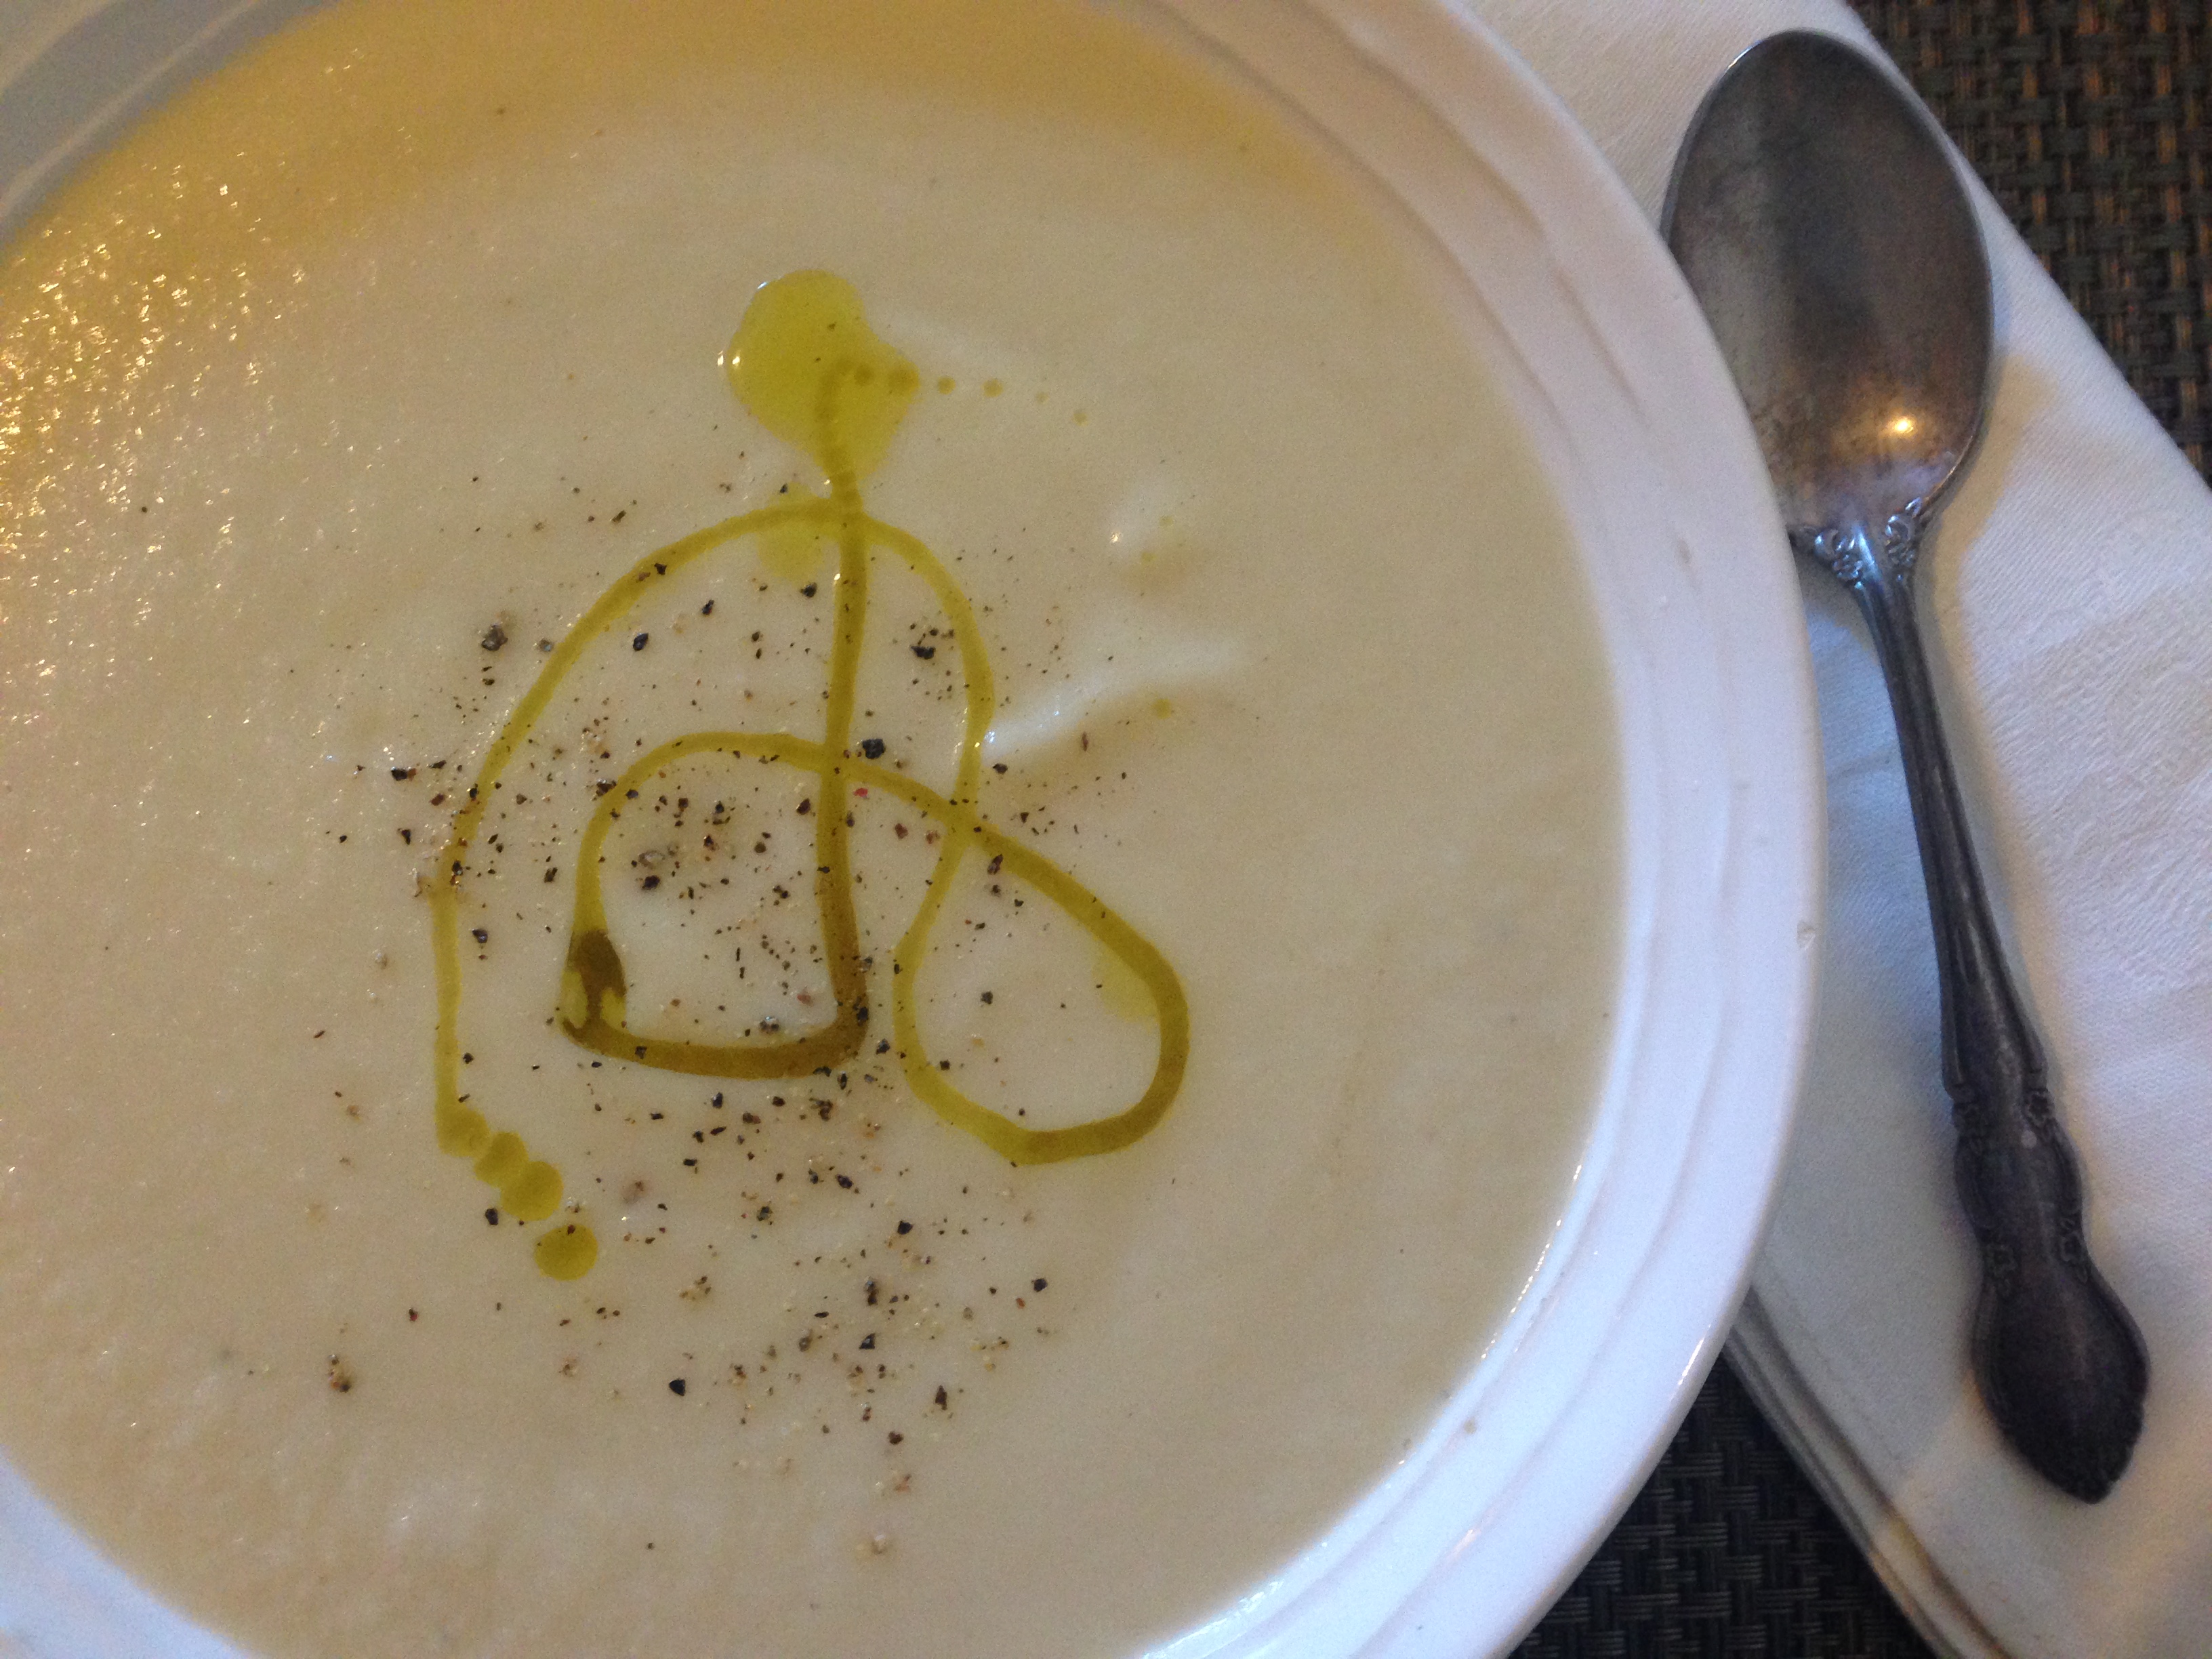
It has been a very long time since I have had a bowl of French Onion Soup, it’s one of my favorites but I rarely eat it. I don’t think I’ve ever made it either, at least that I can remember. This soup is not traditional, French onion soup is made using beef stock. Instead of beef stock I made a mushroom stock and honestly you cannot tell the difference. The stock was made a few days in advance by simply simmering dried mushrooms (I used cepe) with onion and carrot, strain and store in the refrigerator. I simmered it for about 4 hours so it was rich and meaty (without the meat). The soup came together pretty quickly, caramelizing the onions took a little time, about 30 minutes. All together it took a little over an hour to put this together. You can use commercially prepared broth of course, beef or vegetable and I am sure it would be just as good. The star of the show is the caramelized onions which give this soup it’s distinctive flavor. I served with wine, Syrah from Pug Wine, couldn’t resist the cute pug on the label and the wine is wonderful.
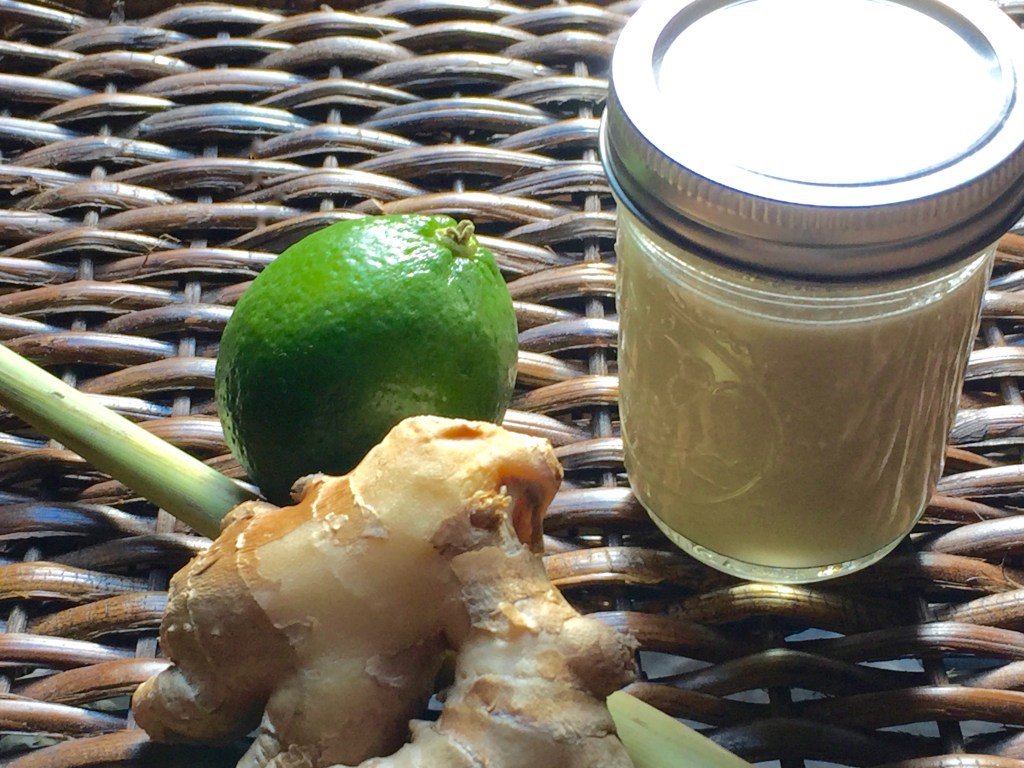
Mushroom Broth

4 oz dried mushrooms (shiitake, cepe or whatever you want to use)

8 cups water

1 onion peeled and cut in half

1 carrot peeled and cut in half

Season with salt and pepper if you like, I didn’t

Place all ingredients in a pot and bring to a boil, turn heat down to simmer and let cook uncovered for about 4 hours. Let cool, strain and place in lidded jar and refrigerate until ready to use. Save the strained mushrooms and freeze, you can use them for mushroom soup.

French Onion Soup

serves 3-4

4 small onions peeled and thinly sliced

4 tbs butter

2 sprigs thyme

1 bay leaf

1 tsp sugar

2 tsp flour

1/2 cup wine (white or red)

4 cups mushroom stock (or whatever you want to use)

1 1/2 cup water

salt and pepper to taste

baguette cut into slices

Gruyere, comte or raclette cut into think slices (I used raclette)

Some grated parmigiana

Caramelized onions

Melt butter in saucepan and add the onions, thyme and bay leaf and sugar . Cook stirring frequently on medium high heat. When onions are soft and starting to brown reduce heat to low and let cook until caramelized stirring frequently takes about 30 minutes.

Making the Soup

Add the flour to the onions and cook for approximately 1 minute, add the wine and when it starts bubbling add the stock and water. Cook on medium heat for approximately 30 minutes. Soup will thicken slightly. While soup is cooking heat the oven to 350 degree’s place the bread on a baking sheet and toast for about 15 minutes turning over after about 8-10 minutes. Remove bread from the oven and turn on the broiler.

Remove the bay leaf and thyme sprigs, ladle soup in bowls, add toasted bread one or two slices depending on the size of the bread. Top with the sliced cheese and sprinkle with a little parmigiana.

Place the bowls on baking sheet and broil for about 8 minutes until cheese bubbles and is lightly browned. Remove from oven let cool for a couple of minutes and serve.

Have to show a photo of the bottle of wine, love the label and the wine is so good.

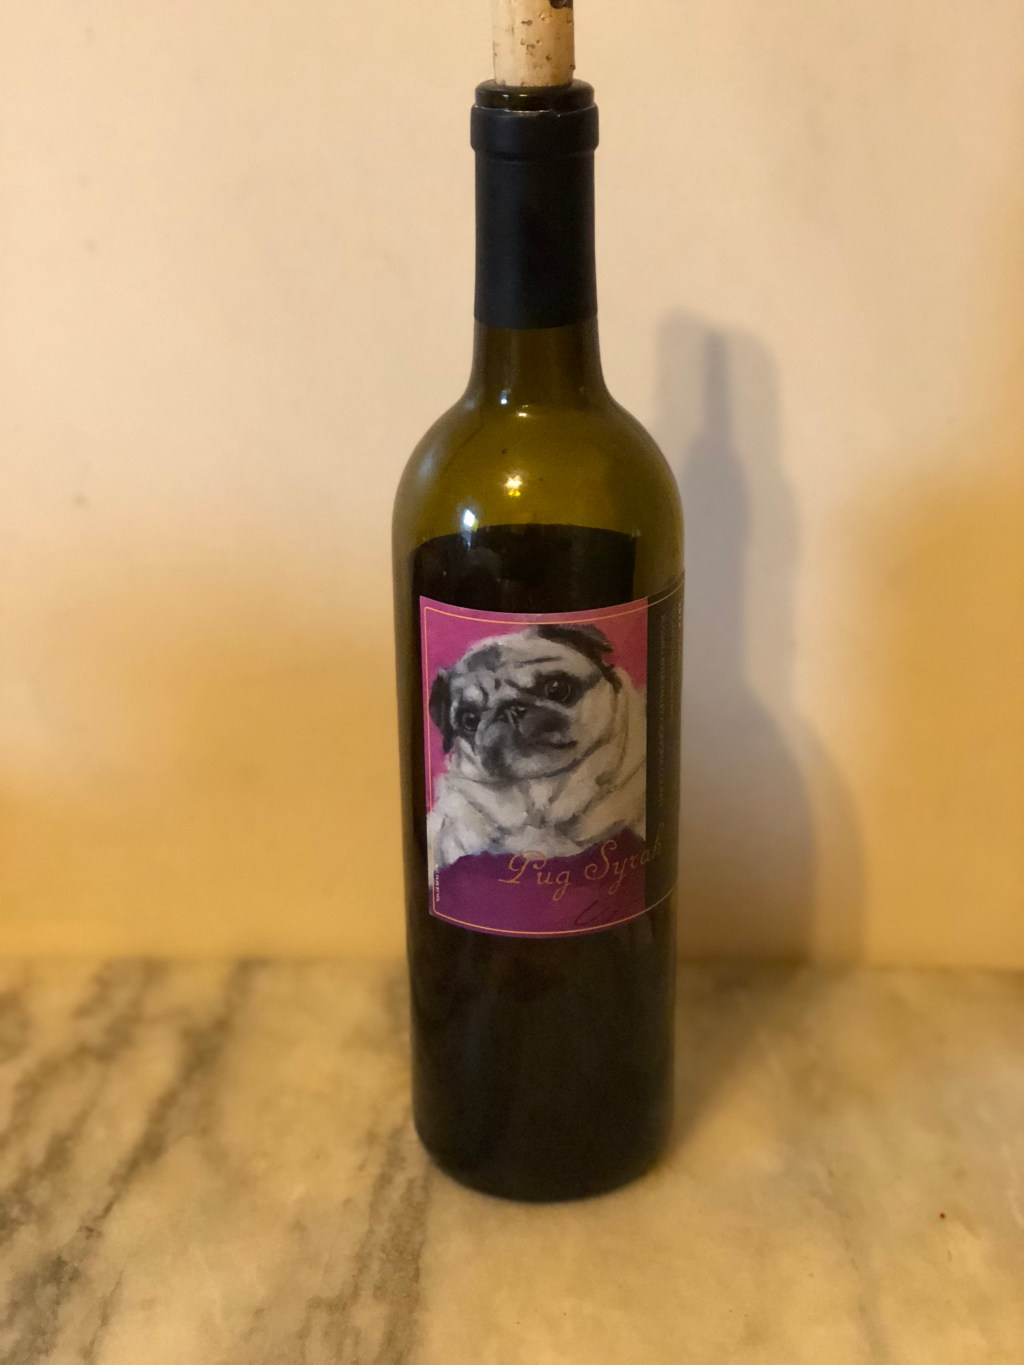
pug Syrah from pug wine

Finding Inspiration

Hello everyone, today is a holiday, remembering the life and legacy of  Rev. Martin Luther King Jr. we should honor and remember this great man in our thoughts, actions and life everyday. He was a man of purpose and peace, his philosophy and life is celebrated and remembered by all on this day every January 15th. He changed the world not with violence but with words of peace delivered with absolute conviction and great faith. The world will forever be a better place because of him.

It has been almost a month since I last posted anything, thats terrible, but I simply have not been inspired to cook, create and blog. Has that happened to any of you before? My apologies for not keeping up with your blogs. I won’t go into details but a lot has been happening and it has taken it’s toll on me emotionally. I try, I really do but unless I actually want to cook or bake they just don’t come out well and frankly are not blog worthy. Hoping to do a Valentines post or posts and get baking again. I’ve ordered a couple of new cookbooks, searching for inspiration and ideas and they will be arriving soon. I feel like I have a blockage and just can’t seem to break out, maybe soon.  The weather has been extreme, cold, snow and ice which doesn’t help. I love to go to the farmers market for inspiration, in the winter months it’s not exactly inspirational but I can usually find something there that gets my creative juices flowing, it’s been too darn cold to even venture outside and walk to the market.

I have made a few things that turned out well no real recipes mostly using up leftovers, simple fare.  Will post a few photo’s of some things I have made recently, the first was homemade pasta using this really cool pasta maker I got from the Food52 shop. Sometimes I just don’t feel like getting my pasta machine out and this is the answer to that making quick and easy perfect noodles. Love it!!

Calling all bloggers!! Would anyone like to do a guest post while I am in this funk? Would be so happy and honored to post some of your delicious recipes on the blog. Let me know, email me or comment below.

no bigger than a small rolling pin

Homemade pasta with shaved Brussels sprouts, mascarpone,parmigiana and lemon

I mentioned before I much I detest wasting food, in an effort to use some vegetables in my refrigerator and half of a recipe for pie dough (don’t like leaving in freezer too long) I made vegetable pot pie using cauliflower, asparagus, carrots, peas. Roasted the vegetables drizzled with olive oil and seasoned with salt, pepper and turmeric (except the peas) in the oven on 400 degrees until tender. Made a simple béchamel and added some gruyere. Tossed in the veggies and spooned into bowls, covered with the pie dough and grated a little more gruyere. They were delicious and simple and perfect comfort food on a very cold day.

vegetable pot pie

More food that must be used is some fresh mozzarella, some baby tomatoes and fresh basil. Pizza is on the menu today and my simple no knead pizza dough makes a perfect Grandma’s pizza.


Basic Hummus And A Vegan Apple Tart

This recipe is from Ottolenghi’s cookbook “Jerusalem” it calls for dried chickpeas rather than canned. I always stayed away from recipes where you have to cook the beans/peas and rather opt for canned because it’s easy and I guess I am a bit lazy. Well, have to say there is a difference, a big difference in flavor and texture when you use freshly made chick peas. I love just about anything from any of the cookbooks by Ottolenghi or the team of Ottolenghi and Tamimi. The books are beautiful to look at, the ingredients they use are always fresh and the recipes are simple but creative and everything so far that I have made has been absolutely delicious. Like chocolate chip cookies there are thousands of recipes out there for hummus. It’s not rocket science and is made easily and quickly and has always been welcome as an appetizer or part of the main meal. It’s a wonderful recipe and if you are hesitant to use dried chickpeas, it takes a little more time and effort but the results are well worth the effort. The only change I made when making this recipe is that I use half the garlic indicated, I am not a big fan of raw garlic, the garlic is flavor is definitely there but is more subtle with 2 cloves, of course if your garlic cloves are very small use more.

I am bringing the hummus and tart to Fiesta Friday #191, this week, the co cohosts are Judi @ cookingwithauntjuju.com and Antonia@ Zoale.com thank you ladies for co hosting and as always a big thank you to Angie for putting this party together every week!

Basic Hummus

Serves 6 or more

1 1/4 cup dried chickpeas

1 tsp baking soda

6 1/2 cups water

1 cup plus 2 tbs light tahini

4 tbs lemon juice freshly squeezed

4 cloves garlic crushed (I used 2 cloves)

6 1/2 tbs ice cold water

The night before put the chickpeas in a large bowl and cover them with cold water at least twice their volume. Leave to soak overnight.

The next day, drain the chickpeas. Place a medium saucepan over high heat and add the chickpeas and baking soda, cook for about 3 minutes, stirring constantly. Add the water and bring to a boil. Cook, skimming off foam and any skins that float to the surface. The chickpeas will need to cook between 20-40 minutes, depending on the type and freshness, sometimes even longer. Once done, they should be very tender, breaking up easily when pressed between your thumb and finger, almost but not quite mushy.

Drain the chickpeas. You should have roughly 3 2/3 cups. Place the chickpeas in the food processor and process until you get a stiff paste. Then with the machine still running, add the tahini, lemon juice, garlic and 1 1/2 tsp salt. Finally, slowly drizzle in the ice water and allow it to process for 5 minutes until you get a very smooth and creamy paste.

Transfer to a serving bowl, cover with plastic wrap and let sit for 30 minutes before serving, you can also refrigerate until needed. Make sure to take it out of the refrigerator 30 minutes before serving. I drizzle the hummus with olive oil and sprinkle some sumac.

Delicious with fresh veggies and pita

I recently heard from friend I used to work with, it had been years since we have seen each other and I invited him over the other day to catch up, he is vegan and specifically requested pastry.  This tart is vegan,  has very little sugar, only about 2 tbs and is drizzled with apple cider cinnamon reduction. It couldn’t be simpler and it’s so beautiful. The pie crust is from the Crisco package and is one my Mother used for her pies, she didn’t even know her pie crust was vegan, I sliced the apples hasselback style, sprinkled with a little sugar, flour, cinnamon mixture, dotted a little earth balance and baked.

Simple, beautiful and delicious and it’s vegan

Flaky Pie Crust (Vegan)

Recipe on Crisco Shortening- makes single 9 inch pie crust

1 1/3 cup flour

1 tsp salt

1/2 cup vegetable shortening

6-8 tbs ice cold water

Whisk flour and salt together, add the shortening and with a pastry cutter combine until it resembles moist crumbs. Add water and stir with a fork. Gather together into a ball, wrap in plastic wrap and flatten into a disk and refrigerate for at least an hour. Roll the dough on floured work surface and line your tart pan. Refrigerate.

While dough is chilling, cut the apples in half, skin on, core and slice thinly keeping each half together, it’s easier to lift the sliced apples and place in pie shell. Heat oven to 400 degree’s. Mix 2 tbs sugar, 1 tbs flour, 1/4 tsp cinnamon in a small ramekin and set aside. Arrange the apples in the cold pie shell and sprinkle with the sugar, flour, cinnamon mixture. Dot with butter or vegan butter. Line a baking sheet with parchment and bake the tart until golden brown approximately 40-45 minutes.

Apple Cider Reduction

1 cup apple cider

1/2 tsp cinnamon

1 tbs sugar

Place everything in a non reactive heavy bottom saucepan and boil on medium high until it reduces to a syrup. Approximately 30-40 minutes.

Served with Vegan salted caramel ice cream.


Wild Yeast, Fruit Water Yeast Bread


I follow Elaine@foodbod’  both her blog and other social media outlets like Instagram, lately she has been cultivating her own wild yeast and making the most amazing bread, I have been so intrigued and inspired to try her recipe. You make wild yeast simply by putting fruit, in water and let it sit until it ferments it only takes a week sometimes less.  My first attempt I used raisins which for some reason didn’t work so I tried apple and that worked perfectly.

The bread did not have a tremendous rise, it was modest. When making the semolina bread I did add a very small amount 1/4 tsp of instant yeast, I did that because I felt the semolina is pretty heavy and it might need a little bit of a boost, I’m sure it would be fine without it, so that is optional of course. Elaine’s bread is beautiful and the crust is amazing, I’ve made this a number of times and my crust just doesn’t have the same look as hers, it’s still good mind you, but her crust is crusty looking for lack of a better word and meant in a really good way! I have asked her about this and she thinks it could be the difference in flour or some other factor, she is in England and I must say has this down pat. Check Elaine out both on her blog and Instagram.

The first loaf turned out beautifully and you can find the recipe on her blog by clicking on the link in the first paragraph, I was so pleased at the rise and the flavor was delicious.

fruit water bread

The second loaf I made was from date water, I saw Elaine’s beautiful loaves on Instagram and wanted to give that a go. I deviated a bit on the bread recipe using semolina and adapting a recipe I found on King Arthur Flour site. The biga/preferment or poolish is Elaine’s recipe.

Dates after a week see the bubbles

Date water semolina bread

adapted from a recipe by Elaine at Food Bod and King Arthur Flour

Biga or Poolish

10 oz fermented date water (150 grams)

1 1/2 cup bread flour (150 grams) (add more if the dough is too wet, by the spoonful) It should be soft but not runny. Use equal parts flour and water pretty much.

Mix together and let sit overnight covered in plastic wrap and a tea towel. In the morning it should be bubbly.

Bubbly biga

The Bread

1 1/2 cup flour

1 1/2 cup + 1/4 cup semolina flour

1/4 tsp instant yeast

1 scant tbs salt

1 cup cool water

Put all the ingredients in the bowl of a stand mixer fitted with the dough hook. Mix on low speed for about 5 minutes, it will become a cohesive dough. Turn the mixer off, cover with plastic and let sit for 30 minutes. Turn the mixer back on medium speed and knead for another 5 minutes. Remove dough to a clean lightly oiled bowl, cover with plastic wrap and a tea towel and put in the refrigerator overnight.

The following morning take it out of the refrigerator and let it come to room temperature. Shape into desired shape (I made a boule), place on parchment lined baking sheet.nCover with oiled plastic wrap loosely and a tea towel and let rise for approximately one hour. When you press your finger in the dough it should leave an indent.

Heat oven to 475 degree’s. Slash the dough with a razor, knife or lame, dust with some flour and place in the oven, throw a few ice cubes at the bottom of the oven. Immediately reduce the temperature to 425 degree’s and bake for approximately 35-40 minutes. Bread when tapped will sound hollow and it will be a golden brown. You can also place a parchment round in a dutch oven and bake covered in the pot. You will need to bake a little longer using this method. Elaine gives instructions in her recipe.

King Arthur’s recipe offers a great idea for keeping the bread, place cut side down on counter or cutting board, don’t cover it with anything. The crust will stay pretty crisp and the inside of the bread stays soft. It works.

Stand the bread on a counter cut side down the bread stays soft the crust fairly crisp. This loaf was made with a little more yeast than the one below. You can see the difference.

I did experiment with the semolina bread the first loaf I added a half tsp of instant yeast, the second loaf 1/4 tsp. There is a marked difference in the texture of the bread and I think both are good.

Caponata

I posted this recipe for Caponata years ago and I am afraid it’s been a long time since I have made it. This came about partly because I had gone a little overboard during my last visit to the farmers market, I tend to do that every time I go and I think I have mentioned this before but I hate to waste food. My Mom used to serve Caponata from time to time, usually it was purchased from the Italian supermarket commercially prepared. I liked it but thought it was too sweet, the basic idea is wonderful and it makes a delicious condiment slathered on some good bread. It really is so delicious. I think of Caponata as the Italian ratatouille. Its very easy to make, you can add what you like and subtract what you don’t.

I am going to bring this along with a loaf of homemade bread to Fiesta Friday #186 and this weeks co hosts are  Colleen @ Faith, Hope, Love & Luck and Alex @ Turks Who Eat

Farmers market haul

Caponata

Makes 1 quart

2 medium size eggplant stem end cut and sliced in half

2 cups chopped tomato or cherry tomatoes cut in half

1 small onion chopped

1 shallot chopped

2 stalks celery

3 cloves garlic minced

2 bell peppers medium size (I used a purple and red)

1/4 cup capers

pinch (or more) crushed red pepper flakes

pitted olives – didn’t measure but a generous handful cut in half if large

1/4 cup red wine vinegar

2 tsp sugar

Heat oven to 425 degree’s. Line baking sheet with parchment. Brush the eggplant with olive oil on both sides. Place on baking sheet cut side down and roast for 15 minutes. They should be browned on the cut side but not mushy.  Cut the eggplant into bite size pieces and set aside.

Nicely browned

Heat some olive oil in a skillet and add the onion, cook until softened, add the celery and pepper and cook until soft and fully cooked. Add the tomatoes, capers, olives, crushed red pepper and continue cooking until the tomatoes are cooked through, add the eggplant, vinegar and sugar and cook until thick and most of the liquid from the tomatoes is reduced. Spoon into storage containers let come to room temperature and then refrigerate. I find it’s always better served the next day and served at room temperature.

caponata and a egg fried in olive oil on homemade bread


Watercress Ricotta Torte

I  got a bit sidelined recently and although I made this recipe over a week ago it is just getting posted today, this recipe is delicious, easy to make and feeds an army. I was immediately drawn to it because there is no pie crust involved and it is similar to a quiche without the carb laden crust. The recipe is from Saveur, I made a few changes as I didn’t have quite enough watercress and I had some pea shoots in the crisper. They say to make it in a 9 inch spring form pan,I only had a 10 inch so added extra ingredients so it would t be as flat as a pancake. I also added more whole eggs and only 2 egg yolks. The beauty of making savory food is that you can adapt and get creative with ingredients. Here is the original recipe Watercress Ricotta Torte .

I am still trying to post using my iPad until I can purchase a new computer. Hoping that I am able to retrieve all of my documents and things that were on there, won’t know until I take it into the Apple Store and they take a look at it. I really don’t like using the iPad probably because I am not used to it. At least I can post albeit with some difficulties.

Watercress and ricotta torte

serves 6-8 generously

unsalted butter softened for greasing the pan

2 cups cleaned baby watercress chopped

1 cup pea shoots

3 cups ricotta cheese

1/2 cup creme fraiche or sour cream

1/2 cup grated parmigiano reggiano

1/2 cup asiago grated

8 whole eggs

2 egg yolks

pinch of nutmeg

salt and pepper to taste

zest of 1/2 lemon

4 scallions ends trimmed and left whole roasted until softened and lightly browned

Heat oven to 325 degrees. Grease well your springform pan. Microwave the watercress for 60 seconds and set aside. Chop pea shoots.

Add to a medium bowl the ricotta and sour cream, most of the grated cheese (reserve a little to sprinkle on top of the torte), the nutmeg, eggs and yolks, lemon zest and salt and pepper. Beat to combine and add the watercress and pea shoots stir just until combined.  Pour into the prepared pan top with the roasted scallions and sprinkle with the remaining grated cheese. Bake for 45-60 minutes. The middle will slightly jiggle. Remove from oven and turn on the broiler, place u dear the broiler until top is browned. Remove from oven and let cool in the pan, best served warm or at room temperature.


Clean Soups- Magic Mineral Broth and Thai Coconut Broth

img_9743

I’m a cookbook hoarder, well hoarder may be too harsh but I love my cookbooks, collect them and can literally spend hours in the bookstore looking at them and almost always leave the store with at least one if not more. When I received an email from the editors at Food52 asking if I would be interested in reviewing a cookbook for the Piglet Community Picks  there was no pause in my answer, a resounding YES.  I was given a choice of 6 cookbooks and Clean Soups was my first choice. It is not a voluminous cookbook, but offers some fantastic healthful and delicious basic broths used as a base for a variety of different types of soups.

I chose to make the Magic Miracle Broth,  a vegetable broth, and a stepping stone to another recipe Thai Coconut Broth which will  become a pureed soup. One thing I loved about this broth is that the vegetables are used unpeeled, everything, onion, carrot, garlic with the peels and all, it’s so easy to just throw it all in a pot and let it cook. If you love soup and clean eating I really recommend you purchase this cookbook. Part two of this post will be published in a few days, the finished soup.

Magic Mineral Broth

Makes approximately 1 gallon of broth

6 unpeeled carrots cut into thirds

2 unpeeled yellow onions, quartered

1 leek, white and green parts cut into thirds

1 bunch celery including the heart, cut into thirds

4 unpeeled red potatoes

2 unpeeled Japanese or regular sweet potatoes, quartered

1 unpeeled garnet yam, quartered

5 unpeeled garlic cloves, halved

1/2 bunch flat leaf parsley

1 (8 inch strip) kombu

12 black peppercorns

4 whole allspice or juniper berries

2 bay leaves

8 quarts cold filtered water

1 tsp sea salt plus more if needed

Rinse all vegetables well including the Kombu.
In a 12 quart or larger stockpot, combine the carrots, onion, leek, celery, red potatoes, sweet potatoes, yam, garlic, parsley, kombu, pepper, allspice berries and bay leaves. Add the water, cover, and bring to a boil over high heat. Decrease the heat to low and simmer, partially covered, for at least 2 hours or until the full richness of the vegetables can be tasted. As the broth simmers some of the water will evaporate, add more if the vegetables begin to peek out.

Strain the broth through a large course mesh sieve (use a heat resistant container underneath) and discard the solids. Stir in the salt adding more if desired. Let cool at room temperature before refrigerating or freezing. Store in the refrigerator up to 5 days or in the freezer up to 6 months.

img_9732


Thai Coconut Broth

Makes approximately 2 1/2 quarts of broth

8 cups Magic Mineral broth

2 13.5 oune cans coconut milk

3 1 inch pieces of fresh ginger

2 shallots peeled and halved

3 kaffir lime leaves or 1 tsp lime zest

1 stalk lemongrass, cut in chunks and bruised

1/4 tsp sea salt, plus more if needed

In a 6 quart pot combine the broth, coconut milk, ginger, shallots, lime leaves or zest, lemongrass and salt, bring to a low boil over medium heat. Cook for about 20 minutes. Decrease to low and simmer for another 30 minutes. Remove the solids, taste and add more salt if desired.

Let cool to room temperature before refrigerating or freezing. Store in refrigerator for up to 5 days and 6 months in the freezer.


Ottolenghi’s Cauliflower Cake And Apple Pear Crumble With Creamy Cider Syrup

img_6662

I just have to say what a lifesaver it has been to have the guest posts. I have been so extremely busy I really haven’t cooked much of anything and most of what I have cooked is not noteworthy enough to blog about. Thank you so much to everyone who has submitted guest posts, you truly are amazing. I also have been delinquent in reading and commenting on your blogs. I will not be able to catch up there are just too many, once Halloween is done I should be able to breathe and get back to my routine.

img_6536

Searching through the hundreds of cookbooks I have (and rarely use) I happened upon this recipe from “Plenty More” by Yotam Ottolenghi. Since my latests obsession is cauliflower this immediately grabbed my attention, the list of ingredients sounds delicious, I decided this is a recipe I have to try. It does contain some flour, one cup of all purpose flour but I subbed spelt flour making it lower in carbs and more healthful. It’s a simple recipe, easy to put together and with my current crazy busy schedule this was a must. I really do love Ottolenghi’s cookbooks, the photo’s are drool worthy and recipes are not complex they use simple ingredients but how they put it all together is genius.

img_6545

Cauliflower Cake

from Plenty More- Yotam Ottolenghi

Serves 6-8

1 small head cauliflower broken into 1 1/2 inch florets

1 medium onion (recipe calls for  a red onion)

5 tbs olive oil (I didn’t measure)

1/2 tsp chopped fresh rosemary

7 large eggs

1/2 cup chopped fresh basil

1 cup all purpose flour (I used spelt flour)

1 1/2 tsp baking powder

1/3 tsp turmeric

1 1/2 cups grated parmesan or your favorite grating cheese

melted butter for brushing – about 1 tbs

1 tbs white sesame seeds

1 tsp nigella seeds (I misplaced them so just used sesame)

salt and pepper to taste

Pre heat oven to 400 degree’s

Place cauliflower florets in saucepan filled with salted water, simmer for 15 minutes until the florets are quite soft, they should break when pressed with a spoon. Drain and set aside in a colander.

Cut 4 round slices approximately 1/4 inch thick from one end of the onion and set aside. Coursely chop the rest of the onion and place in a pan with some olive oil and the rosemary. Cook for 1o minutes over medium heat, stirring from time to time until soft. Remove from the heat and set aside to cool. Transfer the onions to a large mixing bowl, add the eggs and basil and whisk well, then add the flour, baking powder, turmeric, cheese and 1 tsp salt (I used less salt) and plenty of ground pepper stir to combine and add the cauliflower stirring gently so as not to break up the florets.

Line the base and sides of a 9 1/2 inch springform pan with parchment paper. Brush the sides with melted butter then mix together the sesame and nigella seeds and toss them in the pan and swirl the pan around so that the seeds stick to the buttered sides. Pour the cauliflower mixture in the pan smooth the top and arrange the onion rings on top ( I sprinkled some of the grated cheese on top as well). Place in the center of the oven and bake for 45 minutes until golden brown and set. A knife inserted into the center of the cake should come out clean. Remove from the oven and leave for at least 20 minutes before serving. It should be served warm or at room temperature rather than hot.

img_6599

For Dessert was an apple Pear crumble using no refined sugar and almost no flour. To sweeten the fruit and crumble I used a little bit of maple syrup and served it with a creamy cider reduction, again made completely without sugar. The natural sweetness of the cider when cooked down into a syrup is intensely sweet, I softened it with a little heavy cream (to make even more decadent you could add a little butter also) and the end product was amazing on this simple crumble. The cider syrup would be great on oatmeal, pancakes or waffles also, instead of adding cream just add a little butter.

This dessert is great and you don’t feel badly eating it, you could even use a little less maple syrup because the cider syrup is sweet enough that you would never know that this is not loaded with sugar.

img_6887

Apple Pear Crumble

Made 2

Crumble topping

1/4 cup whole oats

1/4 cup spelt flour

2 tbs toasted hazelnut flour (or any nut flour)

pinch of salt

2 tbs softened (not melted) coconut oil

1 tbs cold butter

2 tbs maple syrup

Mix everything together with your fingers until it is blended completely (it will look more like a cookie dough). Pre heat oven to 375 degree’s

2 -3 apples  (if you don’t have pear use 3 apples)

1 ripe pear

1 tbs maple syrup

pinch of cinnamon, nutmeg and salt

Peel and slice the apples and pears. Oil or butter the baking dish, mix the fruit with the maple syrup, spices and salt, lay the fruit in the pan. Add the crumble topping and pour a little apple cider over it. Bake for 30-40 minutes until crumble is browned and fruit is soft.  Note: The crumble topping was patted into place rather than dropping in crumbles, after baking I broke it up  kind of like a cookie crust.

img_6910

Creamy Cider Syrup

Apple cider

Heavy cream

Pour about 1 cup cider in saucepan  over medium high heat until reduced to a very thick syrup, it took about 20 minutes. One cup of cider reduced to about 1/4 cup of syrup. The more cider you use the longer it will take to reduce of course. One cup of cider in a saucepan took a little over 20 minutes on medium high heat.

Reduces to almost nothing

Reduces to almost nothing you can see my hand reflected in the pan, LOL.

Add some heavy cream about 2 tbs and continue to cook another 30 seconds approximately. The sauce will be thick.

Spoon over the crumble and enjoy.

img_6945


Paul Bertolli’s Cauliflower Soup

Cauliflower soup

Cauliflower soup

I had a head of cauliflower, it’s getting cold outside and I wanted some soup but it had to be very simple. I found this recipe on Food52, I had run out of stock vegetable or chicken and couldn’t run to the store, was waiting for a delivery and when I saw how easy this soup was and the list of ingredients is minimal I knew this was what I would make. This is part of the Food52 Genius collection, it is genius in it’s simplicity and tasting it you would never know just how easy it is to make. It would be an elegant addition to any meal, your guests will be impressed. As it is this recipe is vegan, no dairy or animal products at all. Of course I added a couple of tbs of butter to mine, just because I like butter but this is completely optional and unnecessary. The soup is delicious as is.

Serves 8

  • 3 tablespoons olive oil
  • 1 medium onion (6 ounces), sliced thin
  • 1 head very fresh cauliflower (about 1-1/2 pounds), broken into florets
  • Salt, to taste
  • 5 1/2 cups water, divided
  • Extra virgin olive oil, to taste
  • Freshly ground black pepper, to taste
  1. Warm the olive oil in a heavy-bottomed pan. Sweat the onion in the olive oil over low heat without letting it brown for 15 minutes.
  2. Add the cauliflower, salt to taste, and 1/2 cup water. Raise the heat slightly, cover the pot tightly and stew the cauliflower for 15 to 18 minutes, or until tender. Then add another 4 1/2 cups hot water, bring to a low simmer and cook an additional 20 minutes uncovered.
  3. Working in batches, purée the soup in a blender to a very smooth, creamy consistency. Let the soup stand for 20 minutes. In this time it will thicken slightly.
  4. Thin the soup with 1/2 cup hot water. Reheat the soup. Serve hot, drizzled with a thin stream of extra-virgin olive oil and freshly ground black pepper.
smooth and creamy

smooth and creamy

Hearty Kale Salad With Kabocha Squash,Pomegranate Seeds And Toasted Hazelnut And An Award

Kale Salad

Kale Salad

I love healthful food, I really do but my style of cooking isn’t really super healthy. I try, I really do but unfortunately I fall short most of the time. Incorporating raw foods, salads into my diet is challenging sometimes. A friend and I hosted a dinner party the other night and we wanted to do a low carb, healthful meal. I found this recipe on Food52, Gena Hamshaw is vegan and has some amazing, balanced healthful dishes. I took one look at this salad and knew it would be on the menu that evening. What does it contain? Lots of super foods, Kale, pomegranate, hazelnuts and Kabocha squash. The kale is massaged with a little of the dressing to soften, then you toss with the rest of the light lemon dressing. It’s delicious, honestly, really really good. I had everything for the salad except the squash so I subbed sweet potato which I prepared in exactly the same way as you would the squash.

Serves 4-6

  • 1 Large bunch curly kale, stems removed and discarded, torn into bite sized pieces, washed, and spun dry
  • 1 Small kabocha squash (Japanese pumpkin), halved and seeded and cut into 1.5 inch pieces ( I used 1 medium size sweet potato using the same method as described in step 1)
  • 4 tablespoons Olive oil, divided into 1 tbsp and 3 tbsp
  • 3/4 cups Pomegranate seeds
  • 1/2 cup Skinned hazelnuts
  • 1 teaspoon Dijon mustard
  • 2 tablespoons Lemon juice
  • 1 teaspoon Maple syrup
  • 1/4 teaspoon Sea salt
  • Black pepper to taste
  1. Preheat the oven to 375 degrees. Toss the squash in 1 tbsp olive oil and season with salt and pepper on a baking sheet. Roast for 30-35 minutes, or until golden, stopping halfway through to stir.
  2. While squash is roasting, place the hazelnuts in a shallow baking dish (or a pie pan) and toast in the oven for 4-6 minutes, or until they are golden. Check them frequently and remove them the moment they start to get brown. Once they’ve cooled a little, chop them roughly and set aside.
  3. Whisk together the remaining olive oil, mustard, lemon, maple syrup, sea salt, and pepper. Pour 3 tbsp over the kale to begin with, and “massage” the kale well with your hands, till it’s coated in the dressing and taking on a soft, almost wilted texture. Add the remaining dressing as needed and according to tastes. Add pomegranate seeds and hazelnuts.
  4. Once the squash has finished cooking and has cooled for 10-15 minutes, add it to the salad and serve.

I am so thankful that Cambios de humor nominated me for the Shine On Award. Thank you so much, I am so honored to have been included in your list of nominee’s. Please visit her blog, you will love the honesty and humor in her posts.  Thank you again!!

shineon1