Pasticiotti For Fiesta Friday #53

Party time
This is week 2 of the Epic Fiesta Friday First Year Anniversary Party and we are bringing the main course and dessert. I wanted to bring a very special dessert to the party, so I made Pasticiotti with chocolate filling. I love these pastries, they are very special to me because it is a recipe that has been passed from generation to generation in my family. It’s a great party dessert because it’s small, you don’t need a plate and fork, a napkin will suffice and they are pretty neat to eat. Angie@The Novice Gardener has been working hard on this mega party and thank goodness she has two co hosts to help, so a big thank you to Nancy @Feasting With Friends and Selma @Selma’s Table for always being there to help and doing such a great job of hosting.
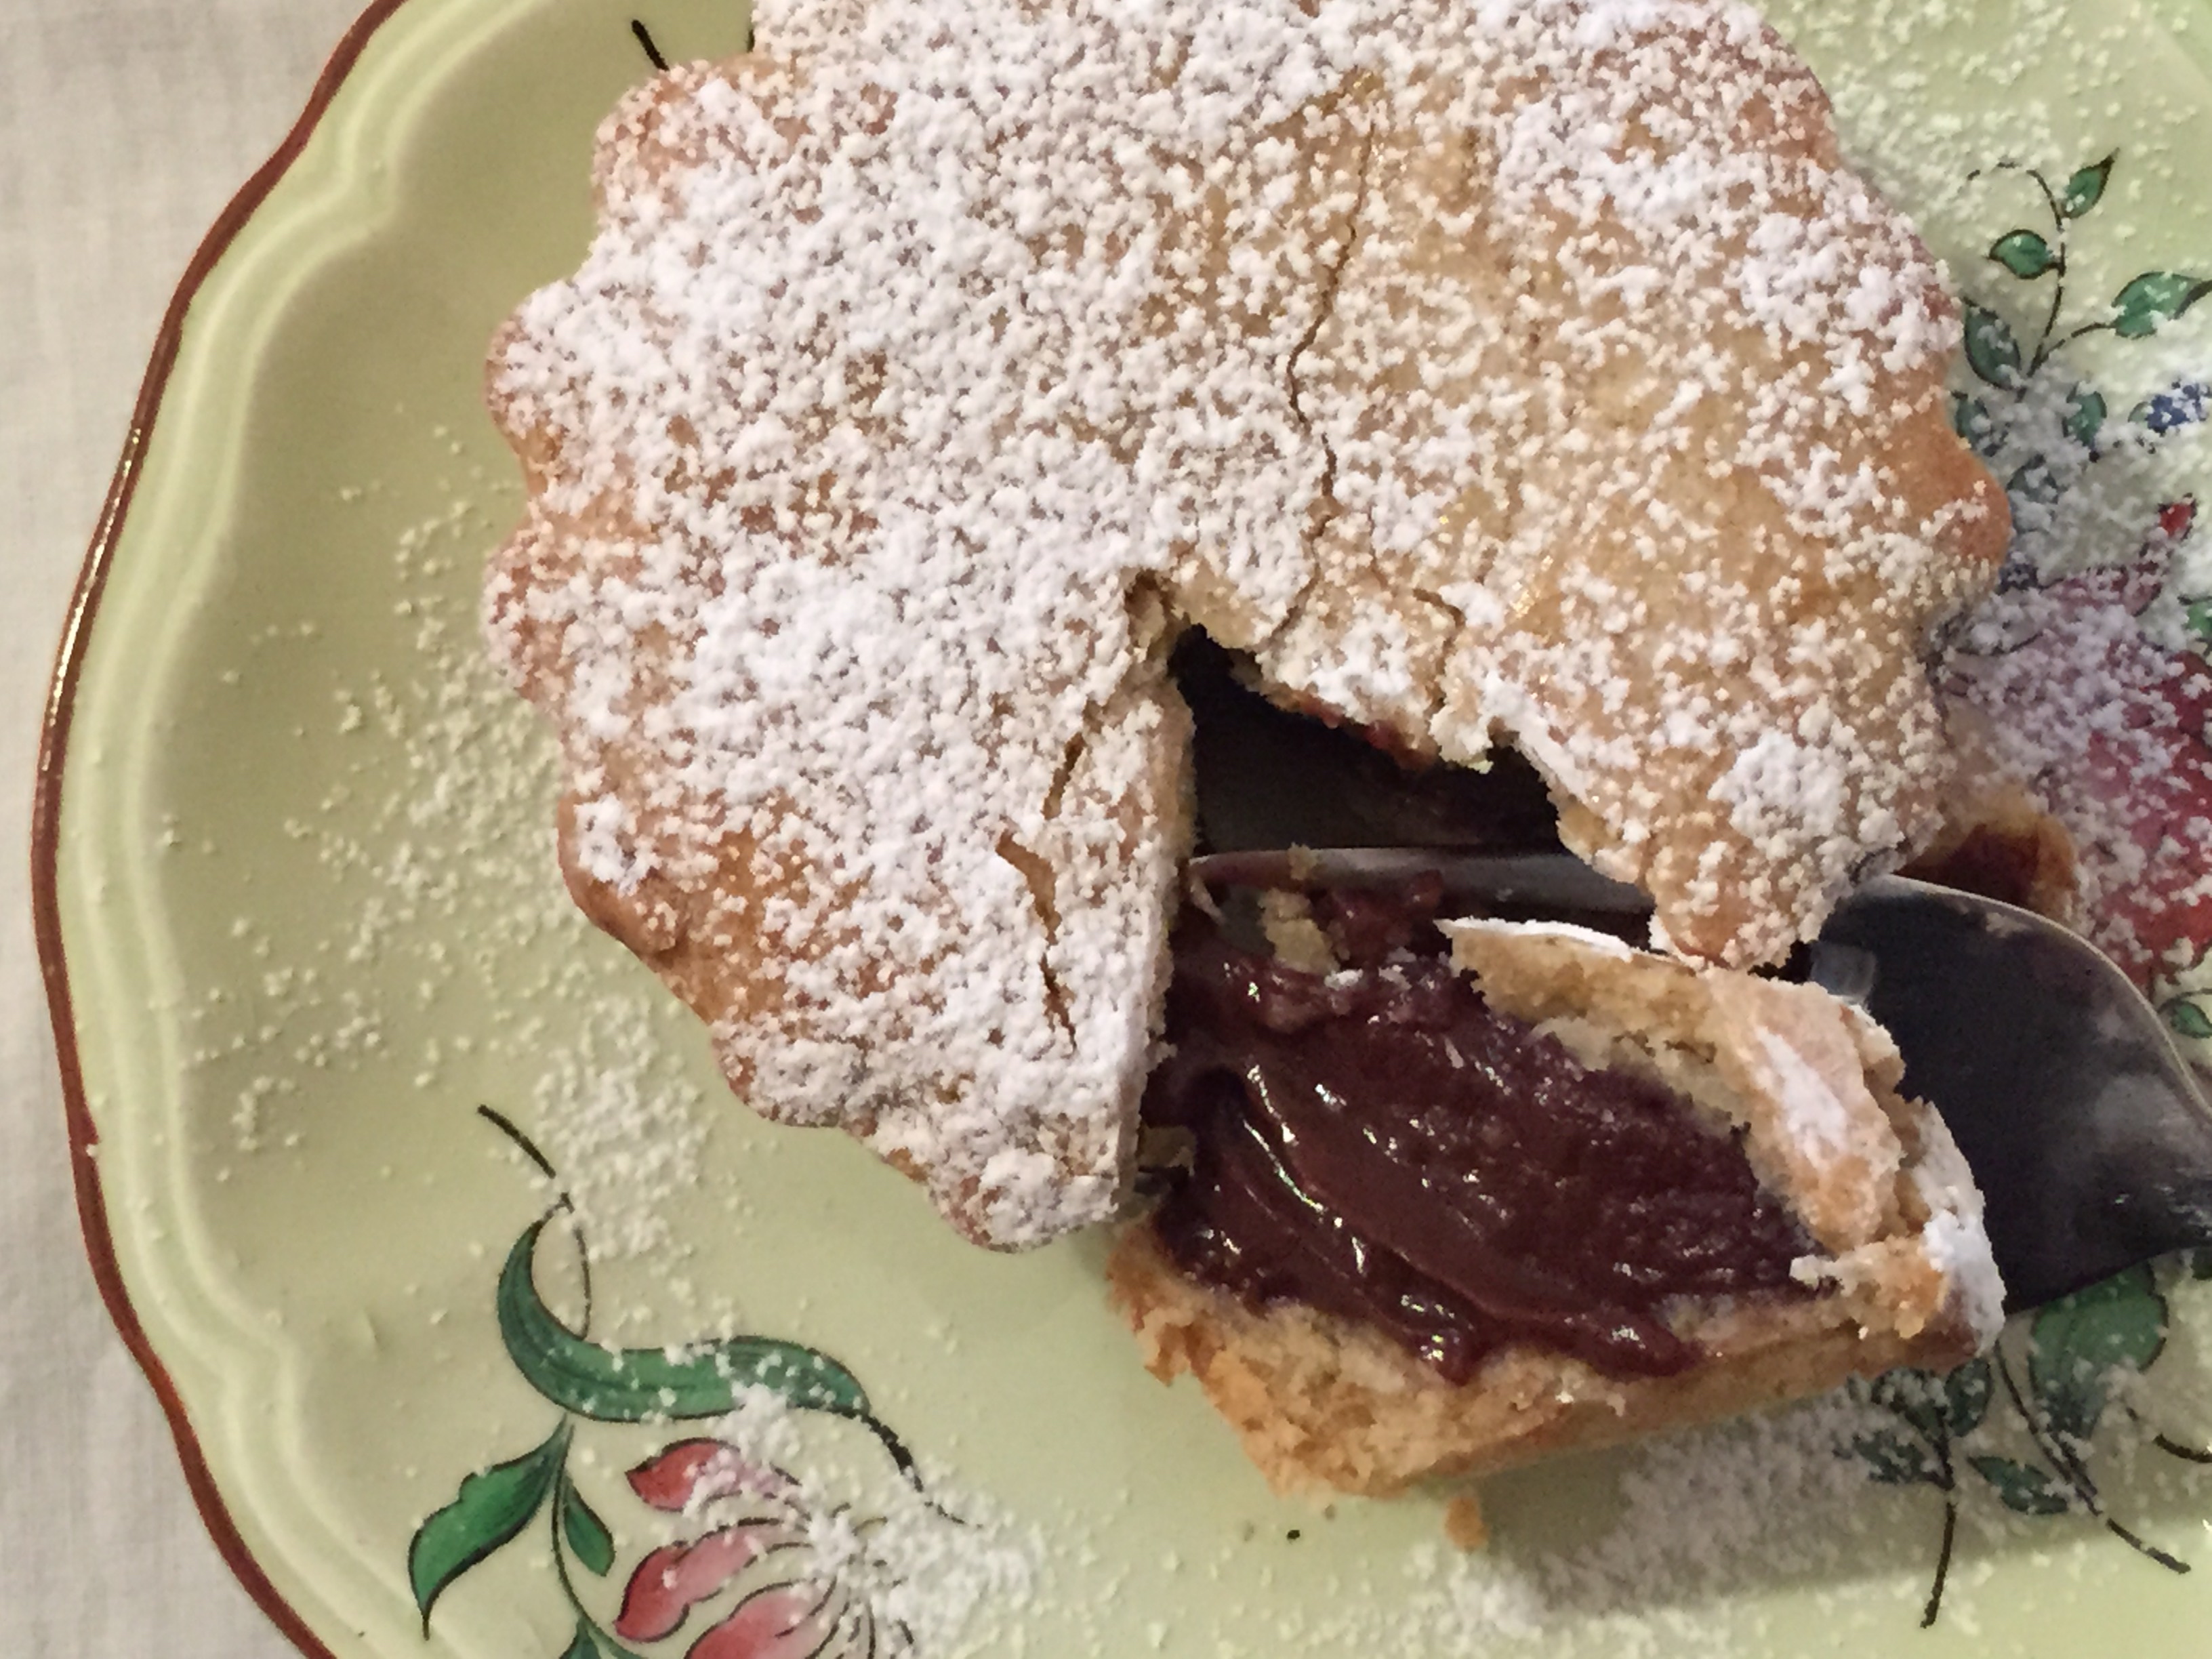
Pasticiotti is an Italian pastry, it’s a pastry crust baked in a pustie tin filled with either chocolate or vanilla filling, similar to a pudding. I grew up eating these and always looked forward to my Father bringing home a big box from the local bakery. For years I have gone to Court Street bakery in Brooklyn when I want an Italian pastry, they have been around for over half a century and the pastries are delicious and as close to my childhood memories as I have found. I wanted to try and make my own so I asked my Mother if she had a recipe, she did, it is a very old recipe from my Aunt Dee, Mom said that the recipe was handed down from my Great Grandmother. It was in Italian and measurements were not exact and I am sure it was not originally written using cups, teaspoons and tablespoons. My Aunt who was a great cook took this recipe and made it her own. I was a bit nervous making it, having never tried my hand at anything like this before, it was surprisingly easy and turned out absolutely delicious. The first time I made these I used tartlet pans and they turned out fine. Since then I have purchased pustie tins and they come out even better, I think its because of the shape of the tin, the pudding is heavy and the crust delicate and the tins are smaller at the bottom becoming larger at the top similar to a brioche mold.There is a distinct flavor in many Italian Pastries and I found out it is from an extract called Fiori Di Sicilia, it is unique in that it is both citrusy and floral. You can find it at Bakers Catalog (King Arthur Flour) but you can also add a little orange zest instead and it works just fine. If you do plan to make these invest in pustie tins, they are inexpensive and worth having even if you only make these every now and then, I found mine here. One more very exciting bit of news, this recipe will be featured in The Global Family Reunion cookbook that will be unveiled at the Global Family Reunion event which is being held at the World Fair Grounds in New York in the early summer. The proceeds from the sale of the cookbook will benefit research to help find a cure and treatment for Alzheimers.
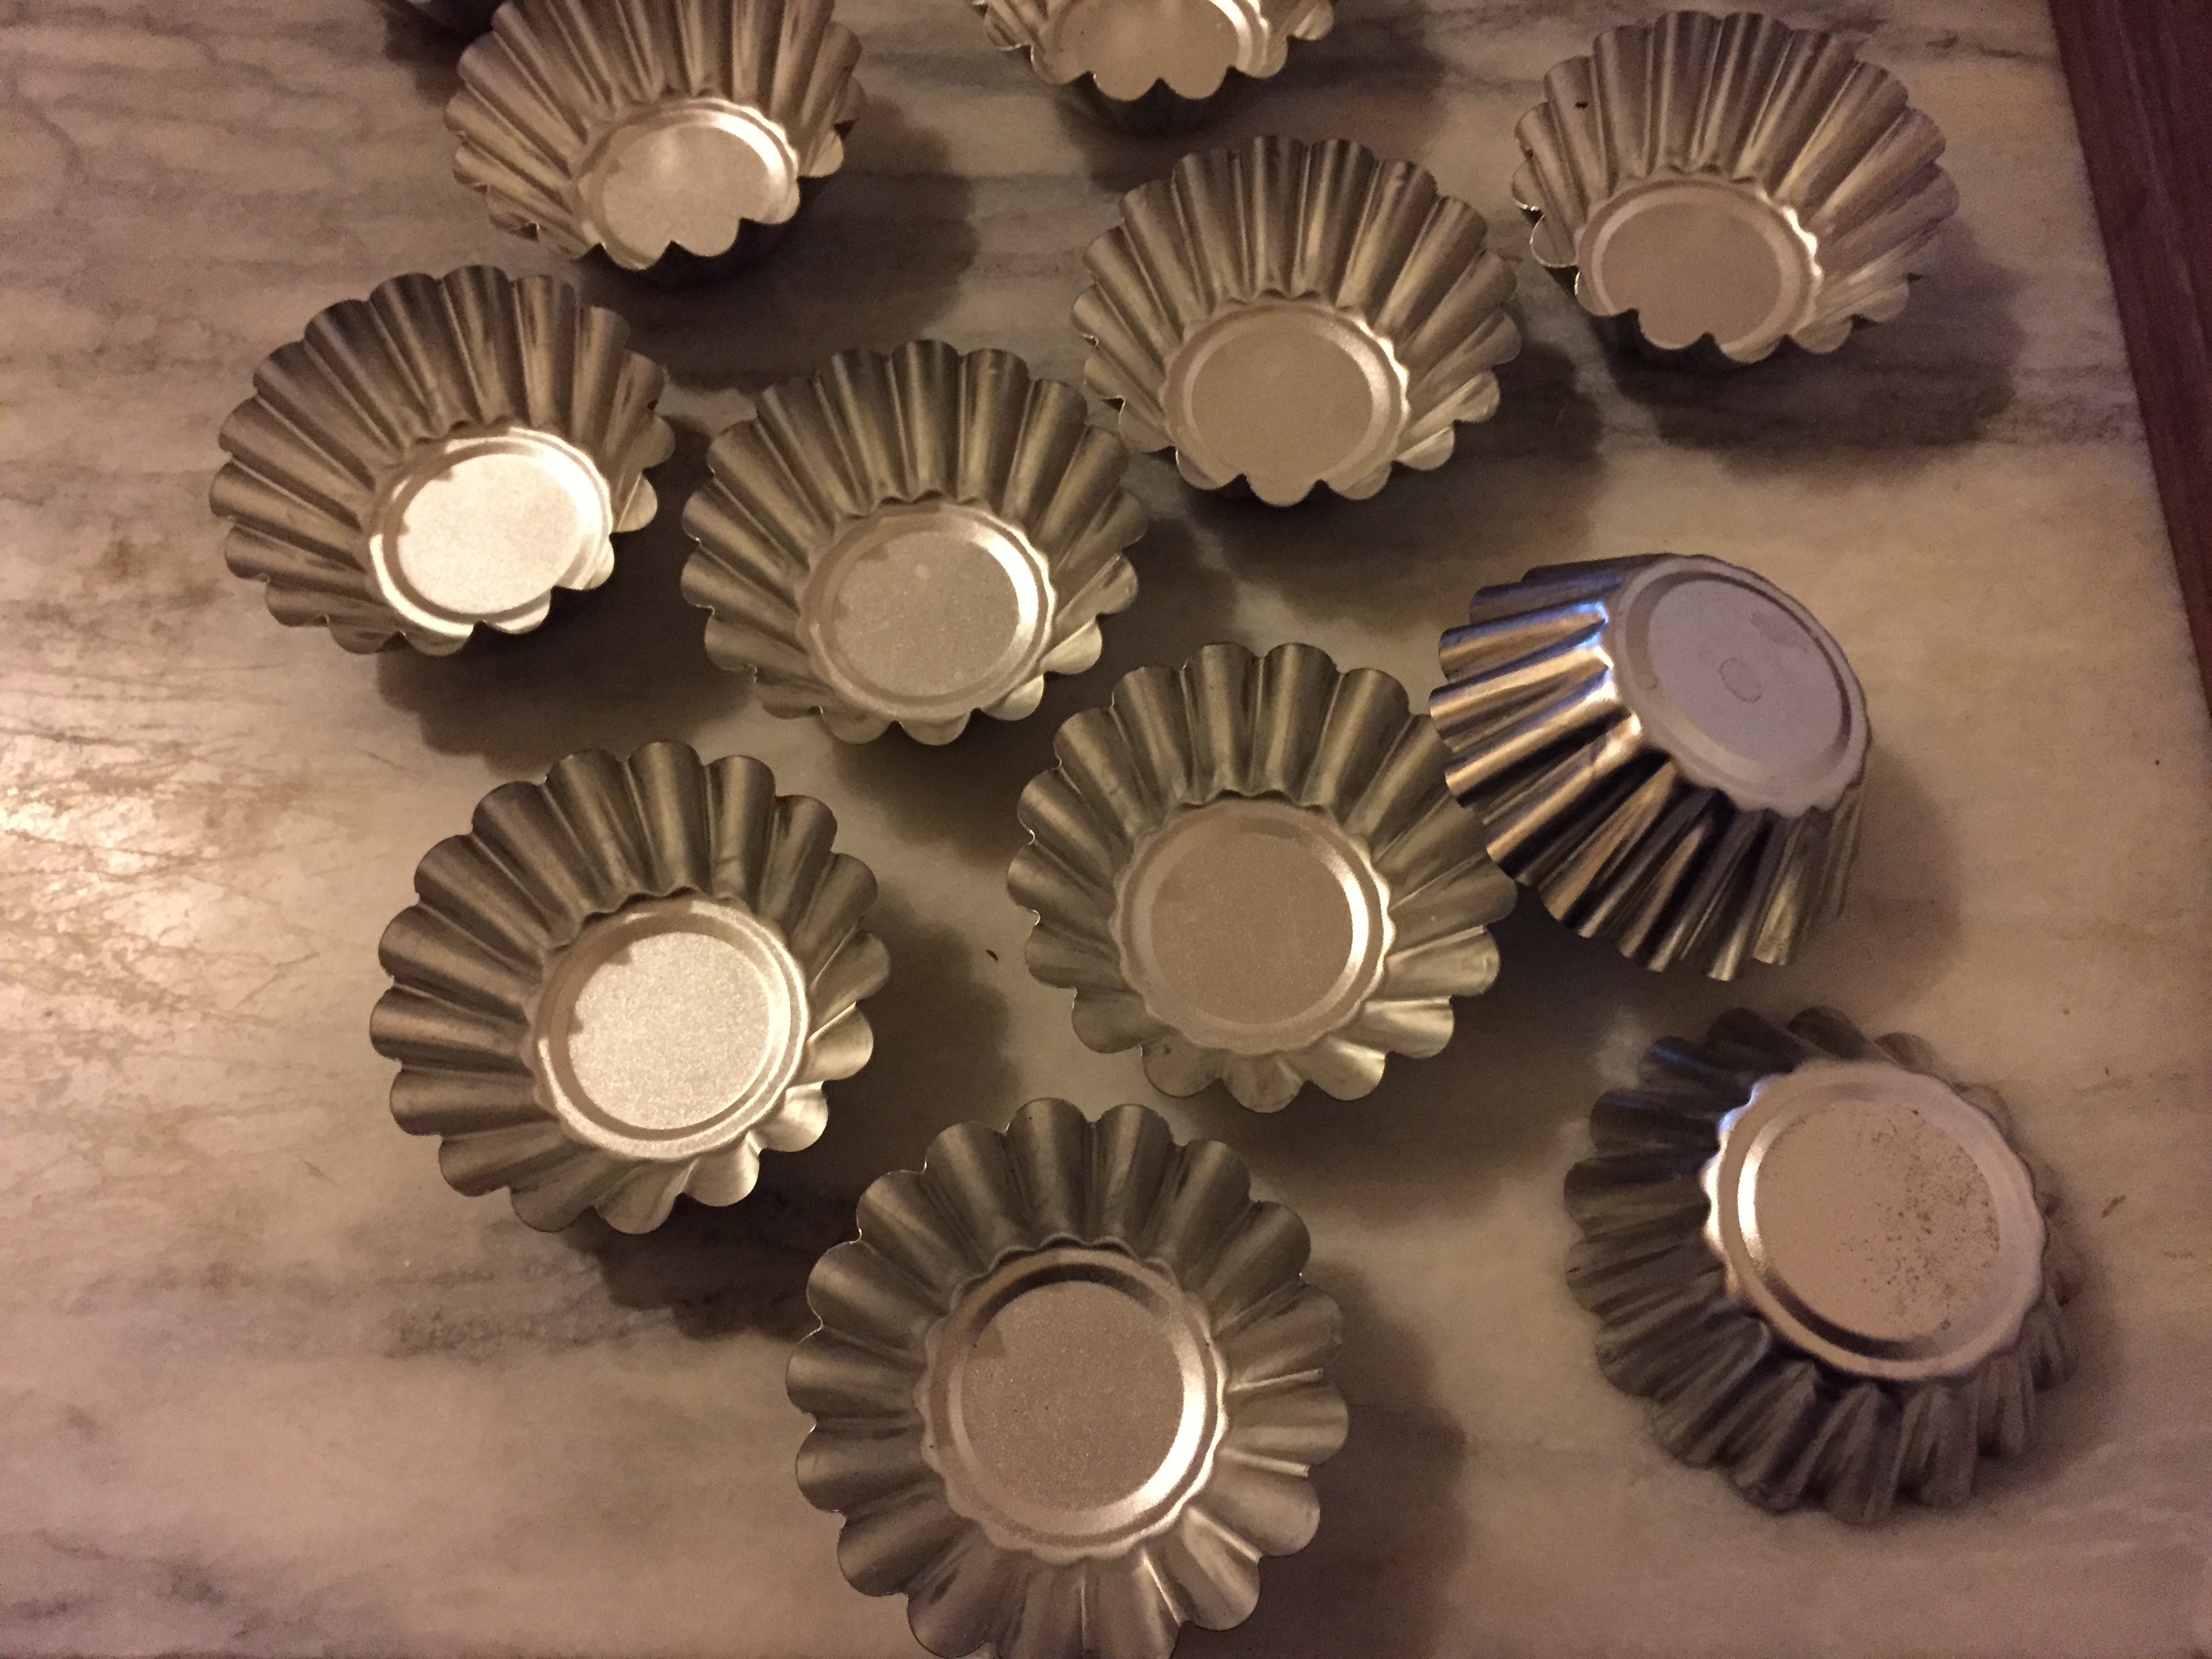
Pustie Tins
Pasticiotti with Chocolate Filling
Makes: approximately 18
The pastry crust:
4 cups Flour
1 teaspoon baking powder
2 cups light brown Brown Sugar (Not packed)
pinch of salt
1 cup (8 oz) cold leaf lard or vegetable shortening (I used lard because thats what the original recipe used)
2 large eggs
1 teaspoon vanilla extract
1/4 cup cold whole milk
Beat one egg with a teaspoon of sugar to brush on the pastry before baking
In mixing bowl add the flour, brown sugar,baking powder, and salt, whisk to combine making sure any clumps of brown sugar are incorporated.
In measuring cup add the milk and egg, beat egg and milk together then add the vanilla and stir to incorporate
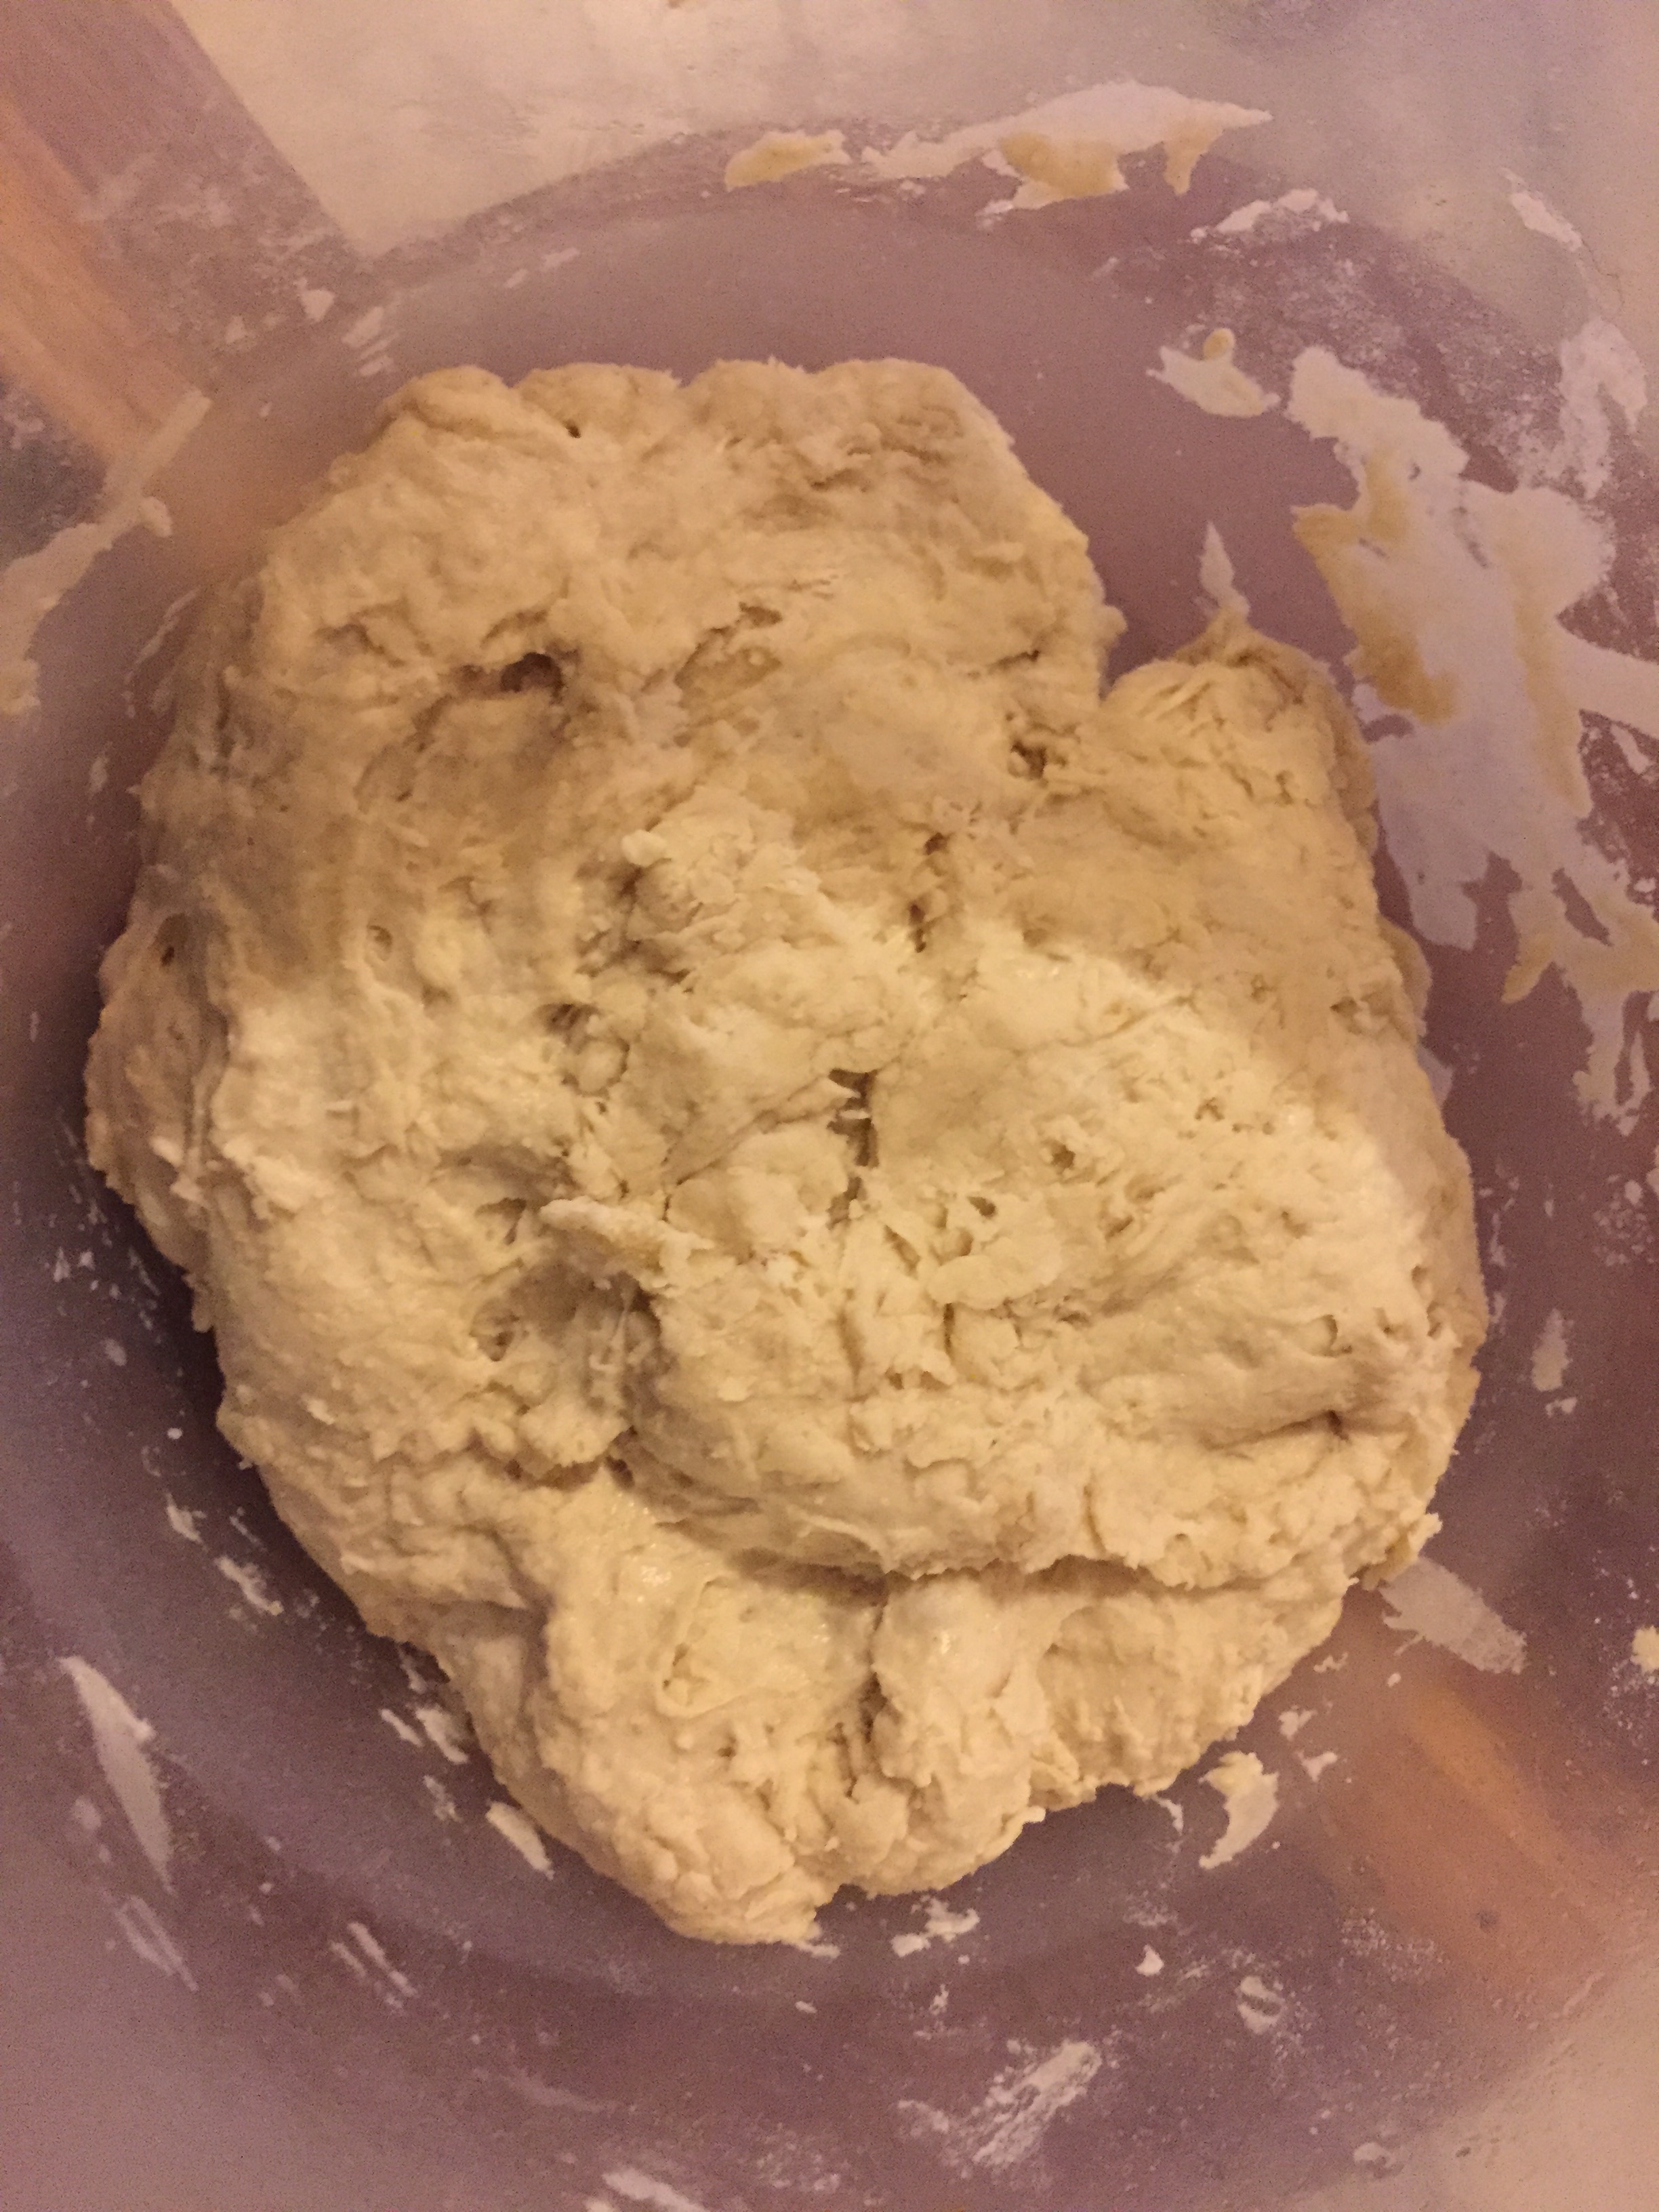
Measure or weigh (I like to weigh) your lard and add to dry ingredients, use a pastry cutter to cut the lard into the flour mixture it should resemble crumbs. Add the milk, egg and vanilla and with a fork combine. Working quickly gather the dough into a cohesive disk, wrap in plastic wrap and refrigerate for at least an hour even overnight.
Ready for the tops
Chocolate Filling:
1 cup flour
2 cups sugar
2/3 cups unsweetened cocoa
pinch of salt
4 cup warm milk or water (the original recipe used water)
2 egg yolks
1 teaspoon vanilla extract
1/4 teaspoon fiori di sicilia or if you don’t have add 1/2 tsp orange zest (optional)
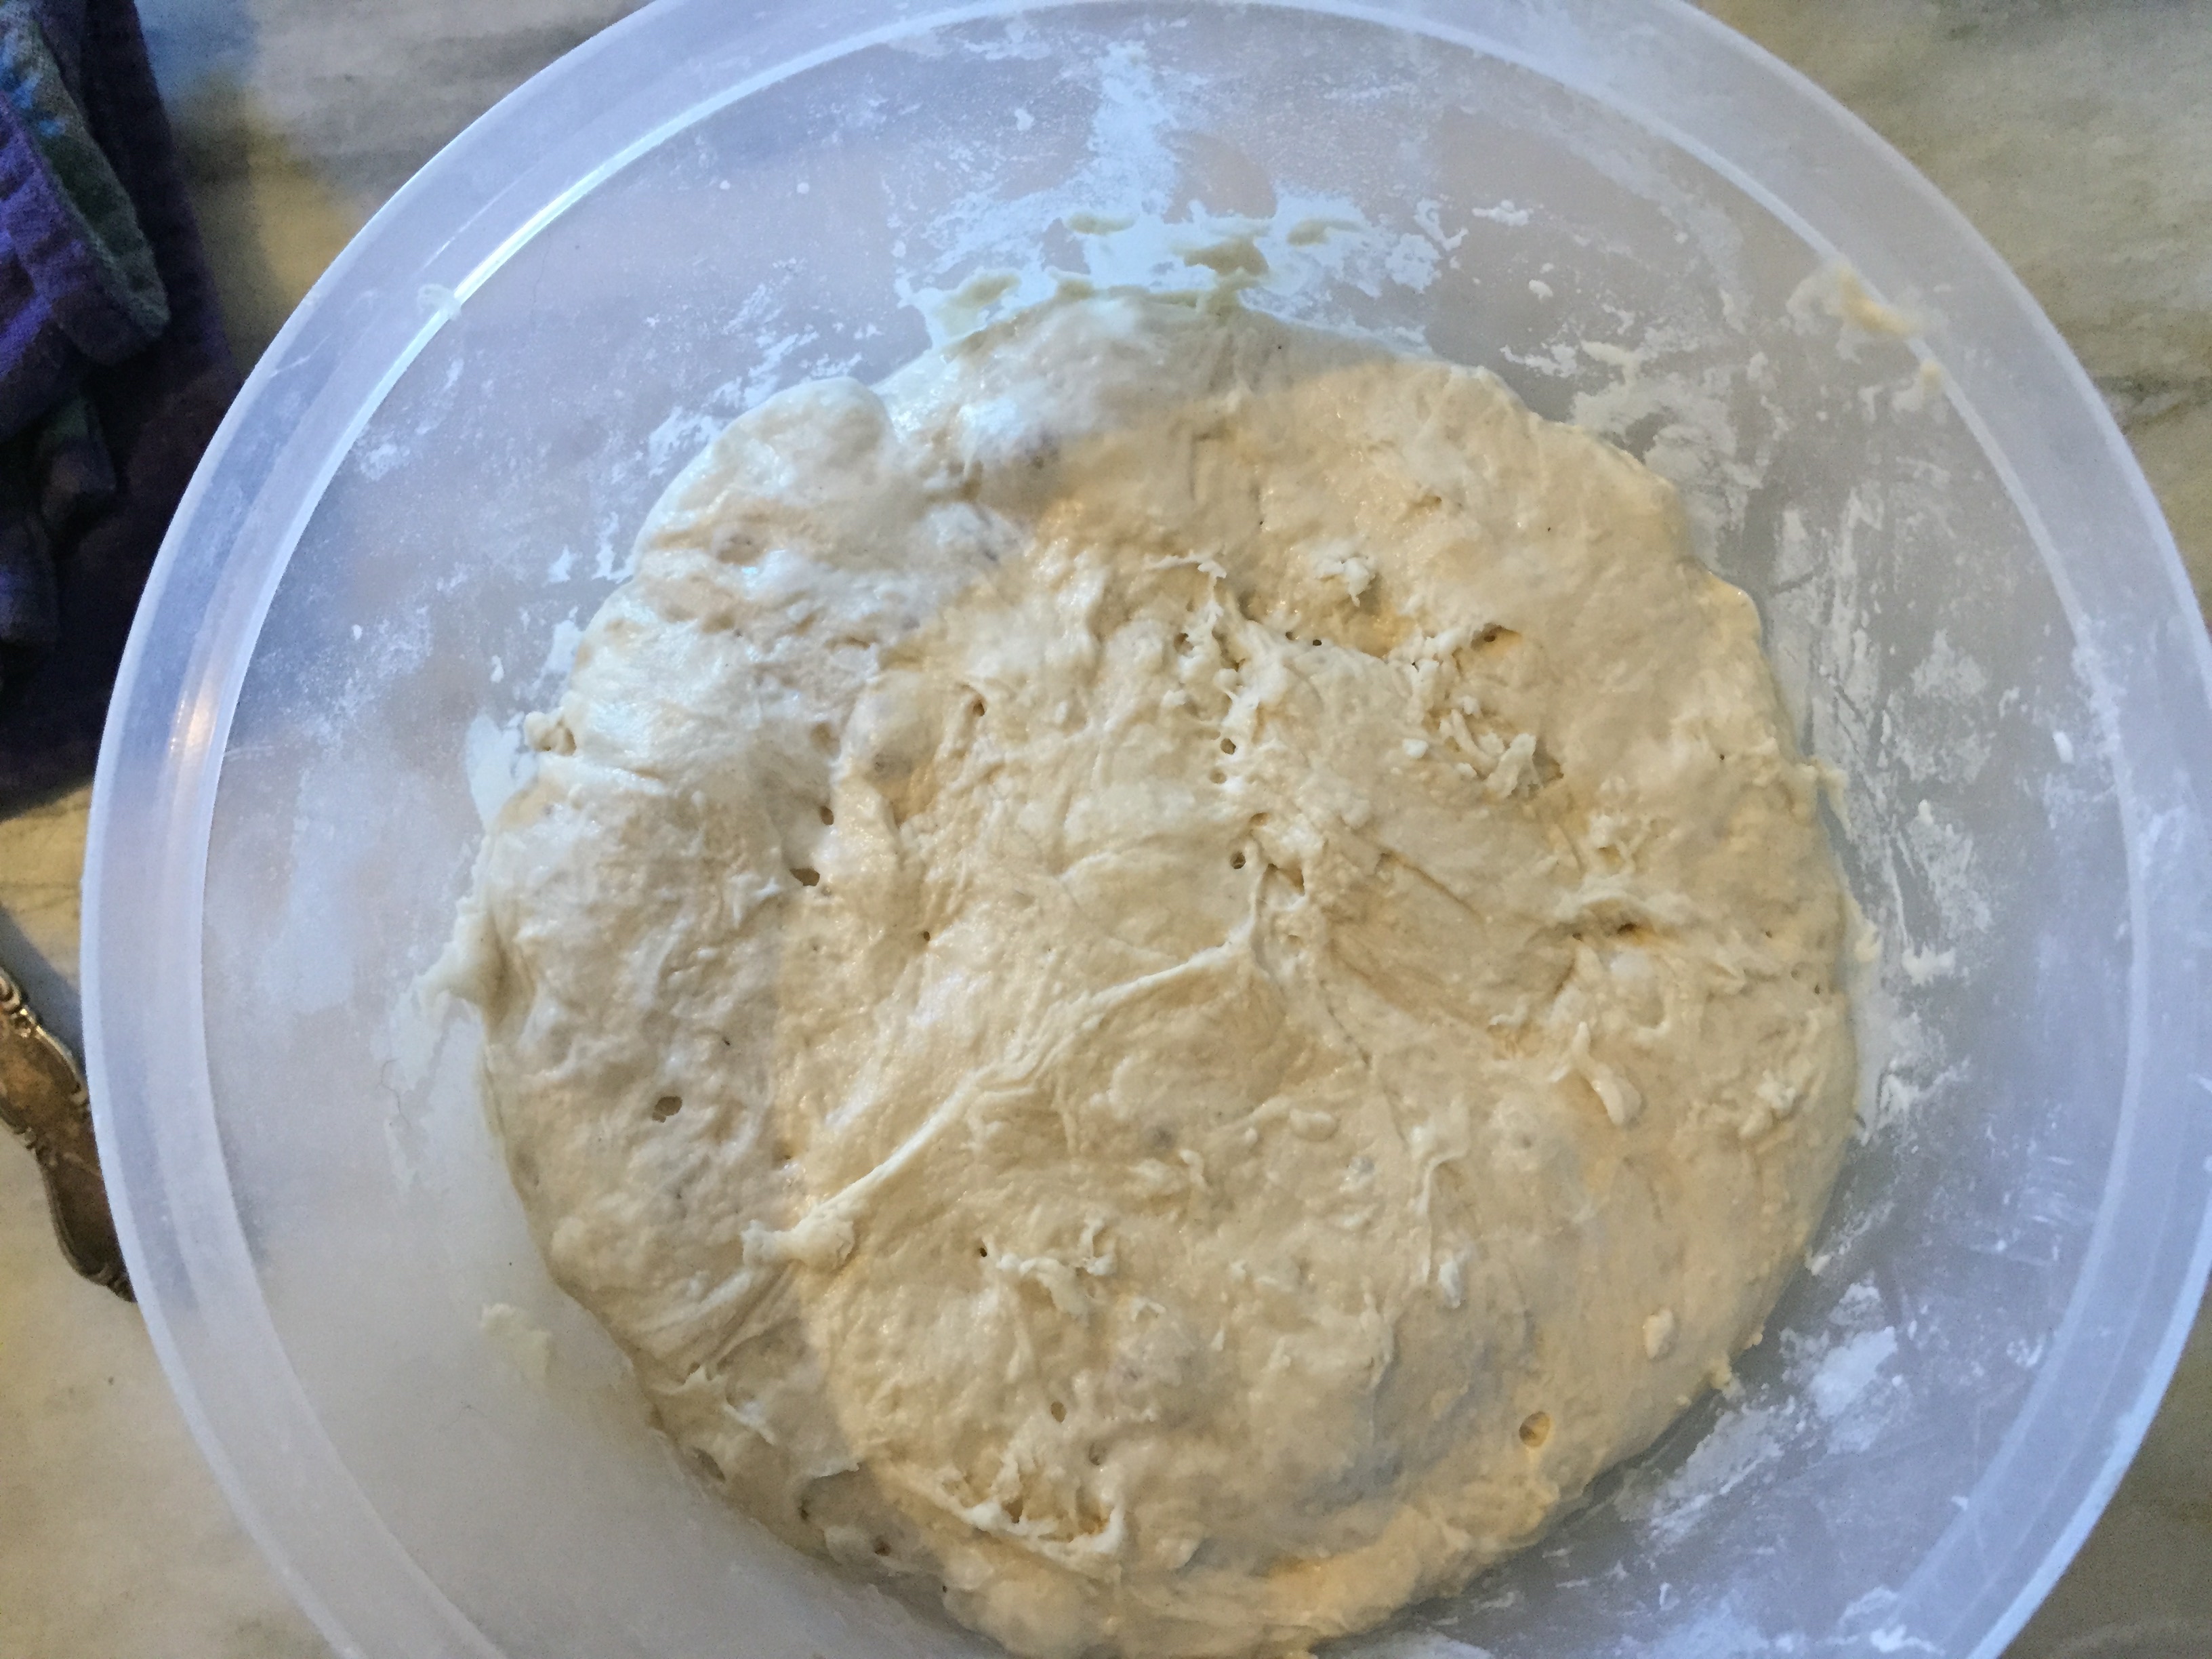
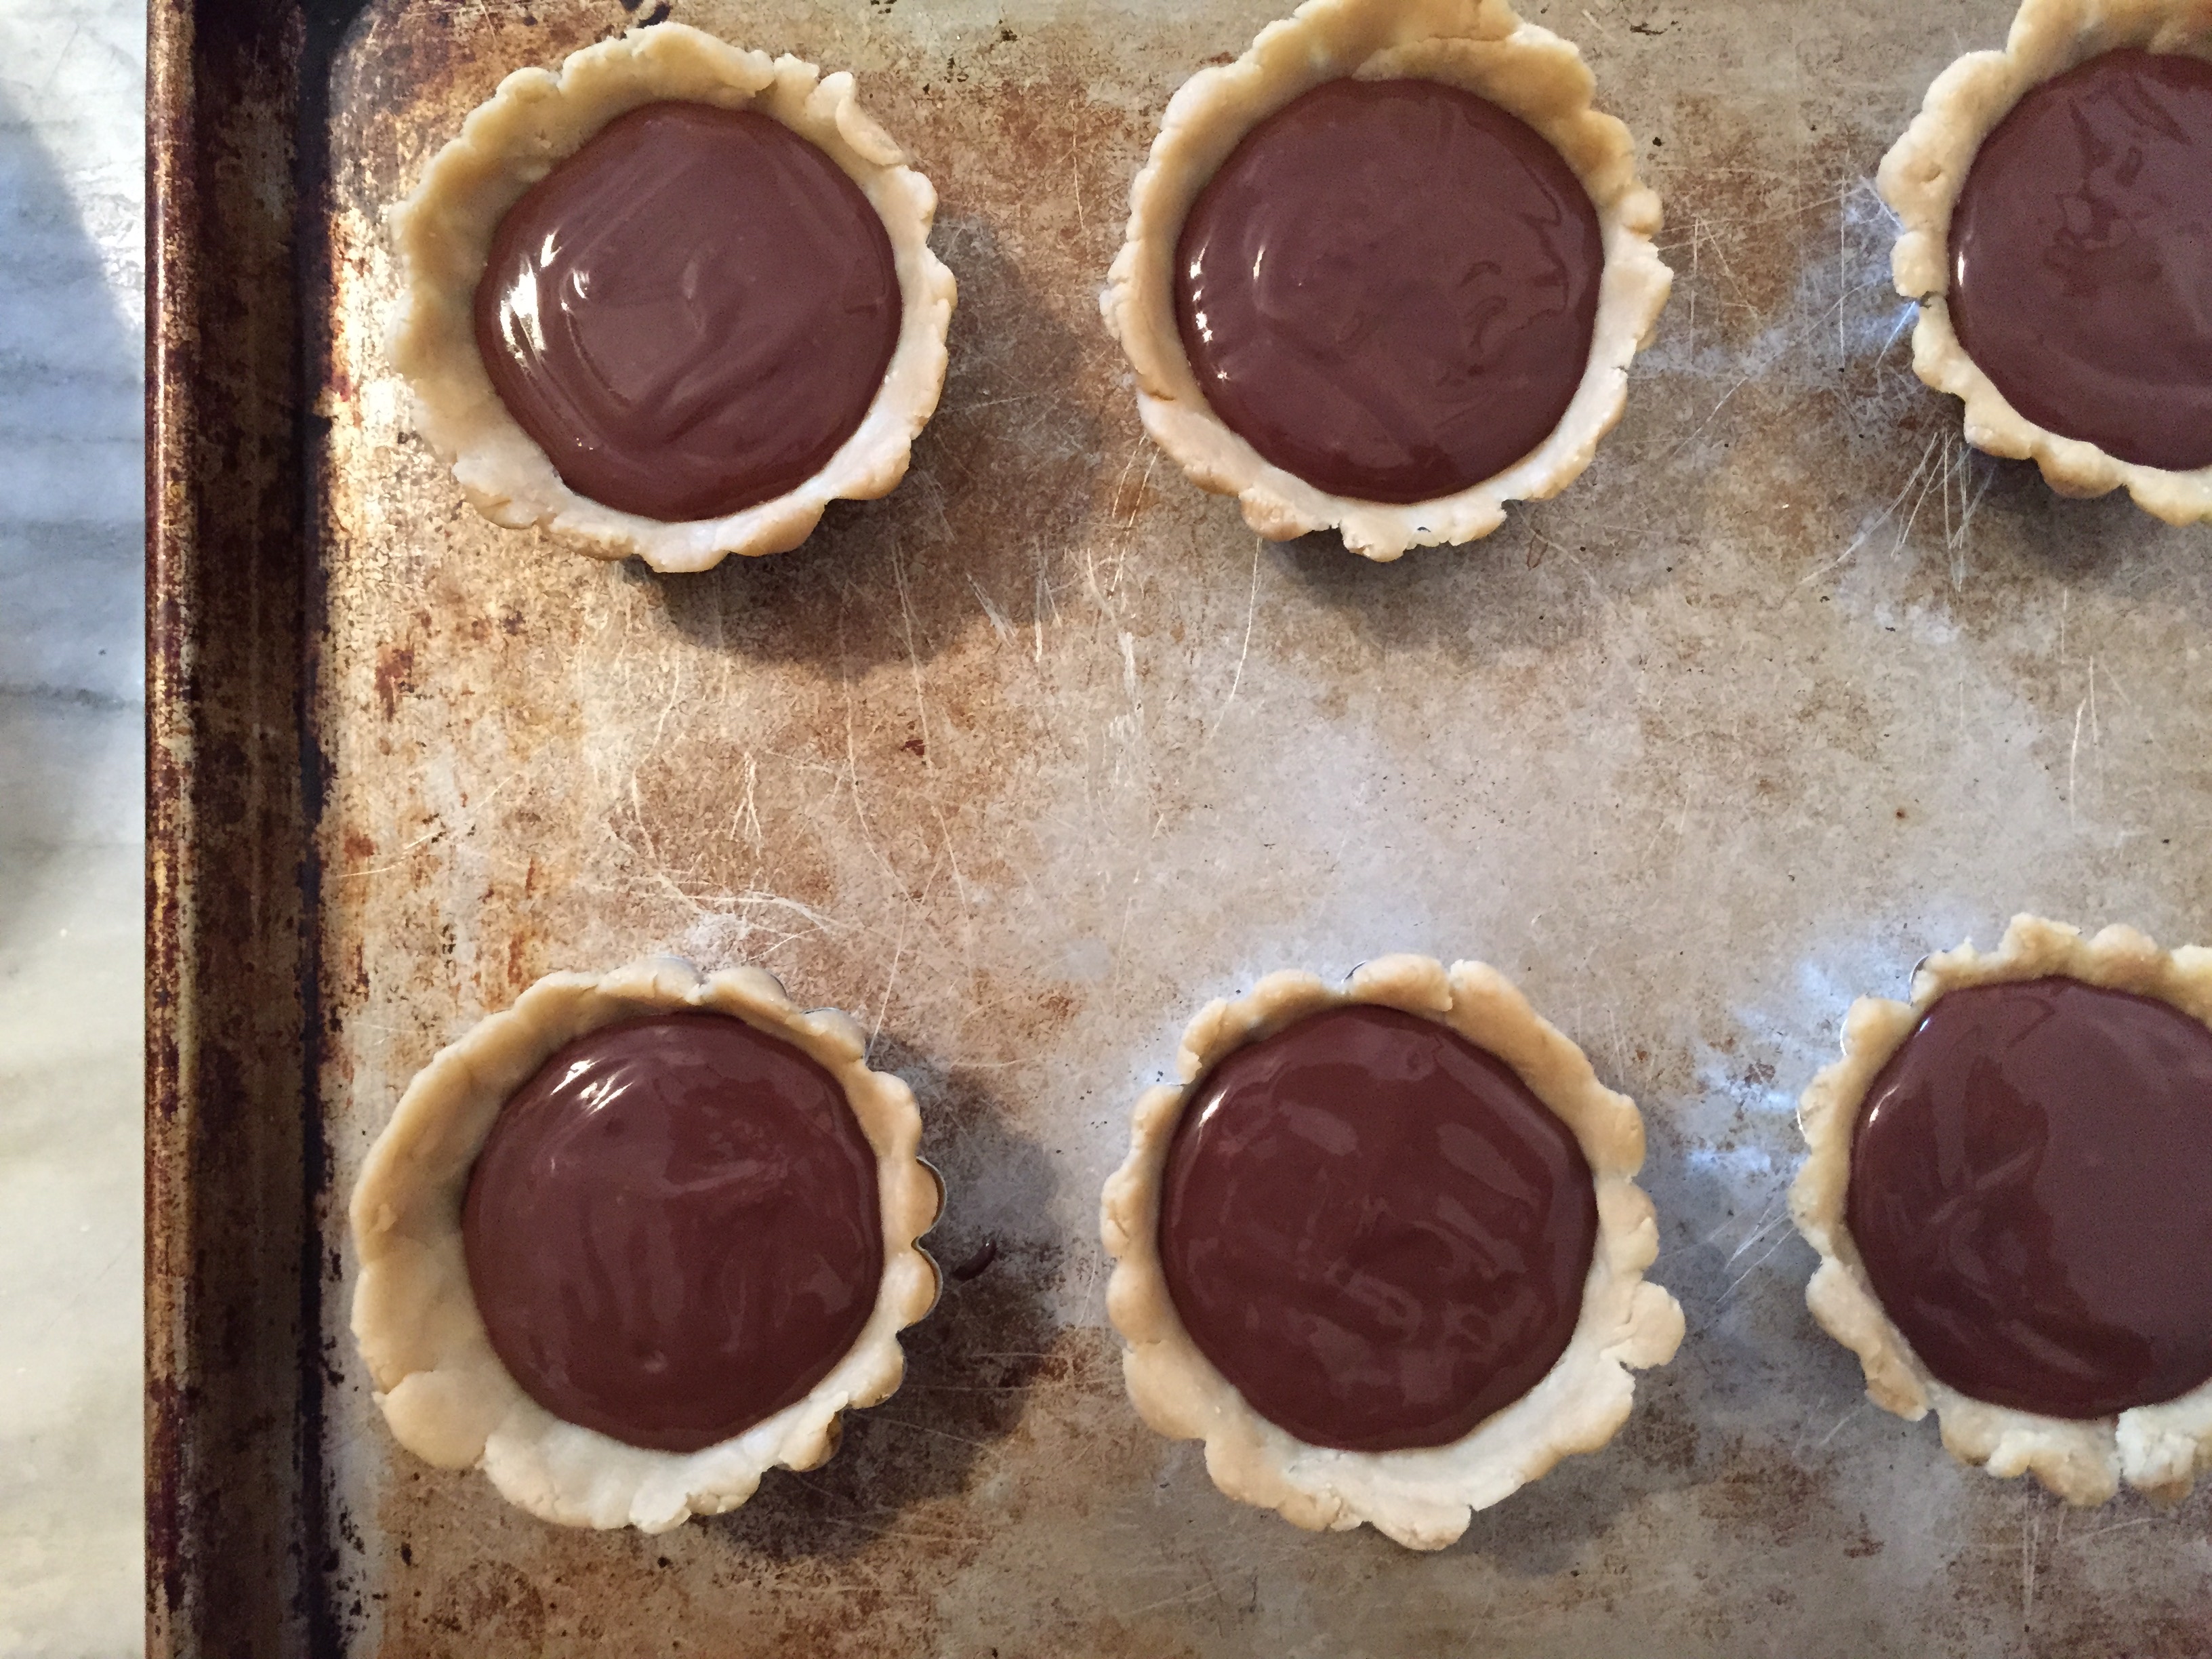
In medium saucepan add flour,chocolate, sugar, a pinch of salt and whisk to combine. While whisking add the warm milk and keep whisking until its combined and there are no lumps. Turn flame to medium and whisking constantly cook until mixture thickens, add about 1 cup of hot mixture to beaten egg yolks and add back to saucepan. Continue cooking on medium heat, stirring or whisking constantly until it becomes very thick. Once the filling is very thick remove from heat stir in the vanilla and optional fiori di sicilia or orange zest, pour into a bowl. Lay some plastic wrap directly on top of the filling and let it come to room temperature on the counter top, then refrigerate until cold. Note: I like to make the dough and filling the day before and leave in the refrigerator overnight.
Ready to bake
Making the Pasticiotti
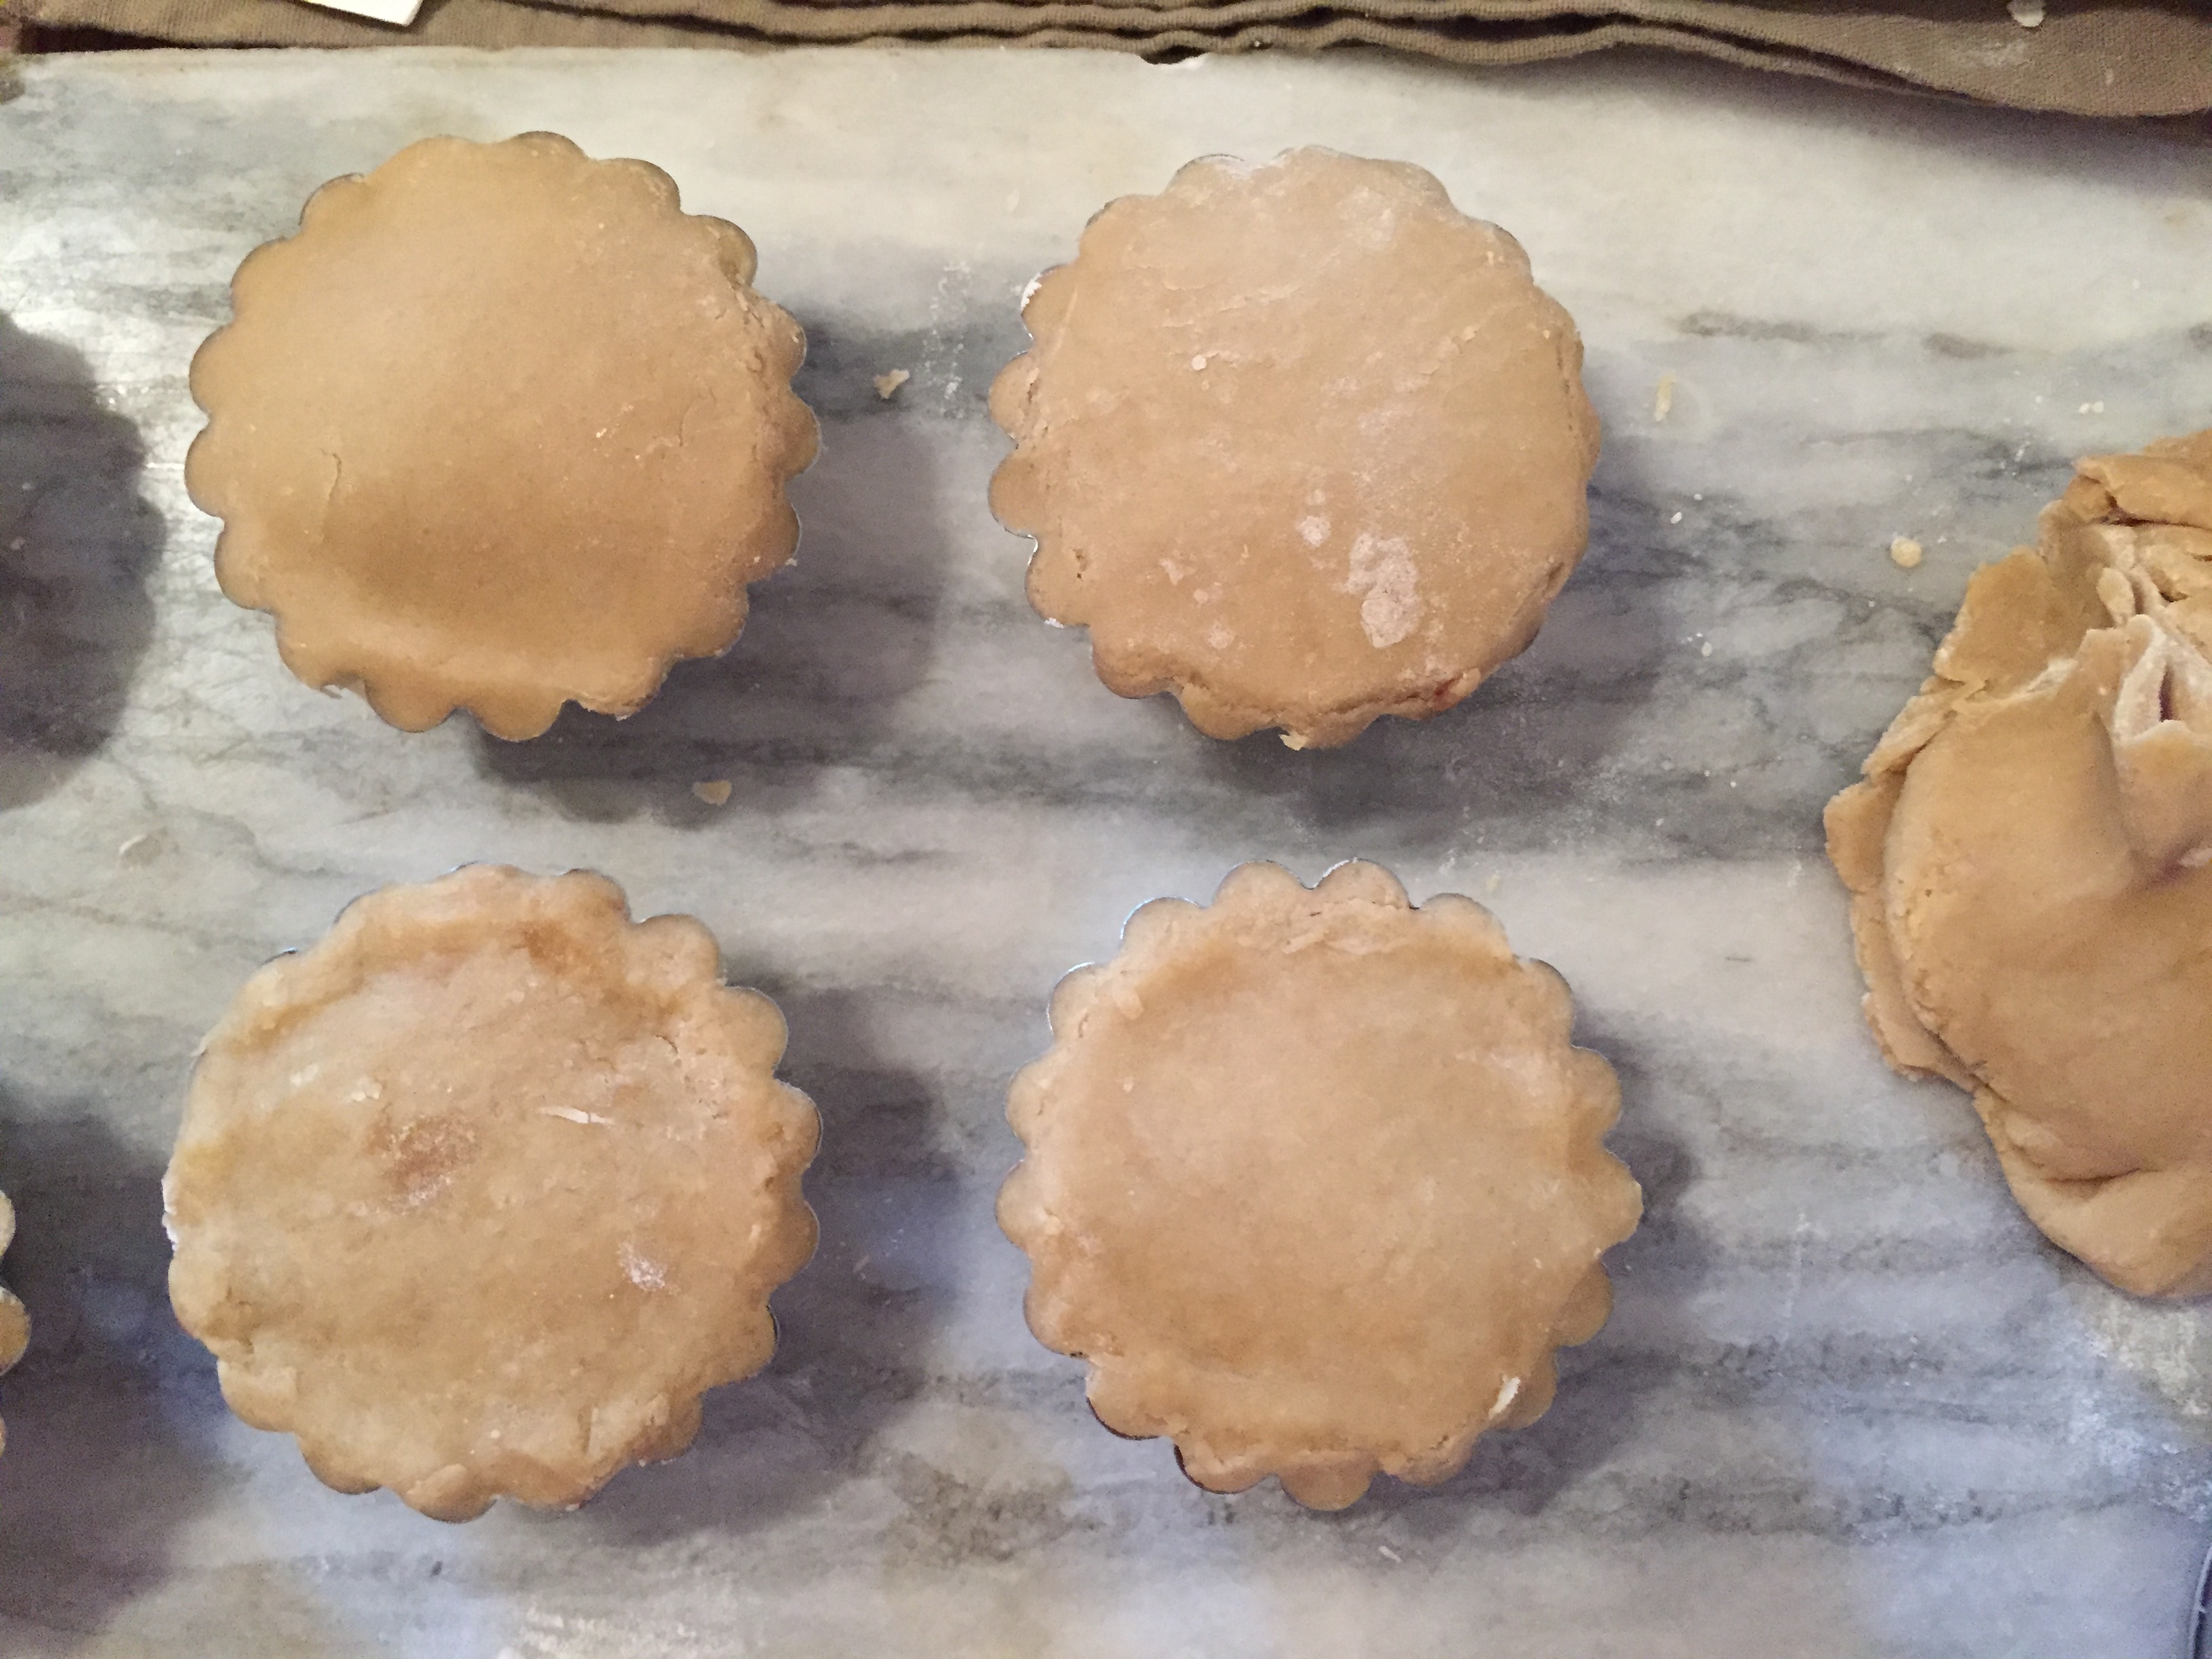
Heat oven to 350 degree’s. Flour work surface,Cut dough in half one half will be bottom crust the other top crust, place half of dough back in refrigerator while working. Have your pustie tins or fluted tartlet pans ready.Either roll or press the dough into the pans it should be approximately 1/4 in thick and should have a small overhang, if dough starts to warm put back in refrigerator. When you have put the dough in the tins, place in refrigerator while you roll out the dough for the tops, roll dough about 1/4 in thick and cut into rounds a little larger than the top of the tin. Take tins from refrigerator fill with the chocolate filling just slightly below the top of the tin. Place the top on, press making sure the bottom crust and top crust are joined and trim off any excess. Brush with egg wash and place in freezer for a few minutes just to get the pastry cold. Remove from freezer place tins on baking sheet and bake for 30-35 minutes or until golden brown. Remove from oven place on cooling rack and let sit at room temperature for 45 min to an hour or until COMPLETELY COOLED. Gently remove from the tins and refrigerate covered with plastic wrap or in an air tight container 4-6 hours or overnight.
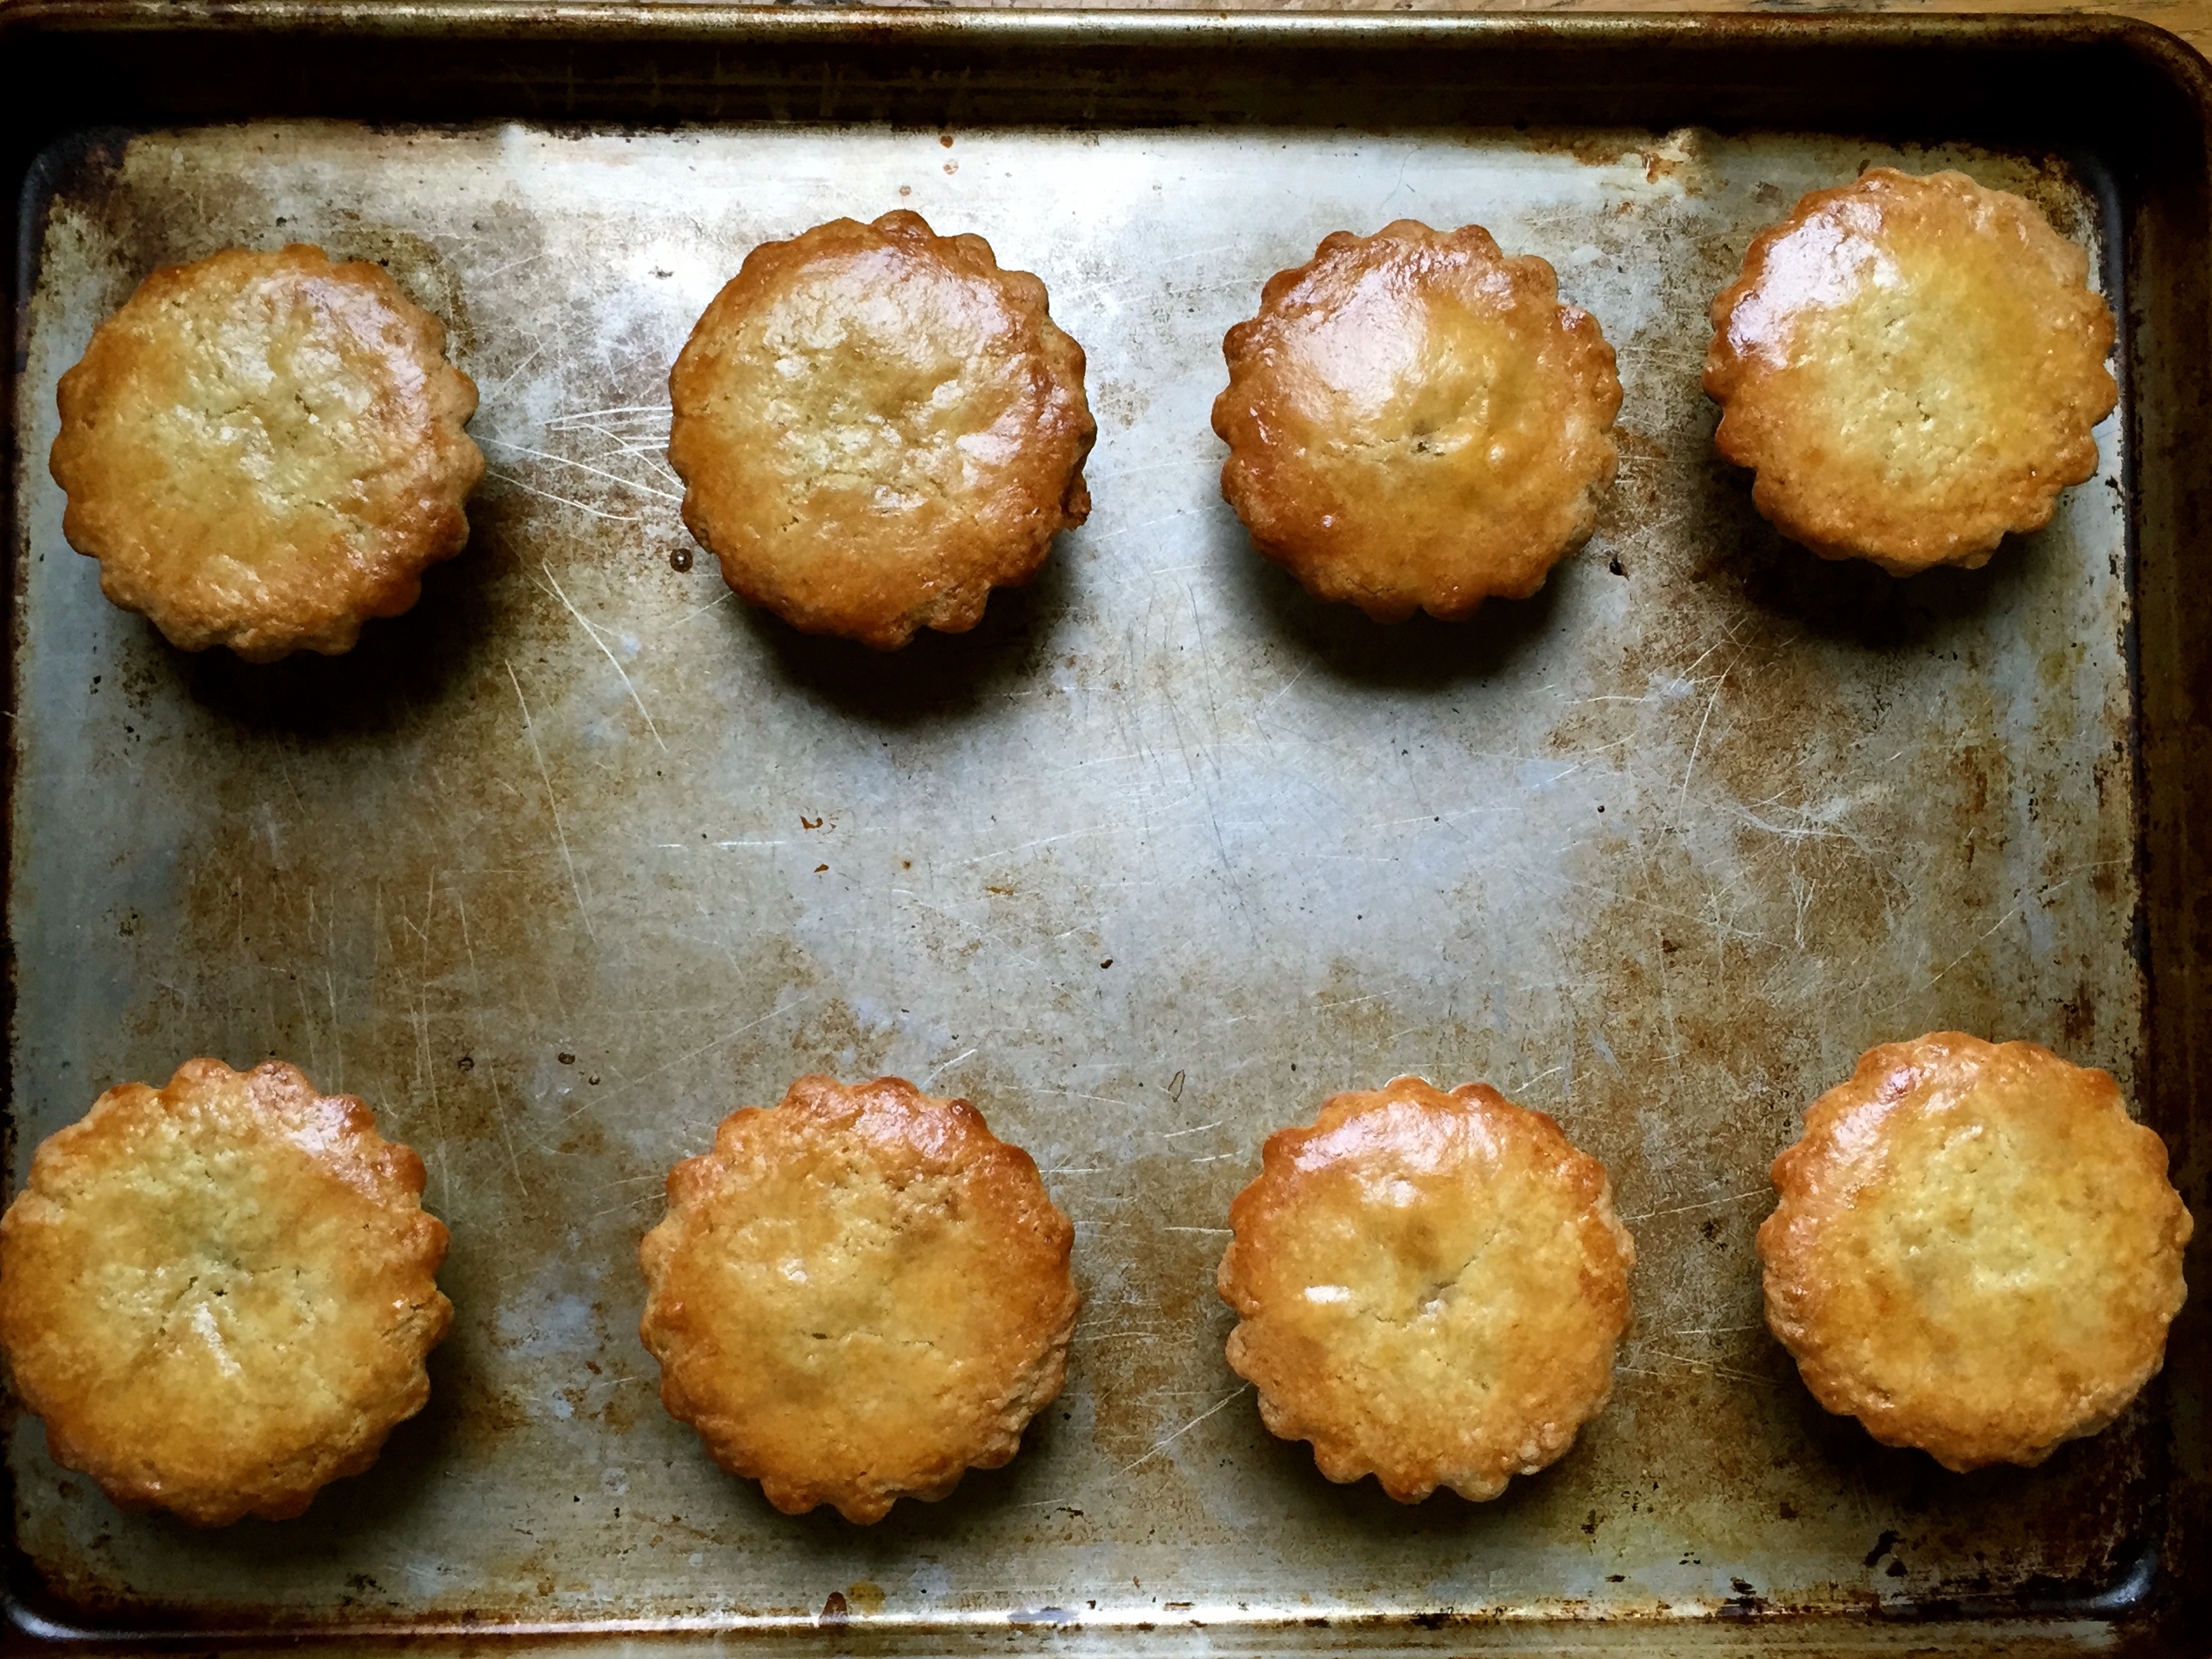
Just out of the oven

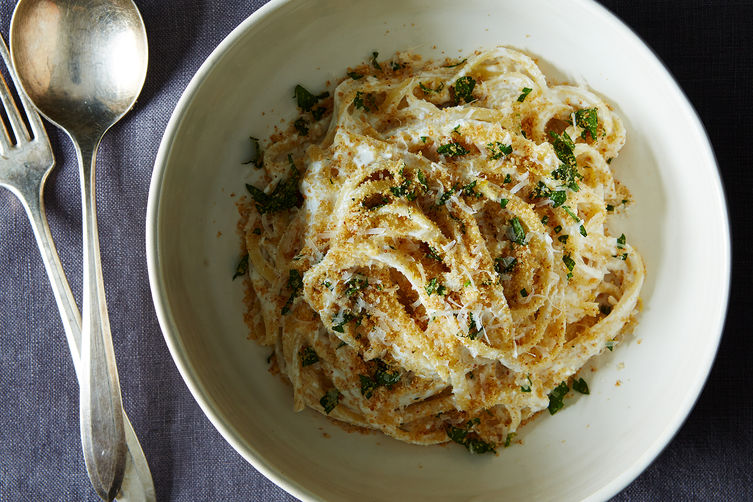
pasticiotti
Yum!
![]()