Happy New Year And My Blog Anniversary!!

Taken from Pinterest
I want to take this opportunity to wish each and every one of you a very Happy New Year. It’s 2015 and I can hardly believe it, where did 2014 go? They say time goes faster as you get older and I think that saying is absolutely right on. I know I have said it before but it’s the honest truth, I really appreciate you all. I look to you for inspiration, you challenge me and that makes me a better cook and blogger. This month is the 3rd anniversary of the start of my blog. I had no idea what I was doing, still don’t really.There is no plan or formula. I simply write and cook what I like and hope that you like and appreciate it.
Honestly, this has been a tough year for me. Trying to balance work, I changed companies this year after a very long time with my previous company. Then there are the pugs, well the pug now, this year I lost my sweet Izzy, and that hit me very hard I don’t know if I will ever really get over it, she was very special.
I don’t make resolutions because if I don’t keep them then I fail and I don’t want to fail. I do however give myself suggestions. For example this year I want to try to hone my photography skills. Although I own a camera I still use my iPhone to take all my photo’s for the blog. I want to learn more about photography, food photography to be specific, feature more great recipes from other bloggers, lose weight, volunteer more in my community, exercise more frequently.
I am also very active in the wine community and want to learn more about wine, all aspects and wine tasting. I have some great teachers, Michelle from Rockin Red Blog, Anatoli from Talk-aVino, Stefano from Clicks and Corks (Flora’s Table) Julian from Vino In Love, Jeff from The Drunken Cyclist to name a few and I plan to learn from them by carefully following their blogs and asking lots of questions. This year I want to actually visit a winery, maybe in the Finger Lakes or the vineyards in Long Island, keeping it local. I am hoping for more collaboration with my wine expert friends.
In 2014 I also found some fantastic blogs that are not food related or loosely related to food, I discovered some amazing talent in writing and crafts. Teagan Geneviene@Teagan’s Books is a very talented writer and I follow her blog religiously, she weaves incredible fantasy stories based on three ingredients, each week is a different installment and the readers can suggest ingredients or items which are incorporated into the story for that episode, it’s fascinating and exciting. Lord David Prosser@Barsetshire Diaries is incredible, you follow his exploits on his blog, it’s kind of like a Seinfeld episode, you are with Lord Prosser throughout the day from when he wakes following him all day and into the night and peppered in are lovely photo’s and some great music. It’s so much fun. Then there are the craftsmen, Michael@Michaels Woodcraft makes the most amazing cutting boards, ice cream scoops and anything that can be carved out of wood. You probably remember the giveaway here for one of his cutting boards and scoops. There are those that are harbingers of all that is beautiful and drool worthy, House of KTS (previously pure and complex) and Lynne Knowlton from Design the Life You Want to Live, Daniella who could crochet a house for you, Sharon who has a heart as big as Texas with her love for Special Needs Pets. Photographers, Patty Nguyen, The armchair Sommelier (wine and photography), Justine@eclecticoddsnsods, writing, photography, food, humor.
My wish for each of you reading this blog is that all of your dreams and aspirations come true and that you enjoy health, happiness and success in 2015. I want to thank you for putting up with me, following my blog, offering support and kindness and I so appreciate it all. Thank you from the bottom of my heart!!
Before starting A Pug In The Kitchen I was very active in the food scene, I was a regular on the sites of both Food52 and Whole Foods Market, I regularly entered contests and was lucky enough to win some. It was competitive cooking that inspired and excited me and gave me the courage to start a food blog. Thank you all that voted for my recipes and gave me encouragement.
Here is a little trip down memory lane. This is my first post ever which I wrote and sat on for a week, petrified to press the publish button, the fear of the unknown I guess. Would anyone read my blog, would they like it, do I really have anything of substance to offer. All those thoughts flooded into my mind but eventually I took the plunge and found a warm and welcoming community.

Mixed Citrus Curd
This was my first post on January 14th 2012 for Mixed Citrus Curd. Actually my first recipe, the first post was a very scared me explaining that I would post something as soon as I could.
Here are some of my favorite photo’s that were taken in the last 3 years:

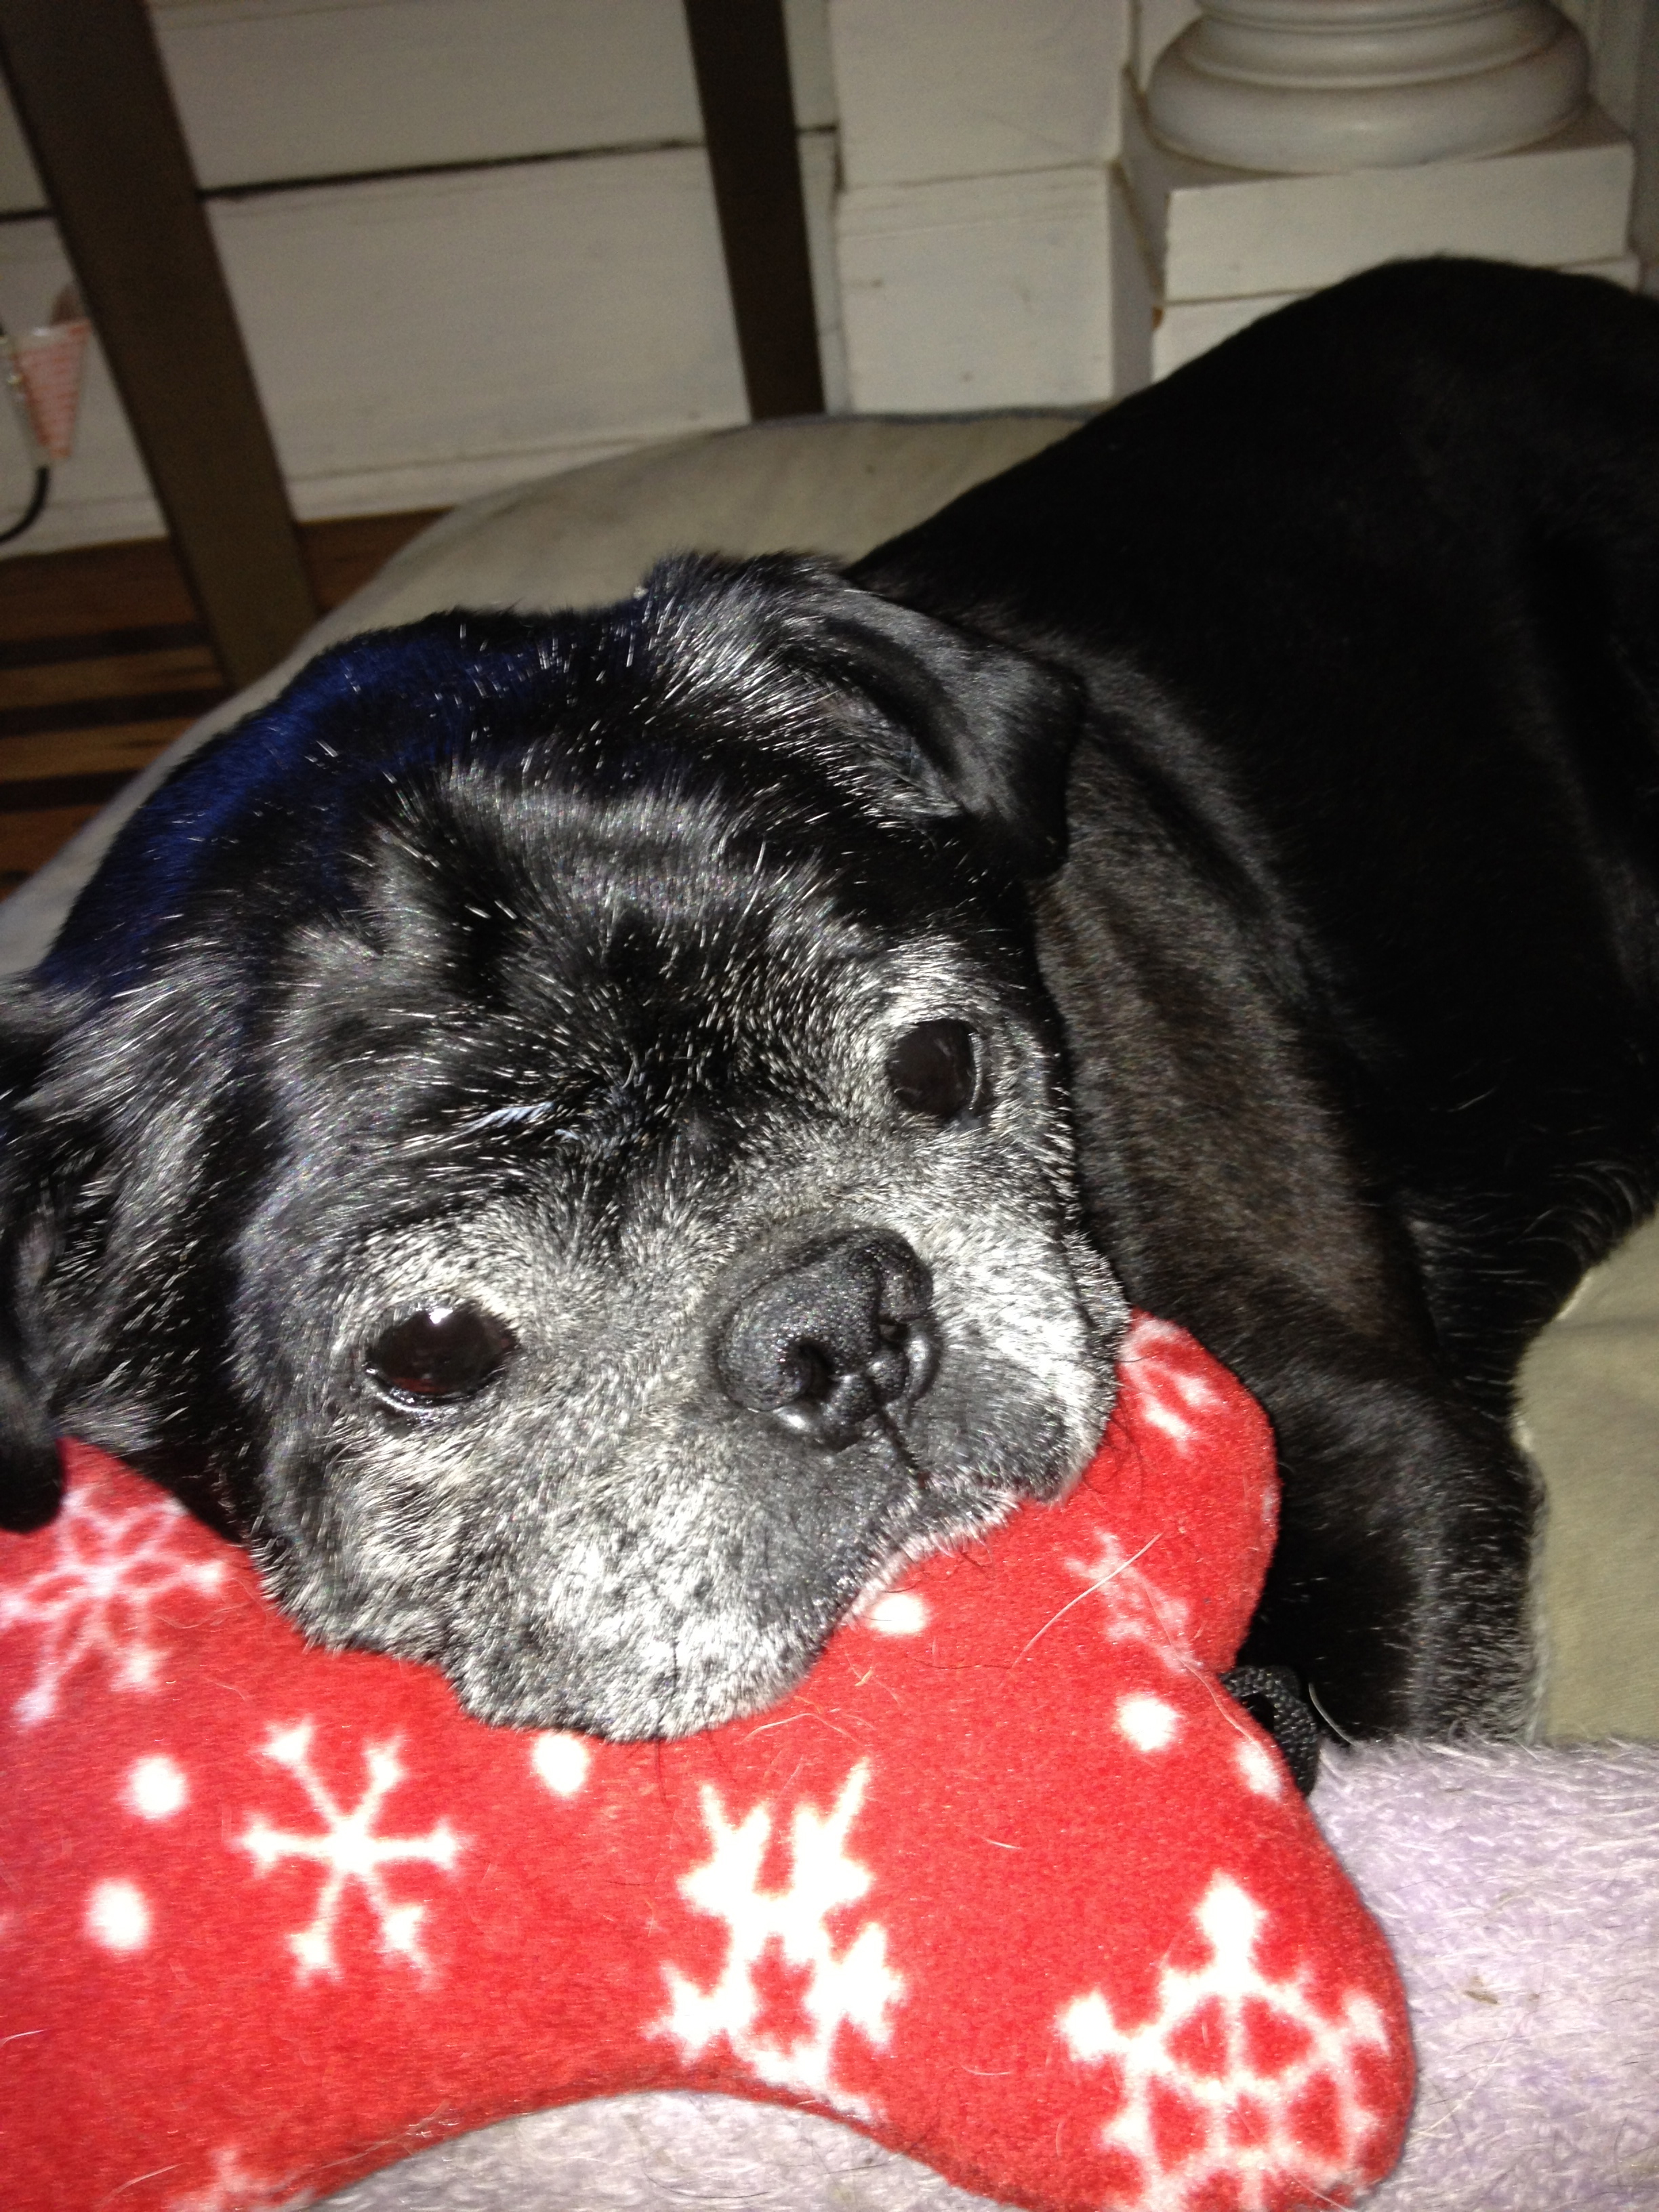
Her cupcake leash- Izzy

Nando- when he was younger he loved to sit in the window

May 2012 Sweet Daisey Izzy and Nando’s BFF

Photo by James Ransom for Food52- Flank Steak on Texas Toast With Chimichurri contest winner on food52 and published in their cookbook

Photo by James Ransom for Food52-Whipped Chocolate Caramel Ganache- contest winner food52

Jerk Chicken Kebab Photo by James Ransom contest winner Whole Foods

Tomato And Goat Cheese Tart

Galette With Blackberries and peaches

Mosto Cotto Fig And Goat Cheese Tart

Triple Chocolate cake

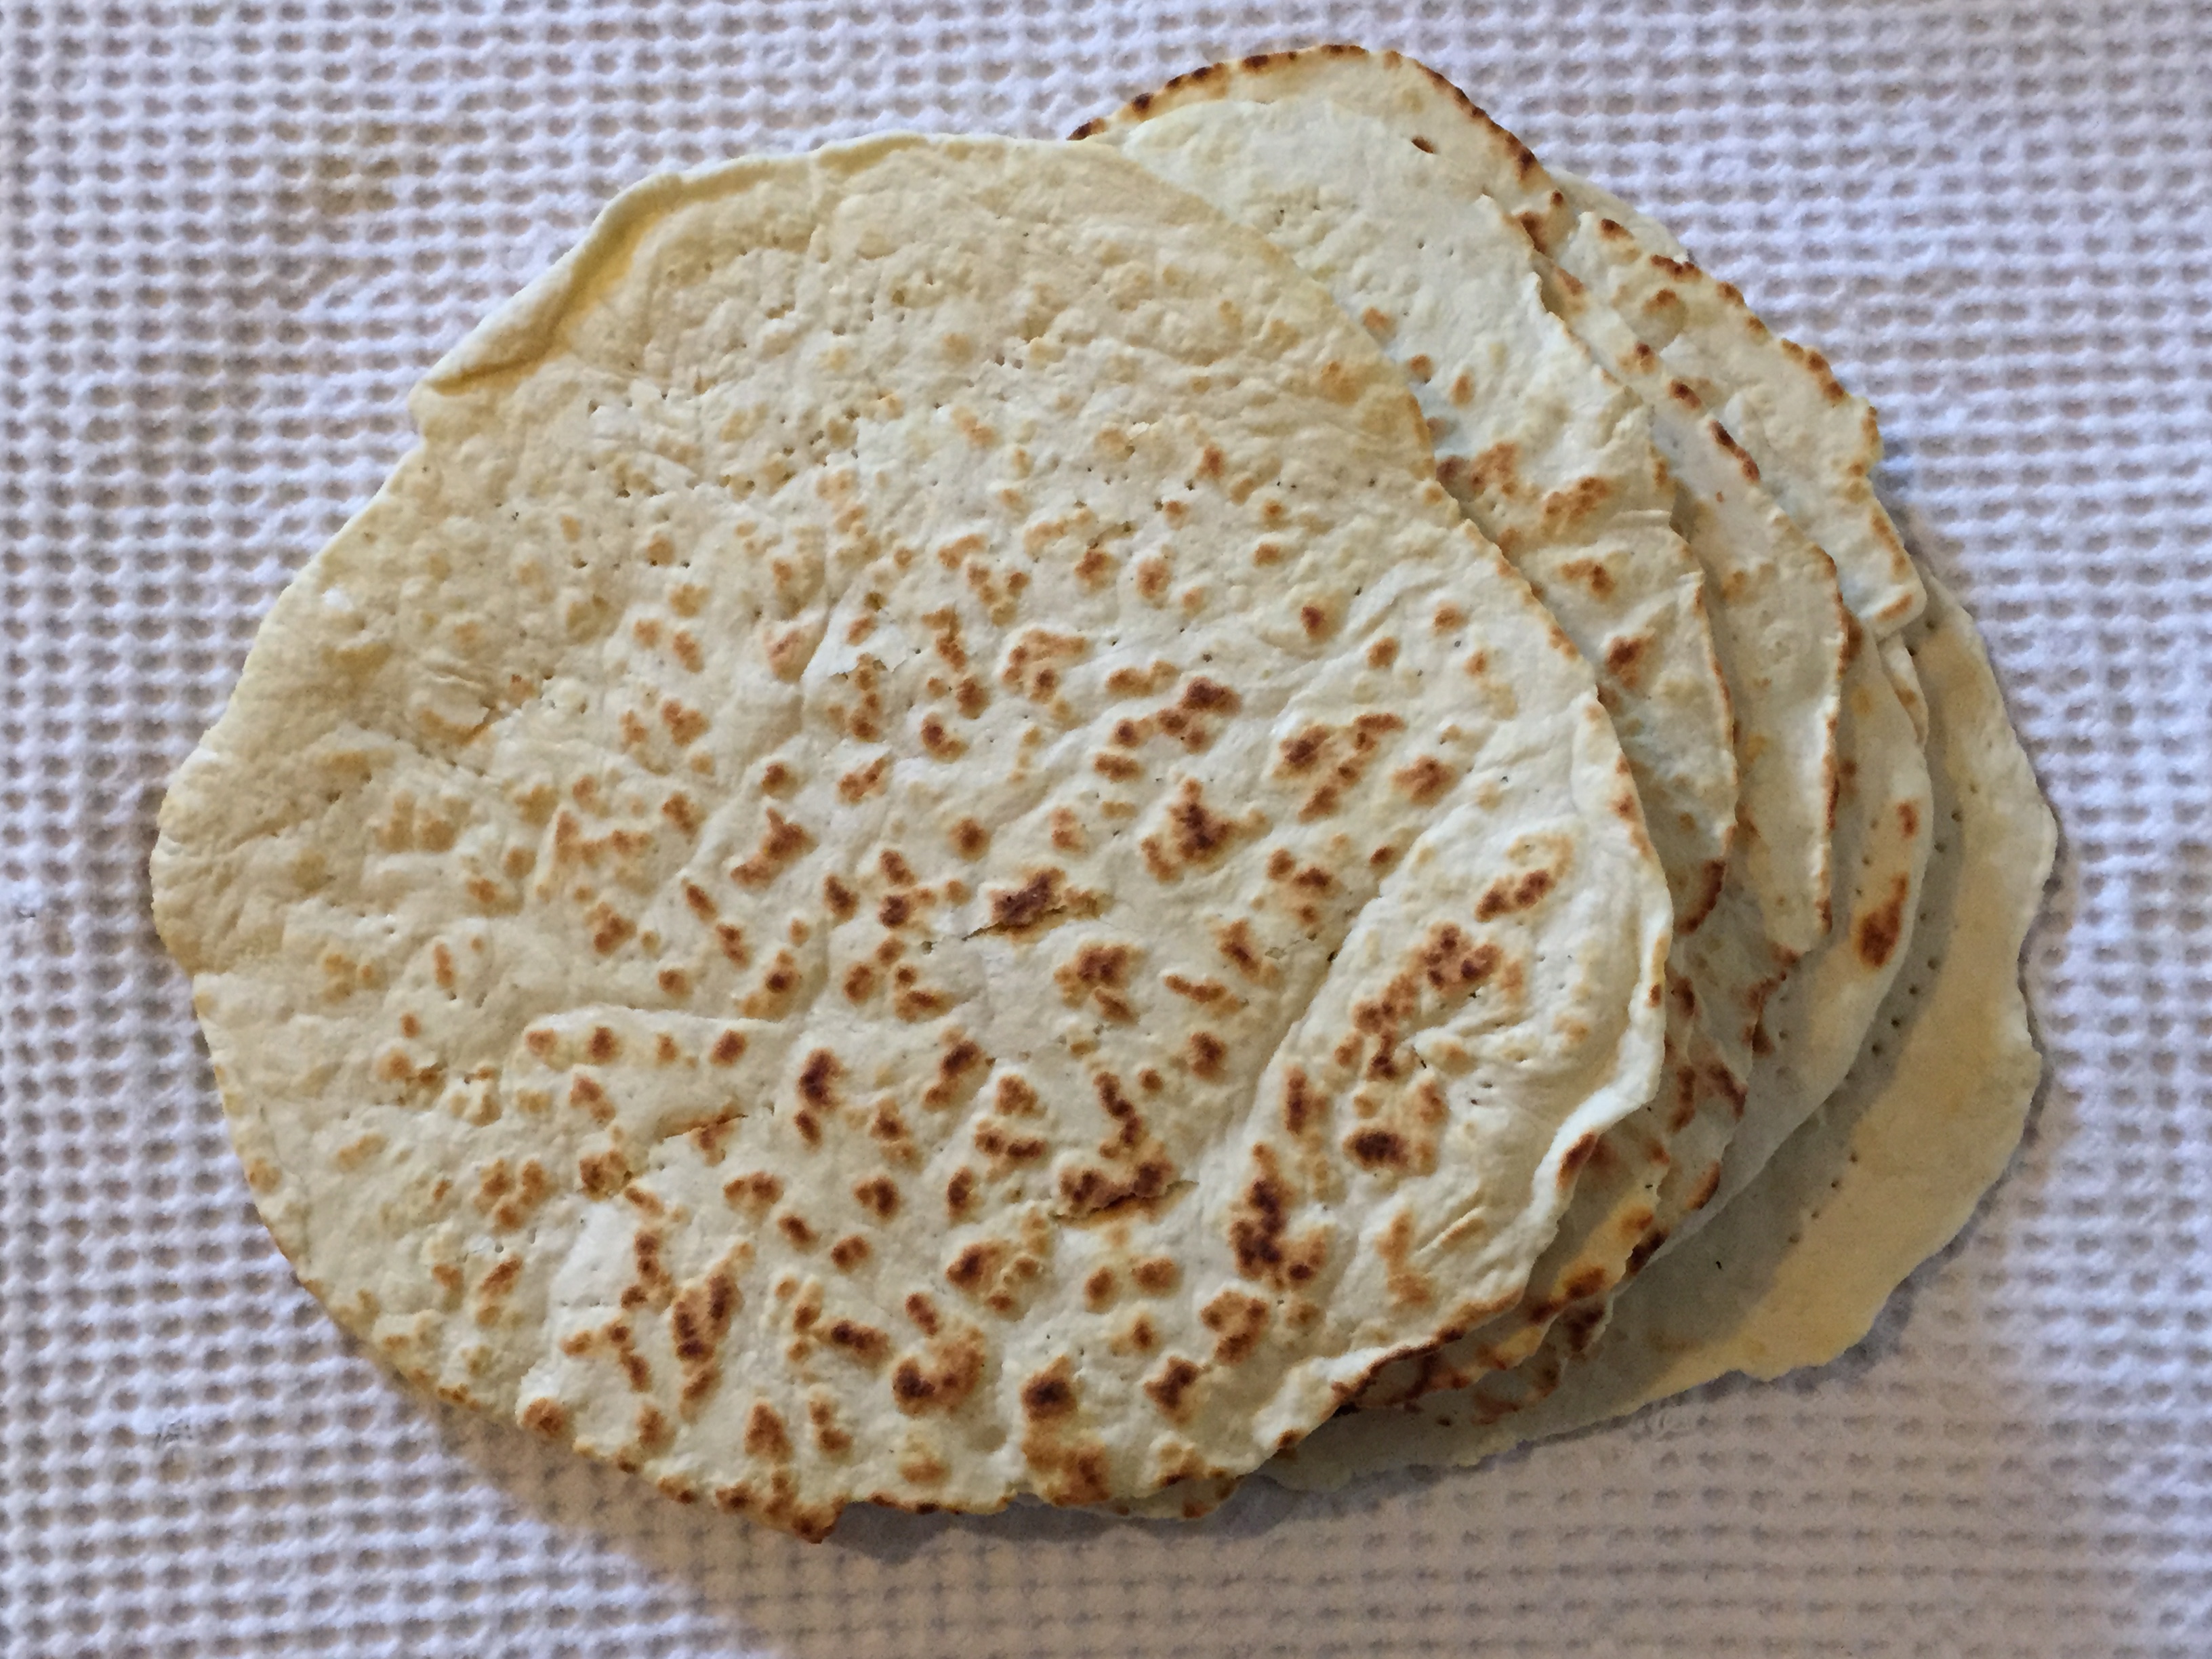
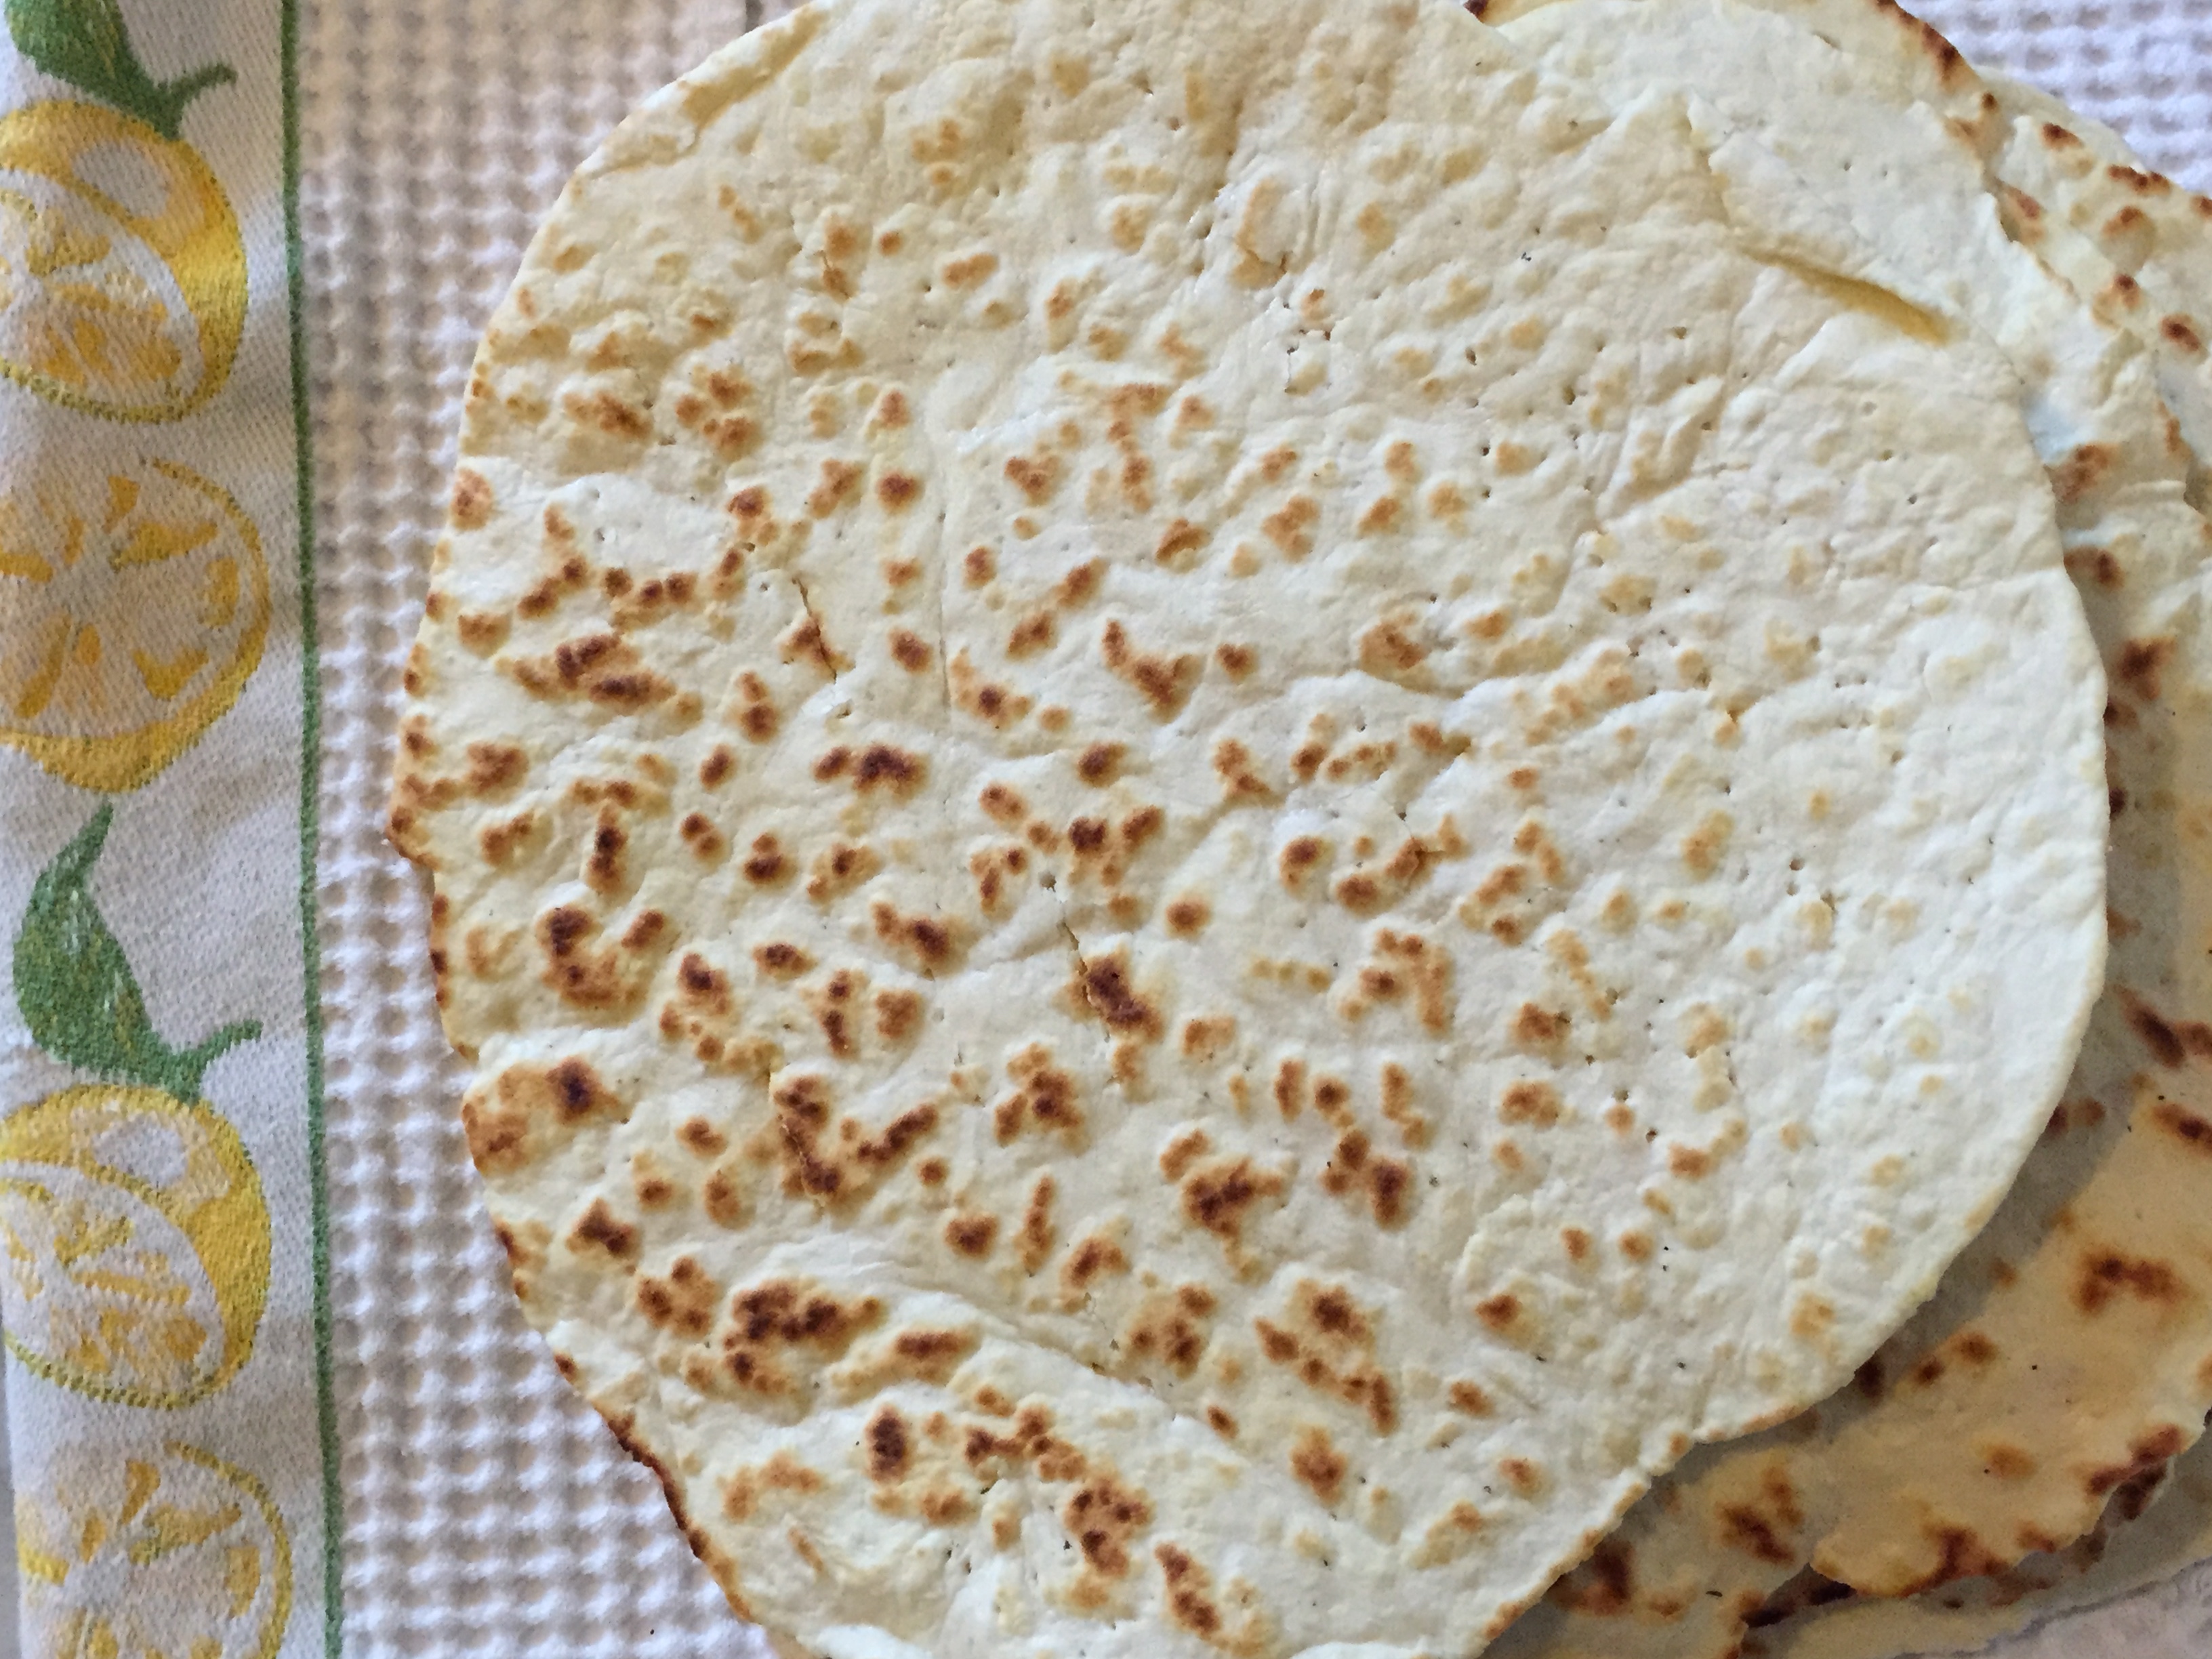
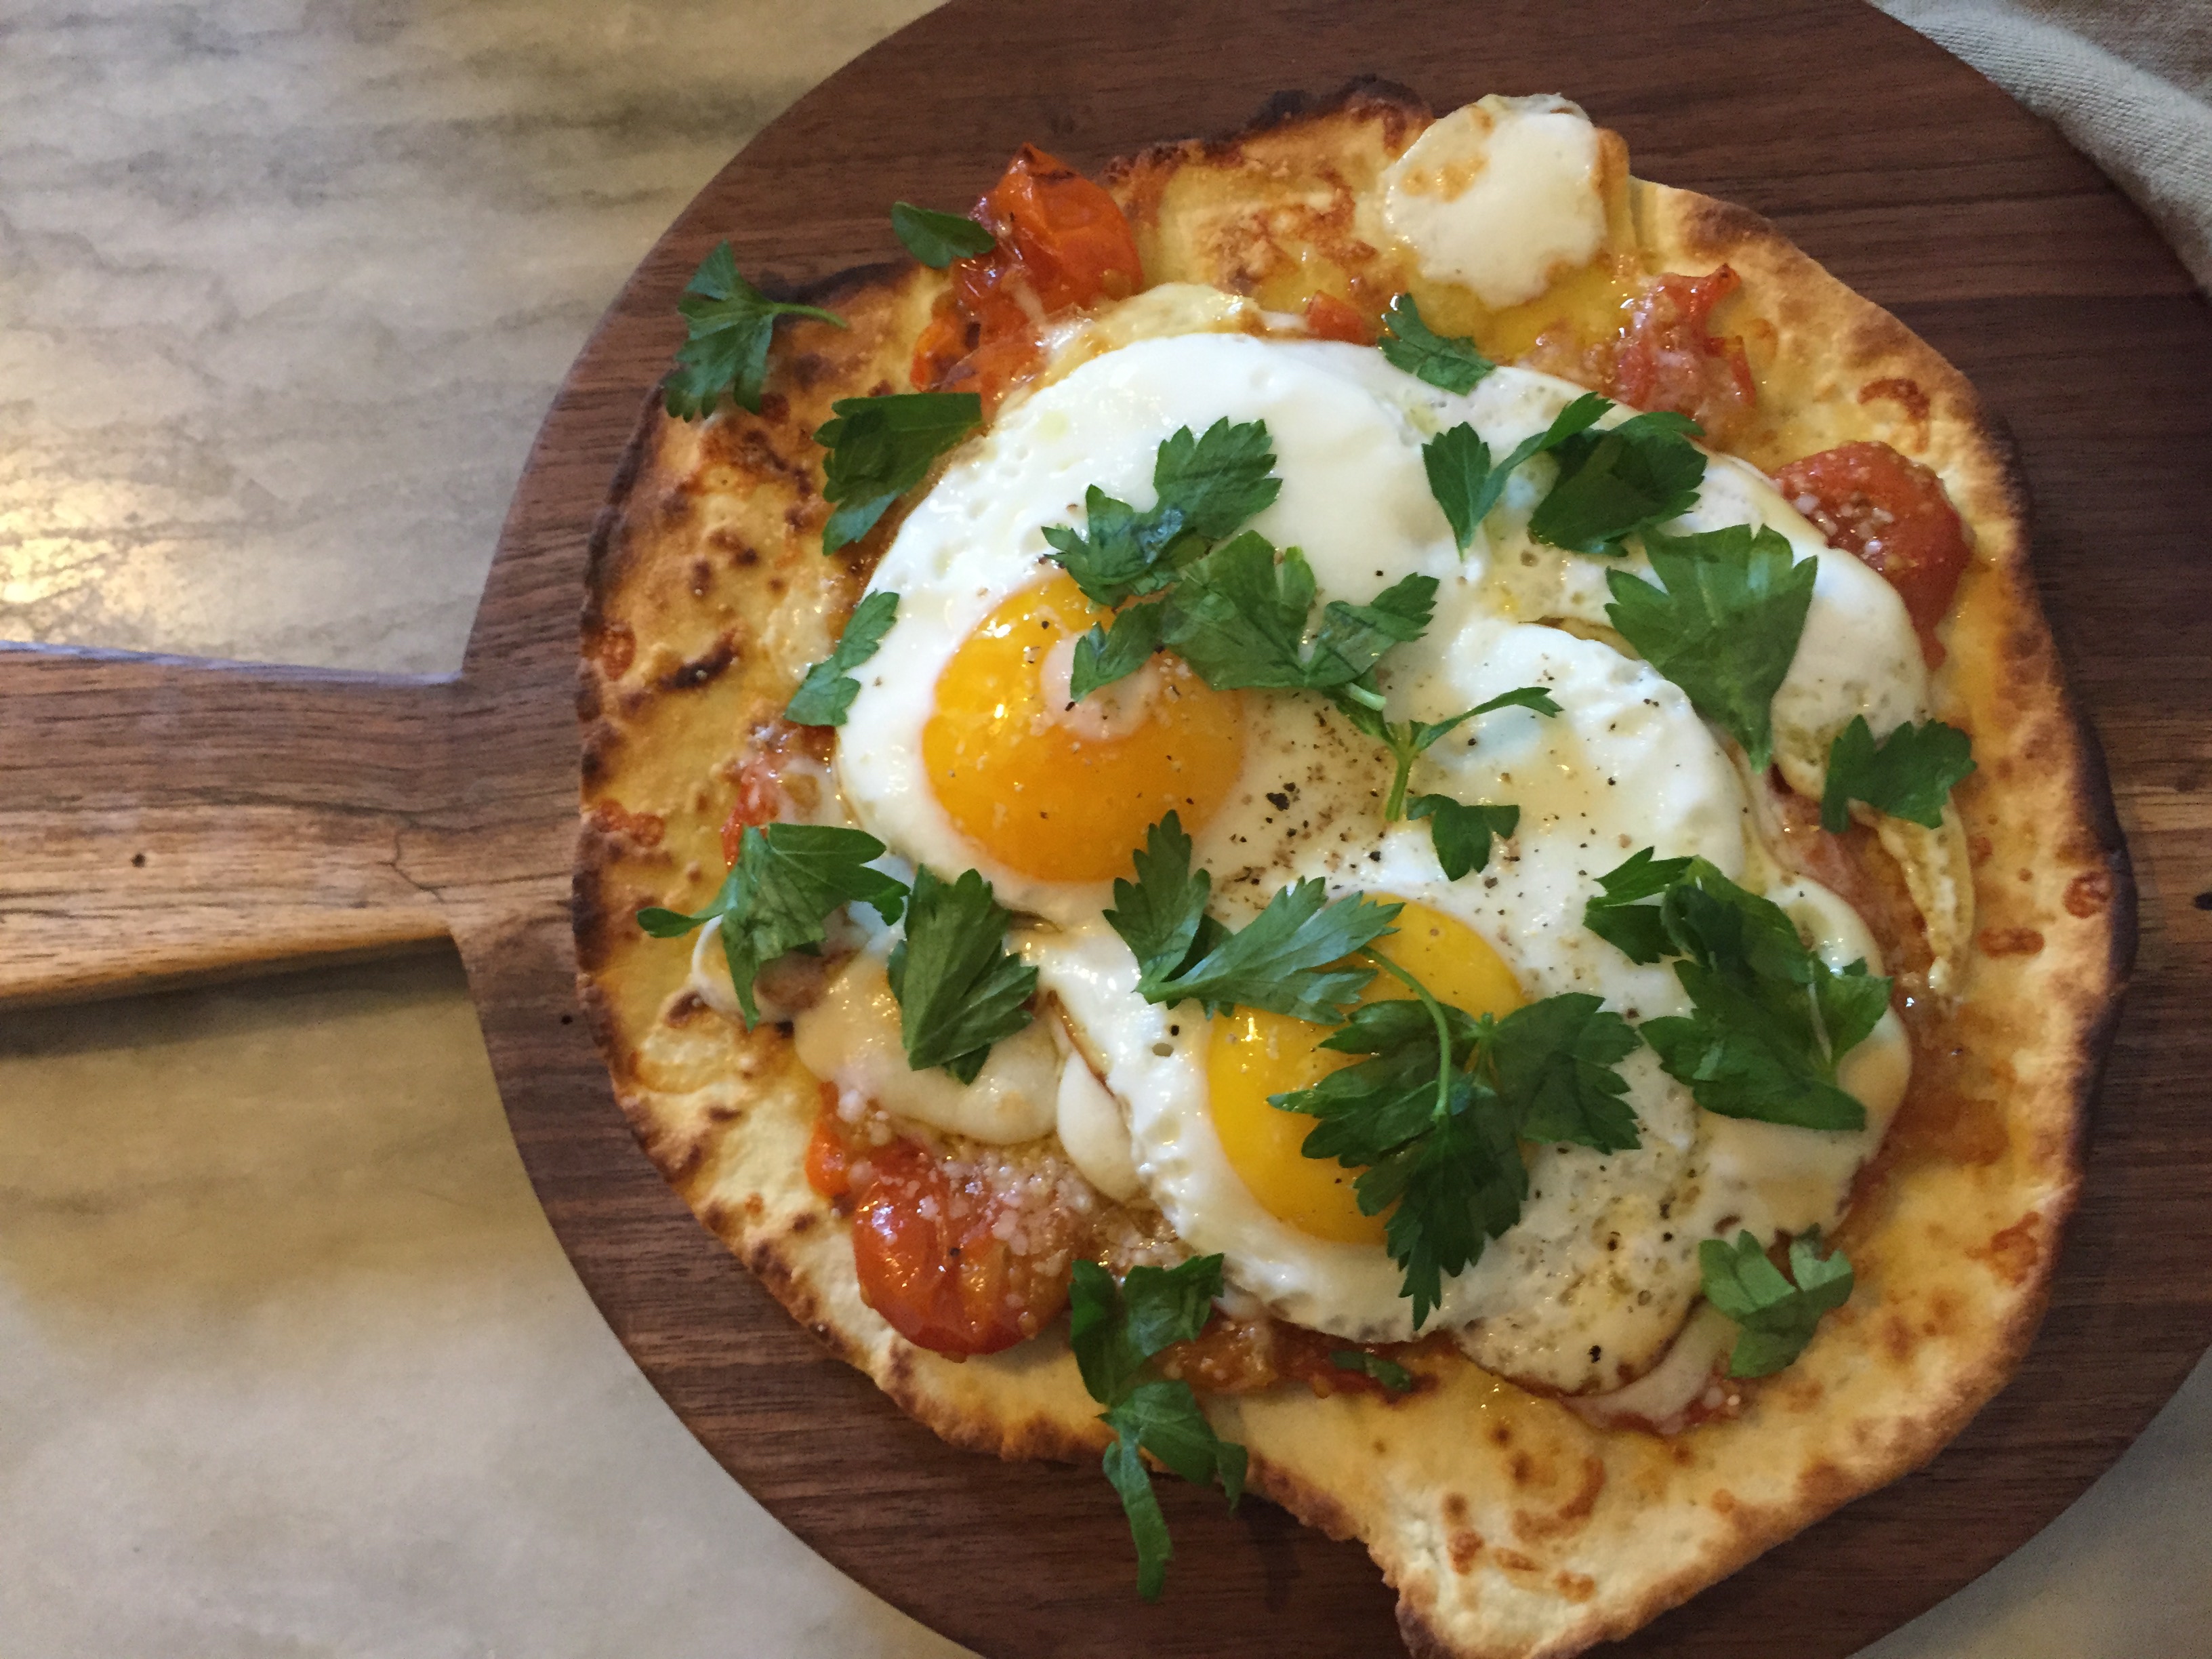
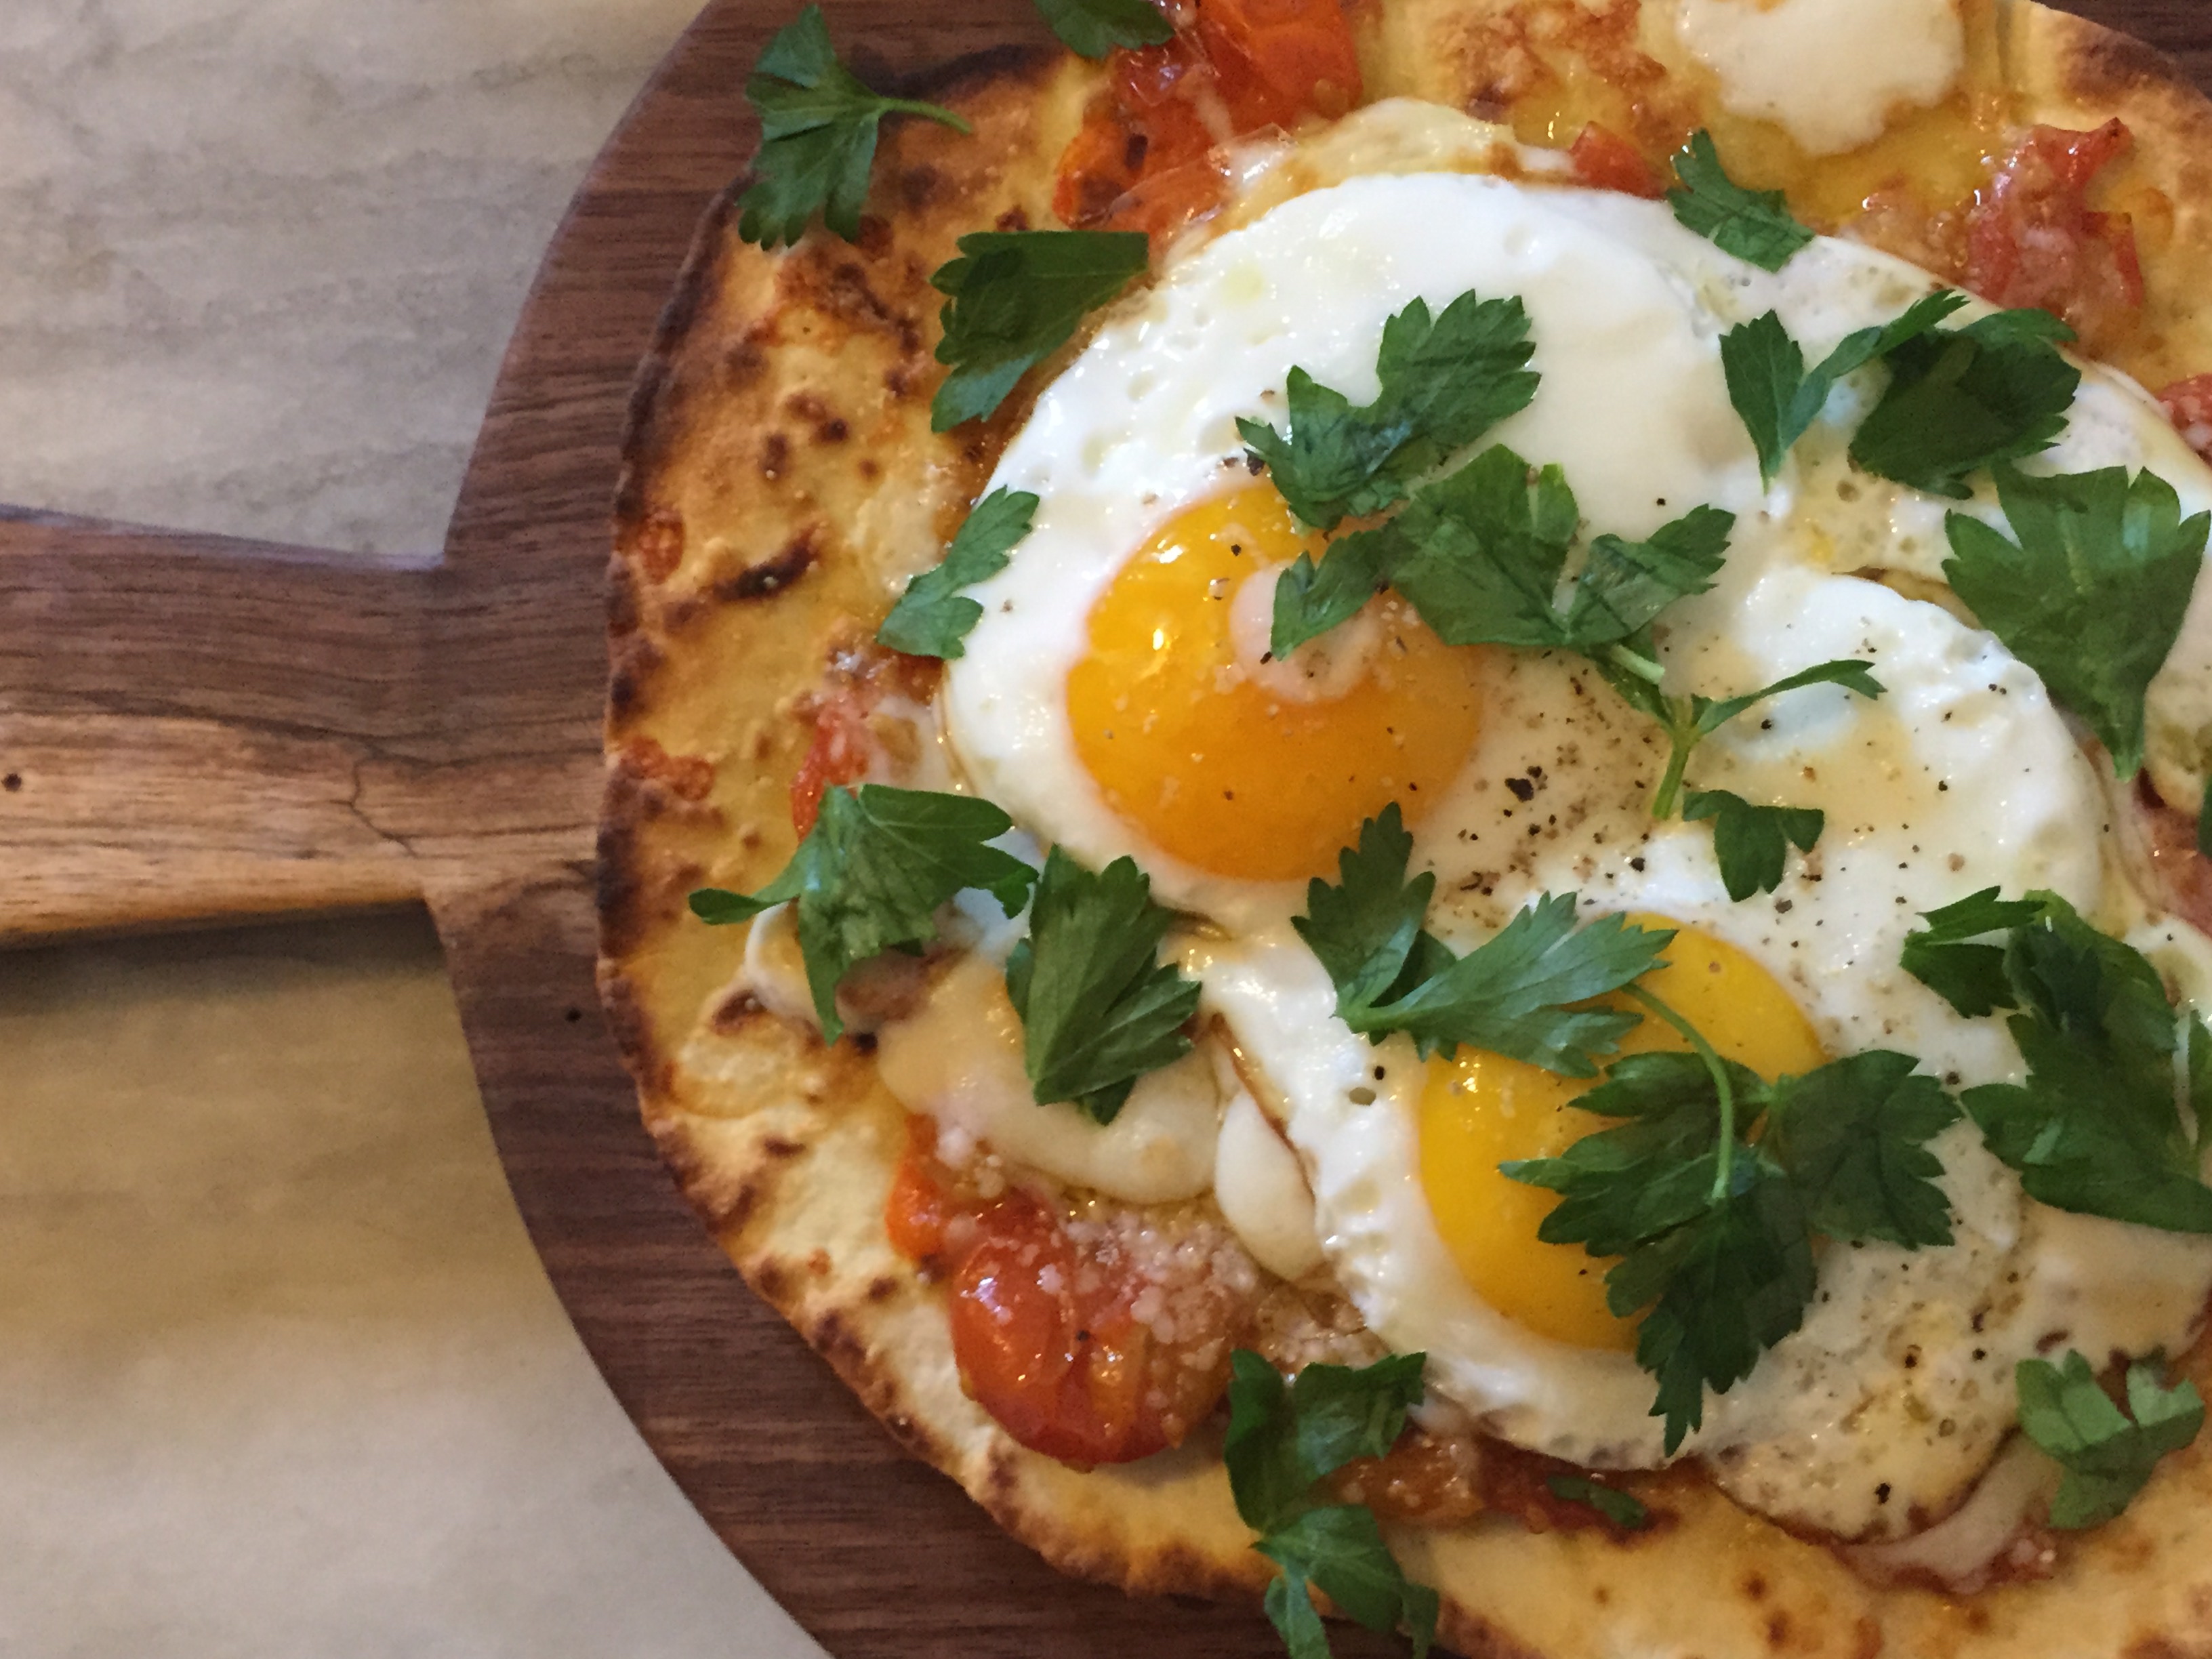
Beef Kabobs on Flat Bread

Open Face Steak Sandwich

Campari sorbet and soda

The best doughnuts from Dough at the Brooklyn Flea

Belgian Endive, orange, pecan, micro greens
My apologies this post was supposed to be maybe a paragraph but I just couldn’t help myself. If I didn’t mention you it’s only because this post would have to be the length of War And Peace if I included all of you. but you know I am so happy to have met you all and look forward to 2015 and more from each of you. Special shout outs to:
Carla, Jocelyn, 2 Cheryls, Rhonda, Sonal, Prudy, Mochi, Chitra, Margot, Laura, Vivianna, Emily, Jess, Louie, Amit, Johnny, Lindy, Pat, Bevi, Cynthia, 2 Linda’s, Justine, Julian, Jeff, Anatoli, Francesca, Stefano, Holly, Sharon, Lina, Sean Munger, Elaine, Virginia, Brandi, Kim, Olga, Loretta, Nancy, Amy, Cindy, Angie, Jhuls, Aleksandra,Tracey, 2 Liz’s, Amy, 3 Sarah’s, Amanda, Stacey, House of KTS, 2 Ginger’s, 2 Michelle’s, Georgie, Jenn, Sue, Mimi, Patty, Fae, Azita, Katerina, Laila, Hoda, Sadia, Susan, 2 Melissa’s, Christin, Pamela, the Patron of the Pit, my lovely friends from Ireland, India, the UK, Australia, Dubai, Canada and all of you whose blogs I follow and try my best to comment on or at least let you know I like. Best wishes for a wonderful 2015!!