Skip to content

Archive for

Chocolate Cheesecake Ice Cream

Chocolate Cheesecake Ice Cream

Chocolate Cheesecake Ice Cream

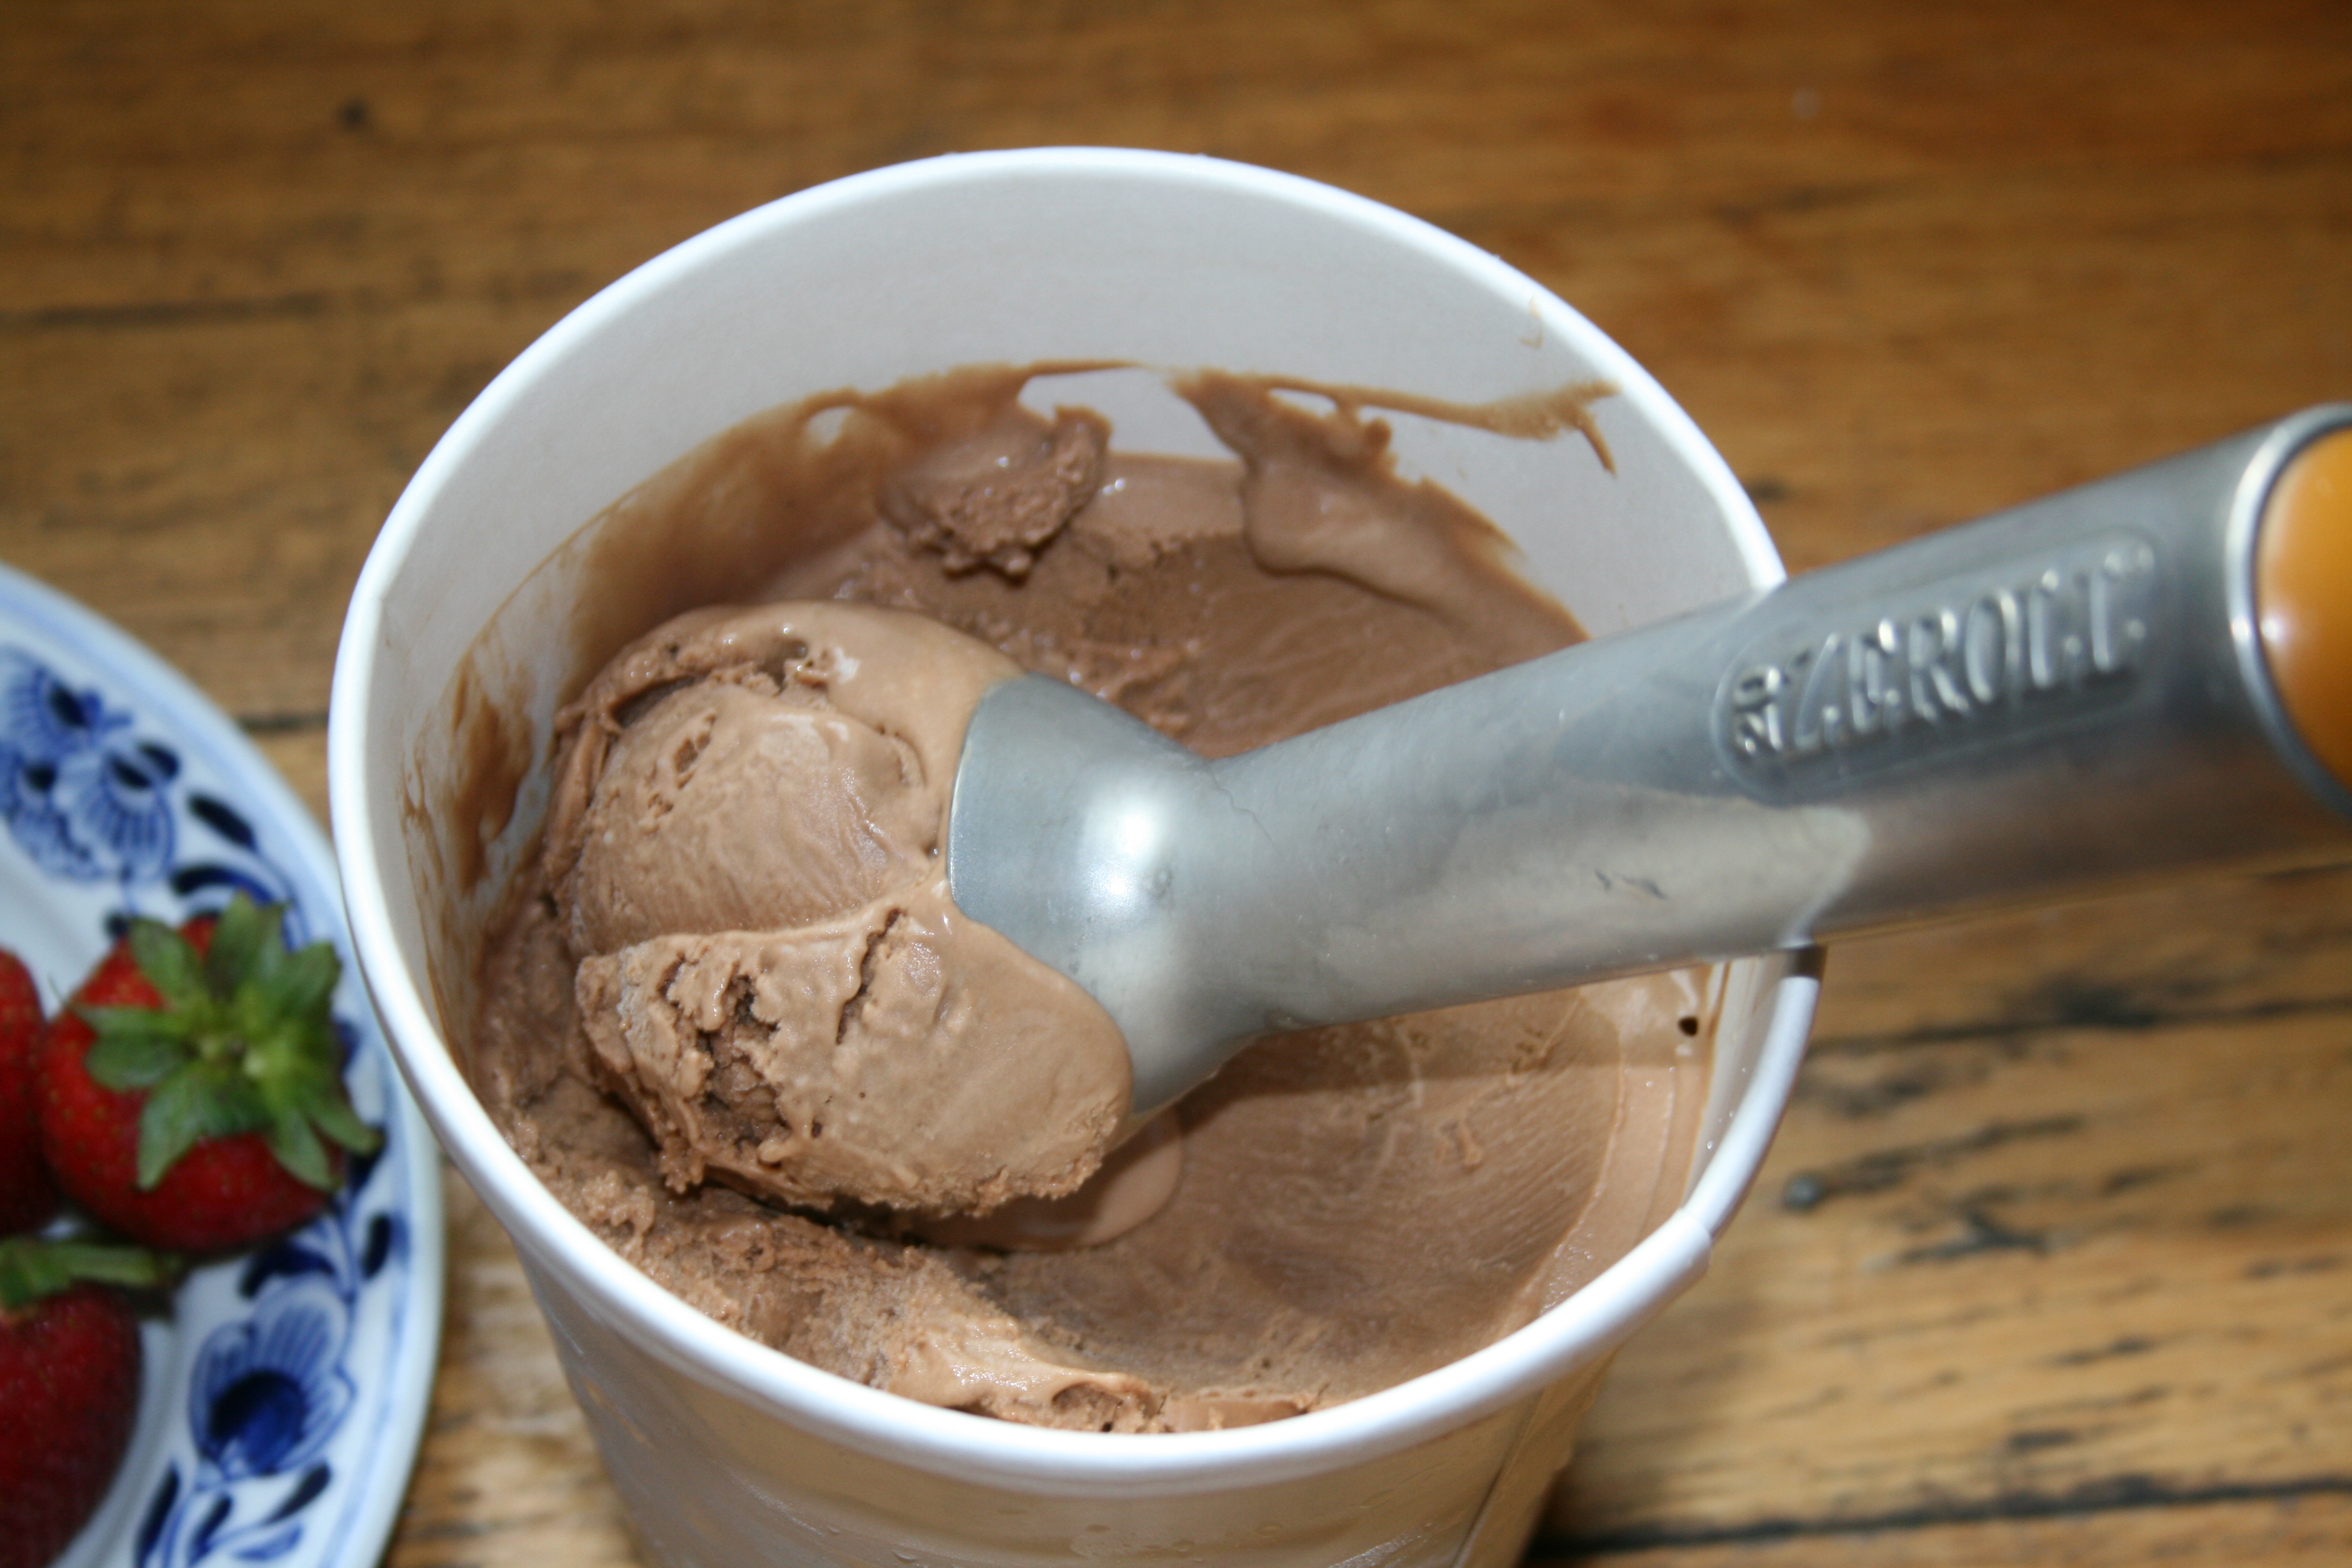
It’s hot out and even though I am watching what I eat I still enjoy a little indulgence, this ice cream is exactly that. Creamy, rich and delicious, with a slight tang from the cream cheese and lots of chocolatey goodness. I used my go to vanilla ice cream base and made some additions, dark chocolate and cream cheese. Need I say more!!!

1 1/2 cups heavy cream

1 1/2 cups whole milk

4 oz really soft cream cheese (you can also use mascarpone)

5 egg yolks at room temperature from large eggs

1/2 cup sugar

6 oz semi sweet dark chocolate  chopped into small pieces(I used Divine)

pinch of salt

1 tbs pure vanilla extract

2 tbs clear corn syrup (optional)

Separate your egg yolks and place them in your mixing bowl with the sugar and pinch of salt. Add the heavy cream and milk to medium saucepan and bring to scalding on medium heat. While your milk and cream are heating beat the egg yolks until they are light and creamy, add the softened cream cheese and continue whisking until the mixture is creamy, thick and light with no lumps of the cream cheese. Slowly whisk in a little of the hot milk to temper the eggs, add back to the pan and cook on med/low heat stirring constantly with a wooden spoon. Using heat that is too high and not stirring can cause the eggs to scramble. Continue cooking until the custard is thick and coats the back of the spoon, Swipe a line on the back of the spoon, the line should stay intact and not run together. If you choose to use a thermometer the custard should be done at about 170 degrees.

Remove from heat, add the chocolate, let sit for about 5 minutes, stir until combined, it will be smooth and silky. Add the vanilla and optional corn syrup, stir. Cover the top of the custard with plastic wrap sitting directly on top of the custard, let it sit on the counter until it cools then refrigerate in the coldest part of the fridge overnight or at least 4 hours. Alternately you can prepare an ice bath and sit the bowl of custard in it stirring frequently until it cools. The temperature of the custard should be 40 degrees or less before you make the ice cream.

Follow manufacturers instructions for your ice cream maker.

Brooklyn Blackout Semifreddo Cake

Brooklyn Blackout Semifreddo Cake Brooklyn Blackout Semifreddo Cake

I entered this cake in a recipe contest at Food52, we had to create a frozen dessert. I am a real lover of chocolate so I satisfied my craving with this cake. I am honored that my recipe was tested and photographed by the editors at Food52 and the beautiful photograph below was taken by James Ransom. I received a Community Pick!!

Who doesn’t love a Brooklyn Blackout Cake, the iconic cake that became the official cake of Brooklyn, made famous by it’s creators at Ebingers Bakery. Three layers of chocolate cake filled with chocolate pudding, frosted with the pudding and cake crumbs pressed on the side of the cake. This is a frozen version of this famous cake, 3 layers of chocolate sponge cake, chocolate semifreddo,chocolate ganache and cake crumbs. I made a chocolate sponge but you can use whatever type of cake you want or even cookie crumbs, this particular cake recipe freezes really well. I used my new favorite brand of chocolate for this cake, Divine (fair trade) chocolate, both the cocoa powder and the bar chocolate. It’s wonderful and I can’t say enough about the quality. Love it!

Makes 1 large loaf cake

Cake and Semifreddo:

  • 1/4 cup milk
  • 2 tablespoons unsalted butter
  • 8 large eggs at room temperature
  • 2 cups sugar
  • 3/4 cups flour
  • 1/2 cup unsweetened cocoa powder
  • 1 teaspoon baking powder
  • 1 teaspoon salt
  • 1 teaspoon vanilla
  • Semifreddo
  • 7 ounces dark chocolate
  • 2 teaspoons espresso powder
  • 1 1/3 cup heavy cream
  • 2 tablespoons softened cream cheese
  • 2 large eggs
  • 1/2 cup sugar
  • 2 teaspoons vanilla
  1. Pre heat oven to 350 degrees. Place milk and butter in glass measuring cup and microwave for 45 seconds or until butter is melted. Using stand mixer with wire whisk or electric mixer whip the eggs and sugar on med/high for approximately 8 minutes or until the mixture is pale yellow, tripled in volume and thick, with the machine running slowly add the heated milk and butter. Sift the flour, cocoa, baking powder and salt. Fold into the egg mixture, there should be no lumps. Fold in the vanilla. Grease a 1/2 sheet pan, lay parchment sheet and grease the parchment, and sprinkle with sugar. Pour batter into the pan, spread so that it is evenly distributed and bake for 20-25 minutes. Allow to cool for a couple of minutes in the pan run a knife around the edges to loosen then invert onto wire rack, remove parchment and let cool completely.
  2. In a bowl over a pot of simmering water (or in the microwave at high heat stirring every 30 seconds), melt chocolate and espresso powder and set aside. Keep pot of water simmering on the stove – you’ll use it again.  Whip cream and cream cheese to soft peaks and store in fridge until ready to use. Whisk together eggs, sugar, and vanilla in a metal or glass bowl. Place bowl over simmering water and whisk until it thickens and sugar is melted, remove from simmering water and whisk constantly until doubled in volume, and whisk leaves a ribbon when lifted from bowl. Whisk in melted chocolate and allow mixture to cool for about 10 minutes, you don’t want to melt the whipped cream. Meanwhile, line a loaf pan with plastic wrap. Fold whipped cream into chocolate mixture, in two additions, until evenly incorporated.

Ganache and assembling:

  • 4 ounces dark chocolate broken into small pieces
  • 1/4 cup +2 tbs heavy cream
  • 1 tablespoon corn syrup (optional)
  1. Heat milk until scalding, add chocolate and corn syrup to hot cream, let sit for approximately 5 minutes, stir until smooth. Let cool at room temperature.
  2. Line loaf pan with plastic wrap (I like to spray the bottom and sides with cooking spray before I lay the sheet of plastic. Take your cooled cake and cut 3 pieces that will fit in your loaf pan, lay one layer on the bottom pour half of the semifreddo on top, add another layer of cake, pour on the rest of the semifreddo, top with another layer of cake. Save the leftover cake you will need it for the crumb layer. Wrap well with plastic wrap and let freeze overnight.
  3. Crumble the leftover cake and set aside, I pulsed a couple of time in the processor. Remove cake from loaf pan, all you have to do is lift out the plastic if it won’t come out just quickly dip pan in some warm water. place on serving dish and remove plastic. Spread a thin layer of ganache on the sides of cake, press crumbs on sides, spread ganache on top of cake and freeze until ready to serve.

Here is the photo taken by James Ransom at food52. Looks so much better than mine.

Photo by James Ransom,Food52 Photo by James Ransom,Food52

Cooks Spotlight:Peanut Butter-Chocolate Kiss Cookies

Photo by Susan Pridmore

Photo by Susan-The Wimpy Vegetarian

I saw this recipe on one of my favorite blogs The Wimpy Vegetarian, I have known Susan for quite some time, we first met on Food52 and I admire her delicious recipes, sound nutritional advice and beautiful writing style. Most of her recipes are vegetarian, she uses healthful ingredients and manages to whip up dishes that make you swoon, and believe me they are loaded with flavor and are truly satisfying. These cookies had me drooling, I love peanut butter and chocolate and fully planned on making them for this post but held myself back, I have been on a diet and am making headway with my weight loss and I knew if I made them I would eat them all so I am reserving this recipe (along with a few others) as a treat for when I reach my goal weight, 9 lbs to go!!  Just because I am on a diet that wont stop me from sharing what I believe is an amazing recipe. Look at these : Roasted Tomato Grilled Cheese Sandwich With Harissa Mayonaise or Roasted Strawberries And Honey Ricotta On Crackers. Each recipe is delicious and nutritions and beautifully written, you will feel like you are sitting at the kitchen table chatting with a good friend. Please visit Susan’s beautiful blog, i know you will love it as much as I do, there is a wealth of great recipes, sound advice and wonderful stories.

INGREDIENTS

  • 6 ounces unsalted butter, room temp
  • 3 ounces peanut butter
  • 1/2 teaspoon pure vanilla extract
  • 1/8 teaspoon salt
  • 2.8 ounces confectioners sugar, sifted, plus some for sifting over the baked cookies at the end
  • 4 1/2 teaspoons coconut sugar
  • 1.5 ounces unsweetened cacao (chocolate) powder
  • 1 egg
  • 5 ounces all-purpose flour

INSTRUCTIONS

Preheat oven to 350F. Line baking sheet with parchment paper or a silpat. Fit a pastry bag with a tip for the shape you wish to pipe. Bigger is better here, as the cookie dough can be a little stiff. If you don’t plan to pipe the cookies, they can be spooned out onto the prepared baking sheet too.

Beat the softened butter and peanut butter with a paddle attachment until lighter in color and creamy (about 2 -3 minutes). The color changes due to the air being whipped into it, which translates into a fluffy base for the cookie.

Add the vanilla extract and salt. When fully incorporated, add the sugars and beat again until fully incorporated, starting on low speed.

Add the cocoa powder and egg and mix until fully incorporated.

Sift in the flour in thirds and mix in using a rubber spatula until flour is just incorporated before adding the next 1/3. Do not overmix as this will result in a tougher cookie.

If you’re piping the cookies, spoon ½ cookie dough into the pastry bag and pipe cookies onto the parchment paper or silpat, 1 1/2 to 2 inches apart from each other. I pipe mine about 1 1/2″ in diameter at their base. They will spread a bit in the oven from the butter, and the tops will sink a bit, but the overall shape should hold fine.

Bake for 8 minutes or until just starting to set up. Do not cook until they become hard or browned.

Cool on a cooling rack. For larger cookies, you may want to let them cool on the cookie sheet for 1 minute before removing to a cooking rack.

Sift with a little confectioners sugar just before serving.

Re-Purposing Leftovers-Salmon,Asparagus And Whole Wheat Pappardelle

A Bowl of pasta

bowl of pasta

I refuse to waste food and love re-purposing leftovers. It’s a challenge to try to come up with a creative and delicious dish that puts a fresh spin on your leftover food. I had a small piece of salmon and a few stalks of asparagus left over from dinner the other night, I also have some whole wheat pappardelle in the pantry that I bought (by accident) and need to start using (not a fan of whole wheat pasta). This dish came together in a flash and was really delicious, all I did was saute some shallot in a little olive oil, add a little white wine, then some heavy cream, a little dijon mustard, lemon zest, salt and pepper and reduced until it started to thicken. At the end I added the asparagus and salmon and the cooked pappardelle. This is not the type of dish that needs precise measuring, I basically ad libbed, a little of this and that until it came together. Use what you have, peas come to mind, chicken, or without any meat or fish. The pasta in the cream sauce with vegetables is wonderful on it’s own.

The amounts are approximate

Serves 1-2

1 lobe of a shallot chopped

Olive oil for pan

1/4 cup white wine

1/2 cup heavy cream

1/2 tsp lemon zest

salt and pepper to taste

1 small salmon fillet

4 stalks asparagus

Pappardelle (small handful)

Fill large pan with water add salt and bring to a rolling boil. Heat olive oil in pan, add the shallot and saute until translucent. Add the wine and reduce by half. Now add the cream, dijon,lemon zest, salt and pepper and cook until it’s reduced by half. It should be nicely thick. While the cream sauce is reducing add the pasta to the boiling water, now I used whole wheat pappardelle, it took a good 10 minutes for an al dente pasta.

When the cream sauce is reduced add the asparagus and salmon, toss in the pappardelle and gently stir until it is coated with the sauce. Serve immediately.