Skip to content

Archive for

The Unbearable Ipad

Hello everyone. It has been a while, not because I have nothing to post, far from it I have been busy cooking but trying to post on the blog without my computer has gotten the better of me. Using the iPad is challenging, I am used to using a keypad, I really have a hard time with a touch screen and word press is different on an iPad. The good news is that I I’ll have a new computer soon, maybe even this week and I am hoping all my data is salvageable. When I pick up the computer I will visit the apple wizards and hopefully they will do their tech magic. Because posting on this thing stresses me out I will keep this short.

IMG_2882

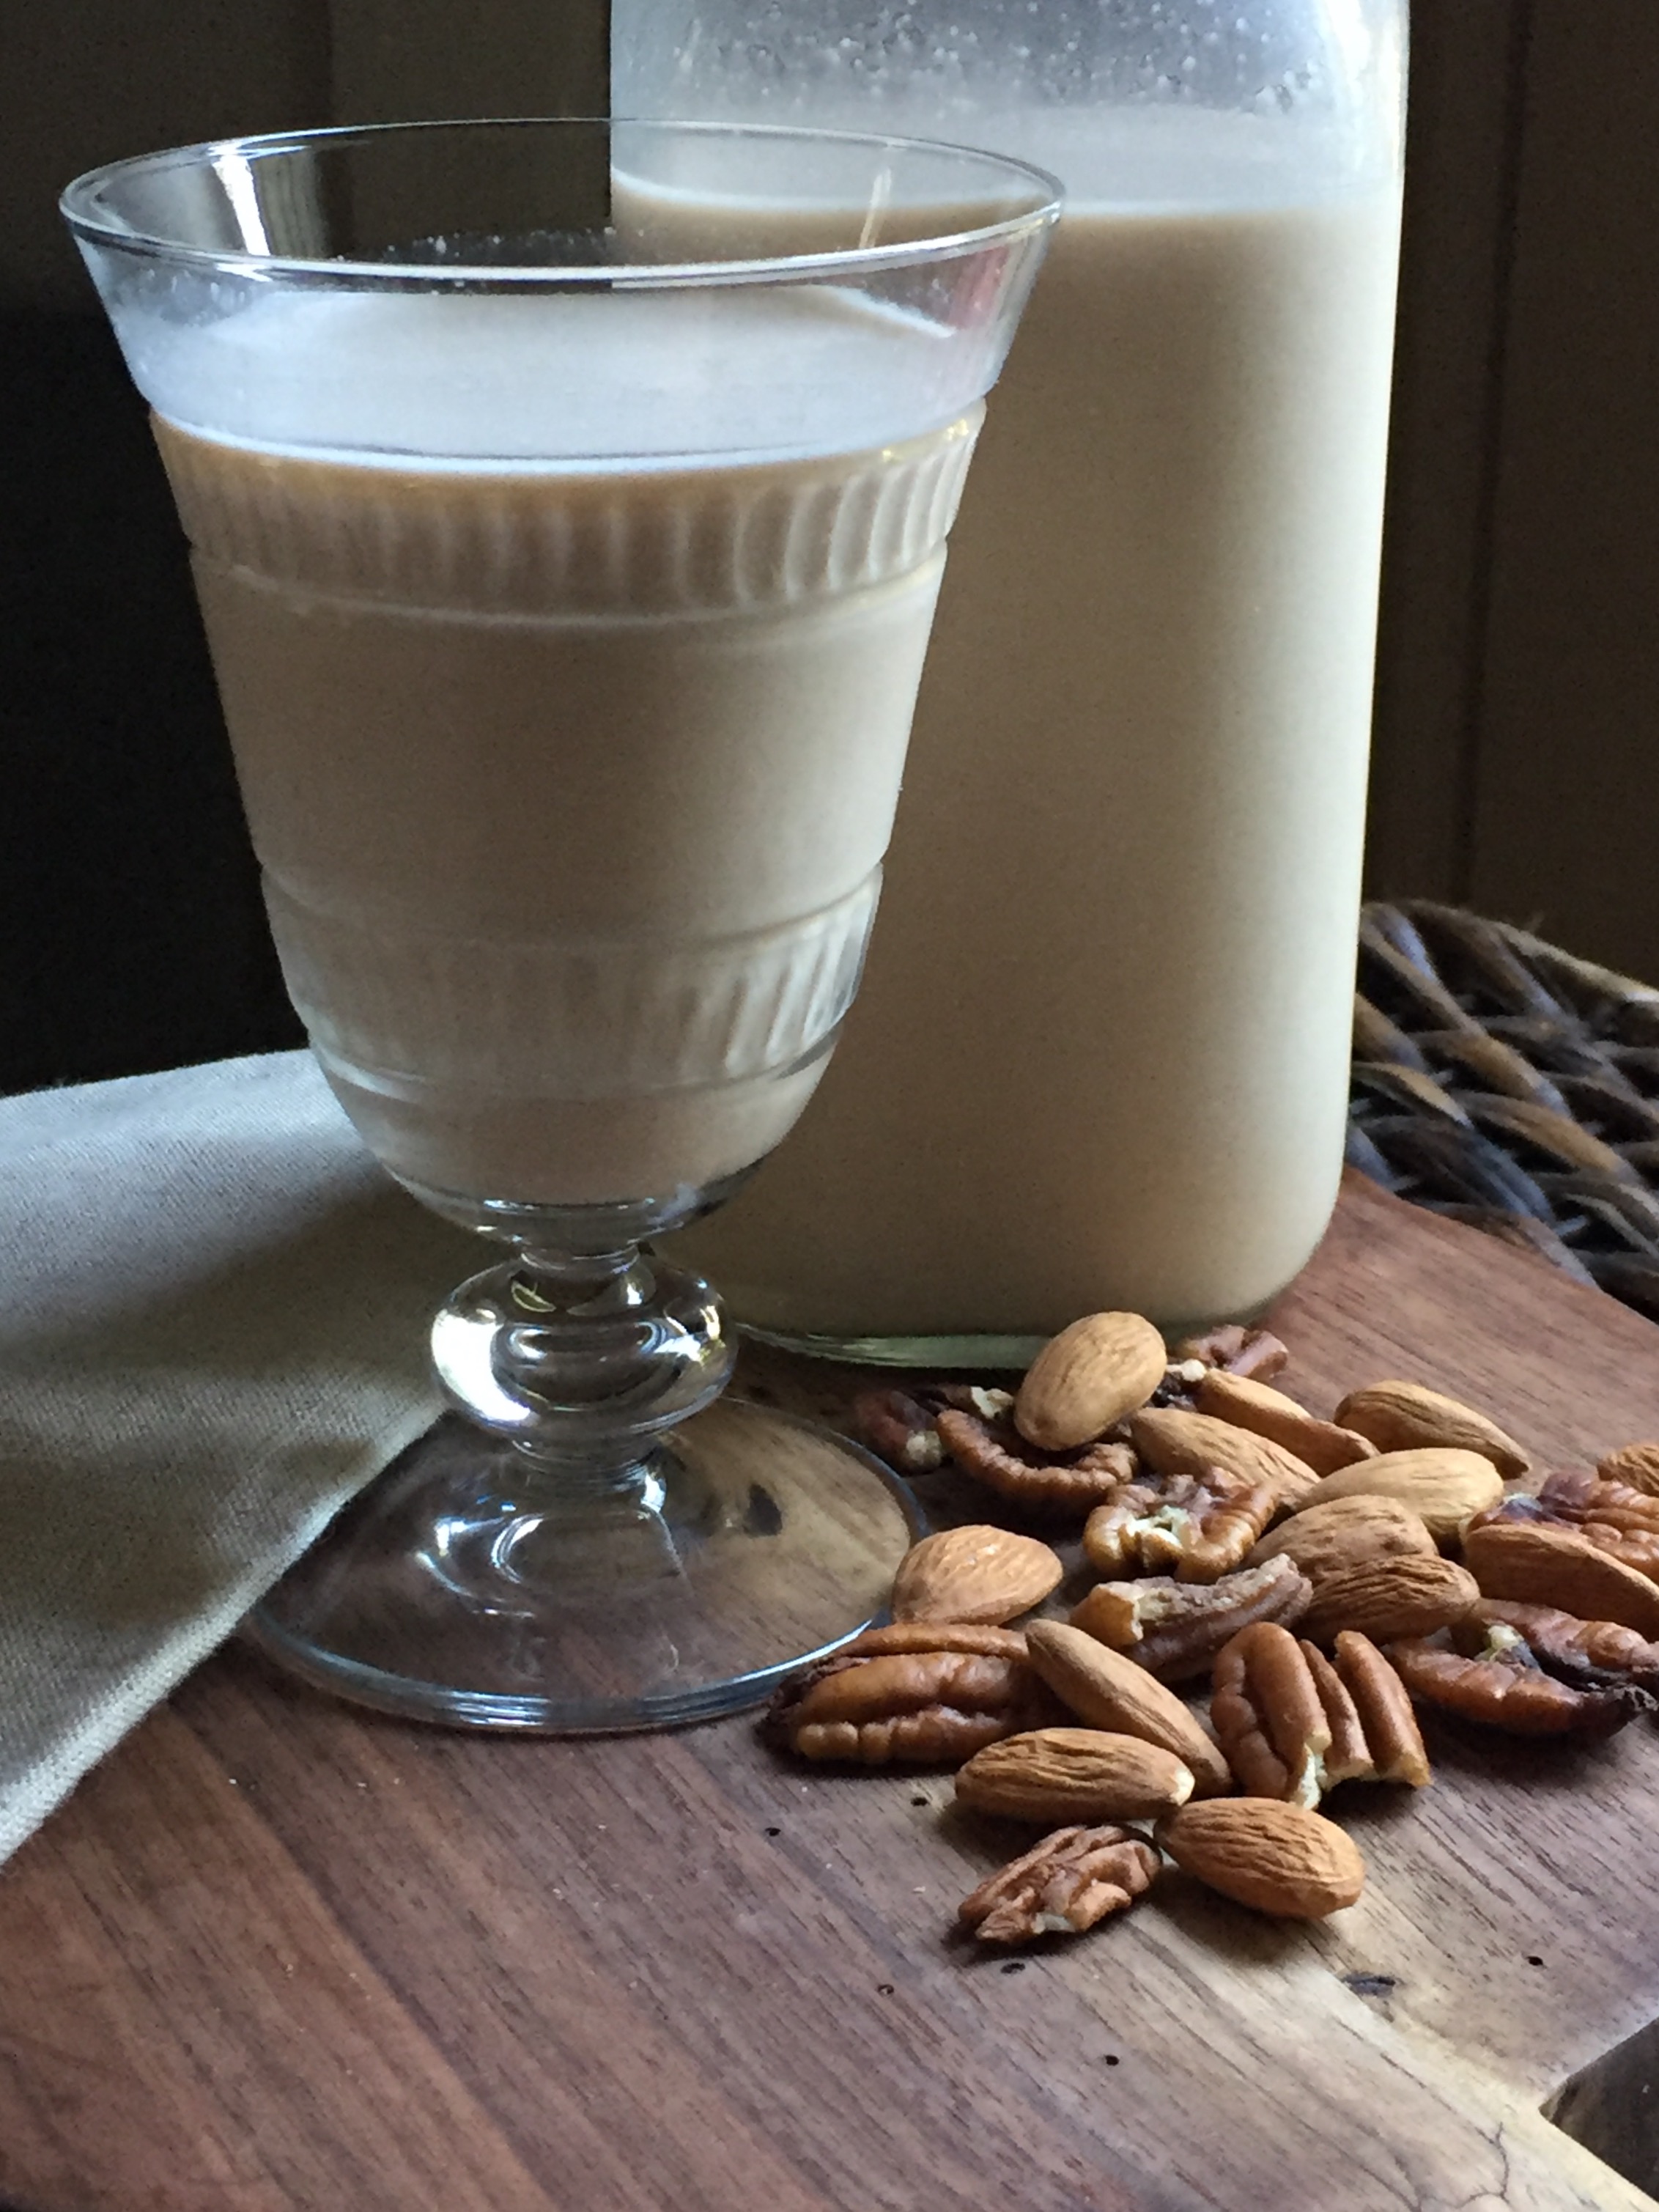
I am active on Instagram and yesterday I saw a video about nut milk. I’ve made it before but this one is amazing. I changed it a bit adding my own touches. Honestly I could give up dairy milk after drinking this. I didn’t follow a recipe but can approximate for you.

Nut milk

makes a little more than a quart

1 cup raw unsalted almonds

1/2 cup raw unsalted pecans

filtered water to soak and 5 cups to make the milk

1 heaping tbs cashew butter

pinch of sea salt (generous)

1-2 tbs maple syrup adjusting to your personal taste

2 tsp vanilla extract

pinch of cinnamon

Pour the almonds and pecans in a lidded bowl cover with filtered water, enough so that the nuts are submerged and there is an extra couple of inches. Put lid on and refrigerate overnight.

In the morning drain the nuts and pour into a powerful blender or food processor. Pour in 5 cups filtered water and the rest of the ingredients. Blend on high speed for 2-3 minutes. Pour into nut bag and drain over a bowl or large (8 cup) measuring cup. Squeeze the bag making sure you get all the milk. Adjust for sweetness and flavoring  pour into glass bottle and refrigerate. It’s also delicious in coffee! Dont throw away the nut meal, put it in a ziplock bag and freeze. I use it for granola.

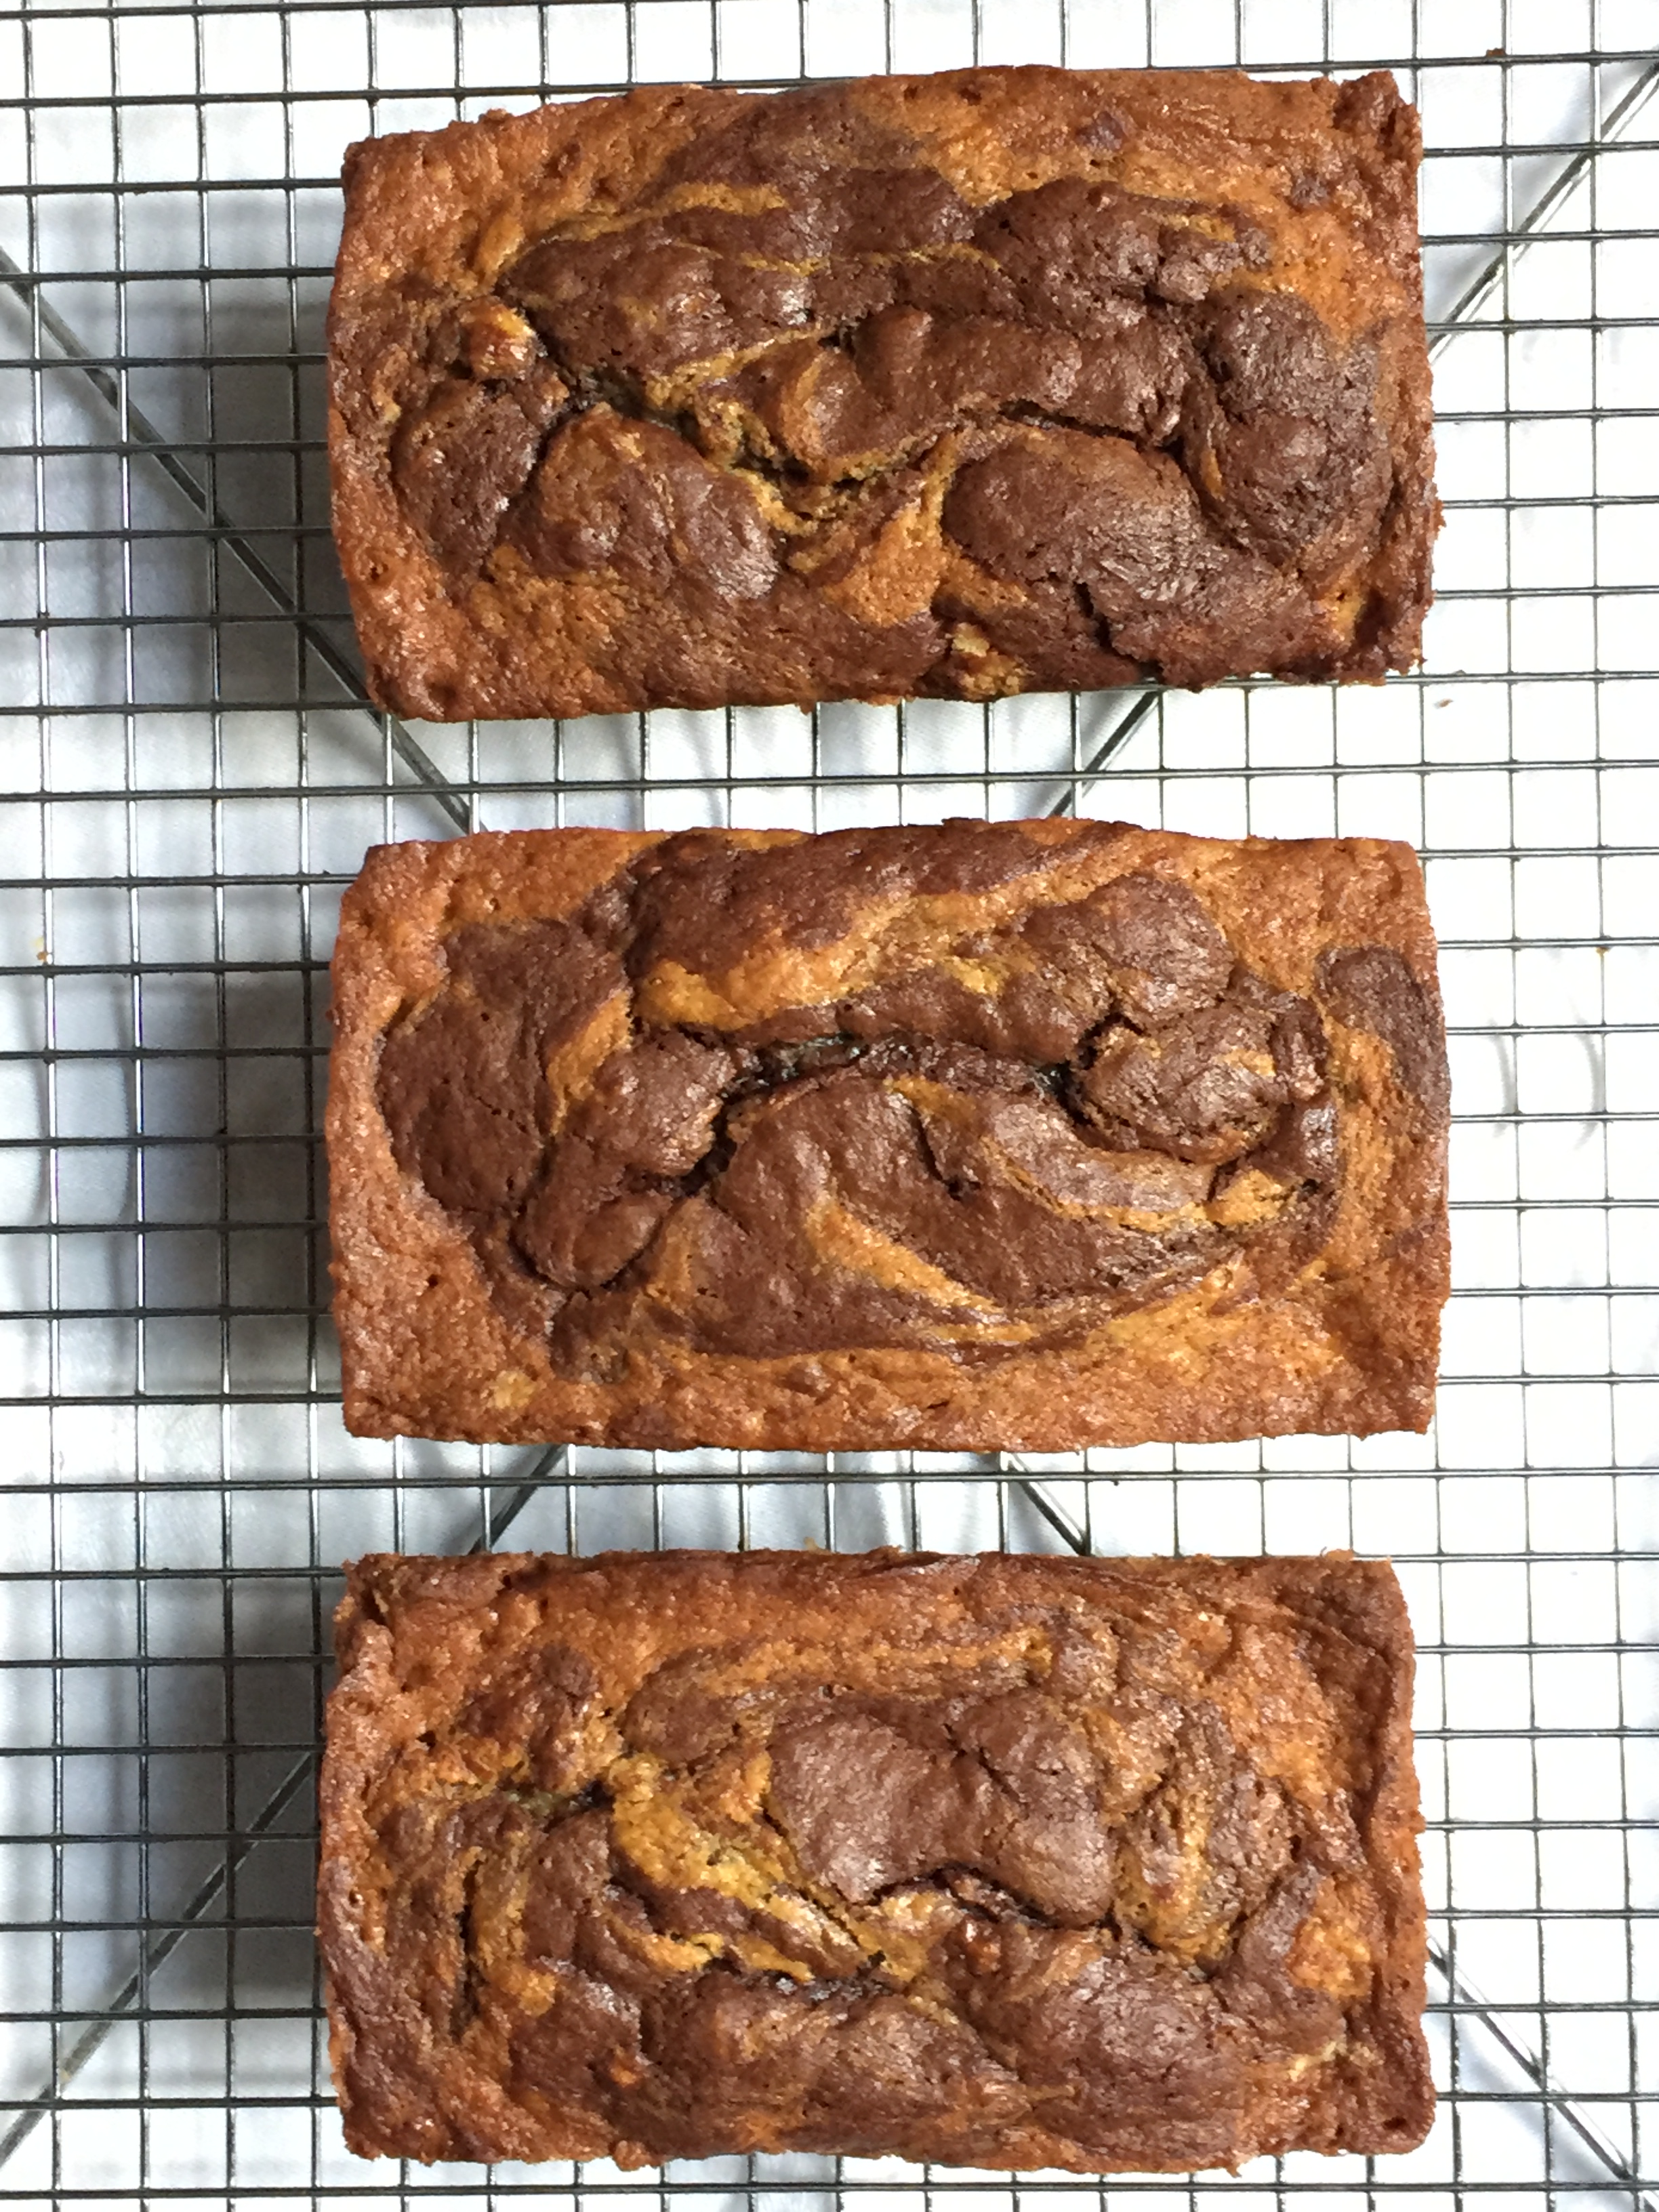
I also took my banana bread recipe that is here on the blog and made it into marbled banana bread. I will post the recipe later it turned out great!

IMG_2791.JPG

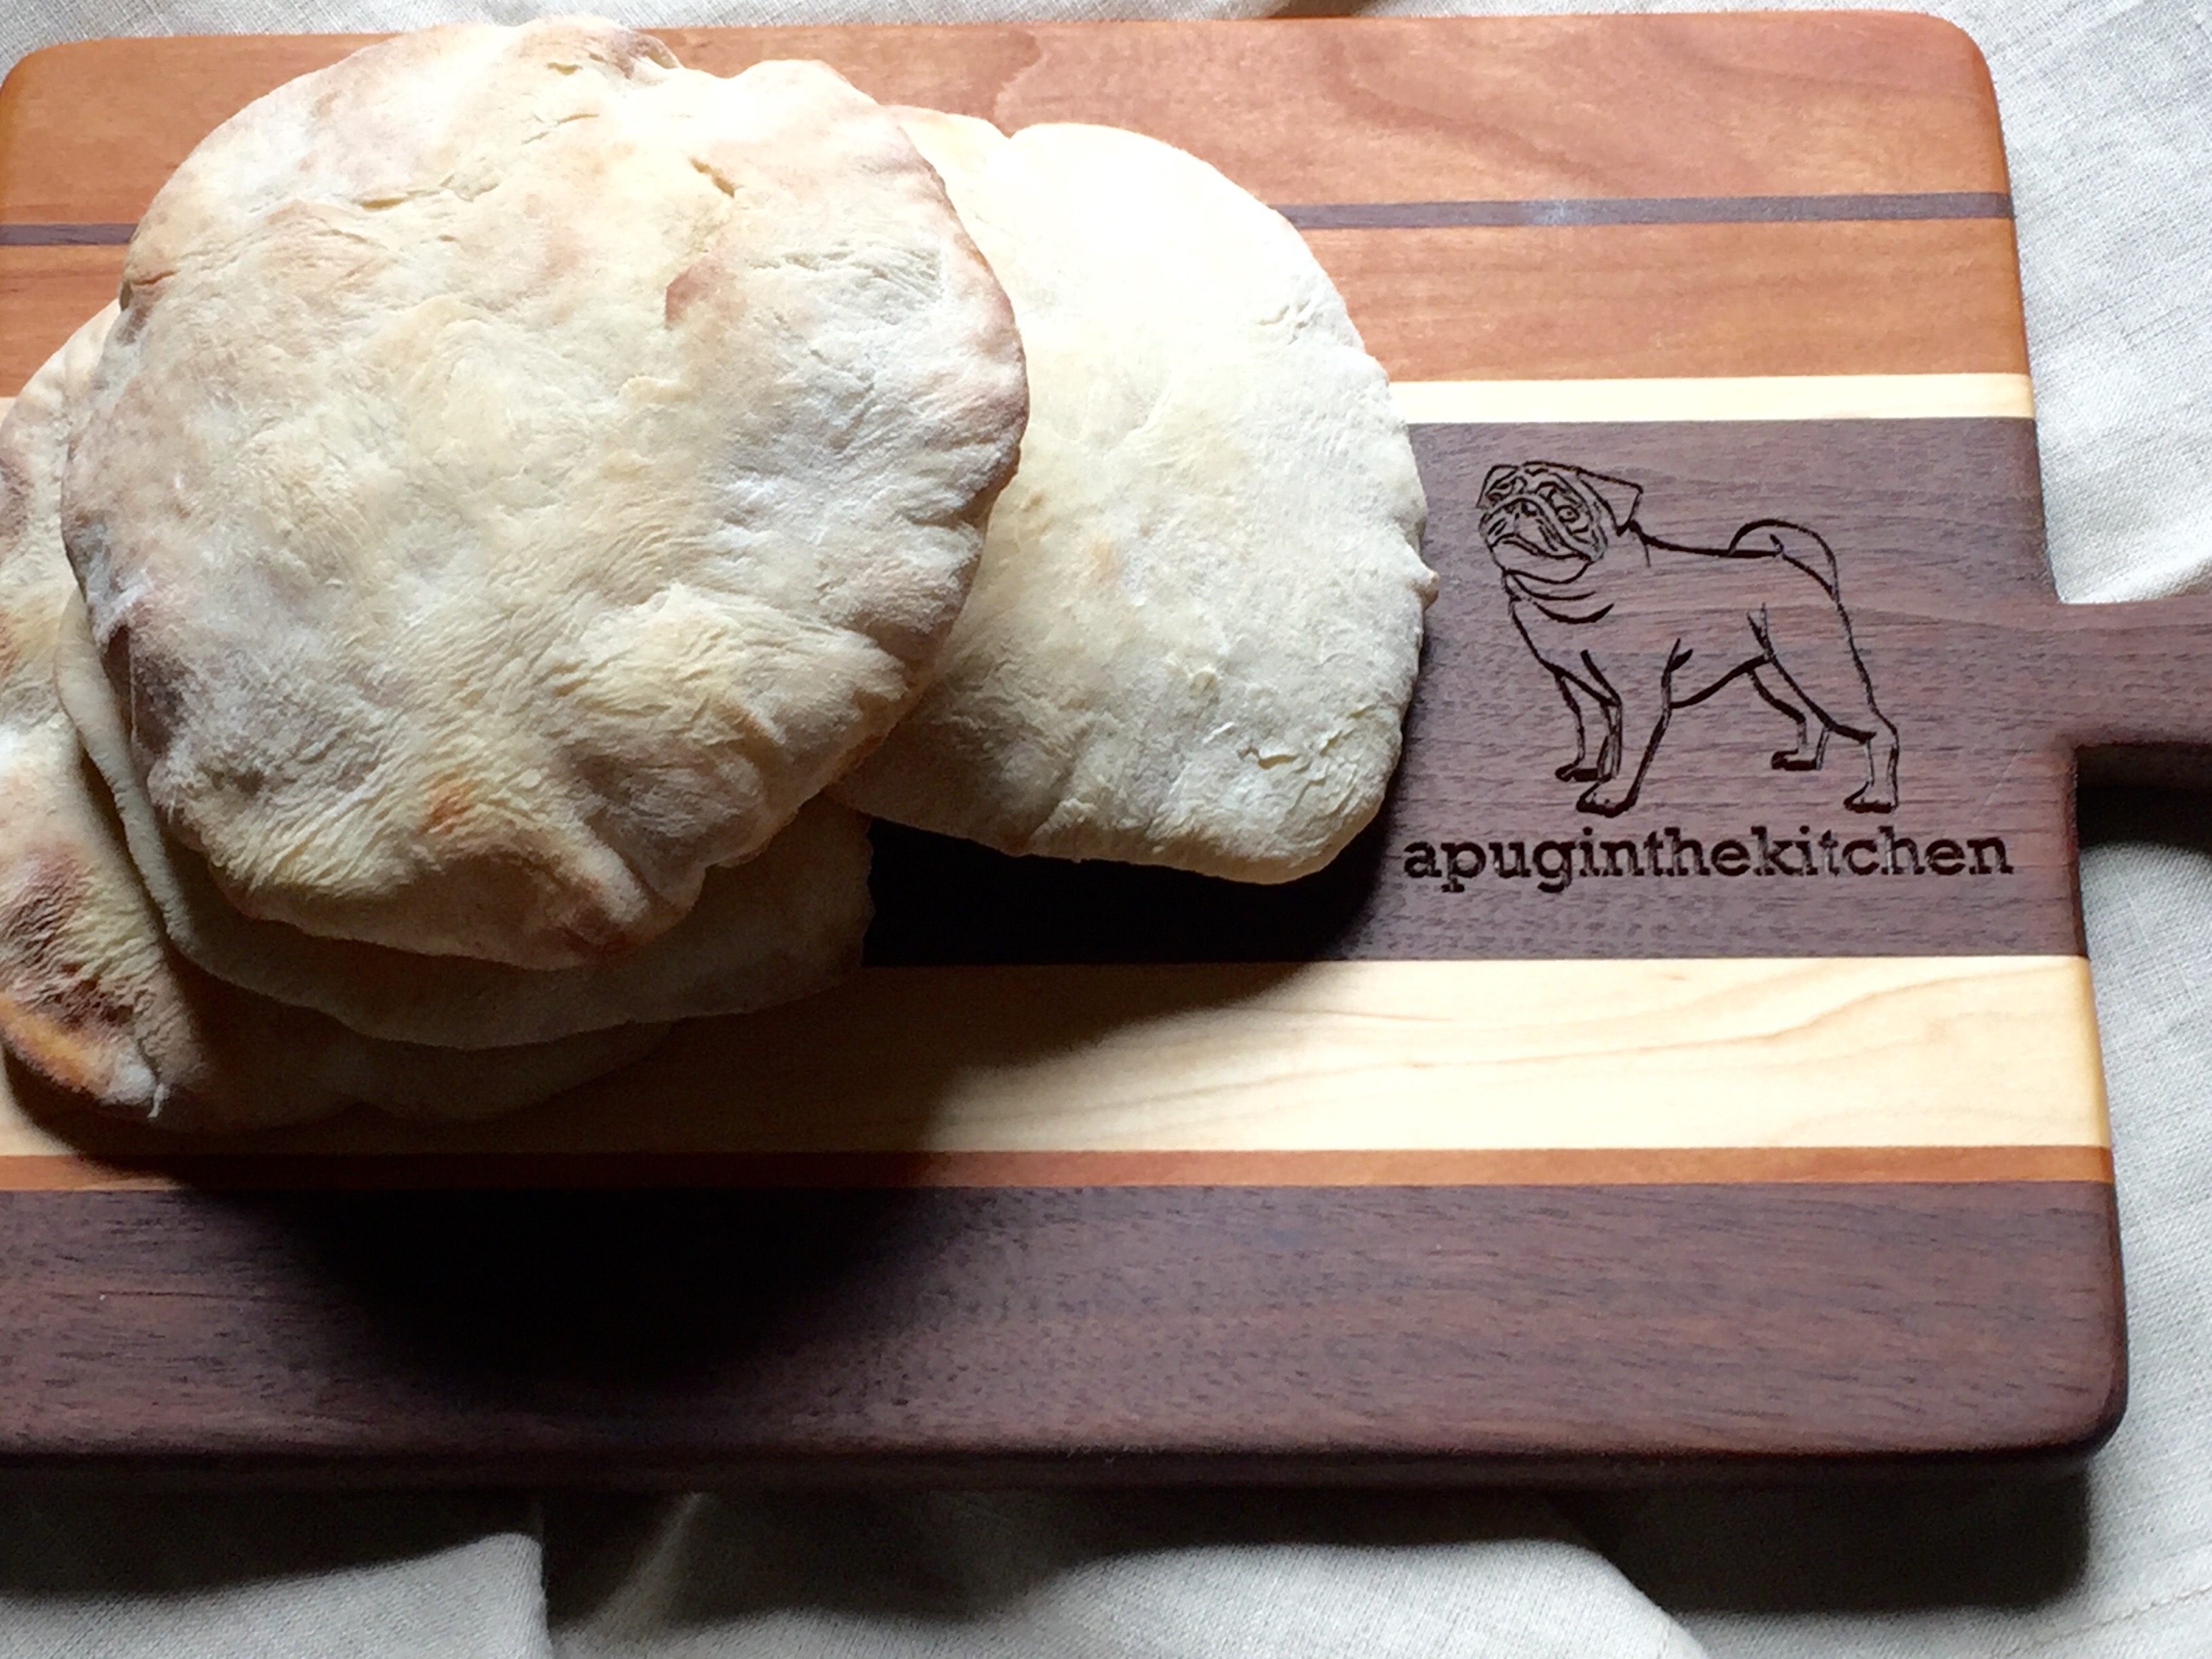
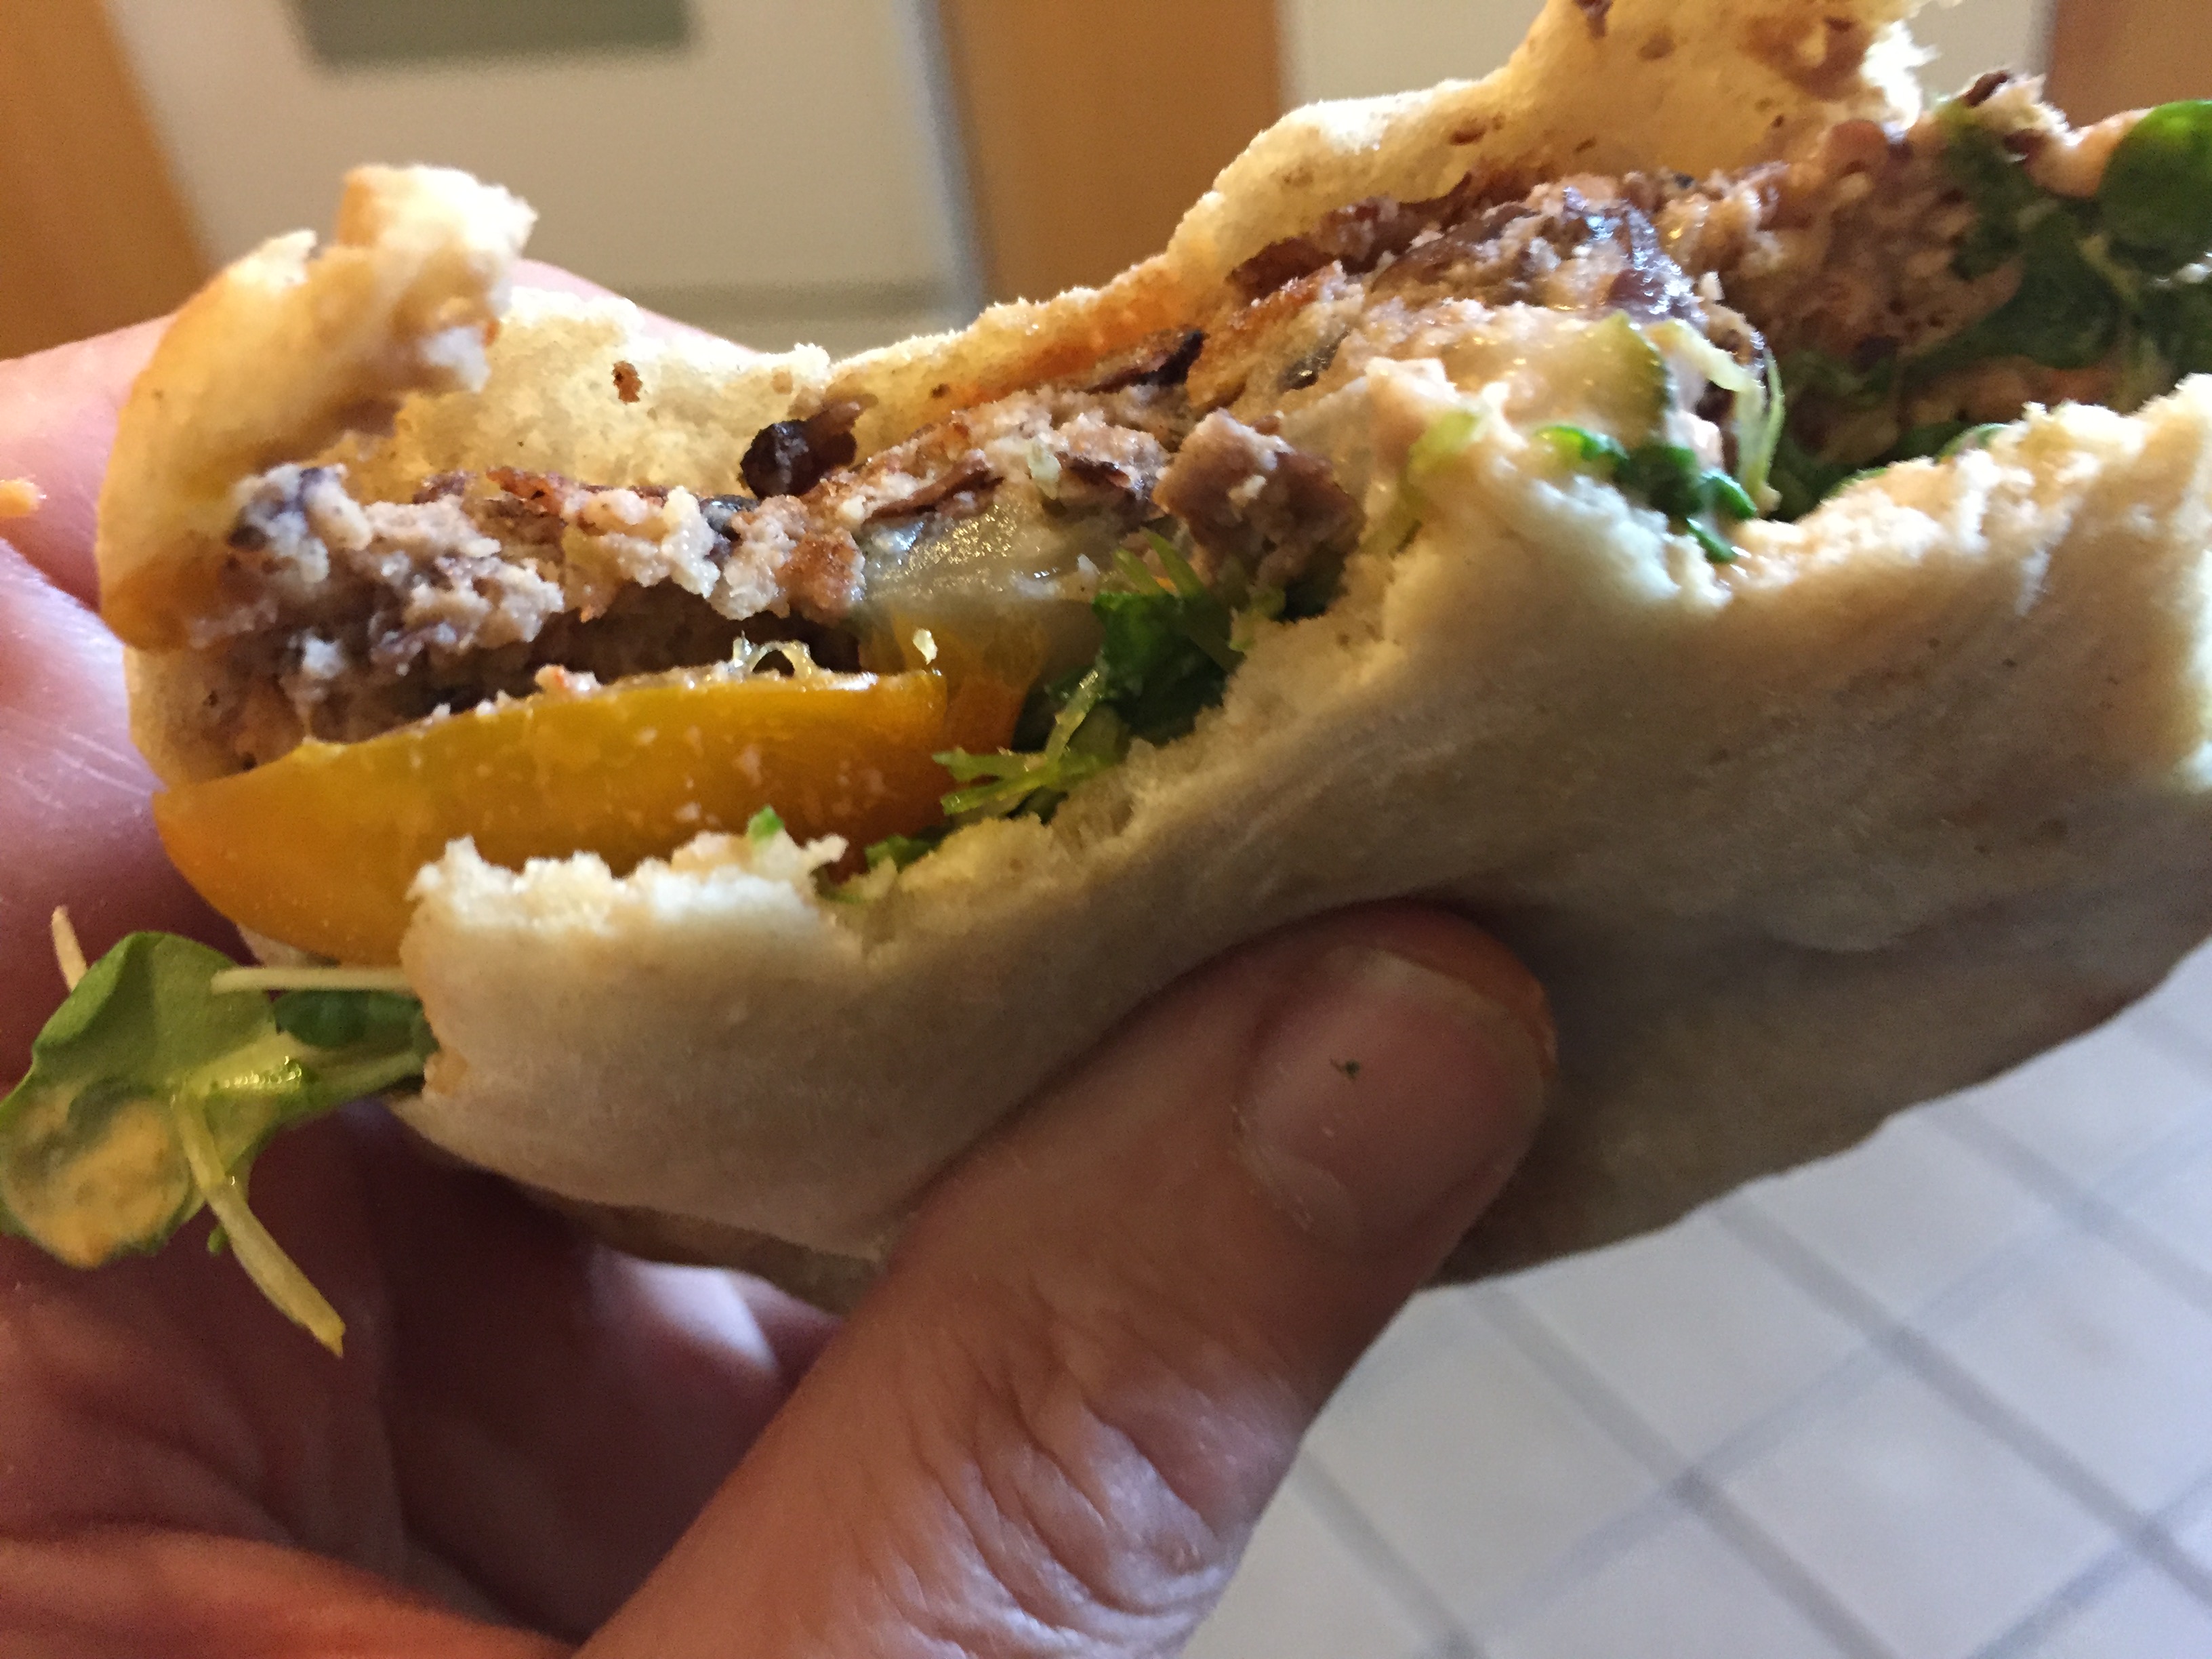
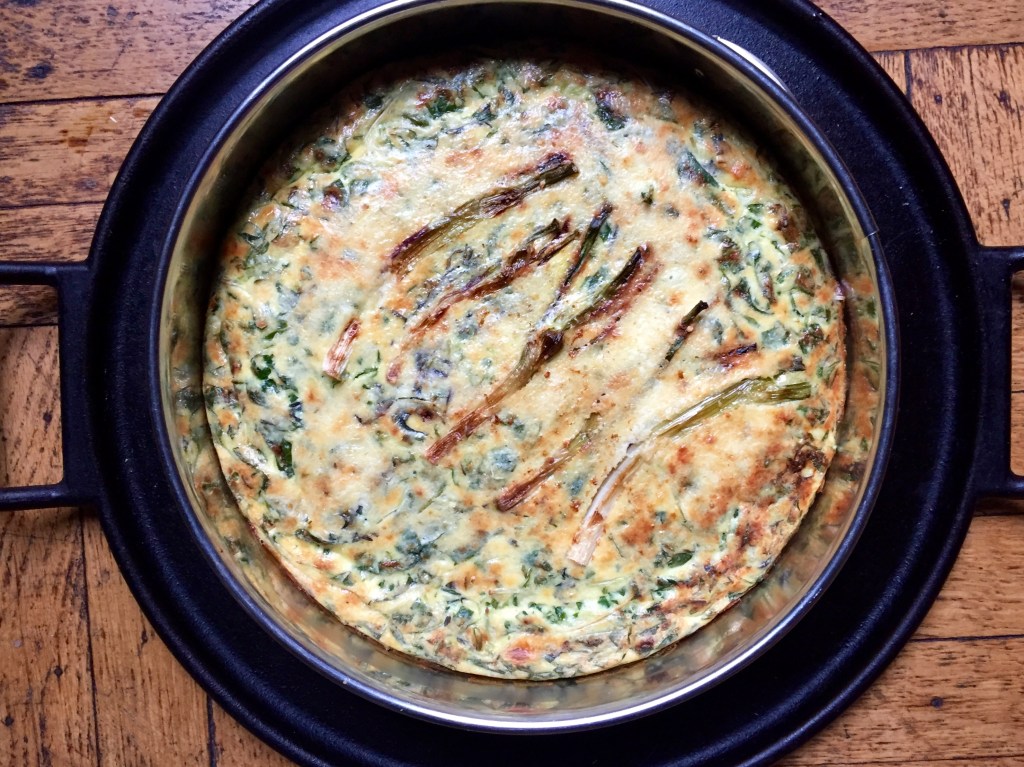
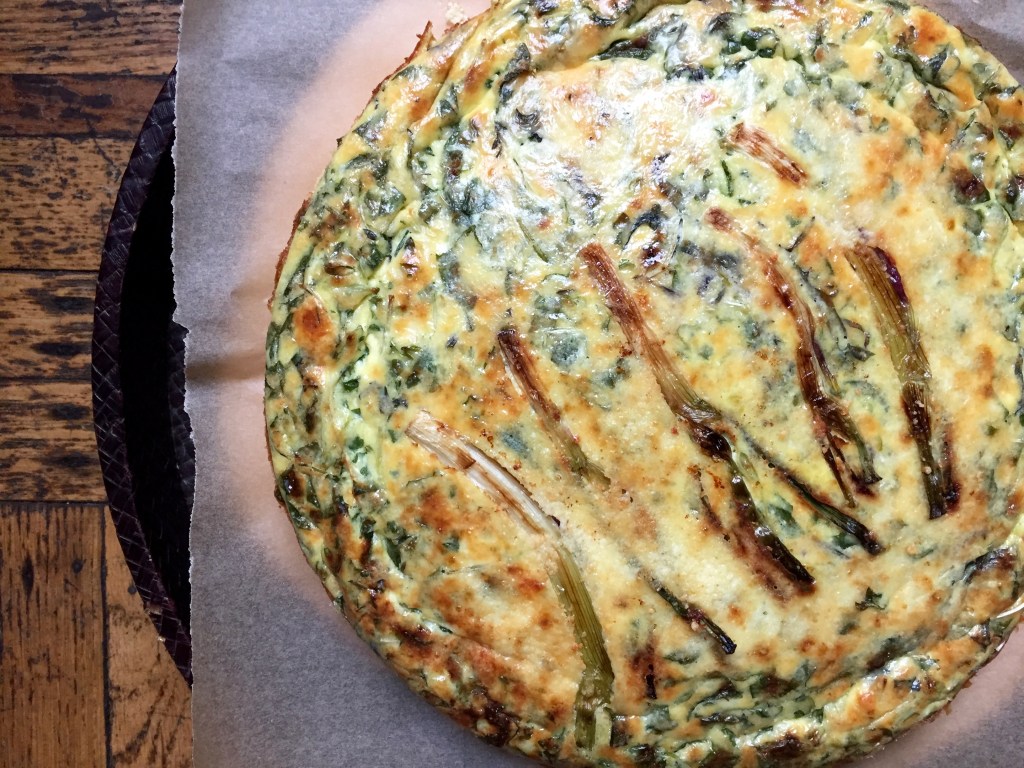
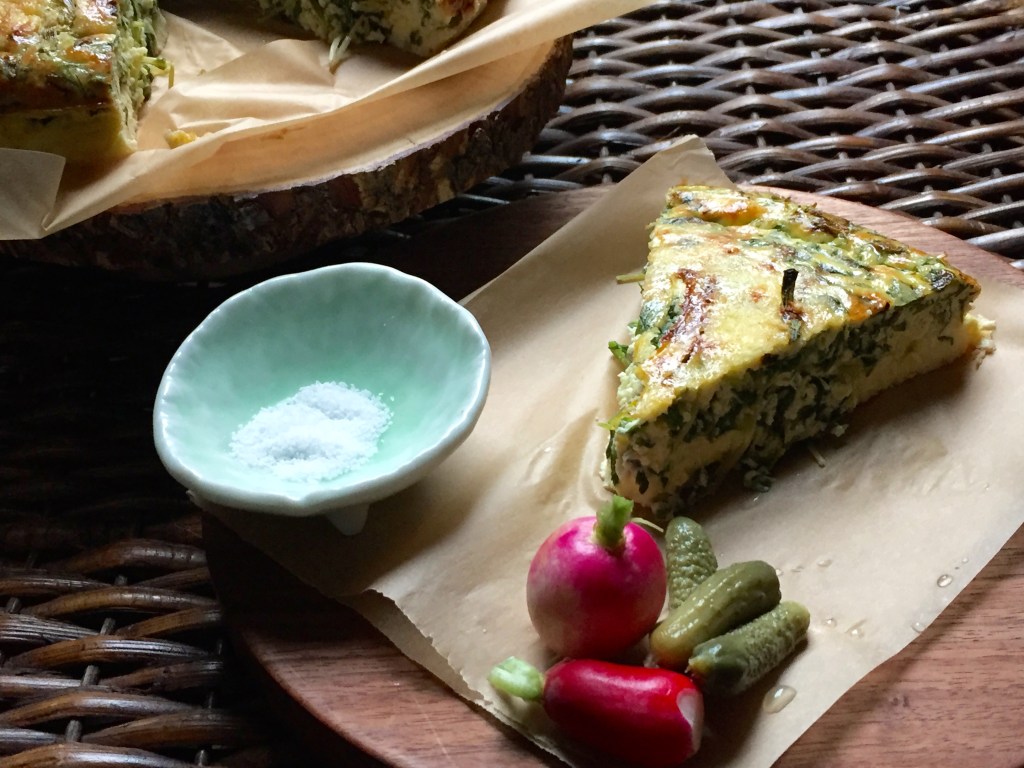
A few more photos of what I have been making recipes to follow!

IMG_0272

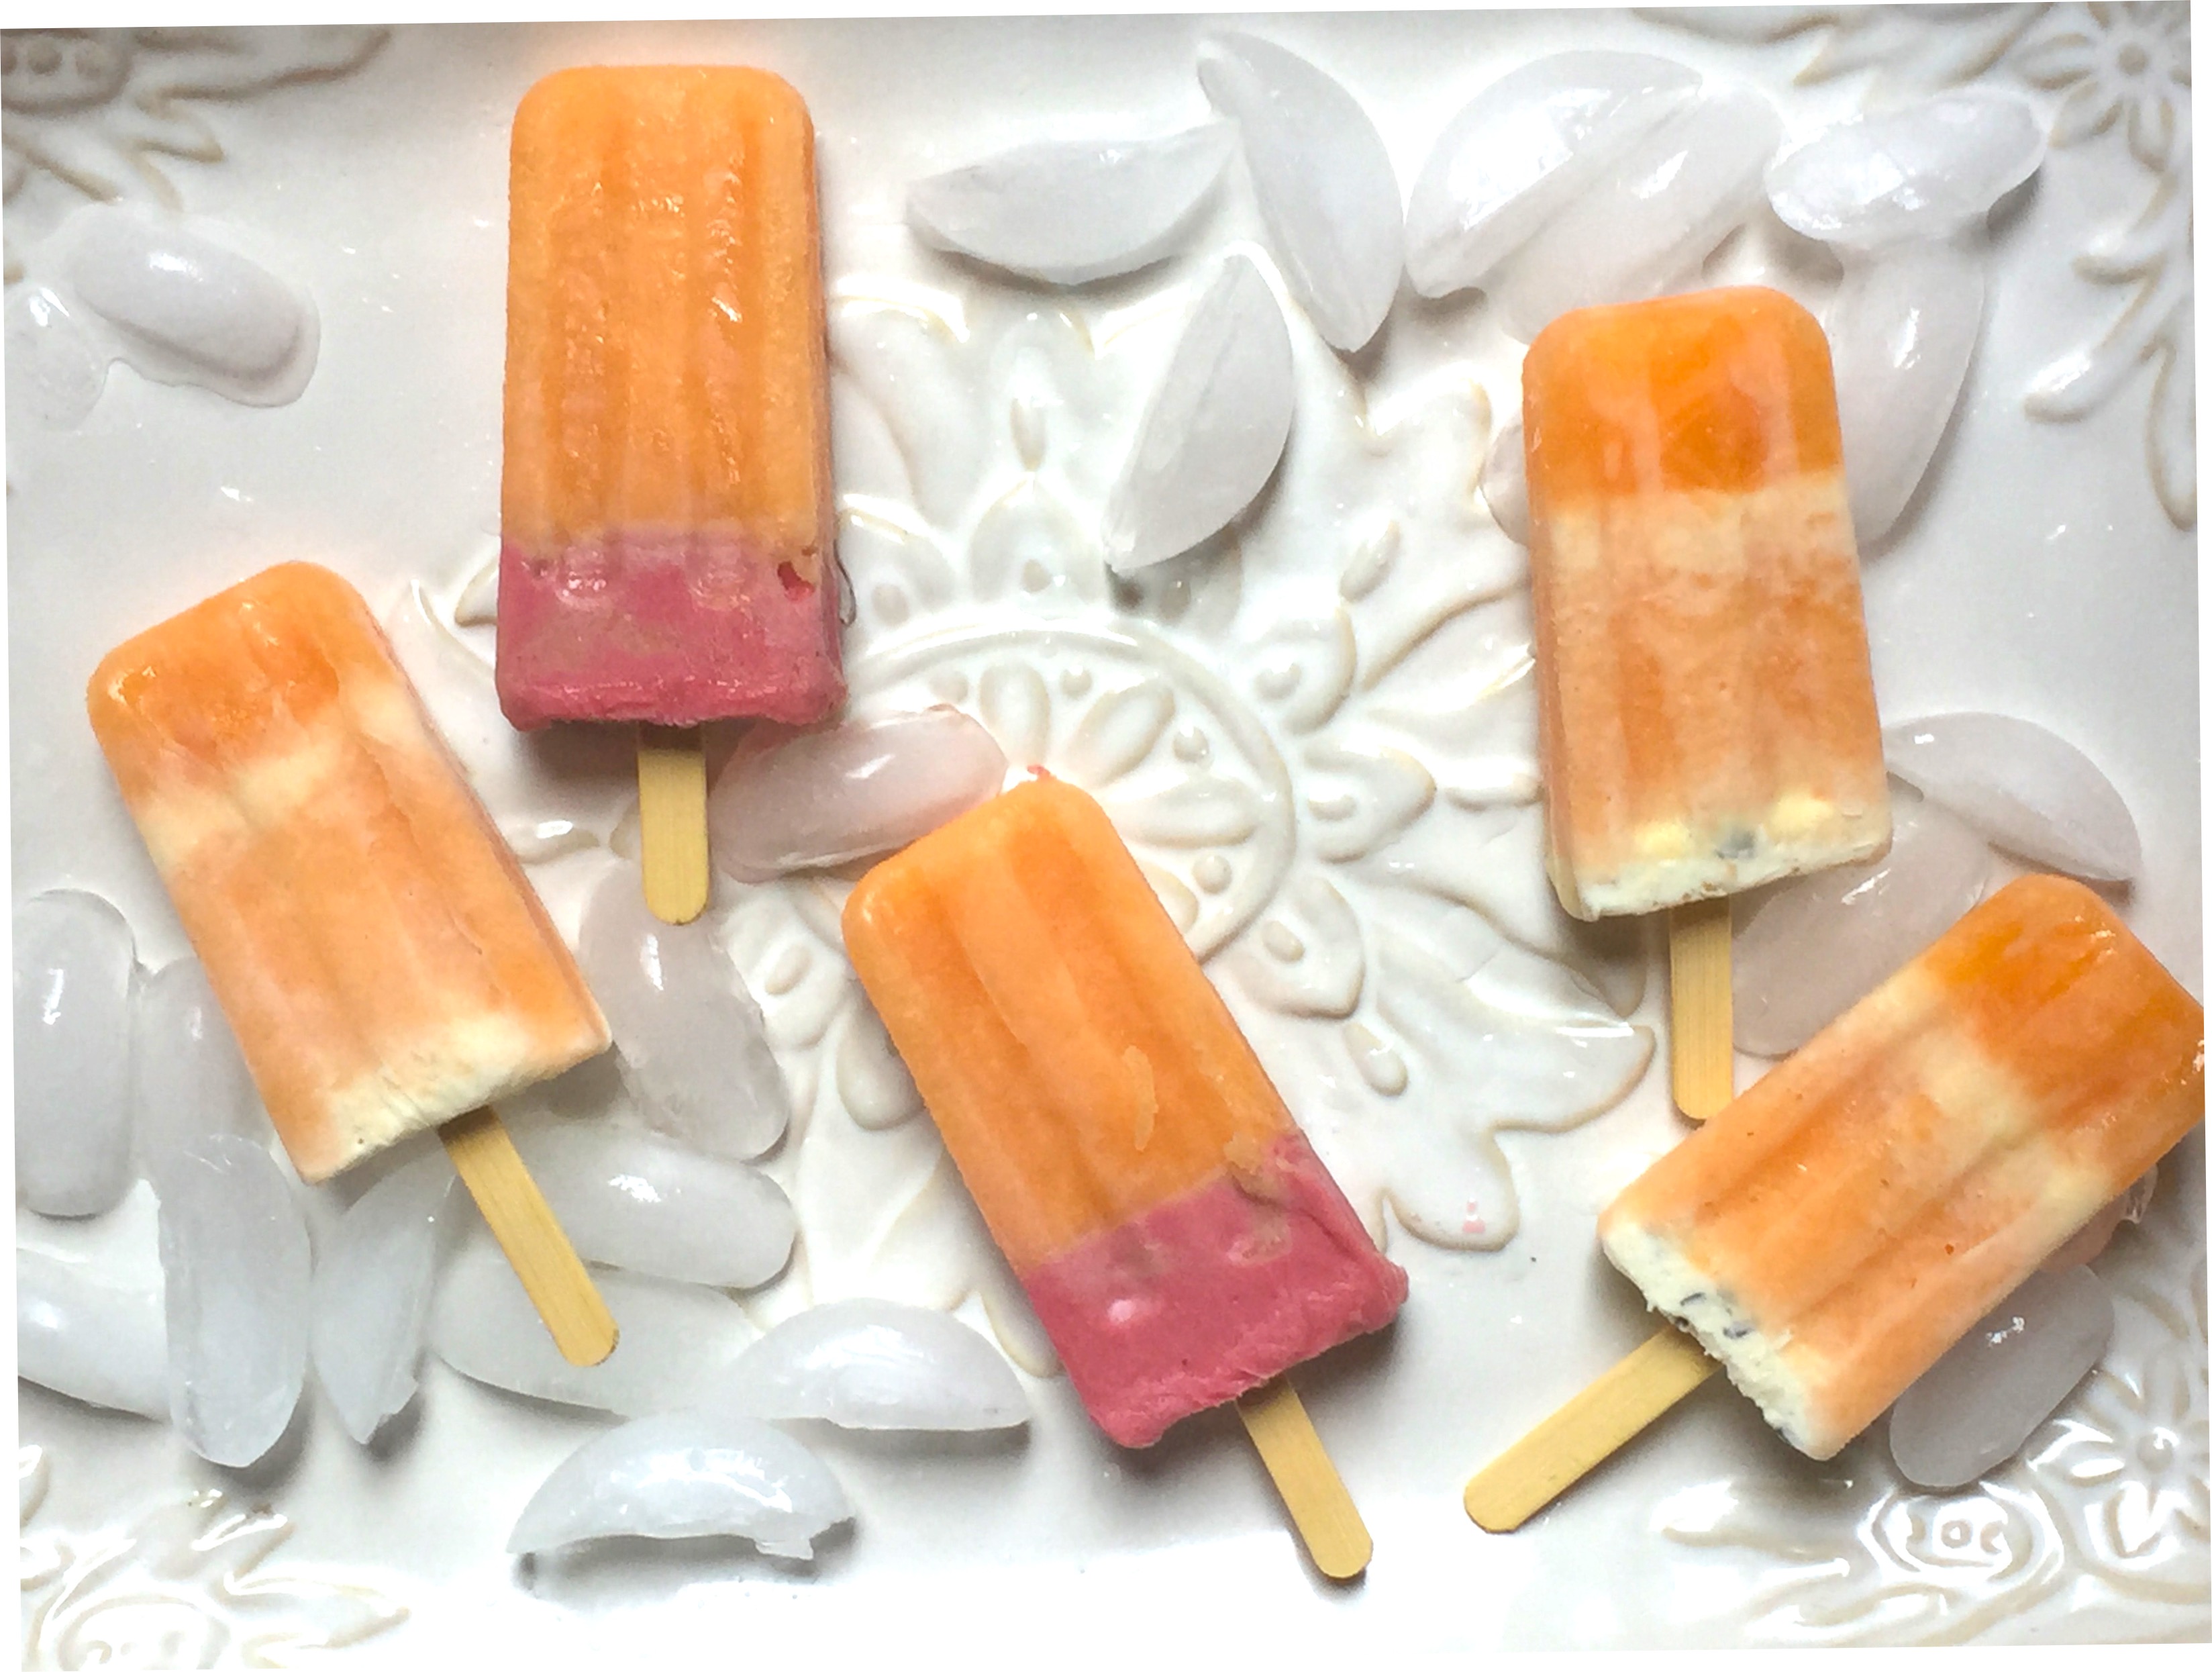
Cantaloupe popsicles

IMG_2719.JPG

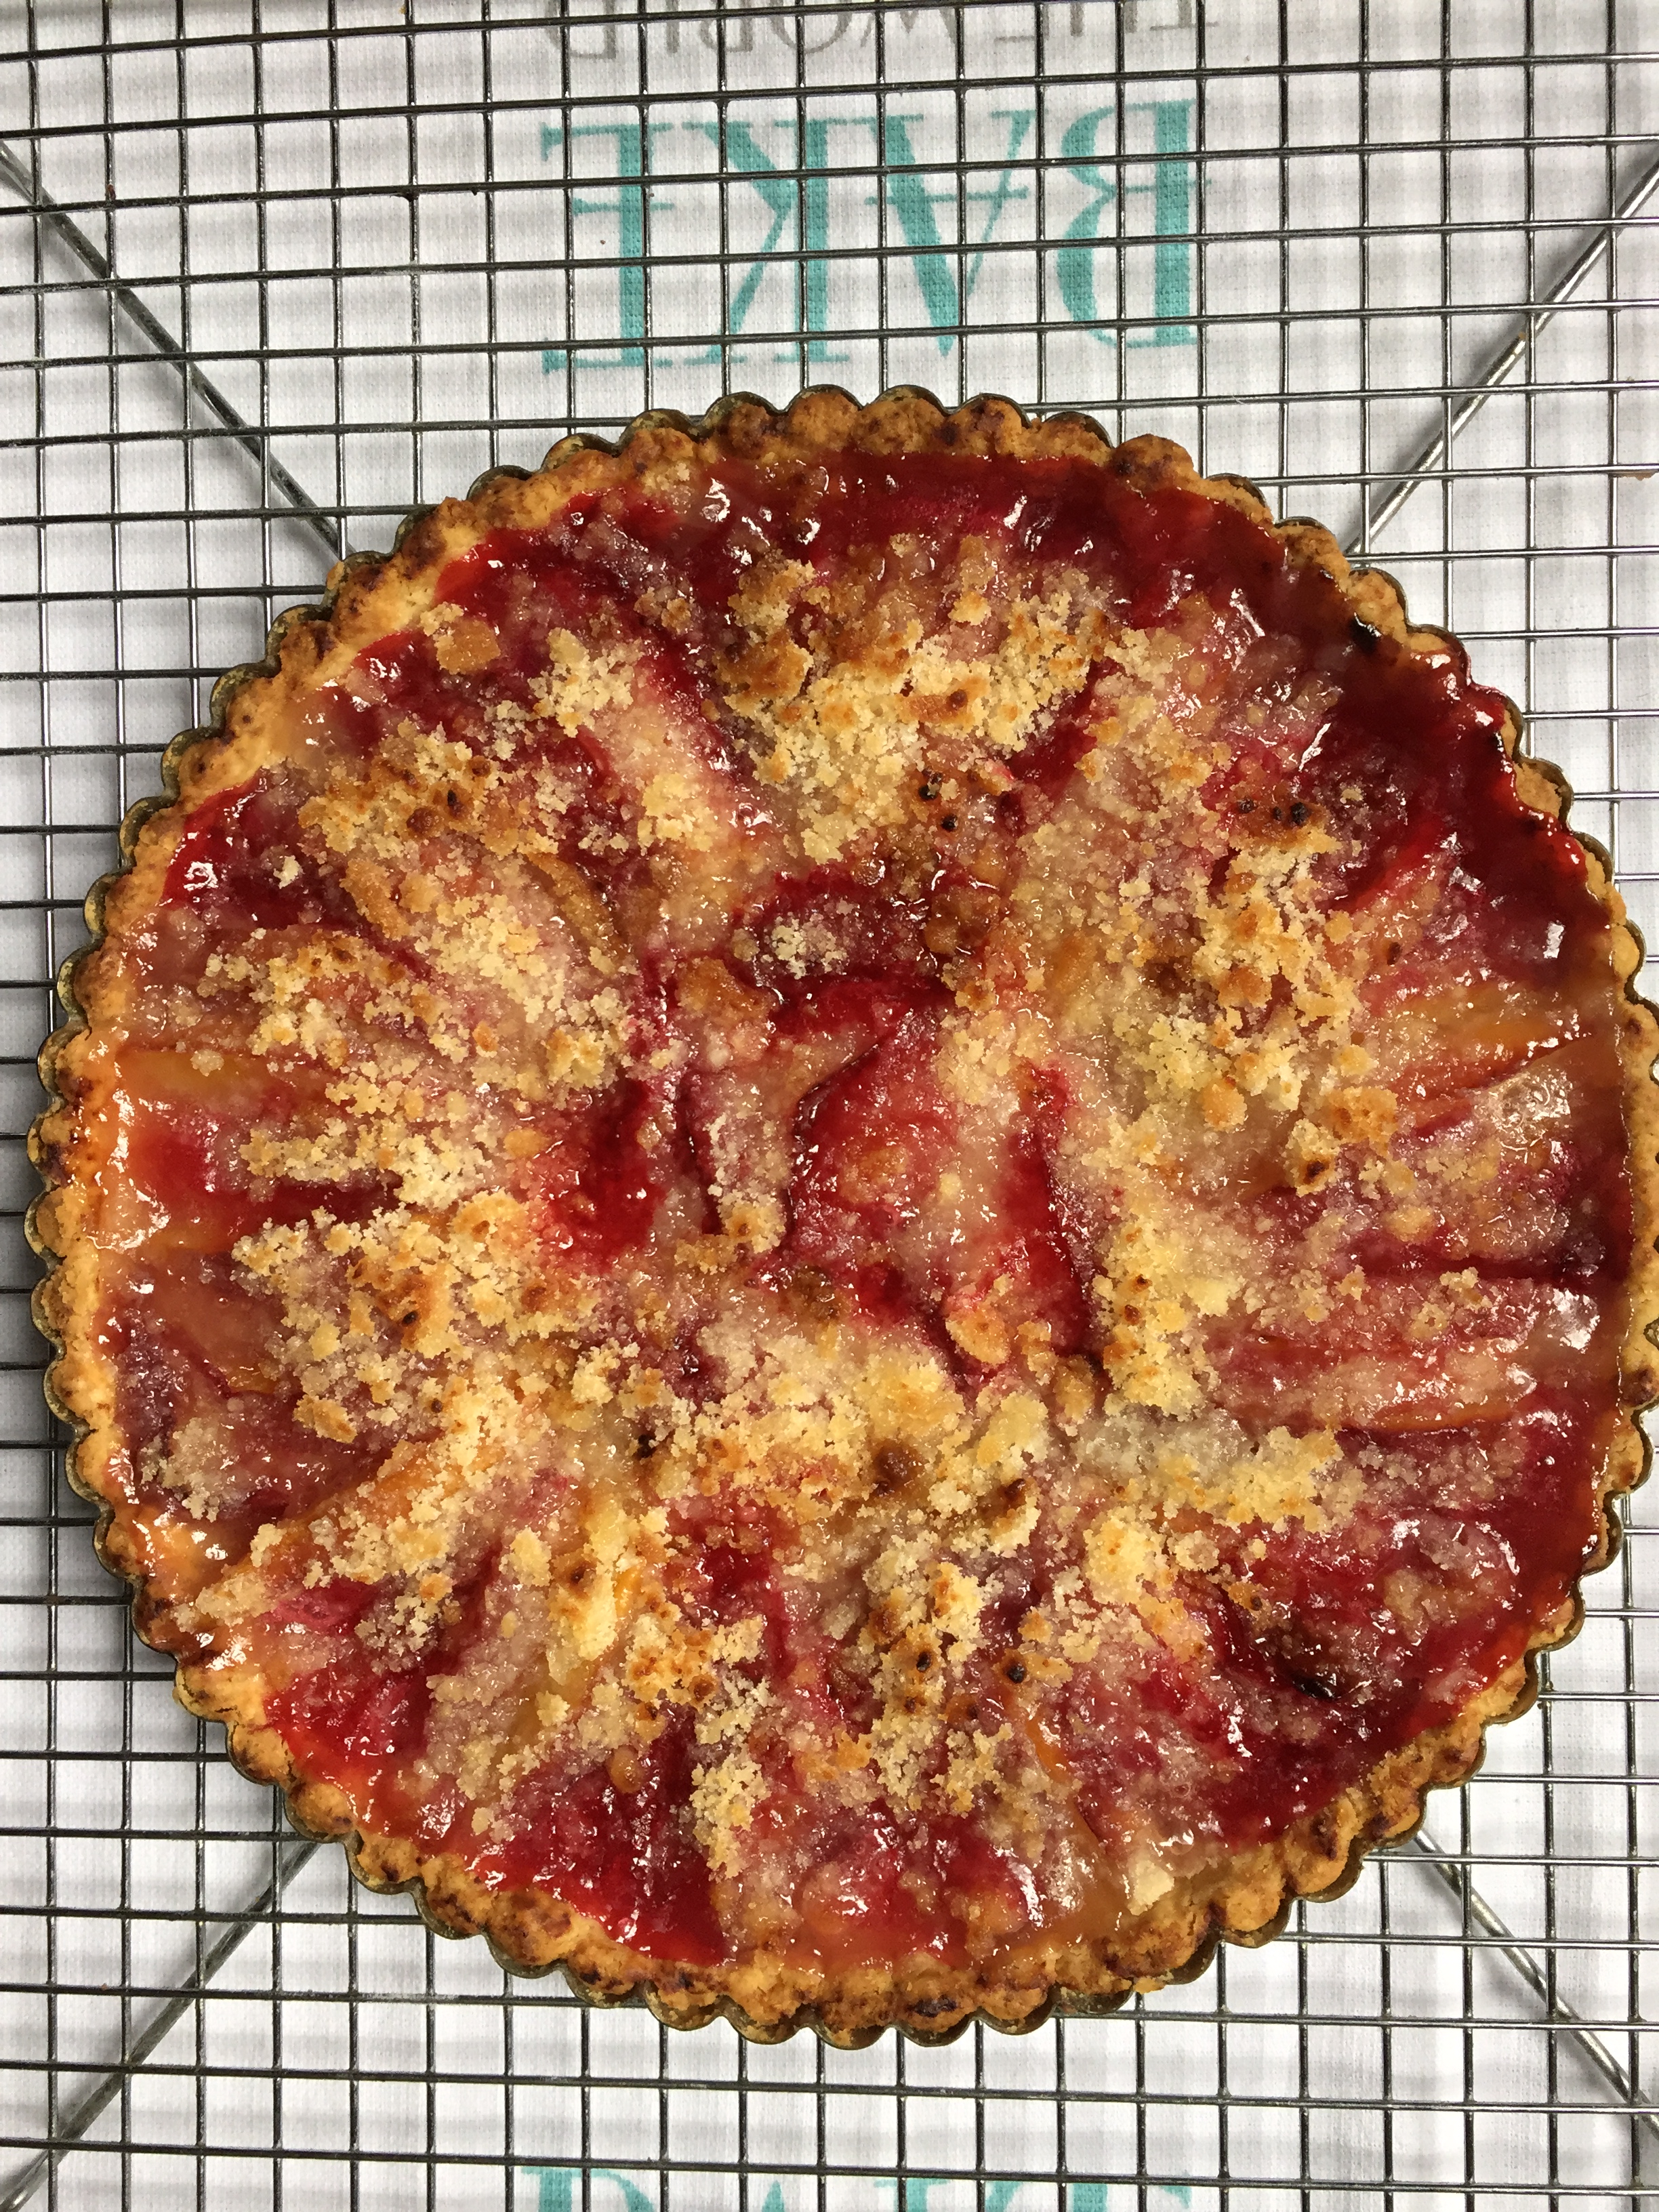
Vegan nectarine and plum tart
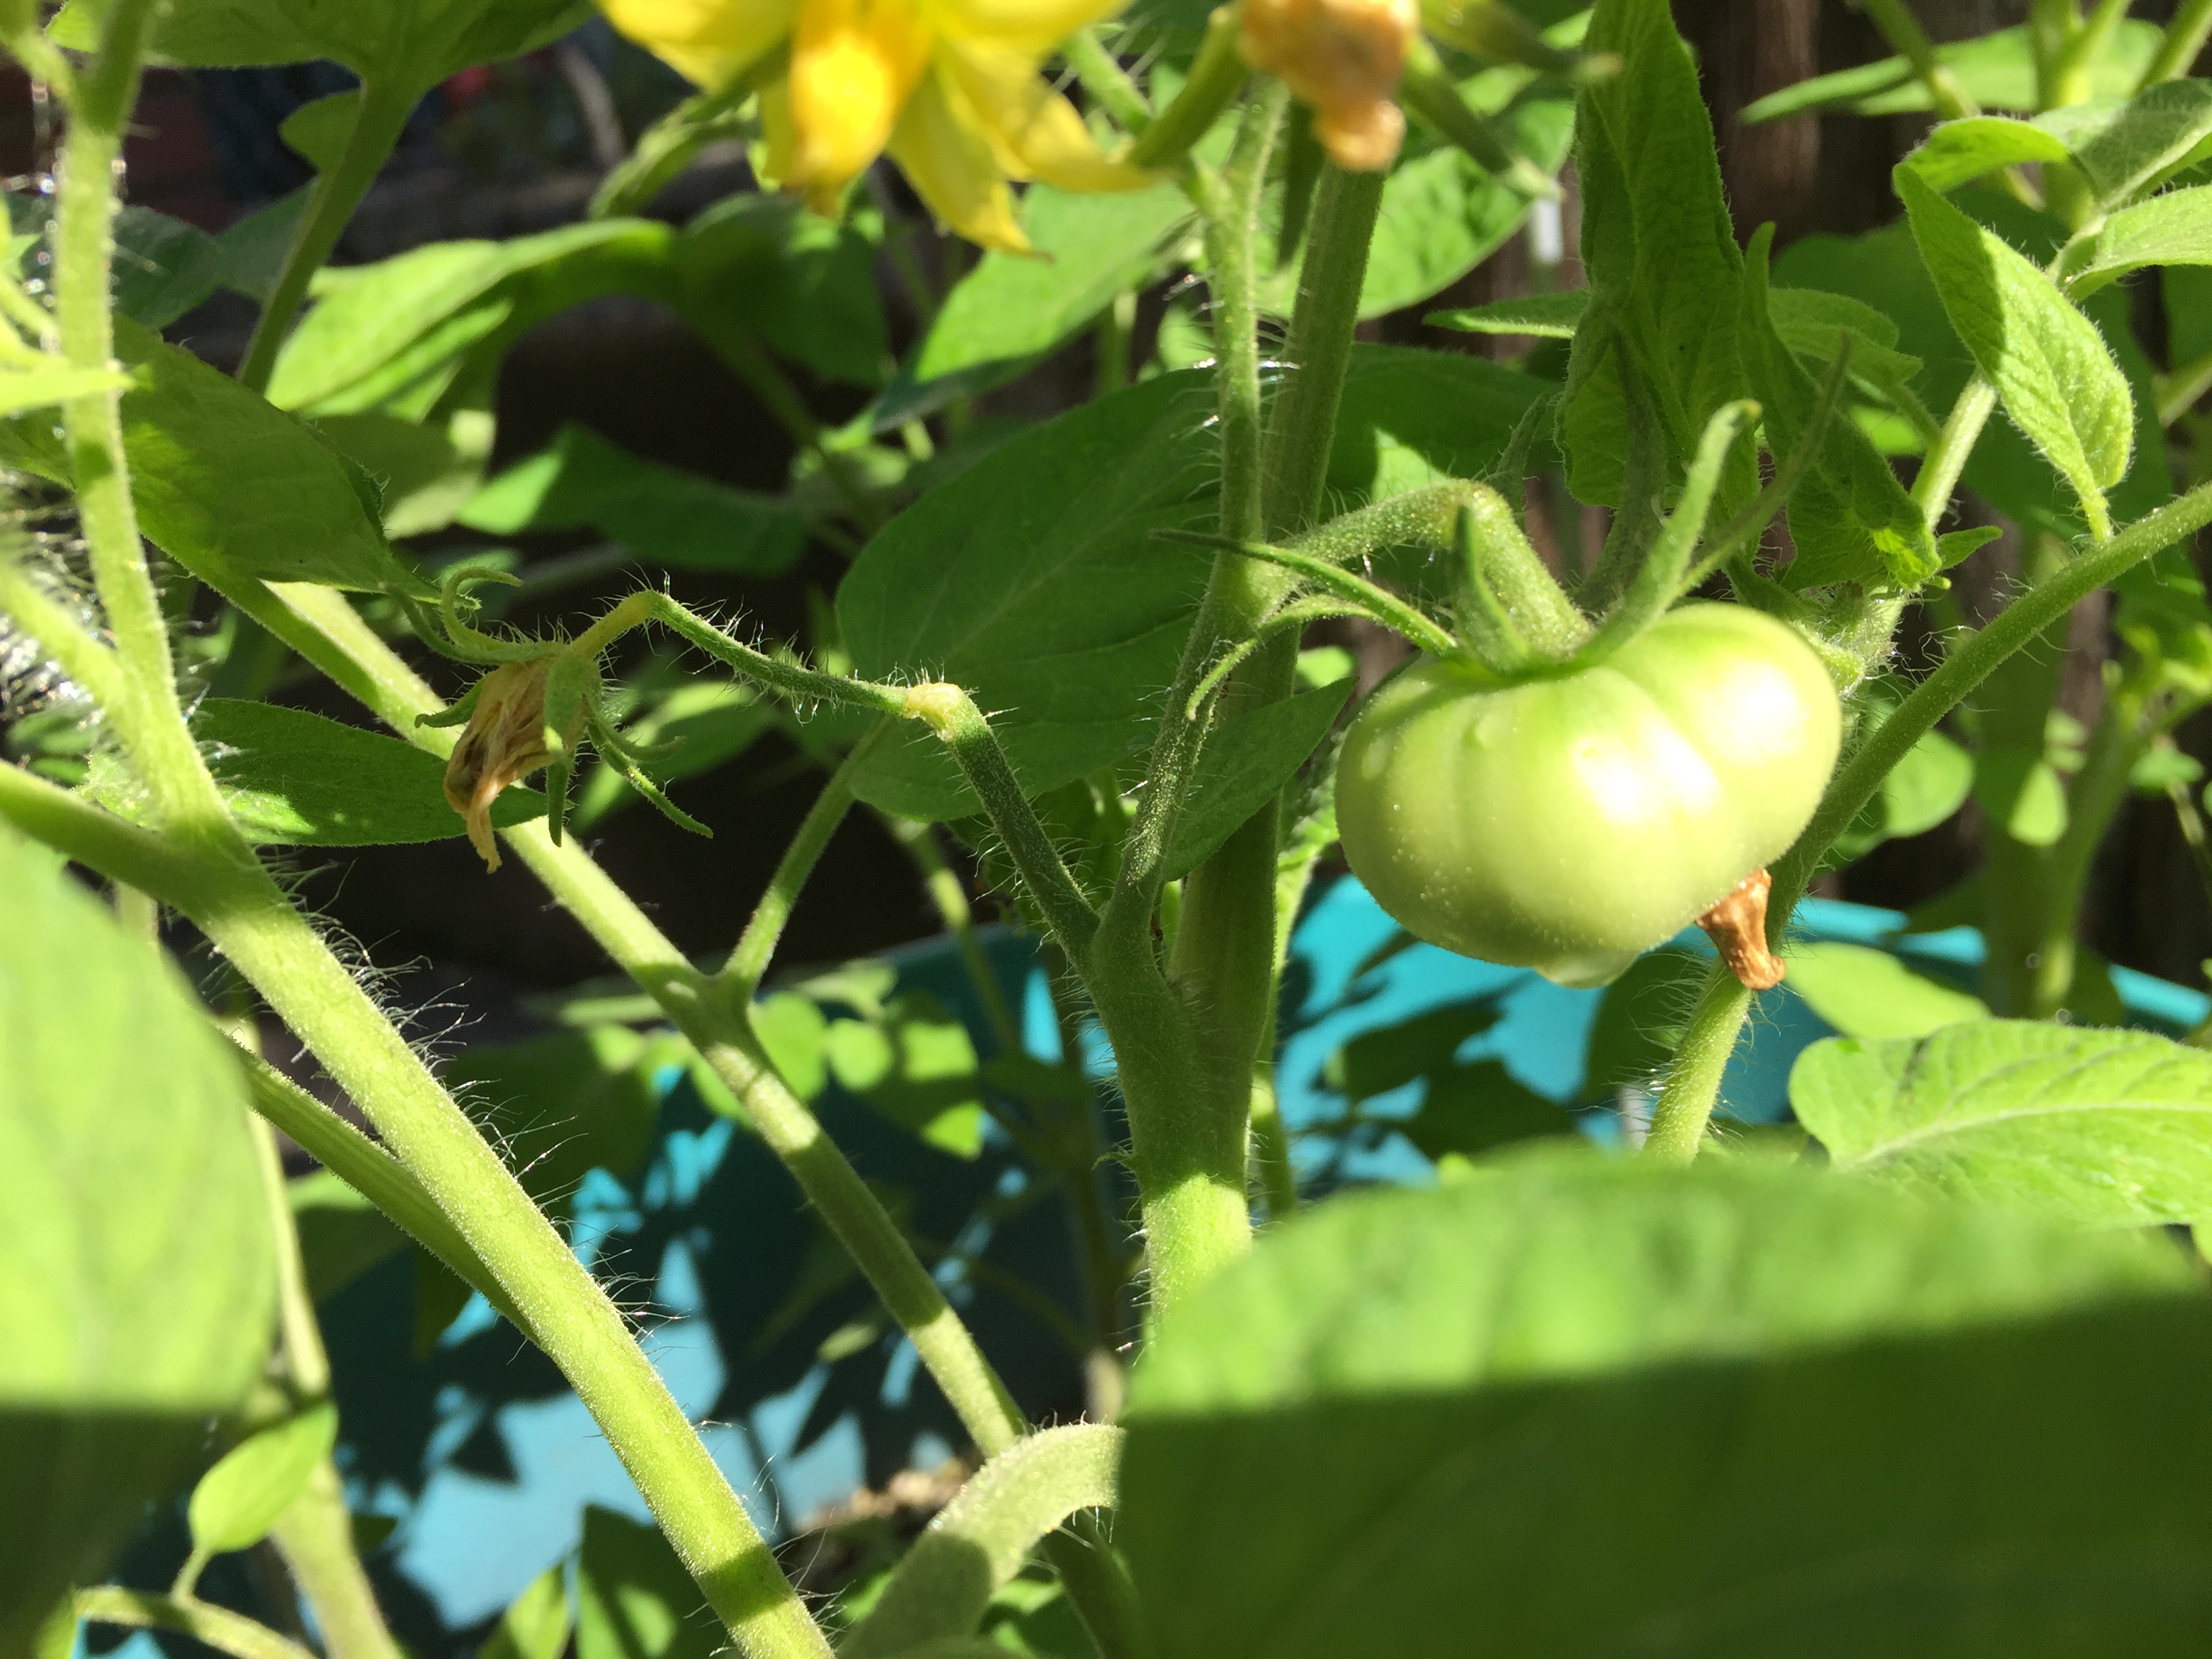
IMG_2745.JPG

My first tomato

Easy Homemade Pita Bread

IMG_2451

Making homemade bread for many seems a daunting task, it can be difficult depending on what type of bread you choose. I become instantly confused when I read about hydration levels and keeping a starter alive has eluded me. I came upon this recipe for homemade pita on Food52 years ago, saved it but have never made it. The recipe comes from Linda aka Lapadia, a great cook and community member and a trusted and consistent source of delicious recipes. This bread couldn’t be easier, it comes together so easily only has one rise of 2 hours and bakes quickly.n

Homemade pita bread is delicious, you can make this and freeze the bread using only what you need or use. I like to heat directly on my gas burner turning with tongs.

I am bringing these with me to fiesta Friday #175 and guess what I am cohosting this week with Monika @ everyday healthy recipes

Hope you all stop by the party it’s always a good time for all!!

Pita Bread

made 10 pita but depends on the size how any the recipe yields

recipe on Food52 by Lapadia

3 1/4 cups bread flour ( I used 3 cups bread flour and 1/4 cup spelt)

2 1/2 tsp instant yeast

2 1/2 tsp salt

1 1/2 cups lukewarm water

Mix all ingredients together and gather with your hands into a cohesive ball. Cover with tea towel and let rise in a warm place for 2 hours or until doubled in bulk.

heat oven to 500 degrees. Pita likes a hot oven.

break off pieces of dough and roll into a circle fairly thin approximately 1/4 inch thick. Place on baking sheet and bake until lightly browned and puffed about 8 minutes.

I made a sandwich with homemade black bean veggie burger, micro arugula, pickled vegetables, tomato and thousand island dressing.  It was So good,  good highly recommend that you try making this bread.

IMG_2462

Watercress Ricotta Torte

I  got a bit sidelined recently and although I made this recipe over a week ago it is just getting posted today, this recipe is delicious, easy to make and feeds an army. I was immediately drawn to it because there is no pie crust involved and it is similar to a quiche without the carb laden crust. The recipe is from Saveur, I made a few changes as I didn’t have quite enough watercress and I had some pea shoots in the crisper. They say to make it in a 9 inch spring form pan,I only had a 10 inch so added extra ingredients so it would t be as flat as a pancake. I also added more whole eggs and only 2 egg yolks. The beauty of making savory food is that you can adapt and get creative with ingredients. Here is the original recipe Watercress Ricotta Torte .

I am still trying to post using my iPad until I can purchase a new computer. Hoping that I am able to retrieve all of my documents and things that were on there, won’t know until I take it into the Apple Store and they take a look at it. I really don’t like using the iPad probably because I am not used to it. At least I can post albeit with some difficulties.

Watercress and ricotta torte

serves 6-8 generously

unsalted butter softened for greasing the pan

2 cups cleaned baby watercress chopped

1 cup pea shoots

3 cups ricotta cheese

1/2 cup creme fraiche or sour cream

1/2 cup grated parmigiano reggiano

1/2 cup asiago grated

8 whole eggs

2 egg yolks

pinch of nutmeg

salt and pepper to taste

zest of 1/2 lemon

4 scallions ends trimmed and left whole roasted until softened and lightly browned

Heat oven to 325 degrees. Grease well your springform pan. Microwave the watercress for 60 seconds and set aside. Chop pea shoots.

Add to a medium bowl the ricotta and sour cream, most of the grated cheese (reserve a little to sprinkle on top of the torte), the nutmeg, eggs and yolks, lemon zest and salt and pepper. Beat to combine and add the watercress and pea shoots stir just until combined.  Pour into the prepared pan top with the roasted scallions and sprinkle with the remaining grated cheese. Bake for 45-60 minutes. The middle will slightly jiggle. Remove from oven and turn on the broiler, place u dear the broiler until top is browned. Remove from oven and let cool in the pan, best served warm or at room temperature.