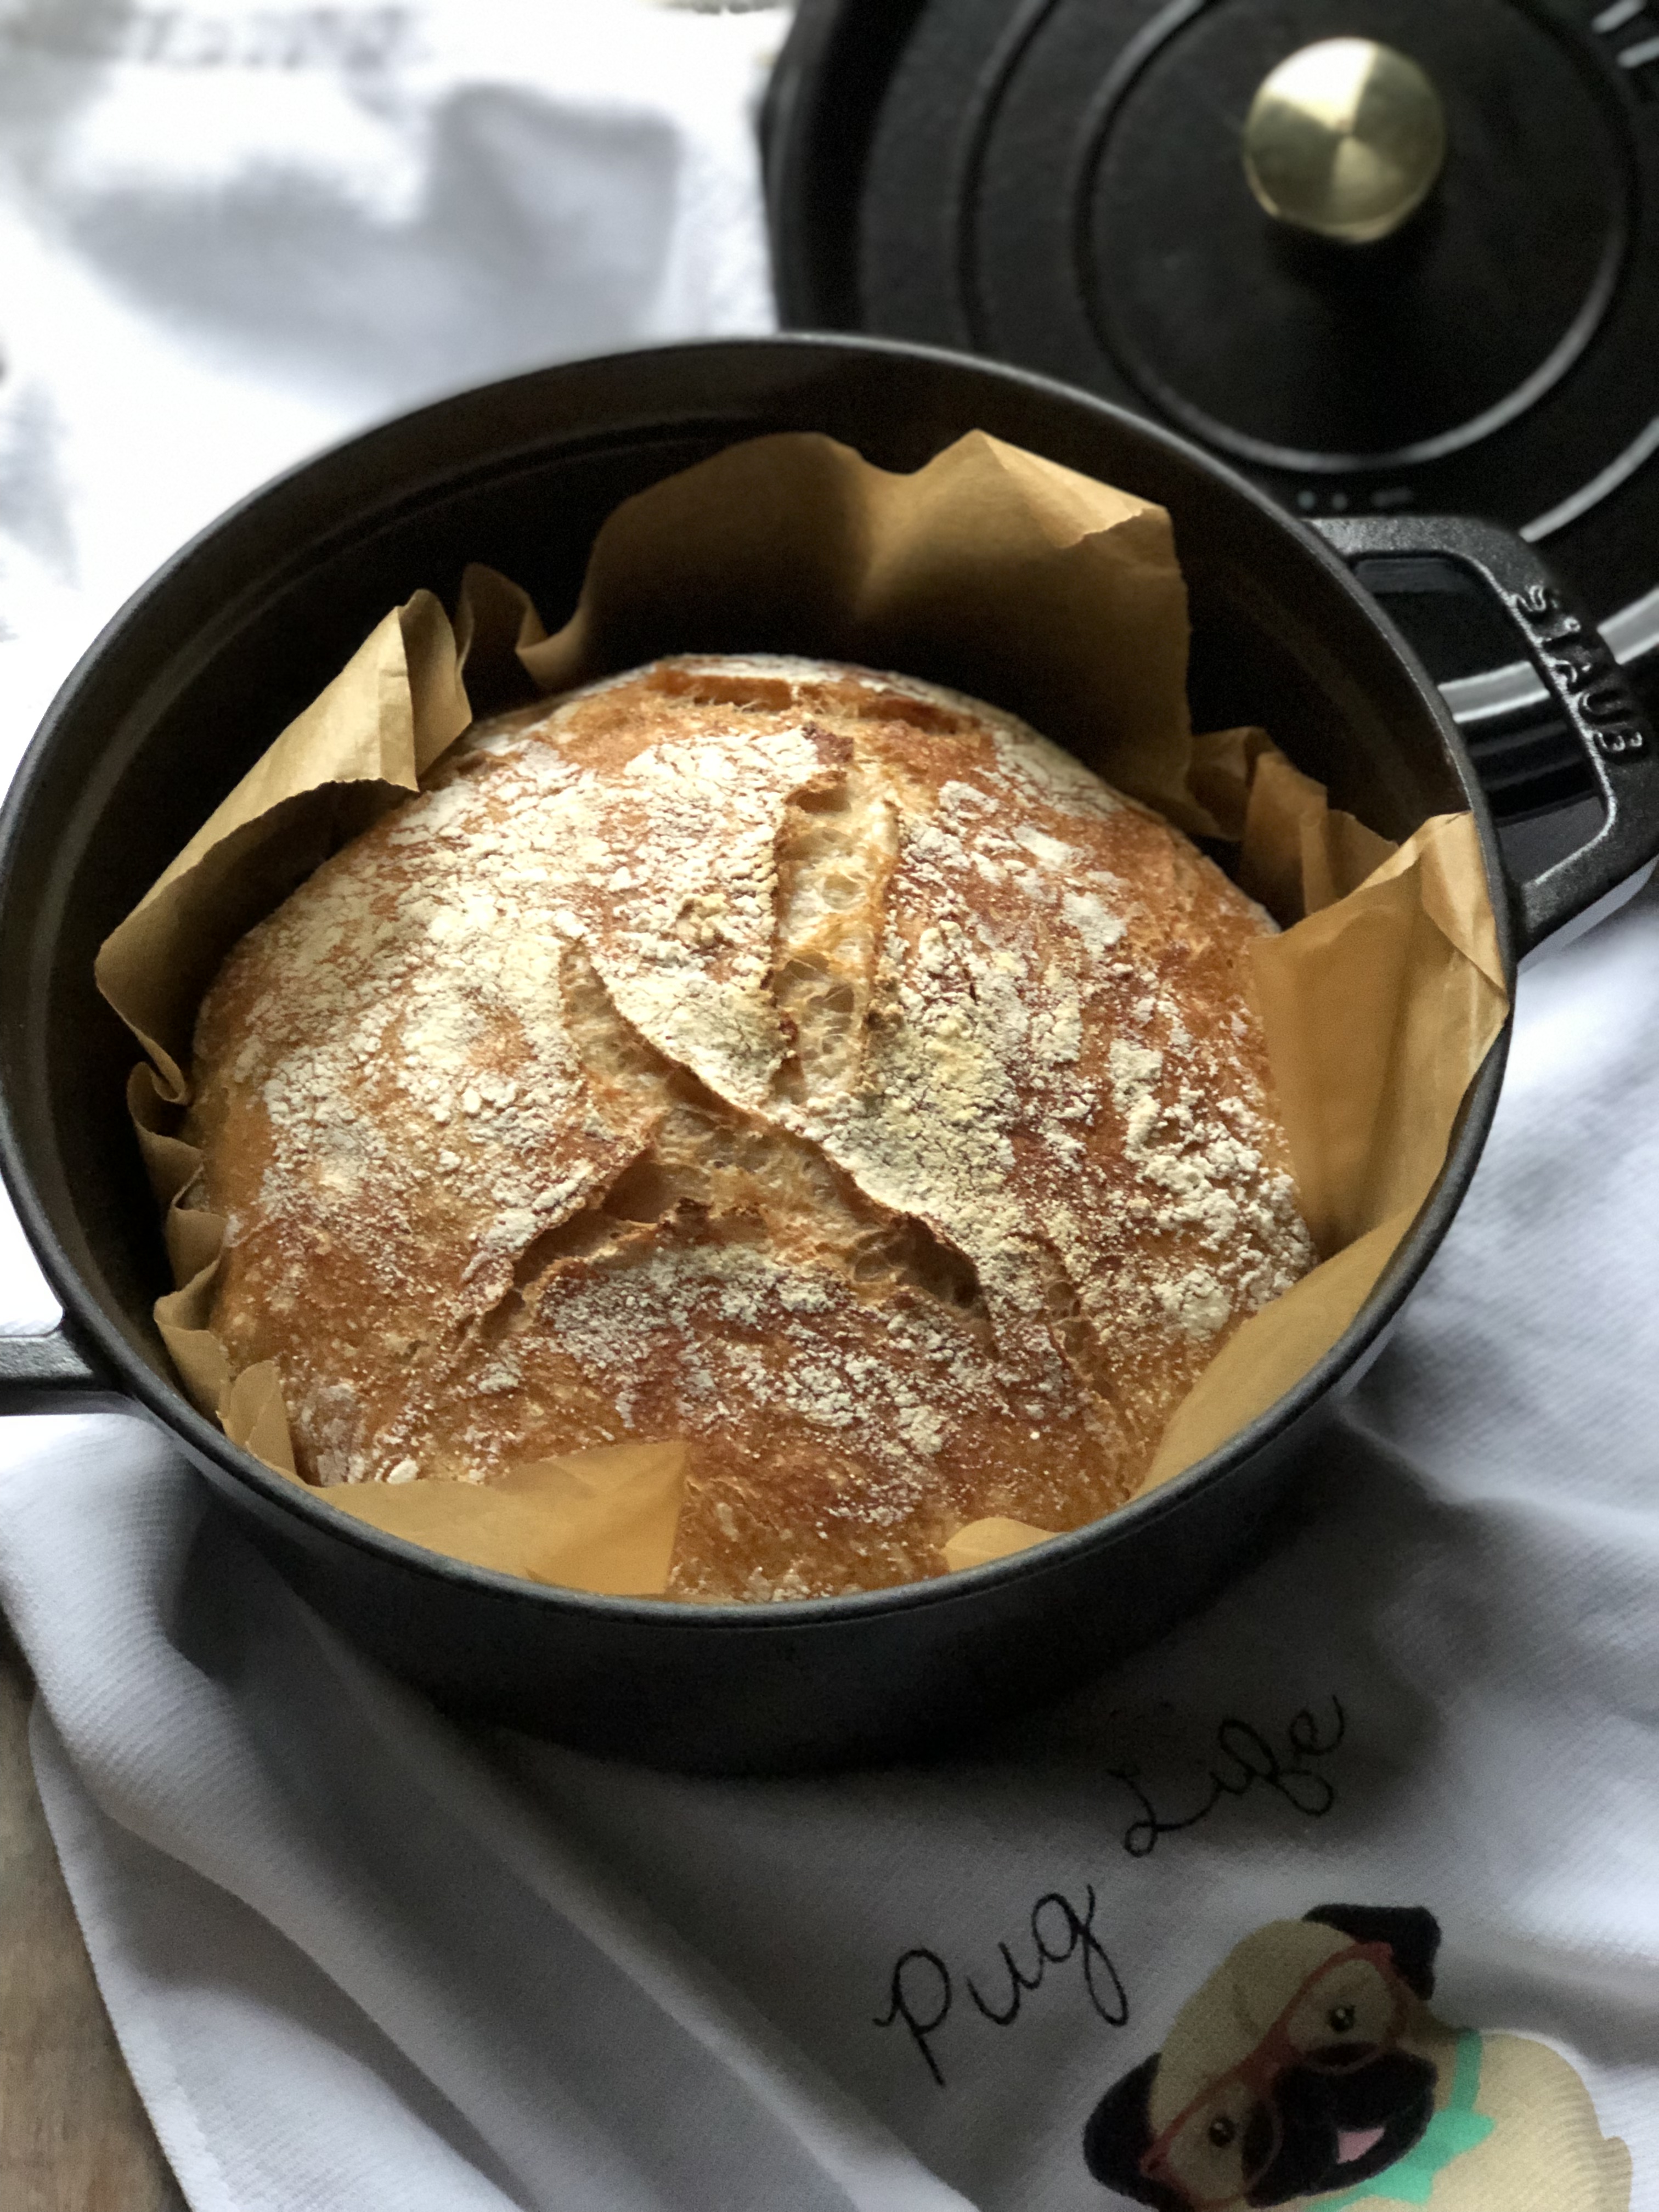
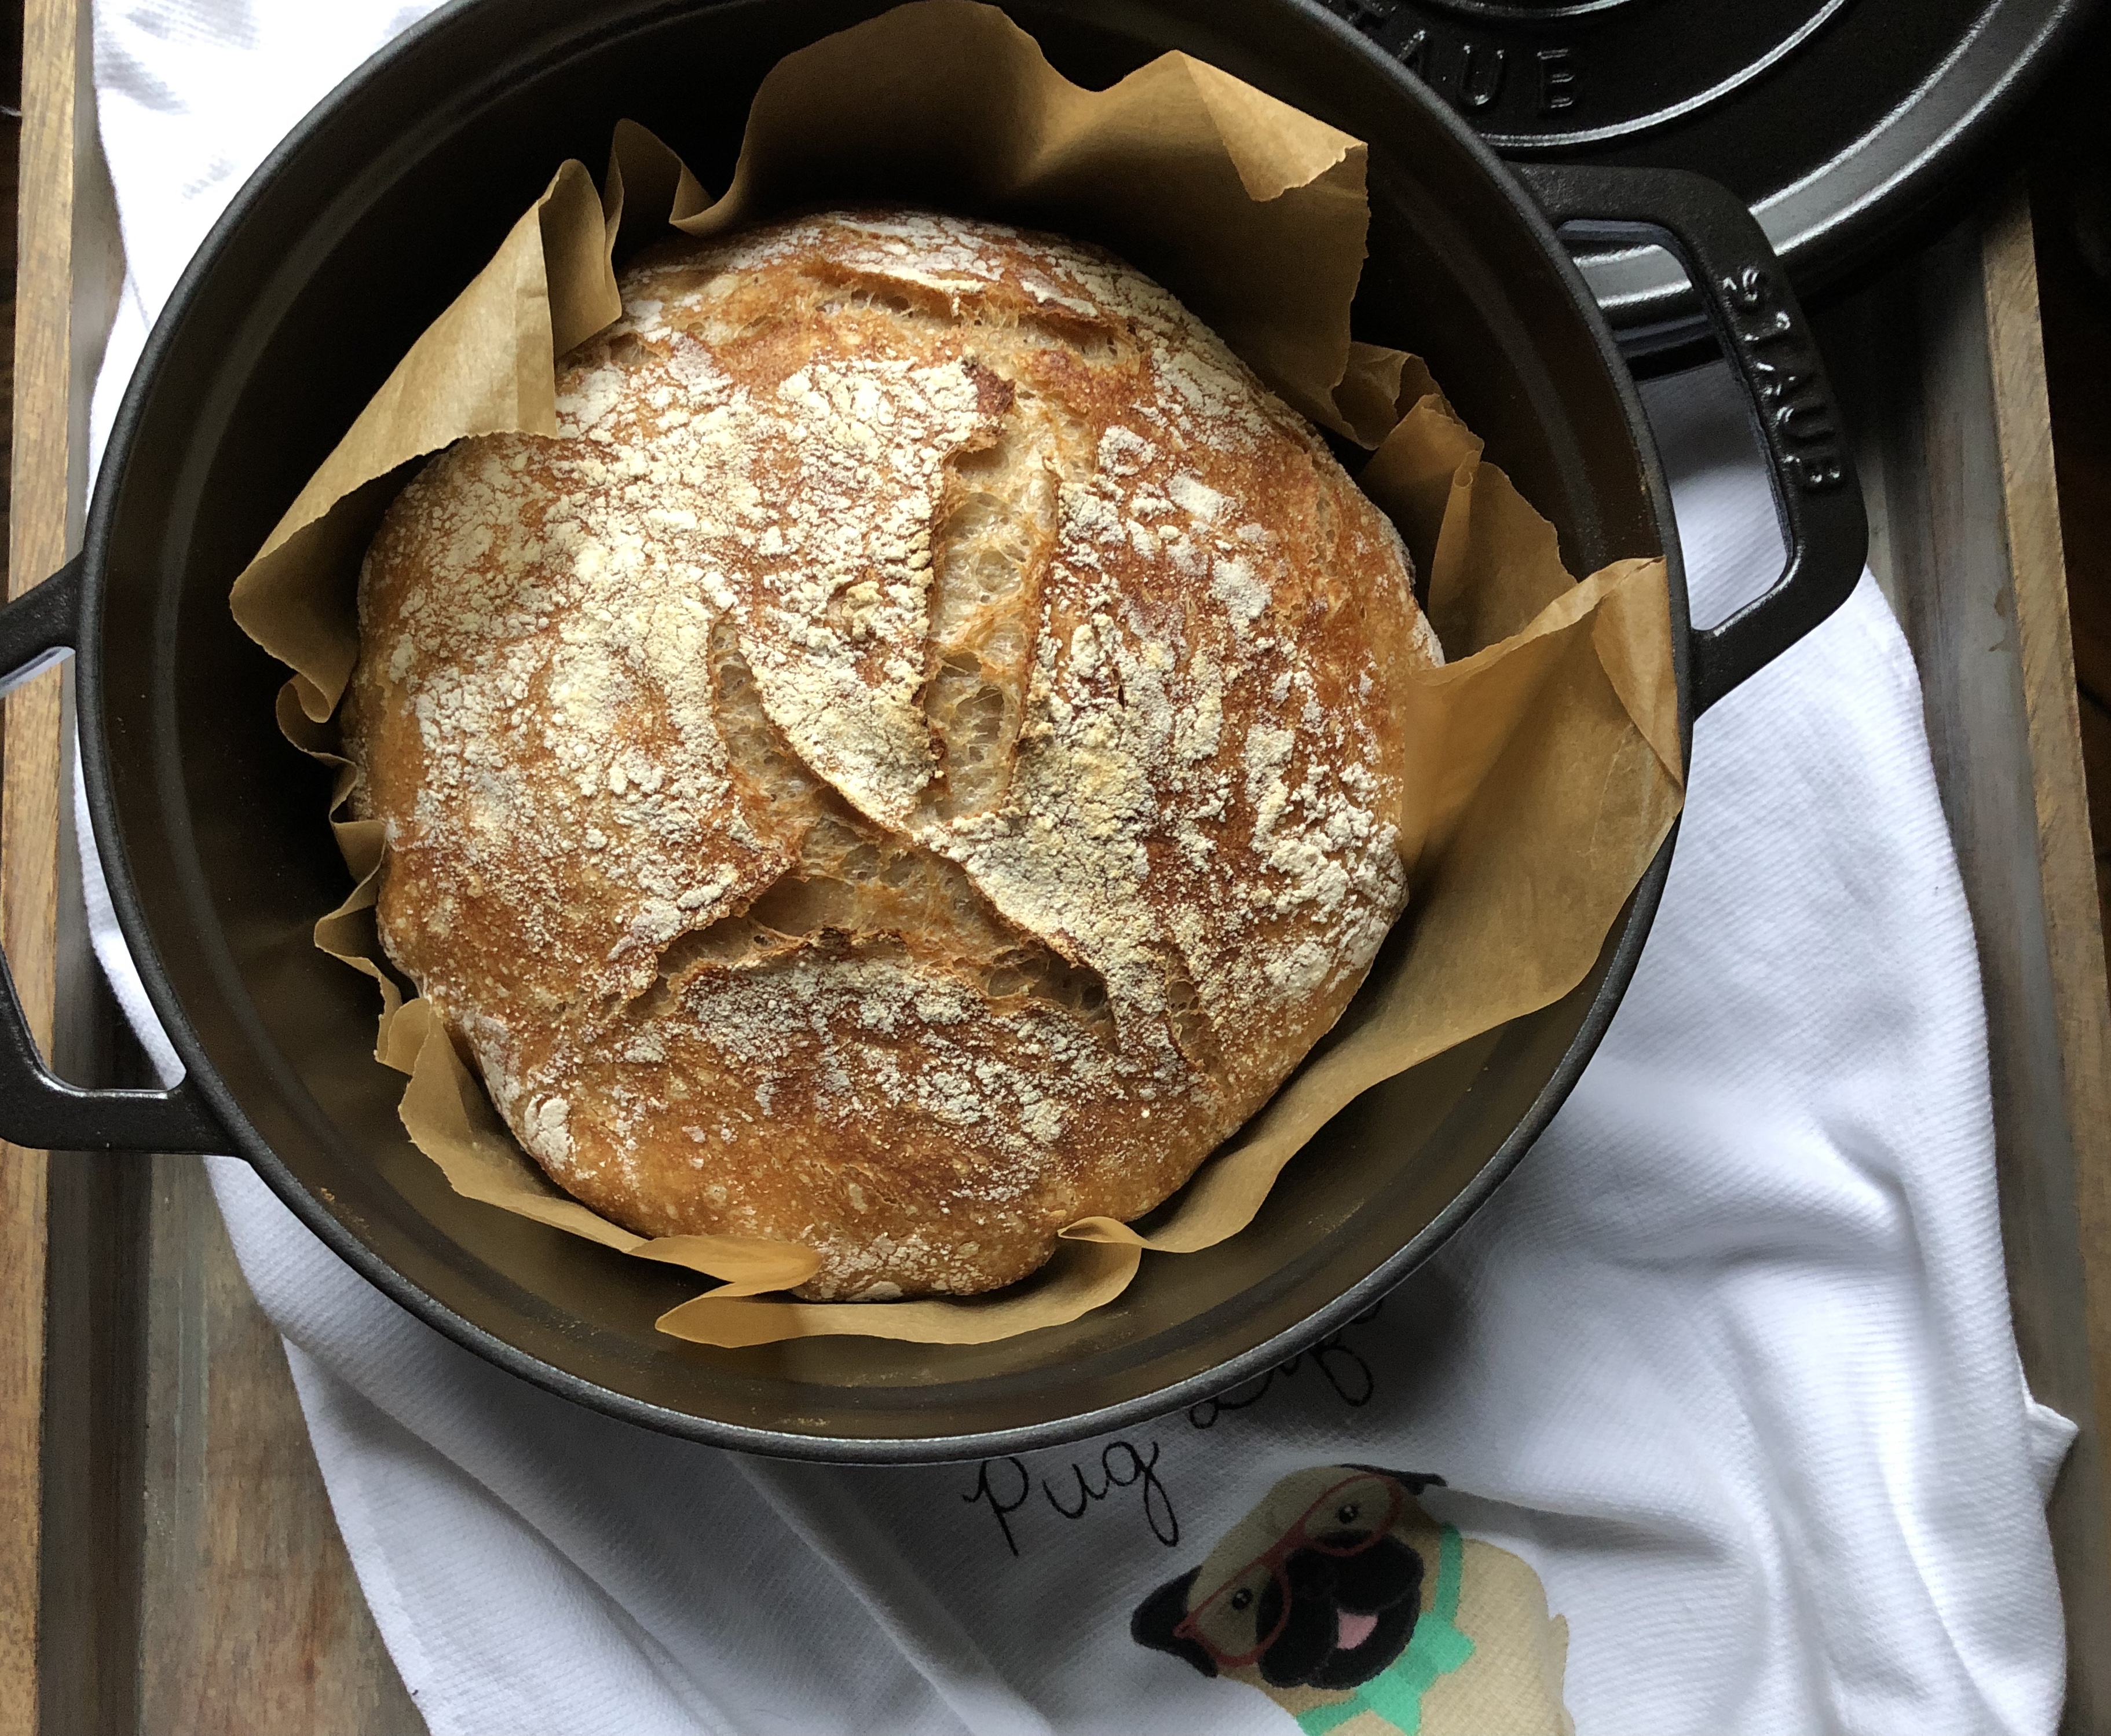
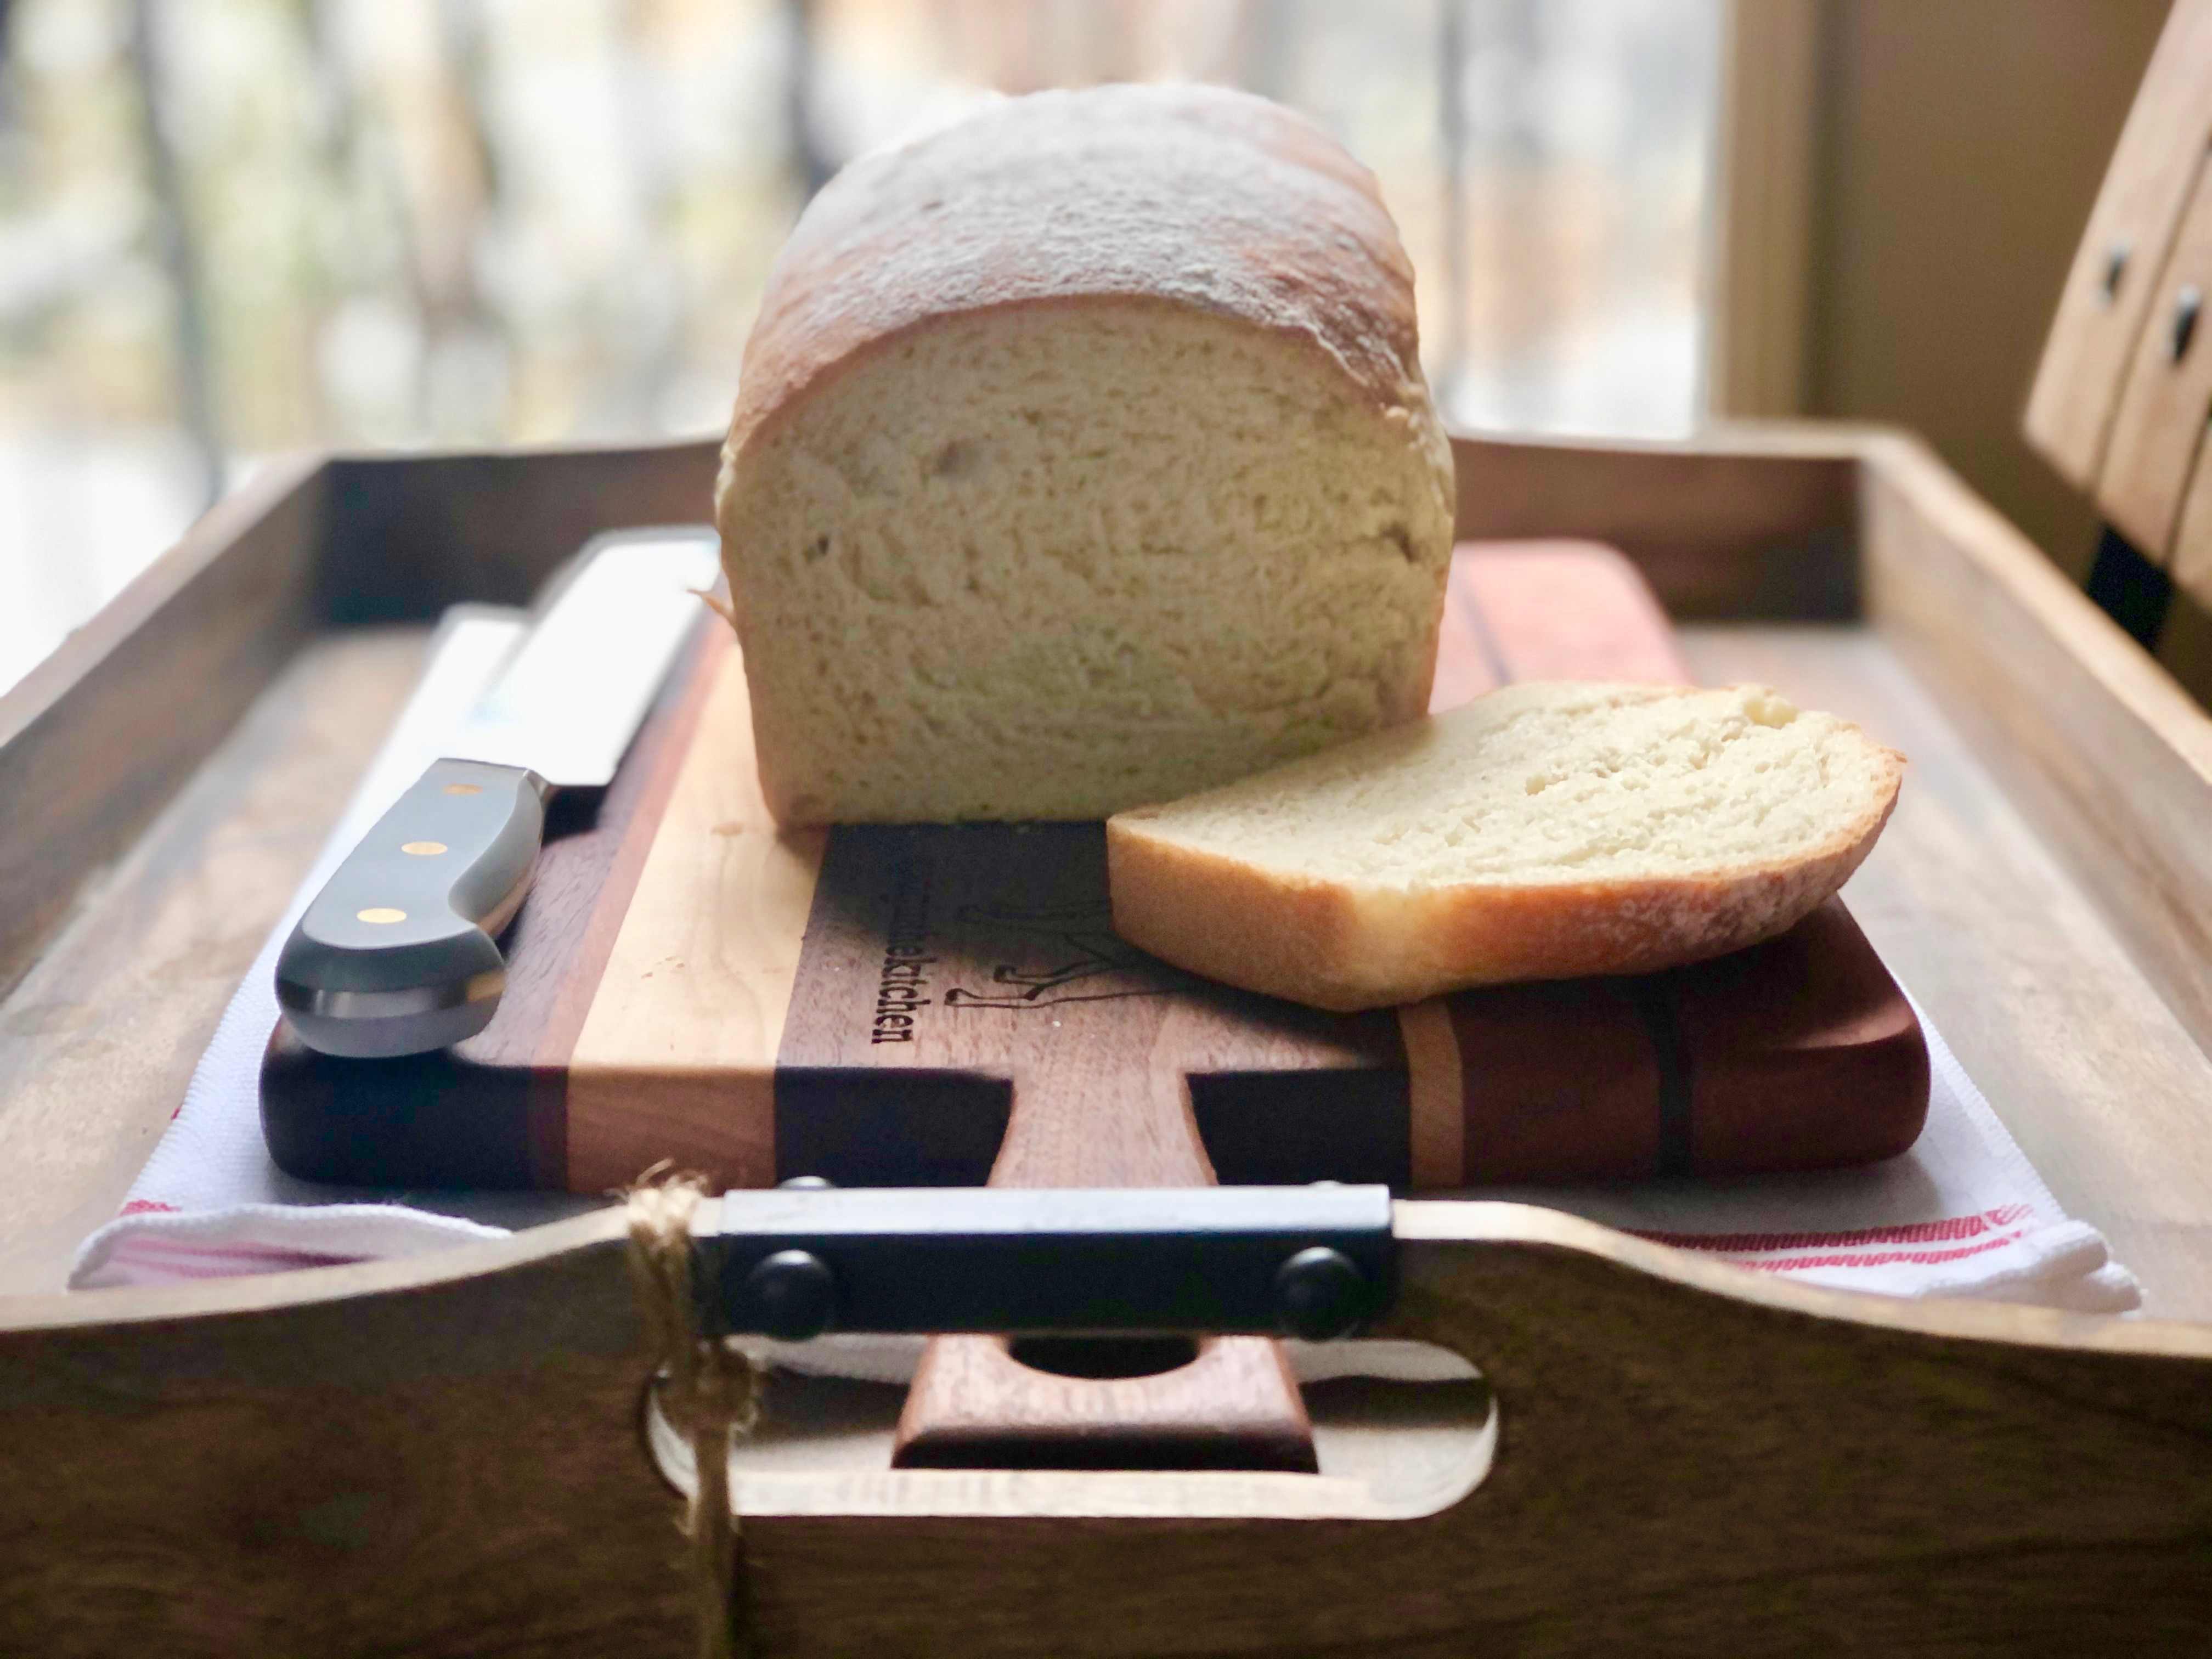
Sourdough Sandwich Bread
I’ve been baking a lot of bread since the pandemic began last year. Finding a good sandwich loaf proved to be more difficult than I anticipated until I came across this recipe on the King Arthur Website for Sourdough Sandwich Bread it did not disappoint, its soft but not spongy like wonder bread, slices beautifully and has a great texture, and it couldn’t be easier to make which is really important. Pictured below is my sourdough starter which I have neglected, left hibernating in the refrigerator and ignored for months at a time even with all that when I take it out of hibernation and feed it the starter comes to life stronger than ever. I got this starter over 2 years ago from Elaine of Elaine’s sourdough (she has her first cookbook out too everyone) Her master recipe is awesome and is getting worldwide recognition, congratulations to Elaine!
I just have to say that I am not impressed with the changes to WordPress, is anyone else having problems? I can’t navigate easily, could not add photos, had to drop them in my computer file. I can’t figure out how to preview a post, not happy with this at all. Ugh…..
As a point to reference this bubbly starter sat in my refrigerator more than 6 months untouched and look at how lively it is!!
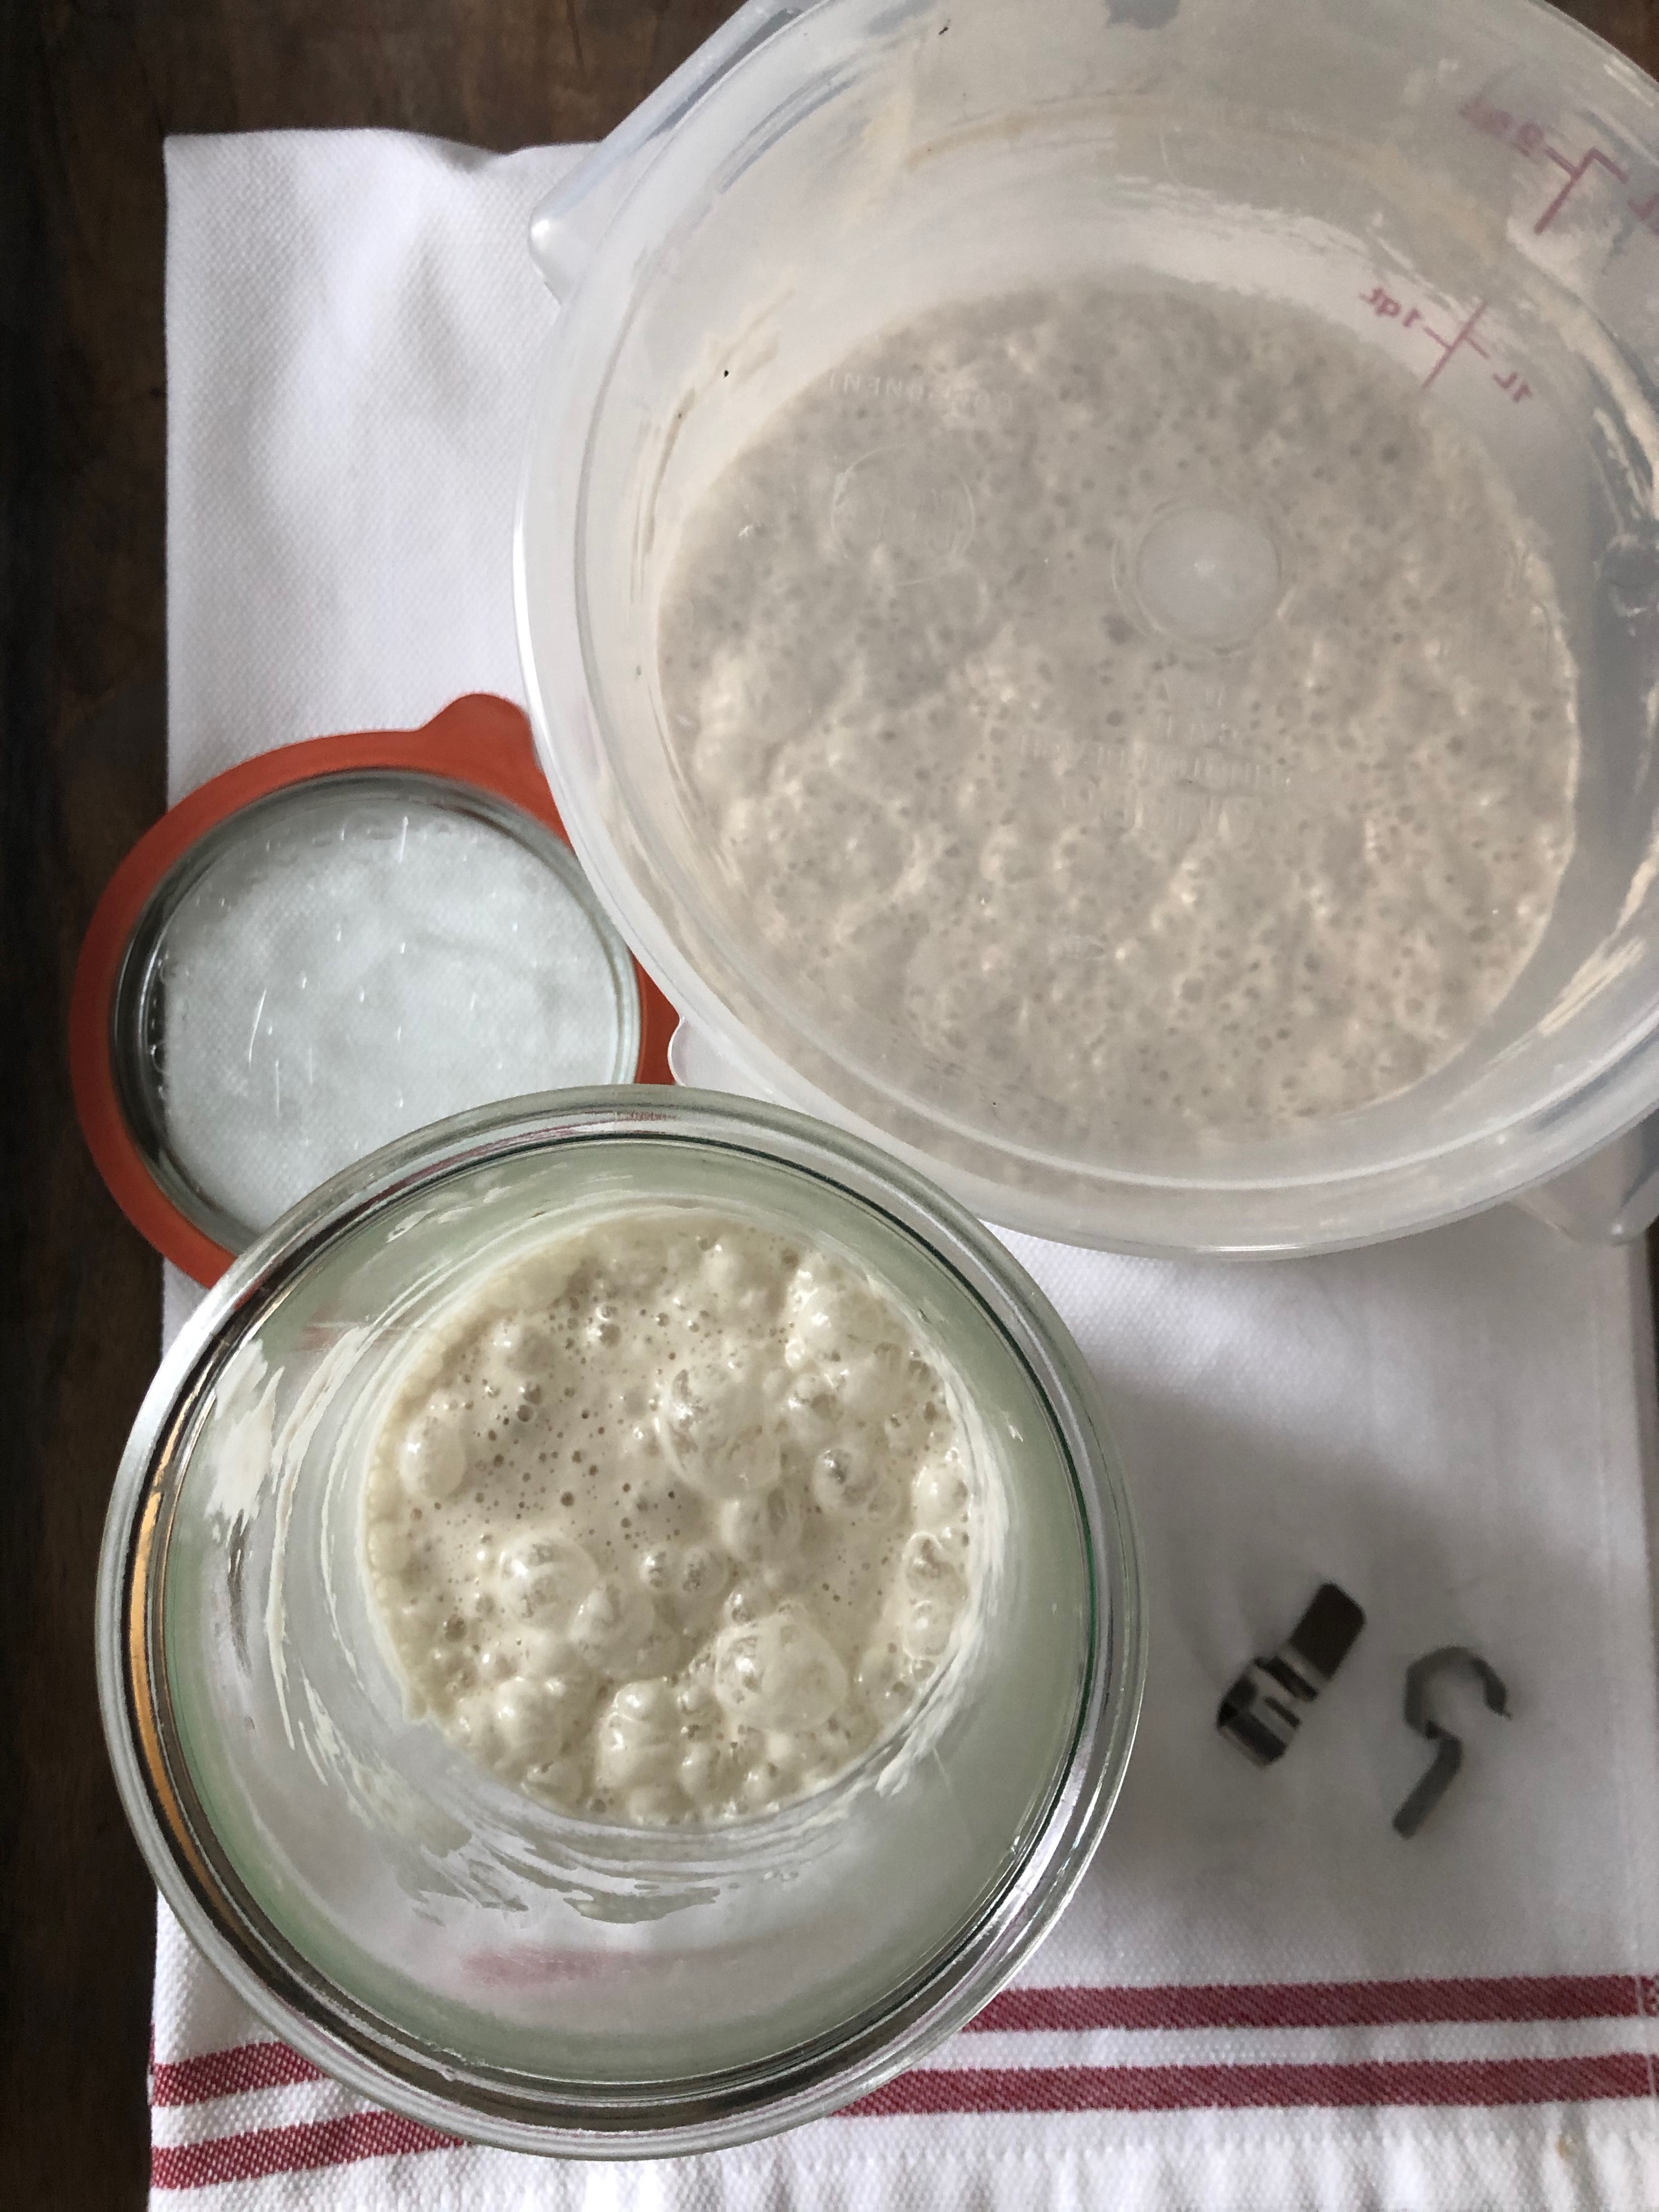
This recipe uses a levain which is made the night before you actually make the bread. It sits all night (12 hrs) on the countertop. The recipe also uses yeast which is fine by me.
Sourdough Sandwich Bread
Recipe on King Arthur Website
Makes 2 8 1/2×4 1/2 loaves
Levain
1 cup plus 1 tbs all purpose flour.
1/2 cup + 1 tbs cool water
3 tbs ripe sourdough starter
Mix all the ingredients together in a container that will allow the levain to grow, It will almost double in size. Cover and let sit at room temperature overnight or about 12 hours. It will appear almost fluffy and have bubbles when it’s ready. (I let mine sit in my microwave all night.
Dough
5 1/4 cup bread or all purpose flour
6 tbs dry milk (Note: I did not have powdered milk so I used whole milk see below)
1/4 cup sugar
2 1/2 tsp salt
2 tsp instant yeast
4 tbs unsalted butter at room temperature (Note: I used 5 tbs butter)
1 1/2 cup water (Note: I used 1 cup whole milk at room temperature and 1/2 cup water)
All of the levain
Mix all the ingredients in your stand mixer with dough hook, knead until you have a smooth and supple dough, it will not or should not be sticky.
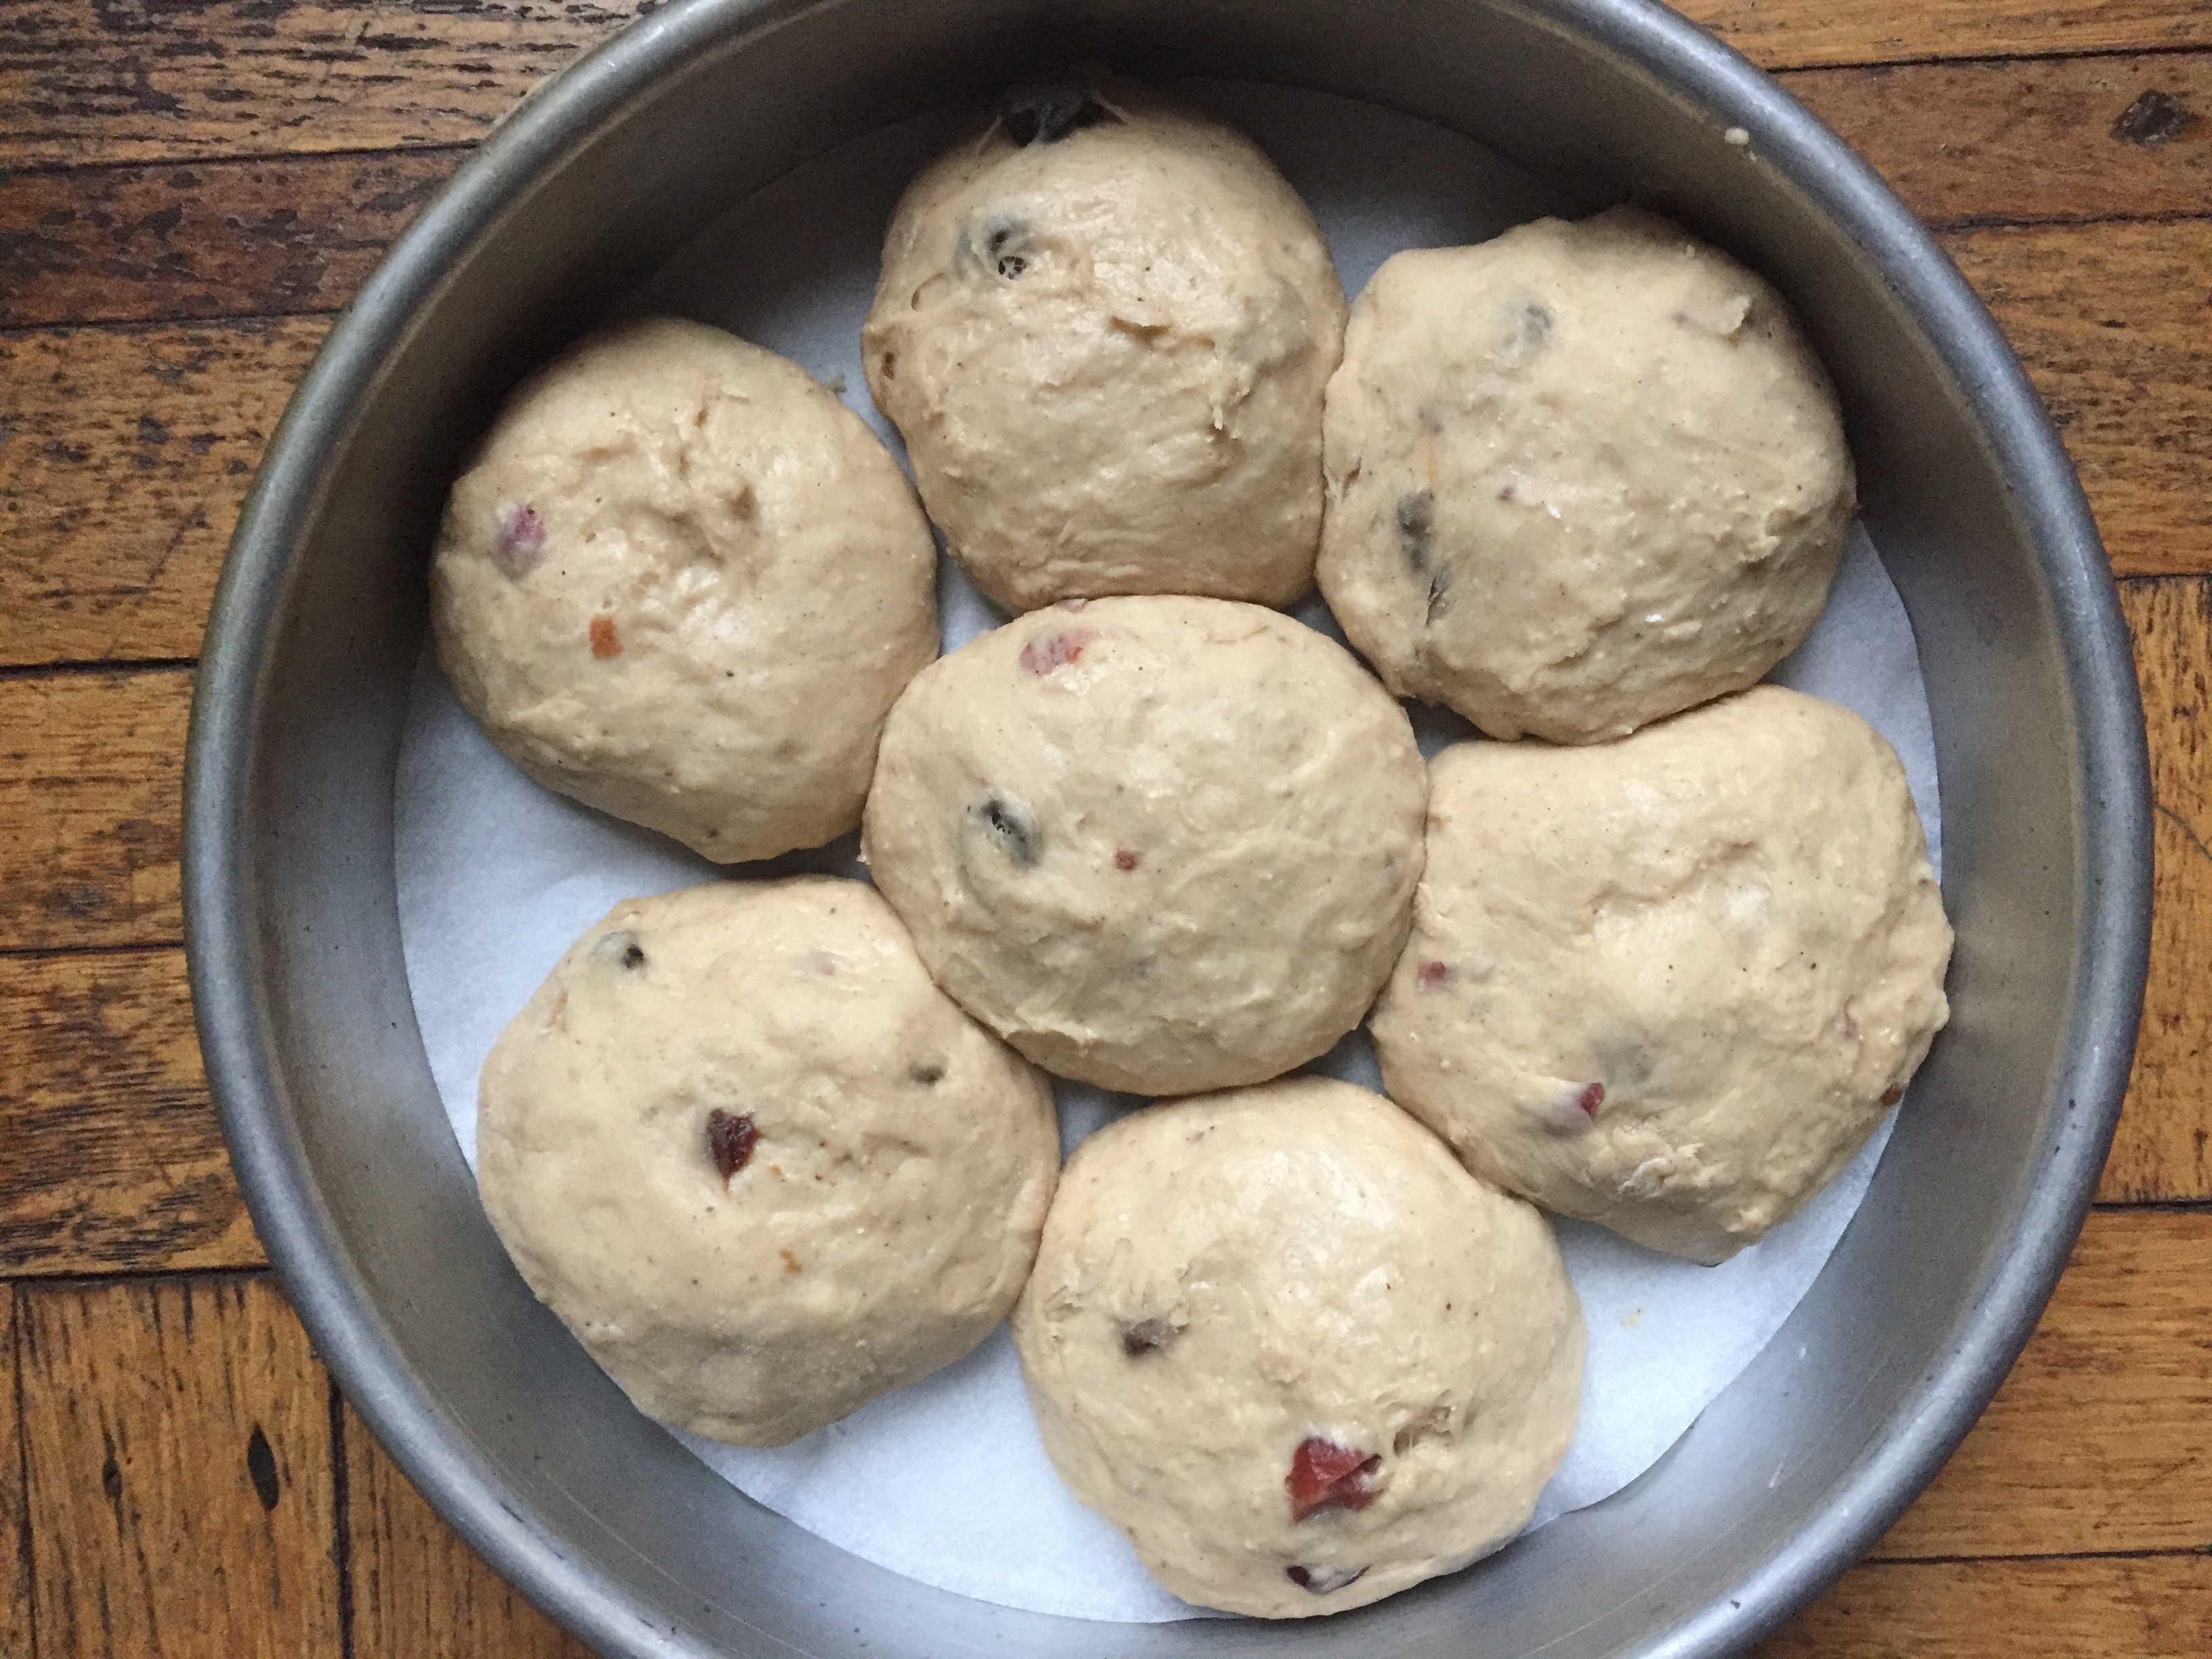
Place the kneaded dough into a lightly greased bowl, cover and let dough rise for 1-2 hours it should have doubled in size.
Divide the dough in half if using the 8 1/2 x4 1/2 loaf pans or if using a larger loaf pan you will need to adjust for size. Shape into a log and place into a lightly greased pan, cover with a lightly greased sheet of plastic wrap and cover with a tea towel and let rise until they have crowned about 1 inch over the rim of the pan it takes 1-2 hours.
Toward the end of the rising time pre heat the oven to 375 degree’s. Bake the bread 30-35 minutes until the crust is golden brown and the sides of the loaf feel firm. Turn out onto a rack and let cool completely before slicing.
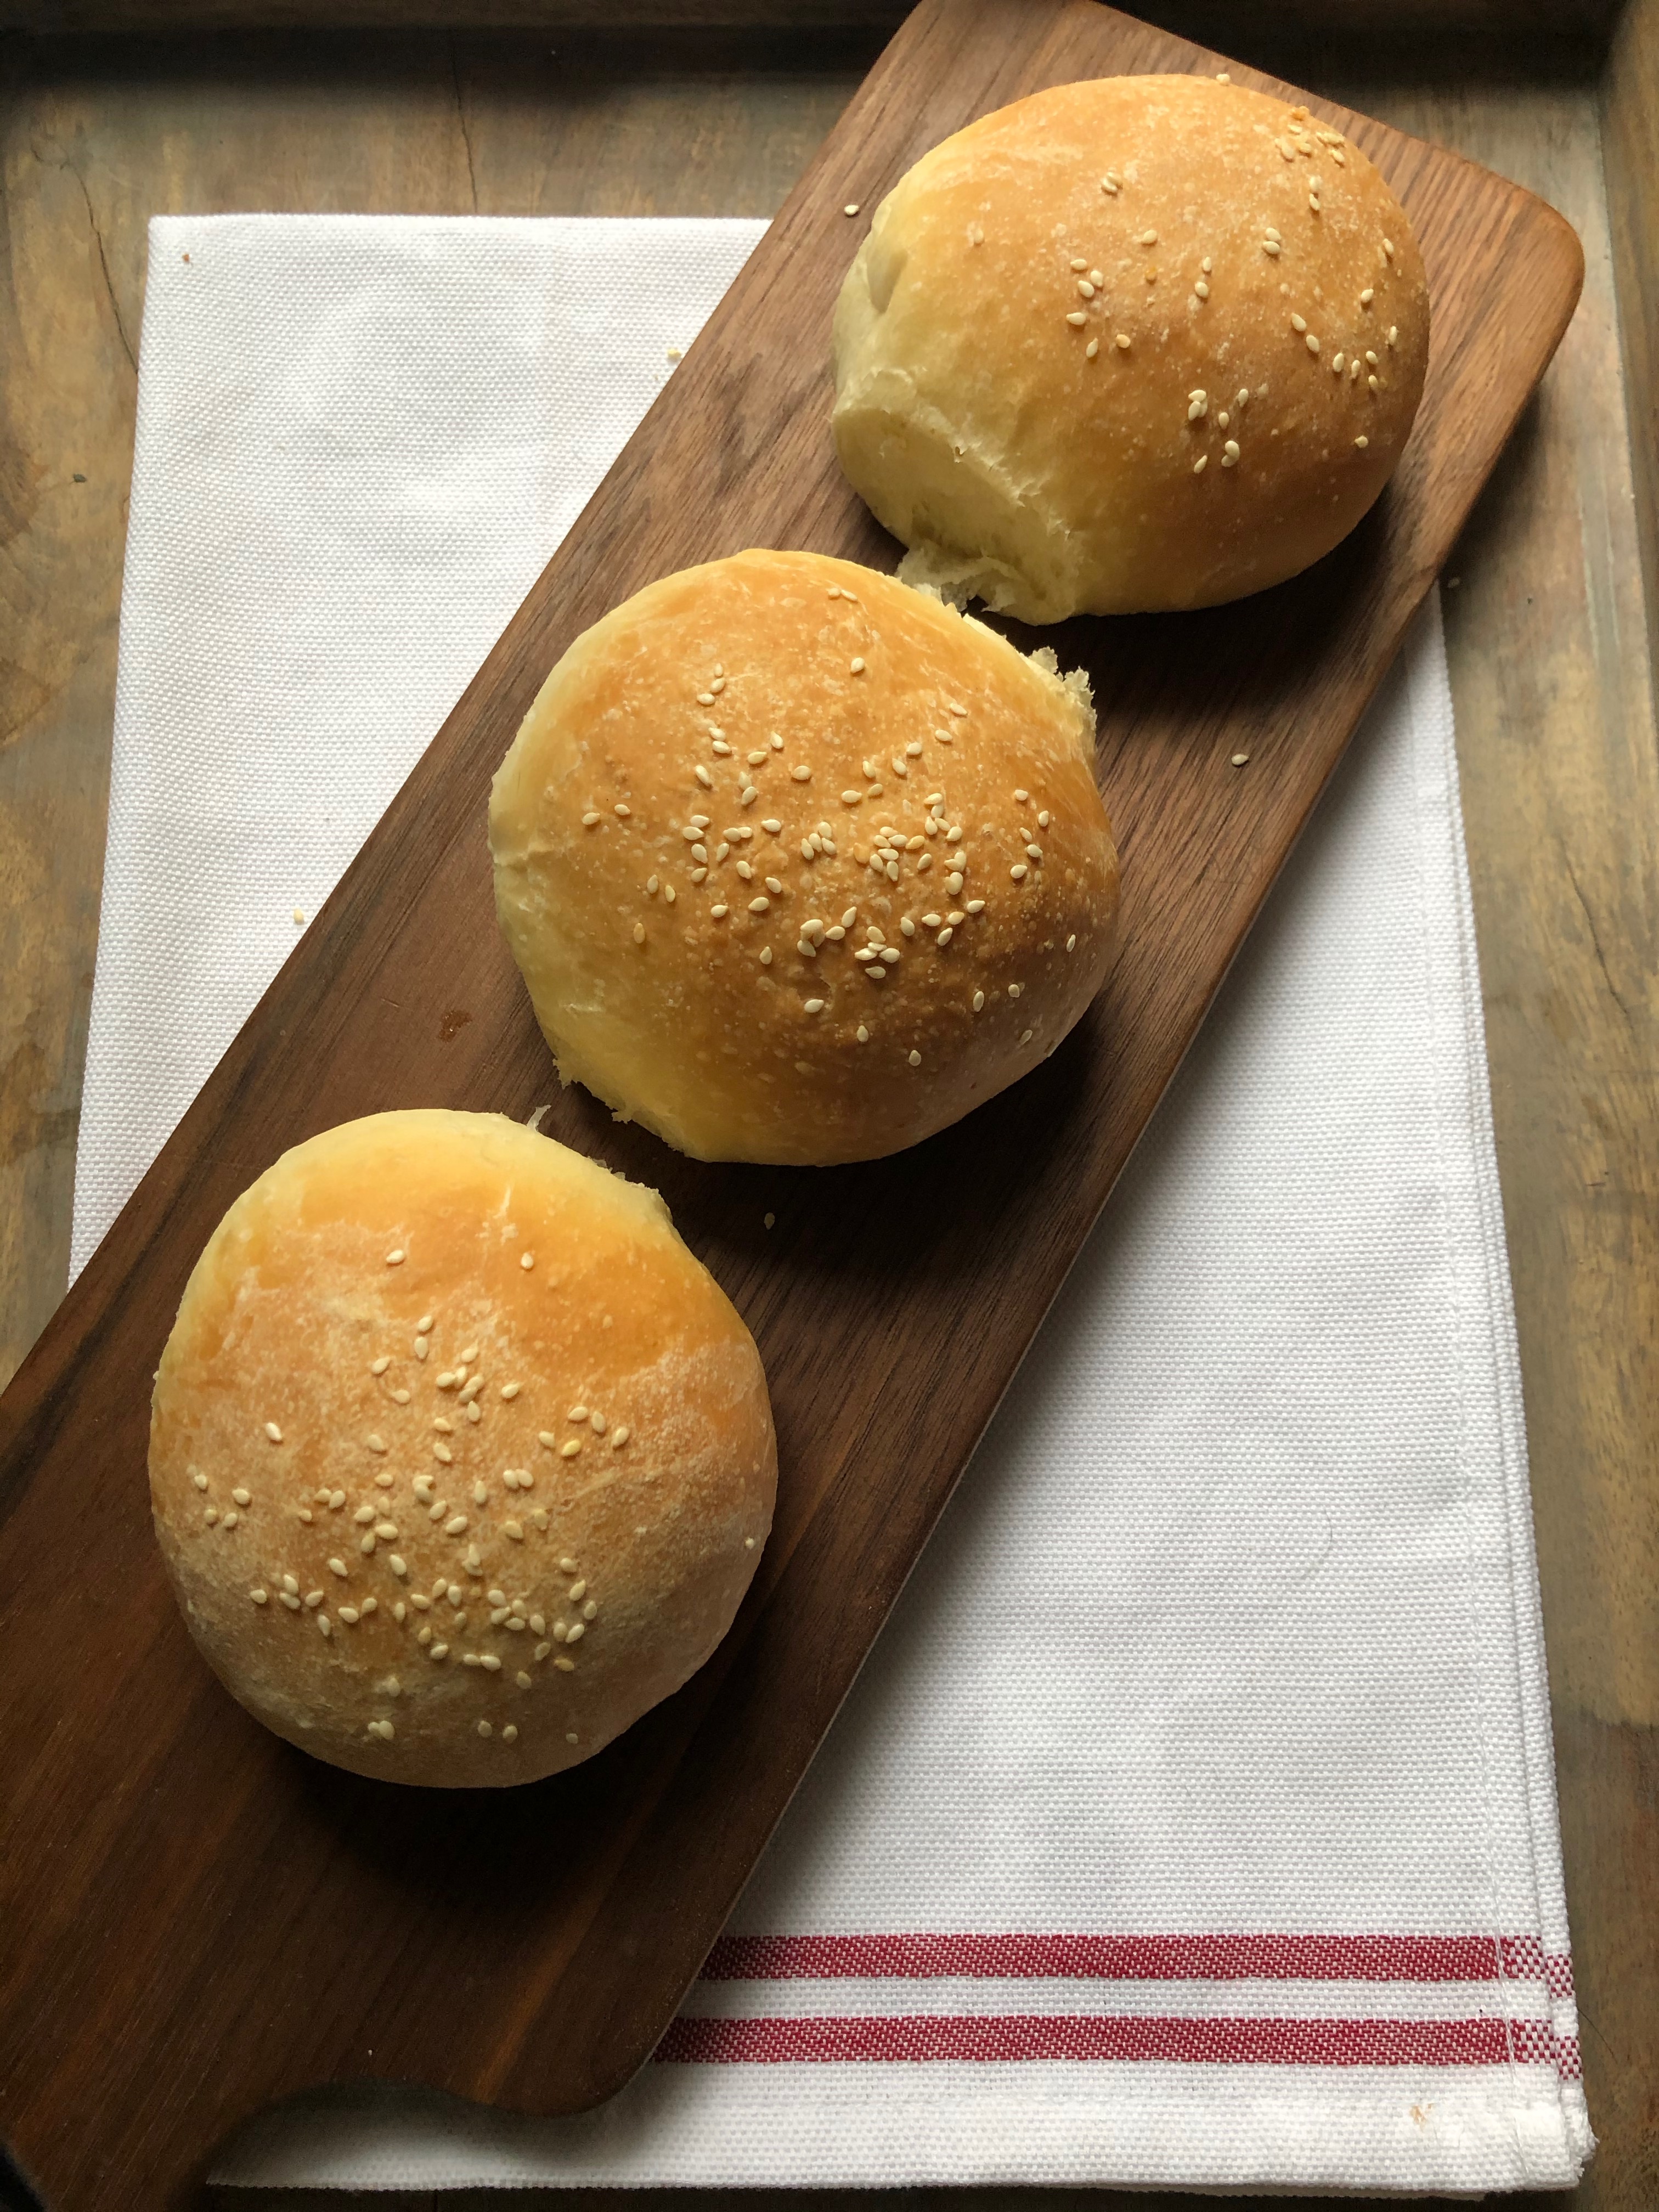
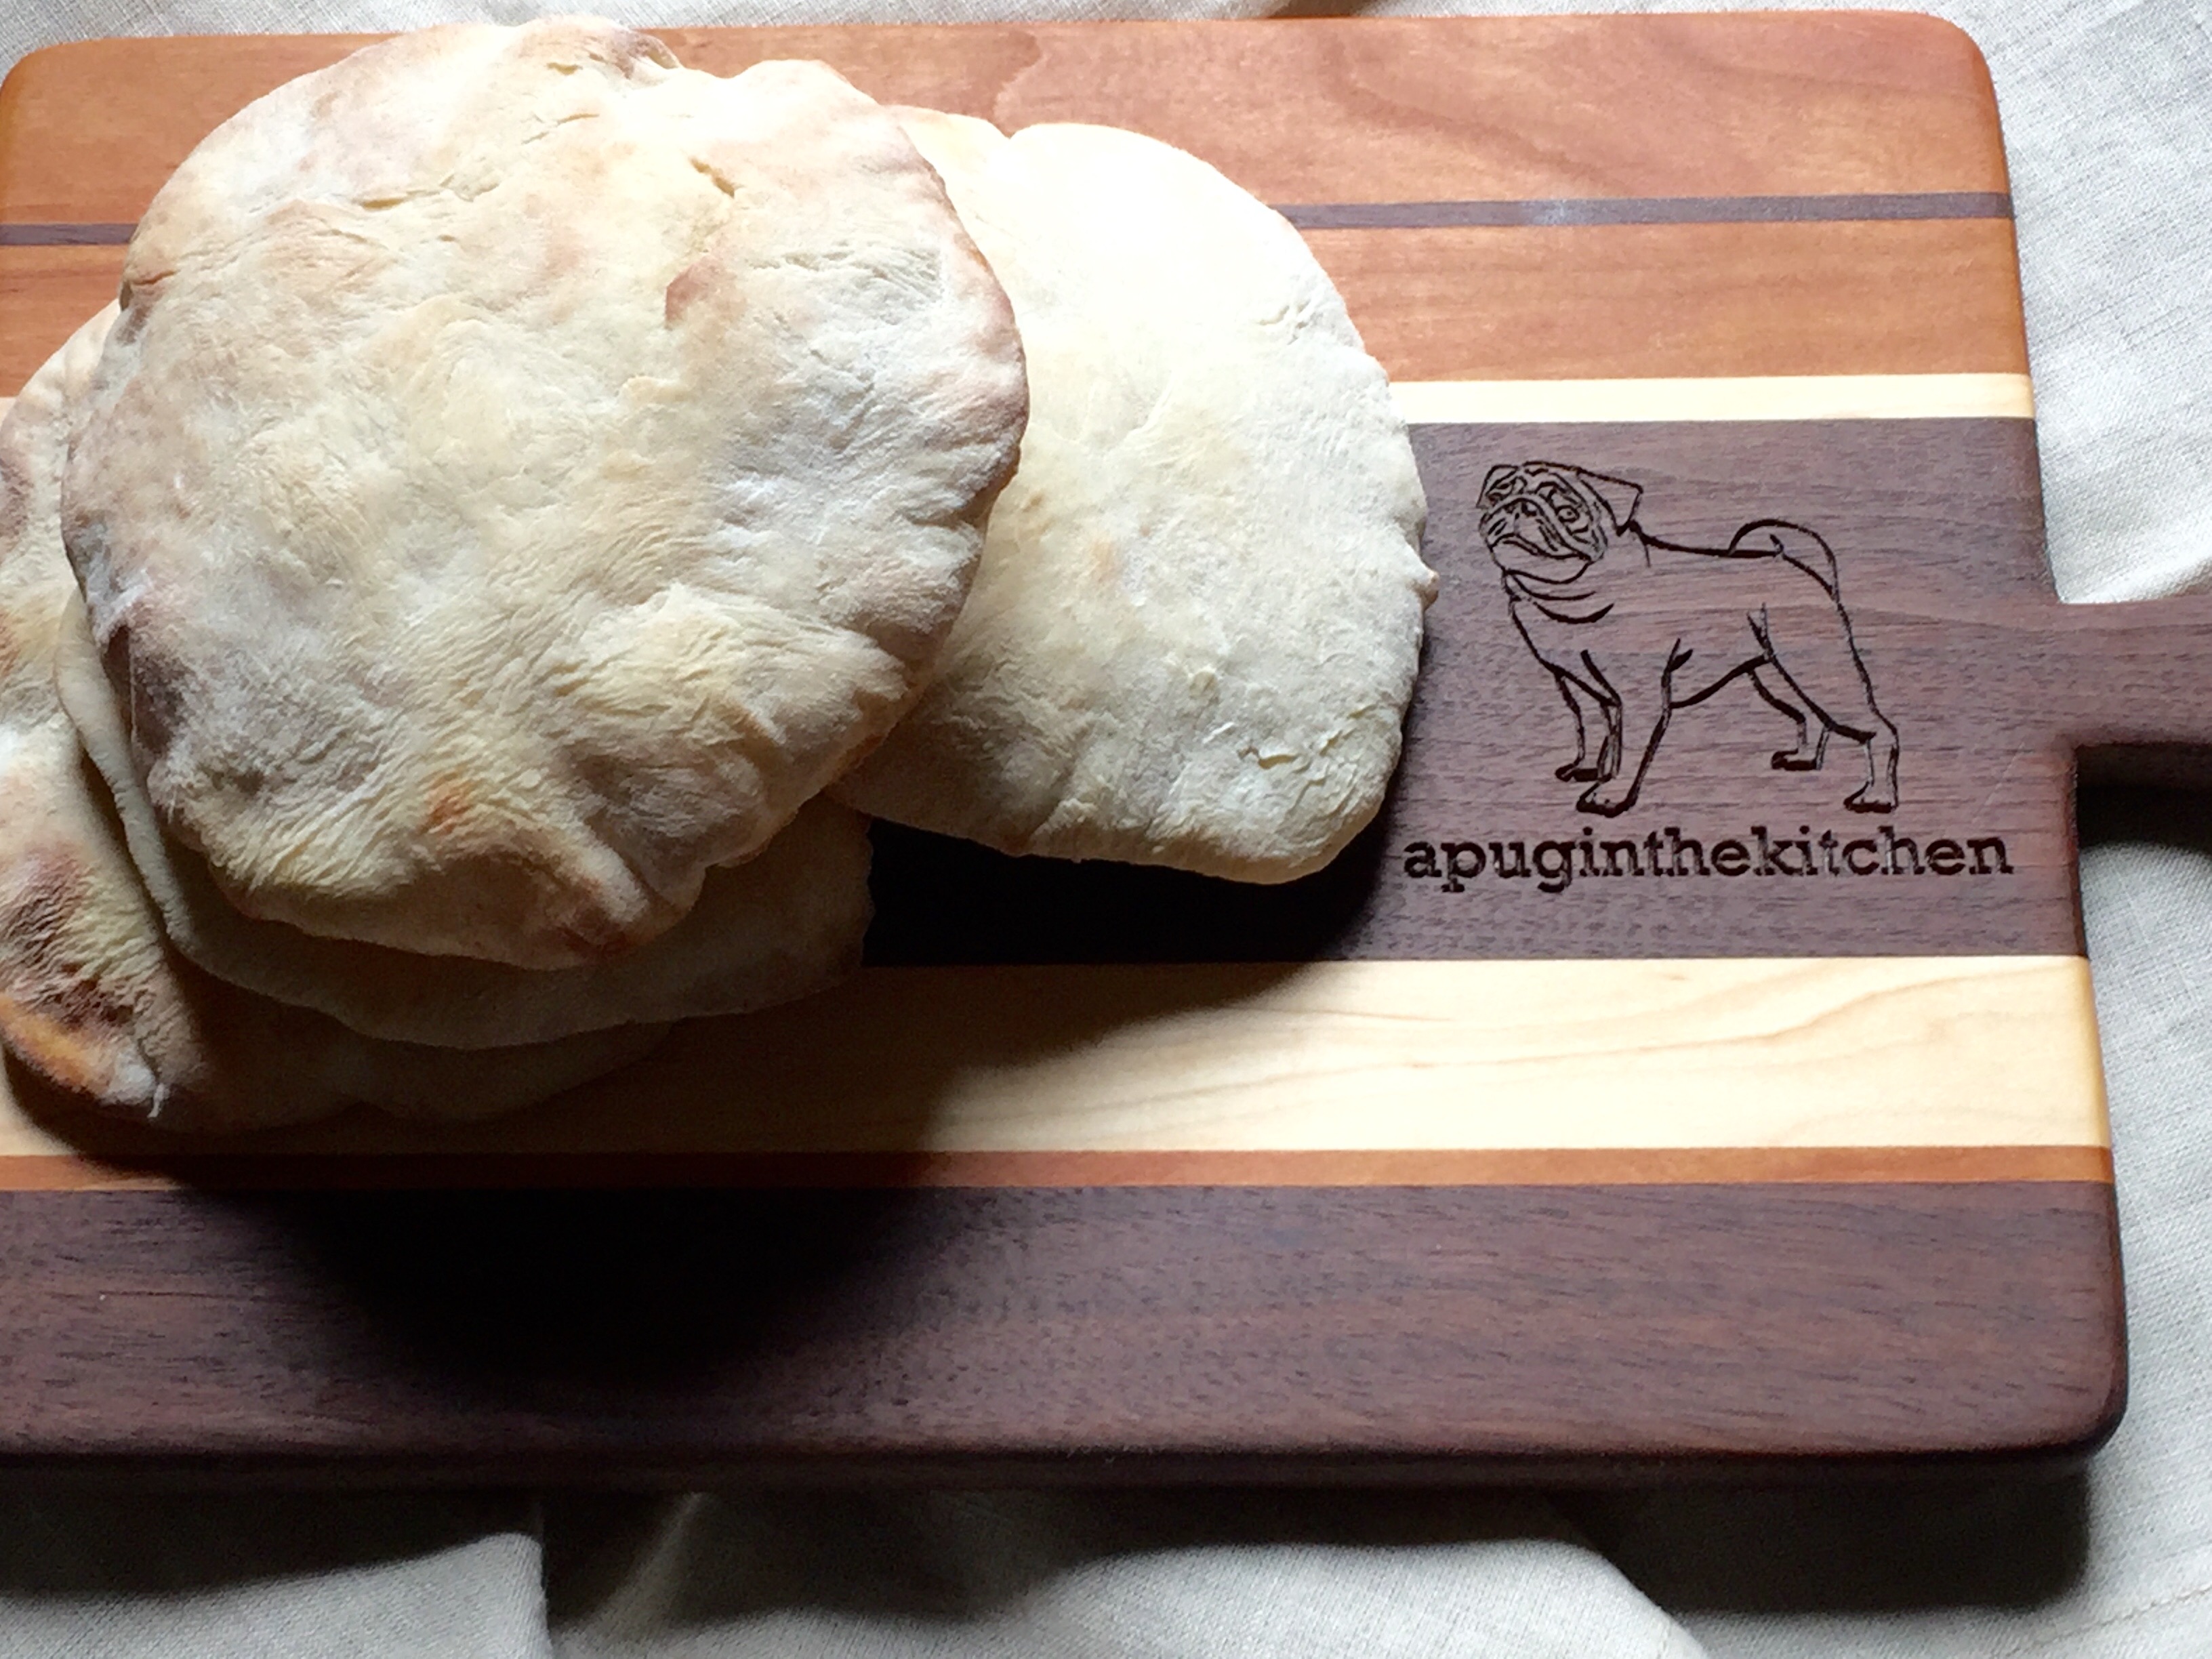
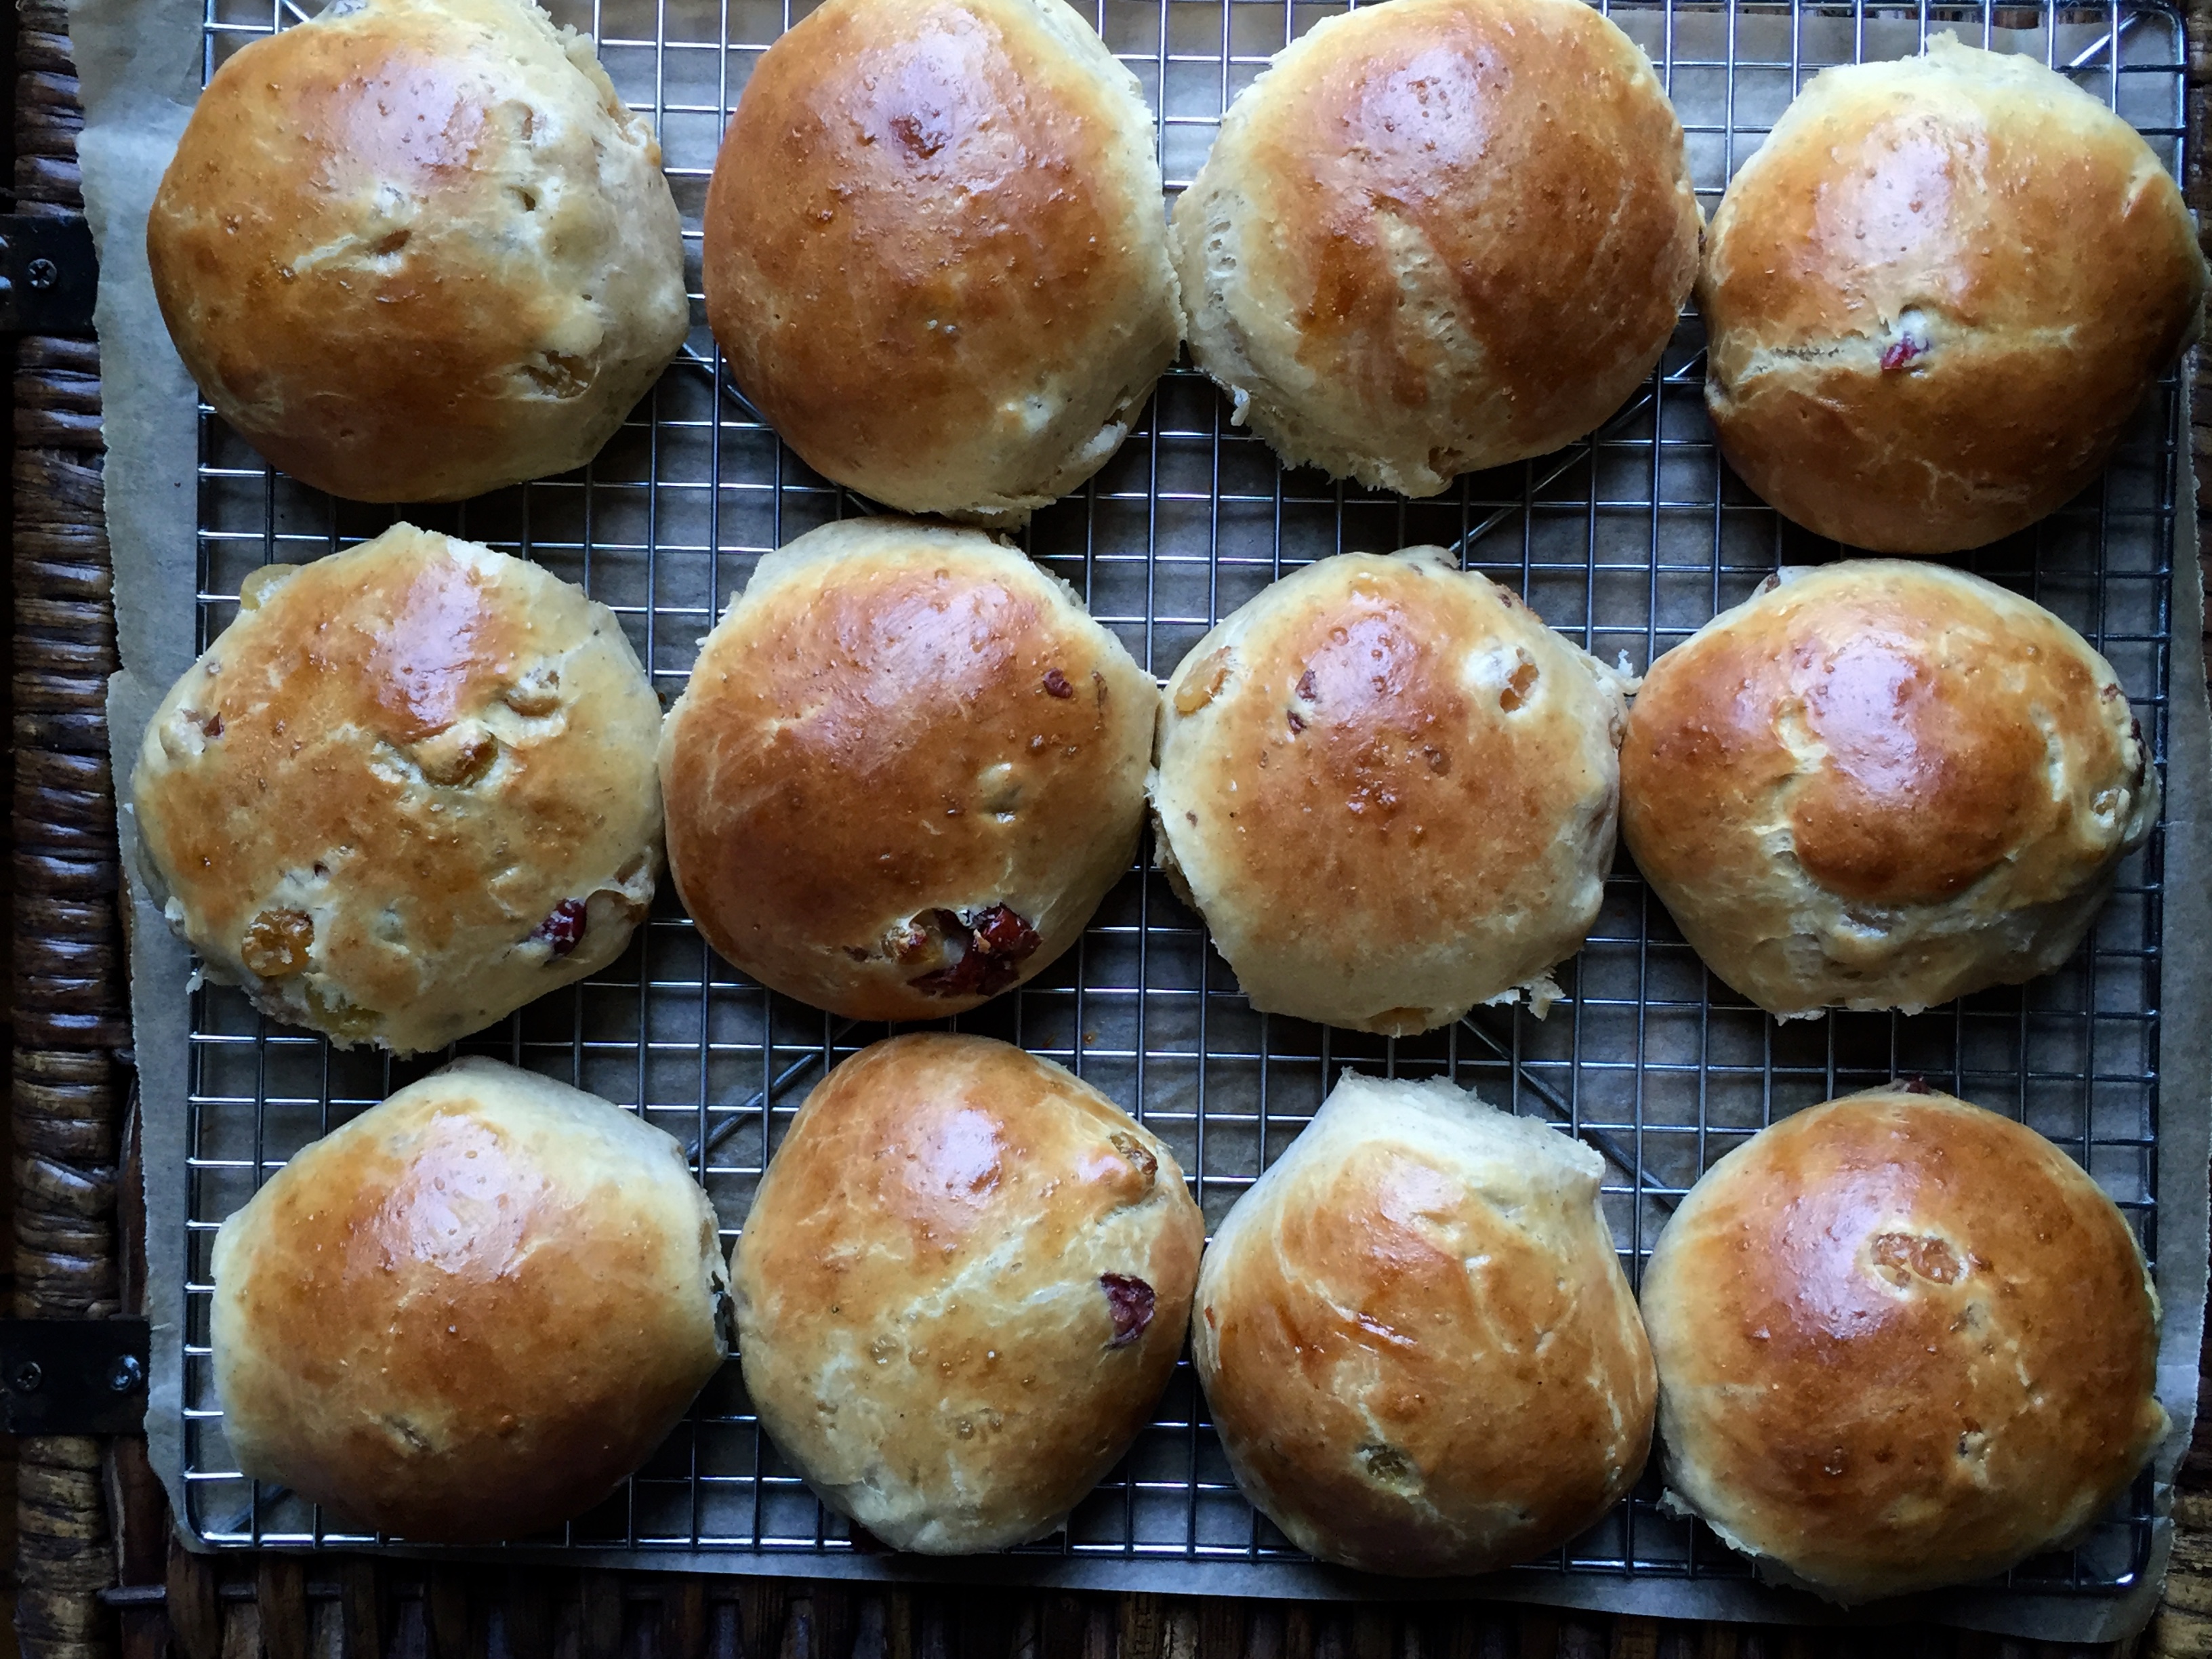
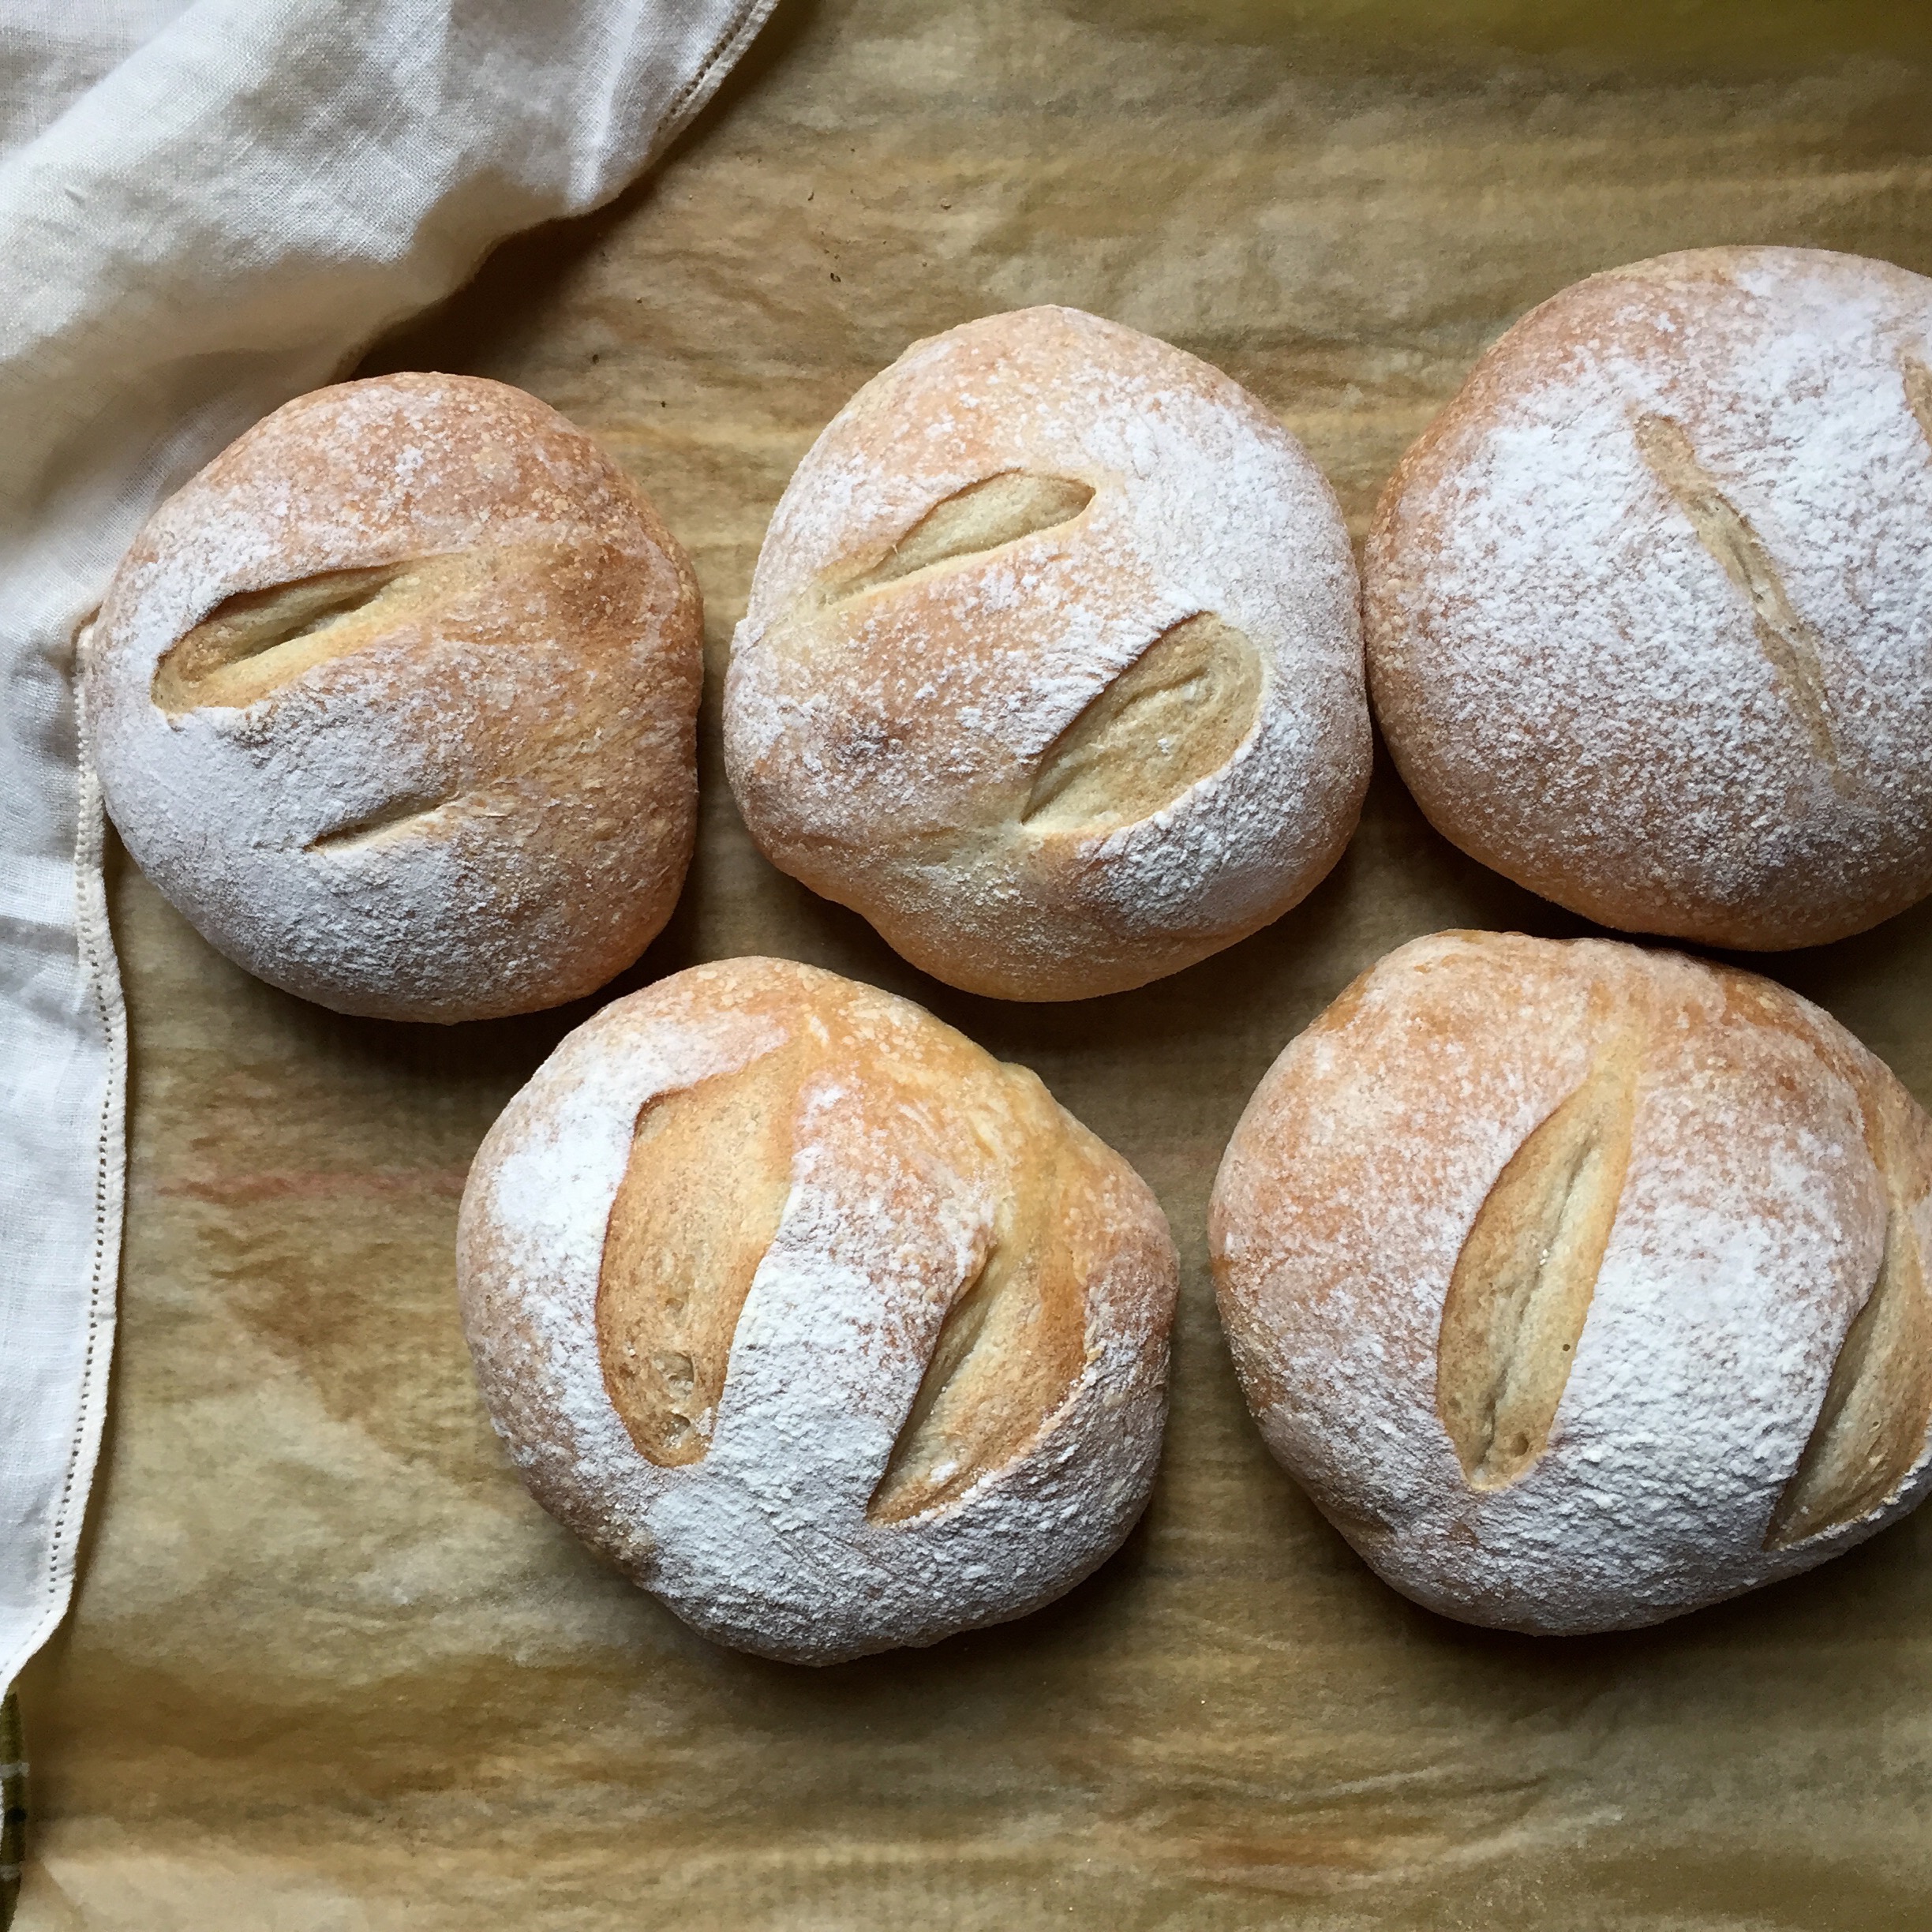
Made this recipe twice and the second time made sandwich rolls or burger buns, its amazing for that as well.