When Cooks Get Together-An End Of Summer Potluck Part II

The spread
Yesterday some wonderful cooks all converged at my home in Brooklyn for a Potluck. What made this so wonderful, besides the food, was that everyone is an accomplished cook and we all met initially on food websites (food52) through our blogs and also through Mealku my newest and most exciting food activity.
My friend Cristina and I worked together to organize the potluck, it’s not the first and certainly won’t be the last. Our little group (that is growing) is amazing. We have a scientist, a locavore, an artist, all women of different and very interesting backgrounds that all have one thing in common, we love to cook and we LOVE food. If it were not for the food websites like food52 none of us would have met most likely, and that in and of itself is amazing.
A potluck is a wonderful thing, everyone brings a dish of their choosing (usually more than one dish) and the selection of foods is as varied as the group of cooks and many of the dishes reflect the cooks ethnic background.
It was a a fantastic day, beautiful weather and the selection of food was beautiful as well as totally delicious. From Indian Khaman to a sweet potato and goat cheese salad to pulled pork sliders to chicken leg confit and many more. Then there was the dessert table:

Blueberry Pie photo by Cristina

Marcona Almond Cake photo by Cristina

Aleksandra’s chocolate bites photo by Cristina

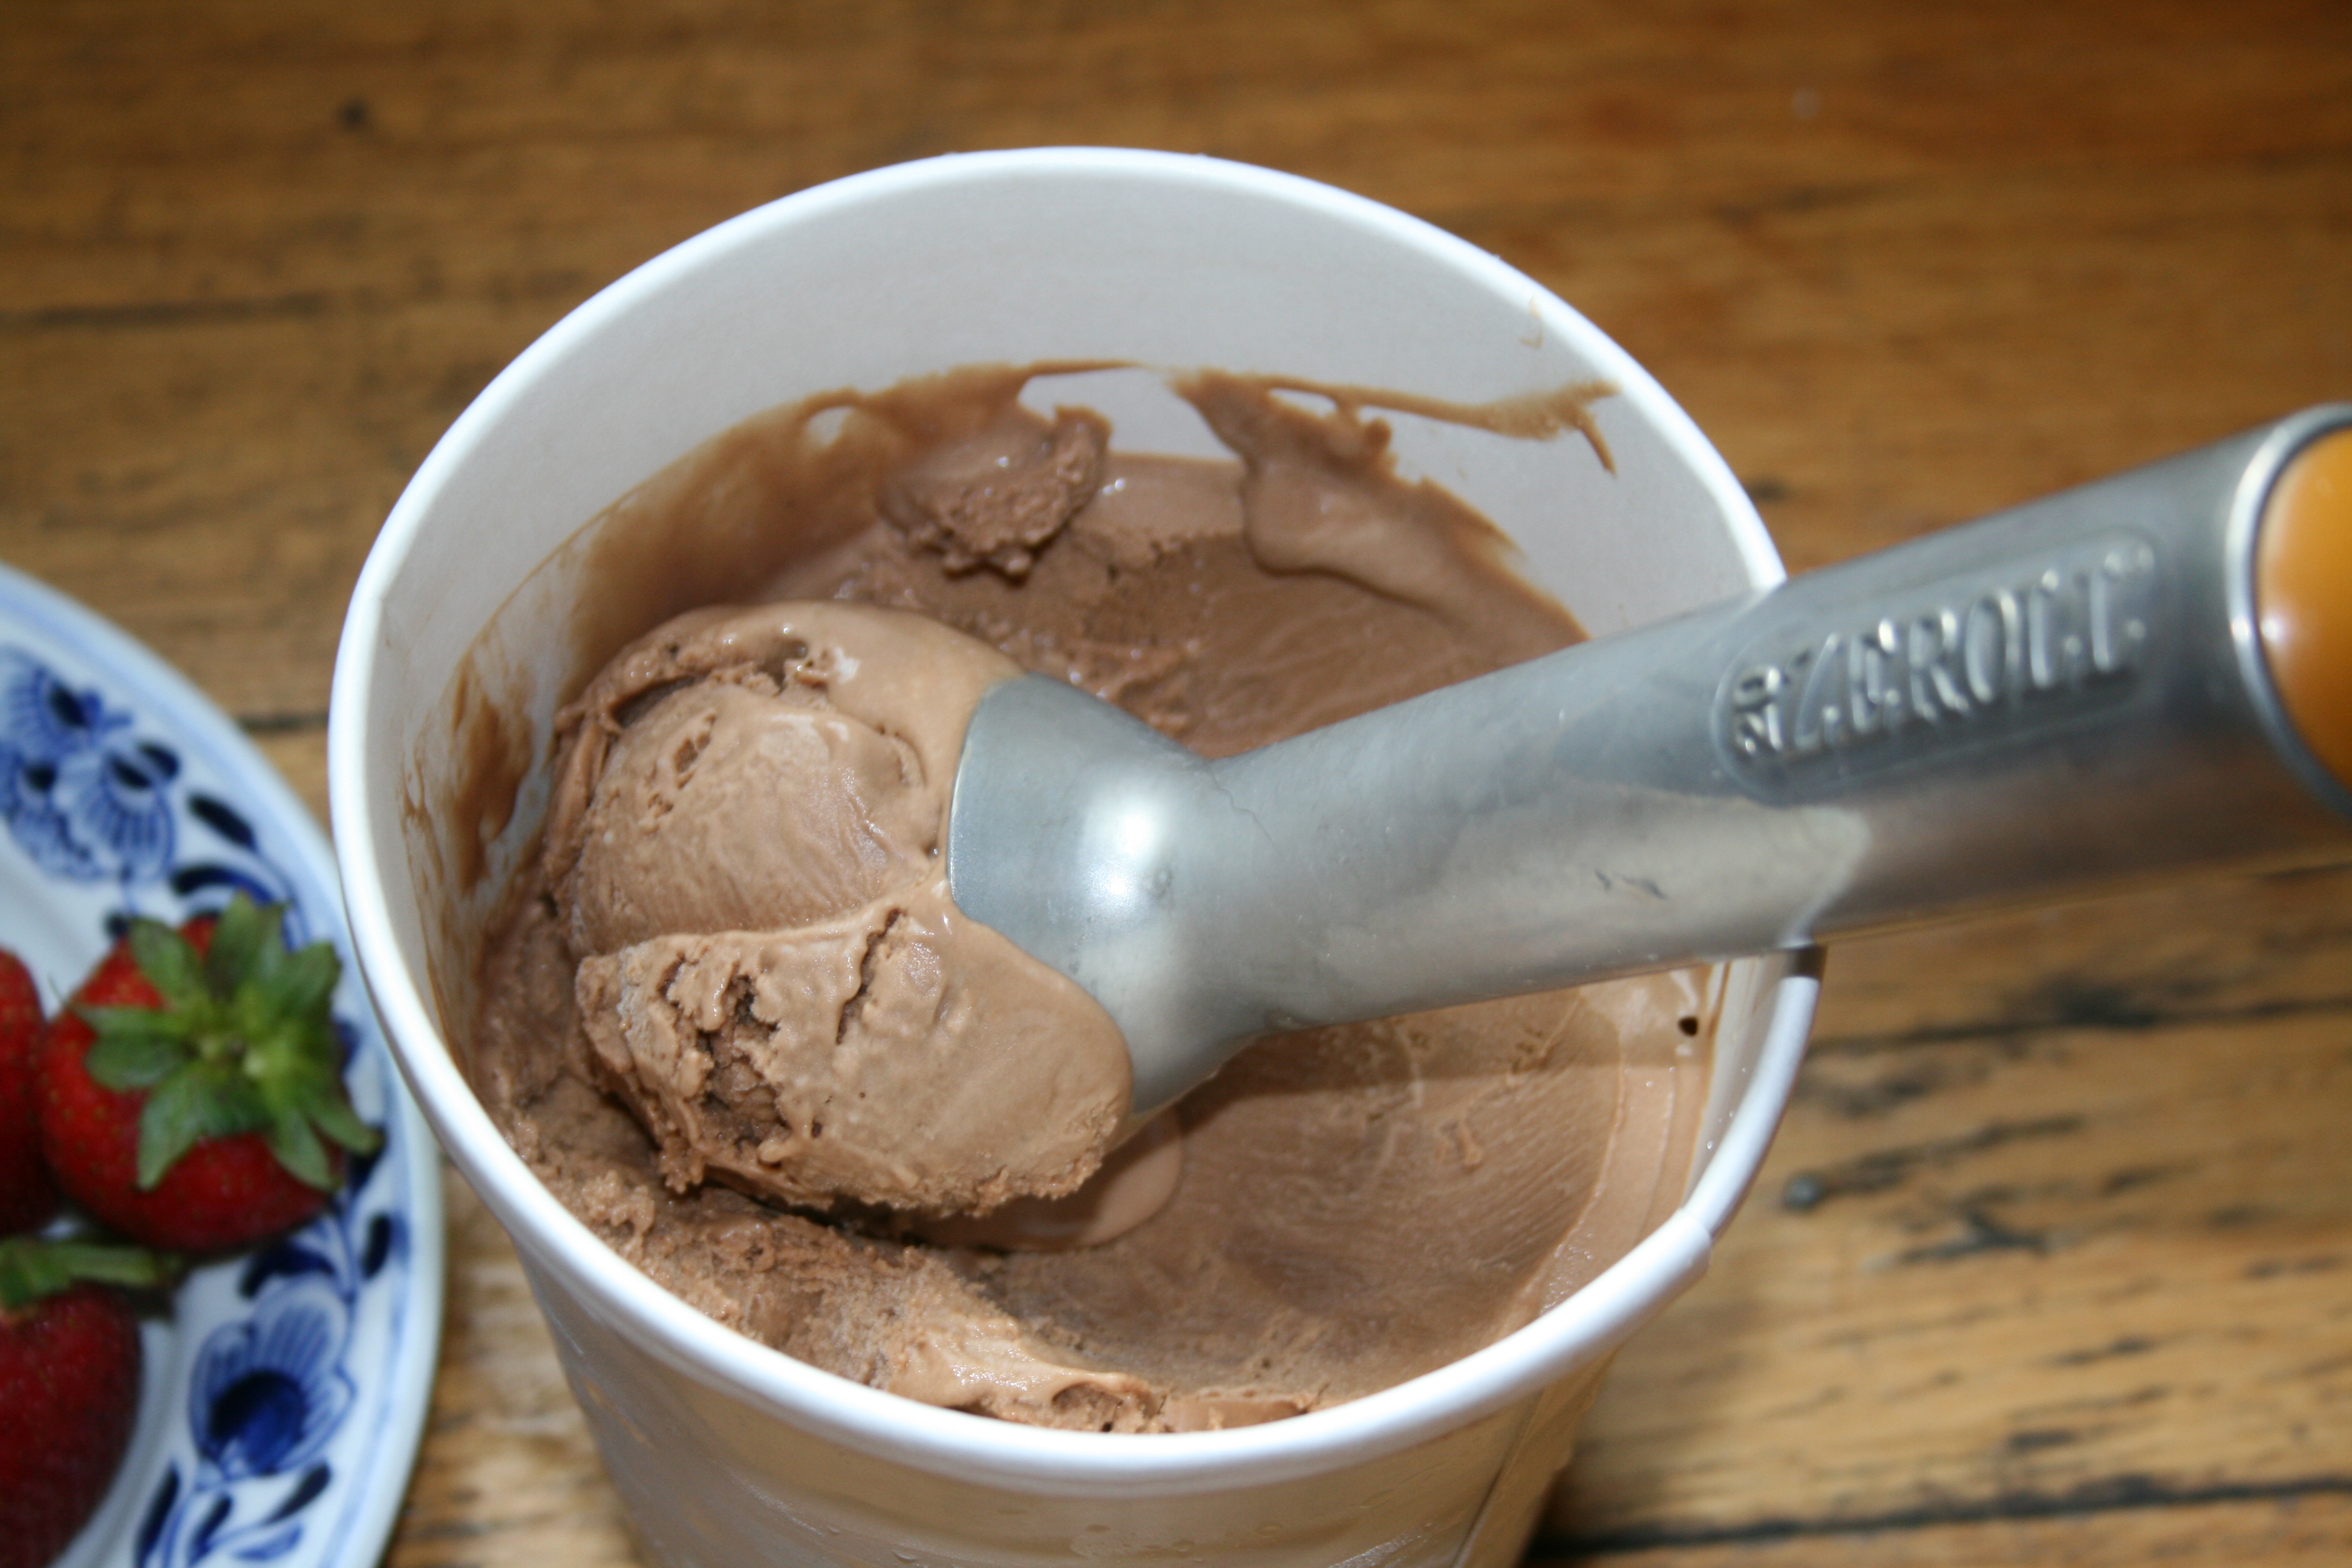
Banana fudge ice cream by Cristina (photo too)
We are already planning our next potluck (actually 2 more in the works, we all plan on going on a tour of Long Island Wineries concentrating on the South Fork, we hope to rent a vacation house for a few days, visit the wineries and cook together, doesn’t that sound like fun?
The second potluck party is exciting also, Karen who is with Mealku offered us the use of their beautiful space in Tribeca to host a tasting, that sounds incredible also!!!
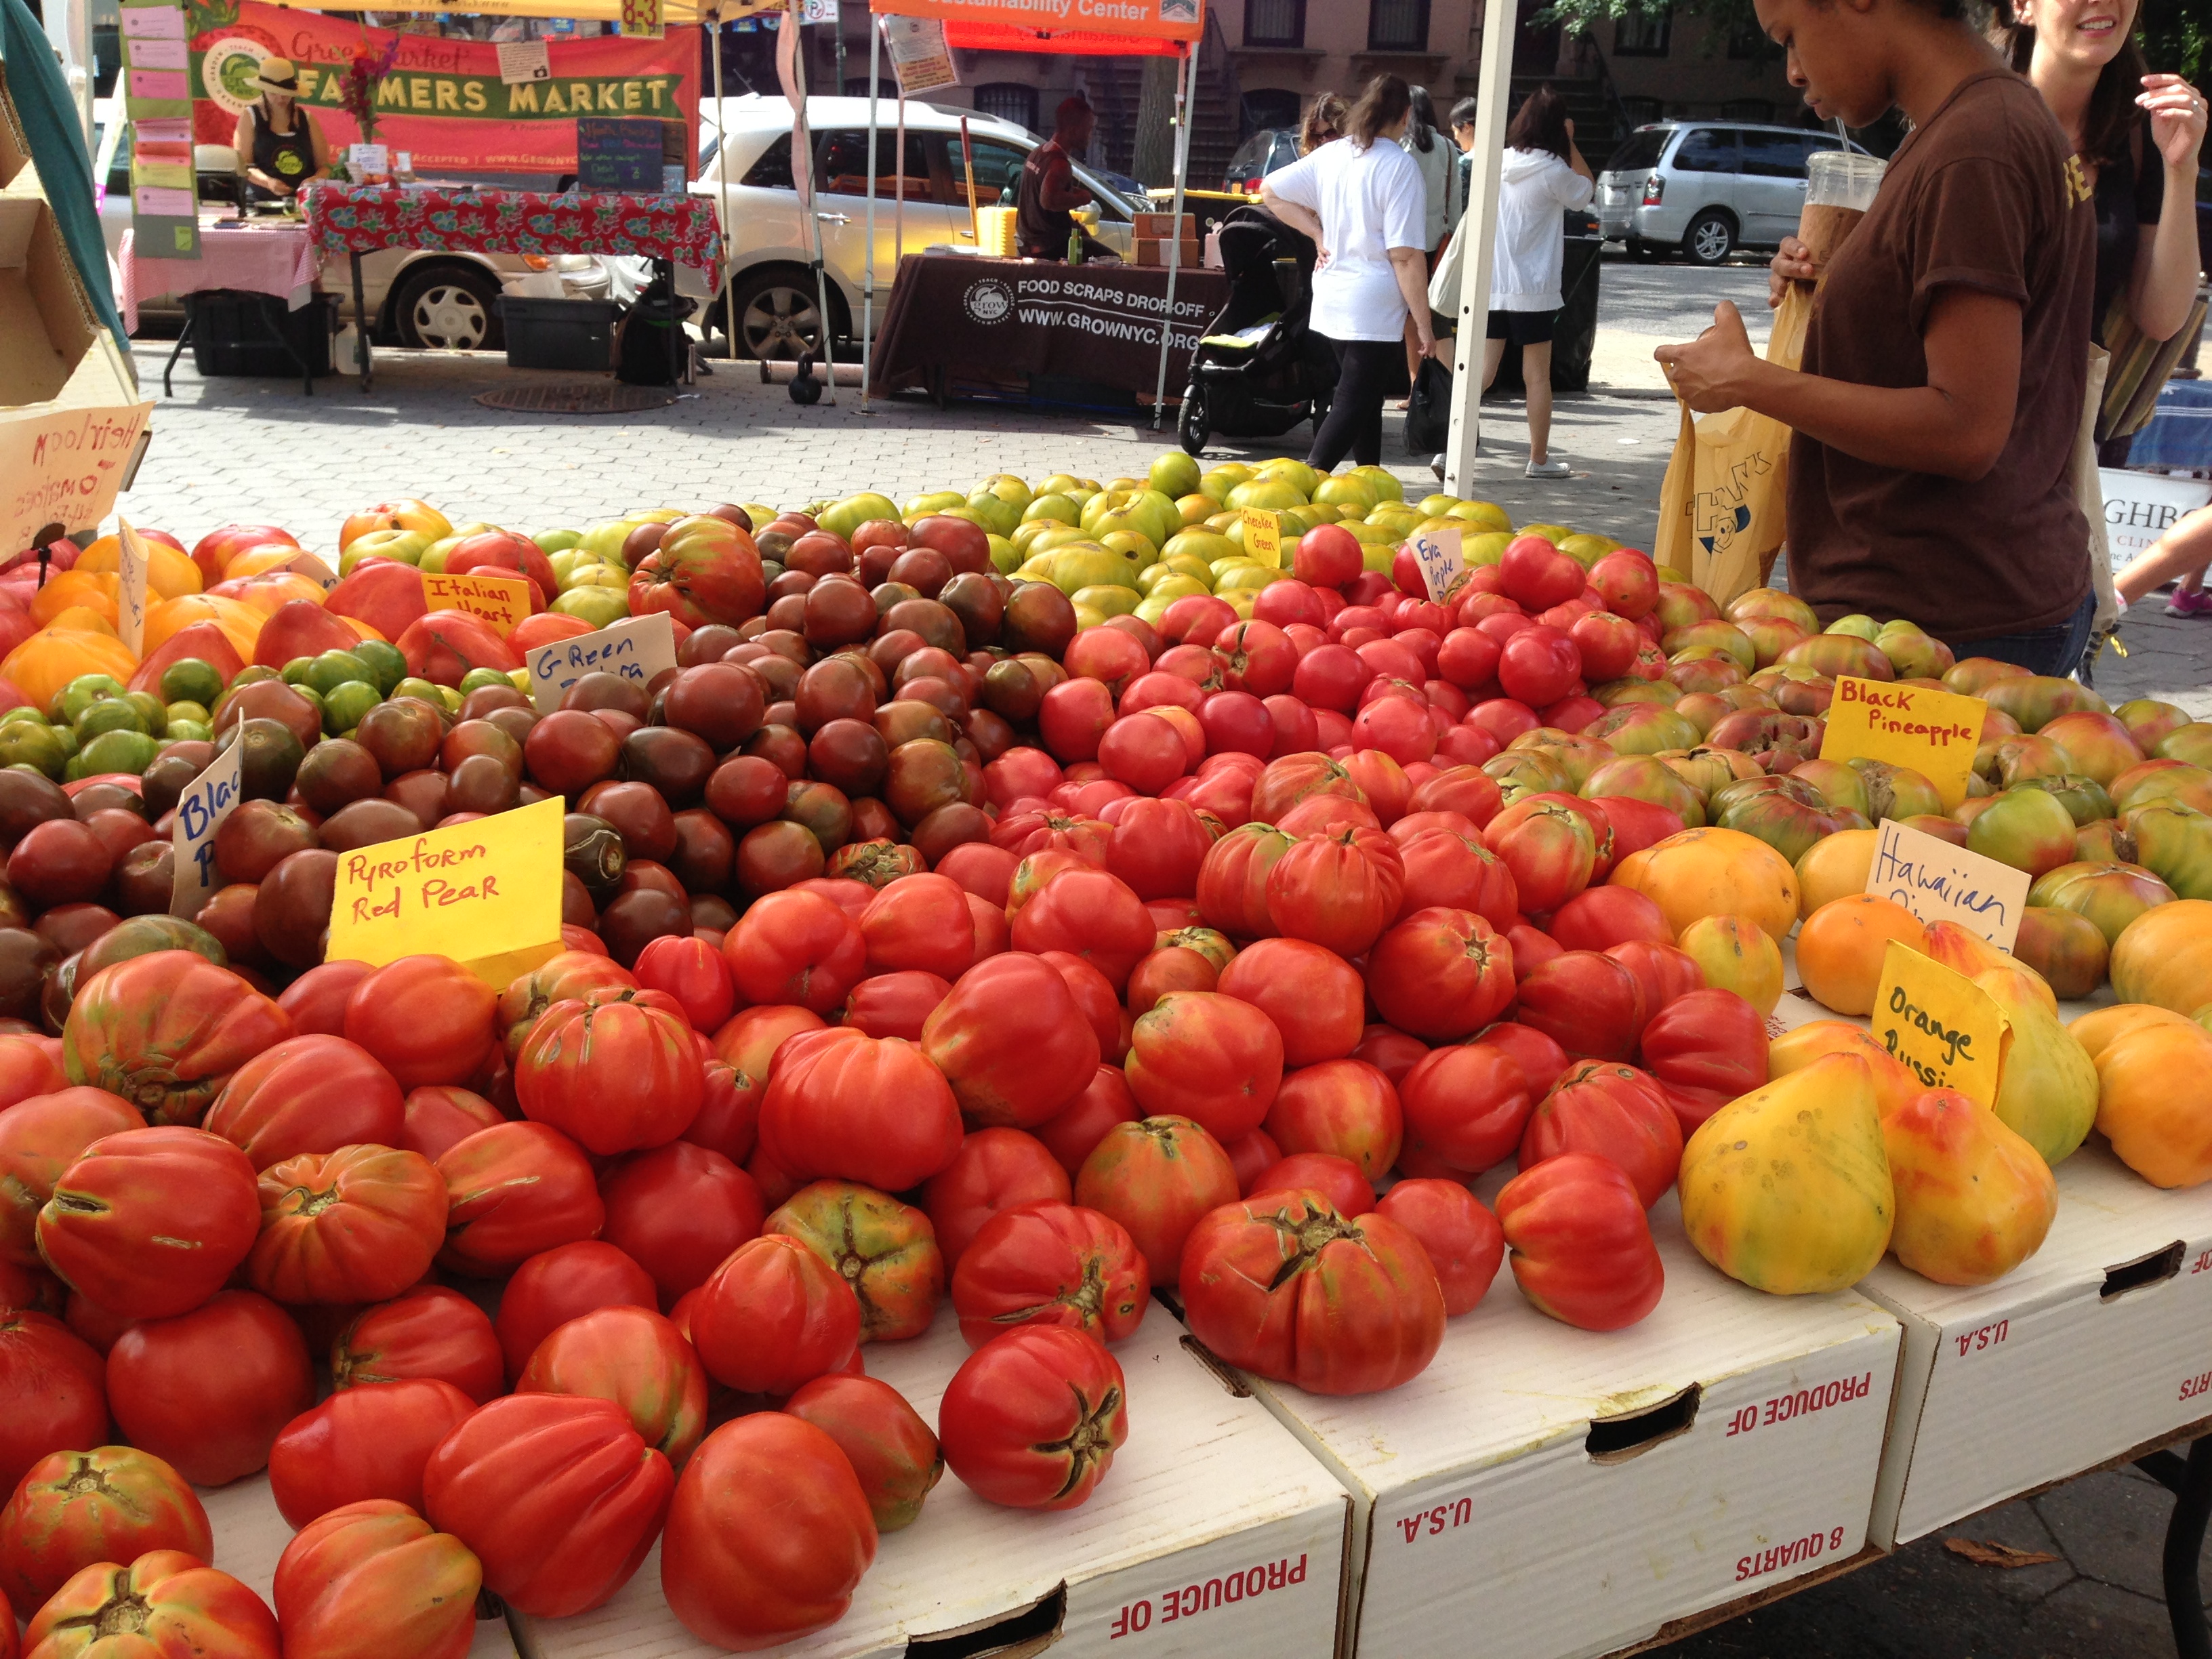
I made Panzanella and promised to post the recipe so here it is, please note I am not giving amounts because you don’t have to be exact, it’s a salad, but here is the list of ingredients:
Garden fresh tomatoes (assorted heirloom)
Cucumber (I used kirby)
flat leaf parsley
scallions
fresh basil (I used 8 leaves)
bufala mozzerella
salt, pepper, red wine vinegar and good olive oil
Ciabatta bread (preferably day old)
olive oil
garlic
Parmigiano reggiano
Make bread cubes
Cut ciabatta in half, slice garlic and place in mortar, add a little sea salt and crush the garlic. Scrape into a bowl and add some olive oil. Let sit for at least 15 minutes. Brush the garlic infused olive oil on the bread, cut into cubes and grate some parmigiana on the bread place in a pre heated 350 degree oven for approximately 30 minutes or until bread is crisp and toasted. Remove and let cool.
The Salad
Chop the tomatoes and add to a large bowl, add chopped cucumbers, sliced scallions, chopped parsley and torn basil. Season with salt and pepper and splash on some red wine vinegar and a good glugg of olive oil. Let sit for about 30 minutes so the tomatoes yield their juices. Add the mozzarella and bread cubes before serving, toss together.