Valentines Day – Part 2 – The Basics: Dessert, A Vanilla Souffle

Deflated a bit
I hit the publish button by accident this was supposed to be published on Friday but here it is today. The posts will now be out of order, sorry!!
The Souffle, it can strike fear in the heart of almost every cook (including me) truth be told I have never made a souffle. I have eaten my fair share and really love them but have never actually made one. This is Julia’s base Vanilla Souffle recipe that I varied slightly, she does give several different variations and I took creative license and added what I wanted. The variation is minor, instead of vanilla extract I used vanilla paste that has the beans in it and I added cognac. Served with chocolate salted caramel ice cream. Well, they did not turn out as I hoped they would, the rise was not sufficient, they tasted great though. This was my first attempt at a souffle and I did it with a bit of a handicap, I whisked with my injured hand and I probably did not whisk well enough. Also note if you make individual souffle’s reduce baking time to 12 – 15 minutes. They deflated pretty quickly and I was not able to get photo’s fast enough, although the rise was a bit higher it still was not as I imagined a souffle to be. I also did not use a collar because I could not attach because of my hand.
Vanilla Bean Cognac Souffle
Makes a 6 cup souffle or 3 individual 8 oz and one 4 oz souffle’s
3 tbs flour
1/4 cup milk
1/3 cup + 2 tbs sugar
4 egg yolks
2 tbs butter softened (optional)
5 egg whites
2 tsp vanilla paste
3 tbs cognac or brandy
Note: The original recipe calls for 1 tbs of vanilla extract.
Preparing the souffle dish: Choose a straight sided baking dish or a charolotte mold. Smear a light coating of soft butter over the inside of the dish, covering bottom and sides. Dust with granulated sugar covering the bottom and sides, shake out excess.
The collar: If you are using a collar cut a length of parchment paper or aluminum foil long enough to wrap around the dish with a 2 inch overlap. Fold in half lengthwise and butter one side. Wrap the collar around the dish buttered side in. Secure in place with butchers twine or straight pins.
Prepare your souffle dish as directed. Slide the oven rack into the lower third of the oven and pre heat to 400 degree’s.
Whisk the flour and milk in a saucepan and add 1/3 cup sugar, whisk until well blended and lump free. Bring to a boil and slowly boil whisking constantly for 30 seconds. This is now a bouillie. Remove from heat, let cool for a moment, then, one by one beat in the egg yolks and the optional butter.
Whip the egg whites to soft peaks sprinkle in the 2 tbs of sugar and beat until stiff shiny peaks form. Whisk the vanilla and cognac into the sauce base then whisk in a quarter of the whites to lighten it. Delicately fold in the remaining whites and turn the mixture into the prepared dish or dishes, filling all the way to the top of the dish. Using the tip of a paring knife or even a scrupulously clean fingernail run the knife or finger along the side around the circumference of the dish, not all the way down the sides just around the top, this will create the slight well around the souffle. NOTE: I forgot to do this and this could possibly be a reason why my souffle did not rise as well as it should have.
Set in oven and immediately reduce heat to 375 degree’s and bake until the souffle has begun to puff and brown – about 20 minutes for a large souffle and 12-15 minutes for individual. Rapidly slide out rack and dust with confectioners sugar. Continue baking until it has puffed high into the collar. Tips for when your souffle is done. If it has a collar, rapidly release it just a bit to check – if the puff sags re-fasten the collar and bake a few more minutes. When a skewer is plunged down in the side of the puff and comes out with a few particles clinging, the souffle will be deliciously creamy inside but will not hold up long. If the skewer comes out clean, it will hold up a little longer. The souffle should rise about 3 inches above the rim.
Serve immediately.
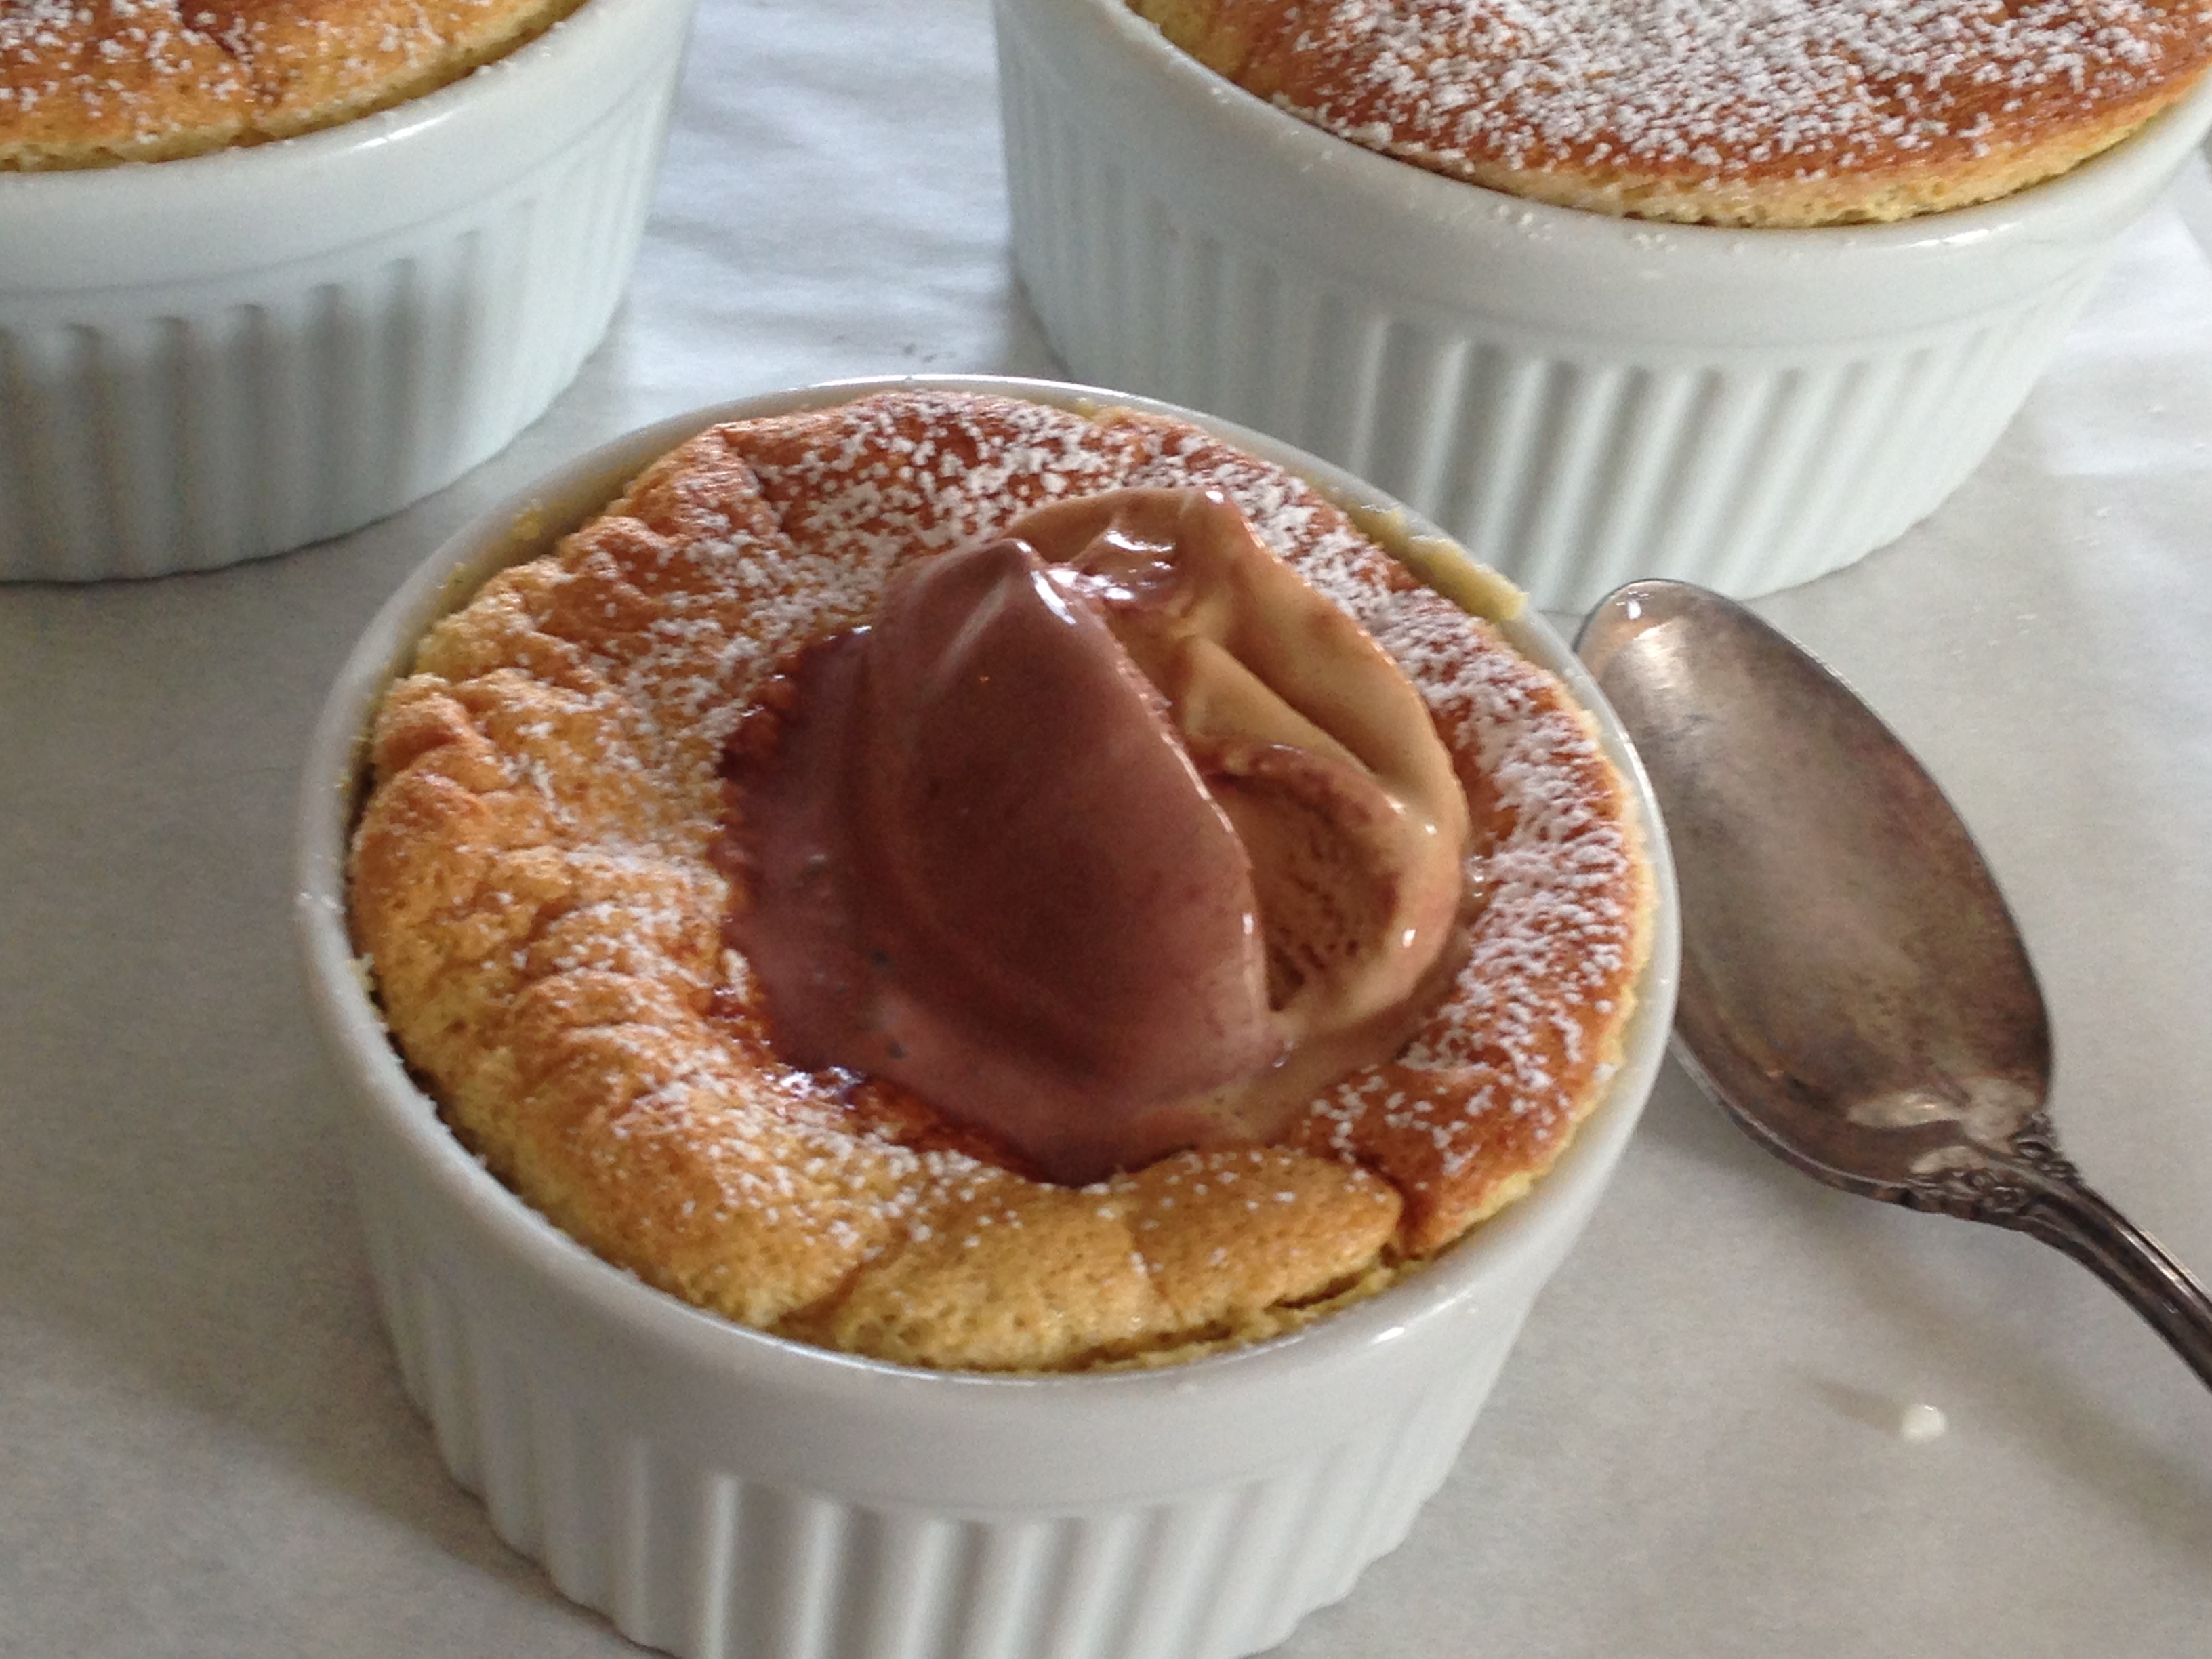
With ice cream