Uncle Steve’s Sauce, An Interview With Steve Schirripa And a Quick Delicious Meal
Uncle Steve’s Sauce
I received no monetary compensation for this, I did however get 3 bottles of sauce. I volunteered to do this article and the opinion is 100% my own.
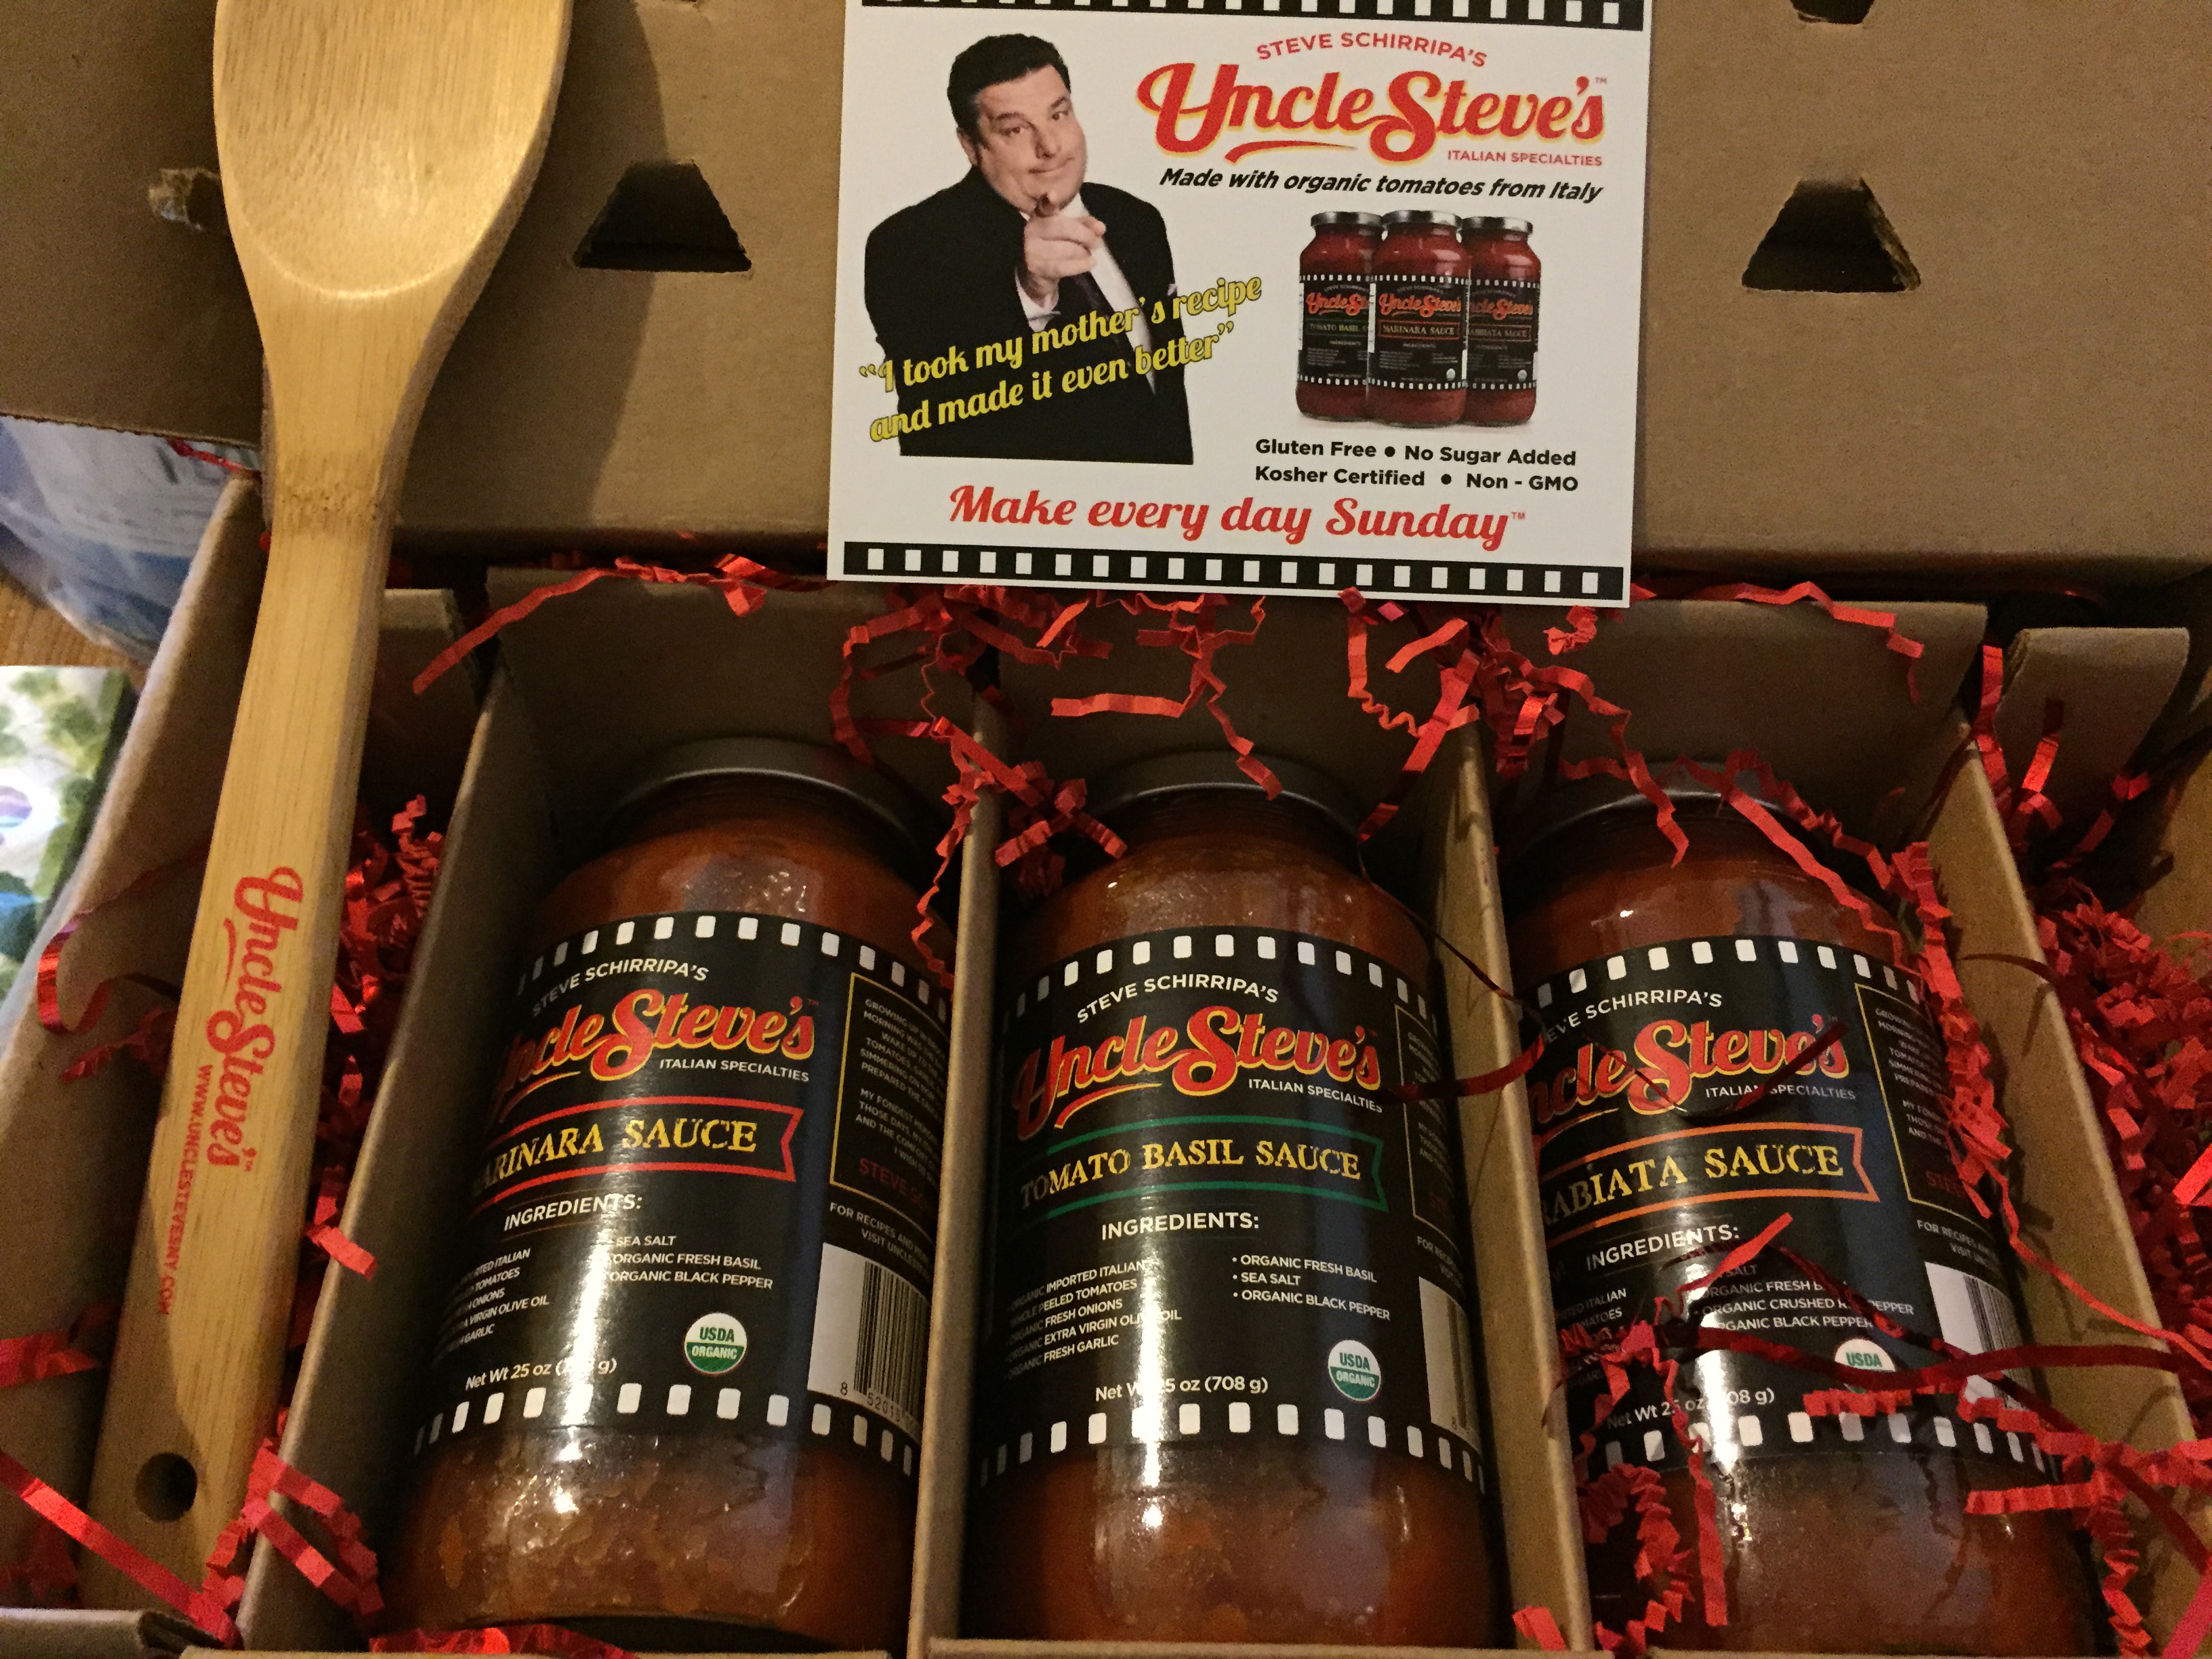
I don’t know about you but I watched every single episode of the Soprano’s up until the very last one. I went through withdrawal after it ended, there was a hole in my Sunday evening TV lineup. If you have watched the show you probably recognize Steve Shirripa aka Bobby Baccalieri, he was married to Janice, Tony’s sister played by Aida Turturro on the show. A few weeks ago I was shopping at my local Whole Foods and had just gotten my salmon and was browsing and walking with my friend (also named Steve) and I had to do a double take, sitting there in the aisle was Steve Schirripa, he had a table set up with pots of his sauce and some of his entourage was there with him. When I saw him he told me to come over and taste the sauce, besides being star struck I was thrilled to have a taste. I will be honest, I don’t buy bottled sauce, I’m not a snob and I’m all for quick and easy but I really just don’t like the taste of the sauce I have tried. There is nothing wrong with it, really nothing wrong, it’s easy, and after a busy day at work opening a jar of sauce and having a bowl of pasta is a great thing, that is if you can find a jarred sauce you like. Up until that day I had not. I loved how they let you taste the sauce, dip a piece of Italian bread in, that was my favorite thing to do when I lived at home and my Mom made sauce. It immediately brought back very fond memories. Well, it is seriously good. There are three types, Tomato Basil, Marinara and Arrabiata. I bought a jar of the tomato basil which is the one I tasted, now one thing about me is that I am a little shy and become verklempt especially around celebrities so I just walked away thanking him and telling him I am a fan. My friend Steve went up to them and said that I had a blog, they called me over and I told them I would love to blog about his product, they also said Steve would be happy to do an interview and that I could contact them to set it up, I was thrilled. We exchanged cards and I was on my way. Fast forward, life got busy and I remembered I needed to email Steve’s team to set up the interview, I did and they immediately got back to me and asked if they could send me some sauce, the next day I got it. Look at how cute the packaging is and even a wooden spoon is included, you have to love that. Be sure to check out the website also for Uncle Steve’s products!!
So here is my interview with Steve Schirripa. I really wanted to know more about his company and why he chose to get into the food business. The interview was conducted over the phone, I hope you enjoy I know I did. I have to say I was a bit nervous, he put me at ease and is the nicest most genuine person and really believes in his product. It was such a pleasure talking to him.
1. I know you are a very busy actor and wondered if you could tell us why you decided to segue into the food business.
Steve: My partner Joe Scarppinito had the idea to make the sauce as a tribute to my Mom who had passed away. Joe is an entrepreneur and said to me Lets do sauce!! So we set out to make the best sauce possible, I’ll be honest I don’t eat jarred sauce and we wanted to make a sauce that tastes good. The sauce is so good my wife makes it for me at home.
2. There are many commercially prepared jarred sauces on the market, what sets your sauce apart from the rest.
Steve: Uncle Steve’s sauce is Organic, Gluten Free, Non GMO and it’s our goal to make the best sauce possible, it’s hard to find a good jarred sauce, with Uncle Steve’s what you see is what you get, you can see the list of ingredients everything is completely natural, no hidden stuff, it’s all good.
3. I heard that this is your Mother’s recipe, I am sure that her sauce is delicious but that’s a small batch for Sunday supper. How do you maintain the same distinctive and delicious flavor when preparing this for mass production.
Steve: Our sauce is made in small batches and we have good quality control, as a matter of fact we have thrown out an entire batch if it doesn’t meet our standards. We cook the sauce a long time and thats what gives it it’s distinct and authentic flavor.
When I was growing up Mom stayed home and cooked, now days Moms and Dads both work and our goal was not for you to stop making homemade sauce but when you are busy we provide you with the highest quality sauce that actually tastes really good and you can feel good about feeding this to your family.
4. People from all over the US and world follow my blog, tell us where we can buy your sauce, how many states is it available and what stores? I met you in Whole Foods Brooklyn and know it’s there, can my friend in Long Island get it at the Whole Foods near her?
Steve: We are in over 2000 stores and are growing every day. It’s amazing really because we have only been in business for a year. If you don’t see Uncle Steve’s sauce in the store go to the website here and put in your zip code we can tell you where to buy but we also have an online shop where you can buy sauce and other Italian specialty items. We are in Whole Foods in the New York area including Long Island and also New Jersey, we are heading to the West Coast, are in Florida, Oregon, Idaho, Rhode Island, Texas, Wisconsin and other states also.
5. I have to ask,do you stay in touch with fellow cast members from The Soprano’s? I never missed an episode and it’s still my favorite show of all time. Have they tried your sauce? Just curious.
Steve: Yes I stay in touch with fellow cast members, Michael Imperioli, I just had lunch with Lorraine Bracco, Tony Sirico. Michael loves my sauce, he is an incredible cook and actually won a celebrity Chopped.
6. I see you have an online shop on your site can you tell us about some of the products available online.
Steve: The online shop has the sauce, Gluten Free Pasta, vinegar and soon will have olive oil. You can also get gift baskets.
7. I know you have a Twitter account @unclestevesNY can you tell my followers if there are any other ways to find you on social media (FaceBook, Instagram etc…)
Steve: Yes you can follow on Twitter and Facebook but I am not big at keeping up on Social Media.
8. Do you come from a traditional Italian family where Sunday’s were always dinner at Grandma’s house? If so, what was your favorite Sunday Dish when you were growing up?
Steve: Yes and I remember the fried meatballs with pignoli and raisins, it was my favorite food and the smell was amazing I can still smell it. I remember we couldn’t eat them until we got home from Church.
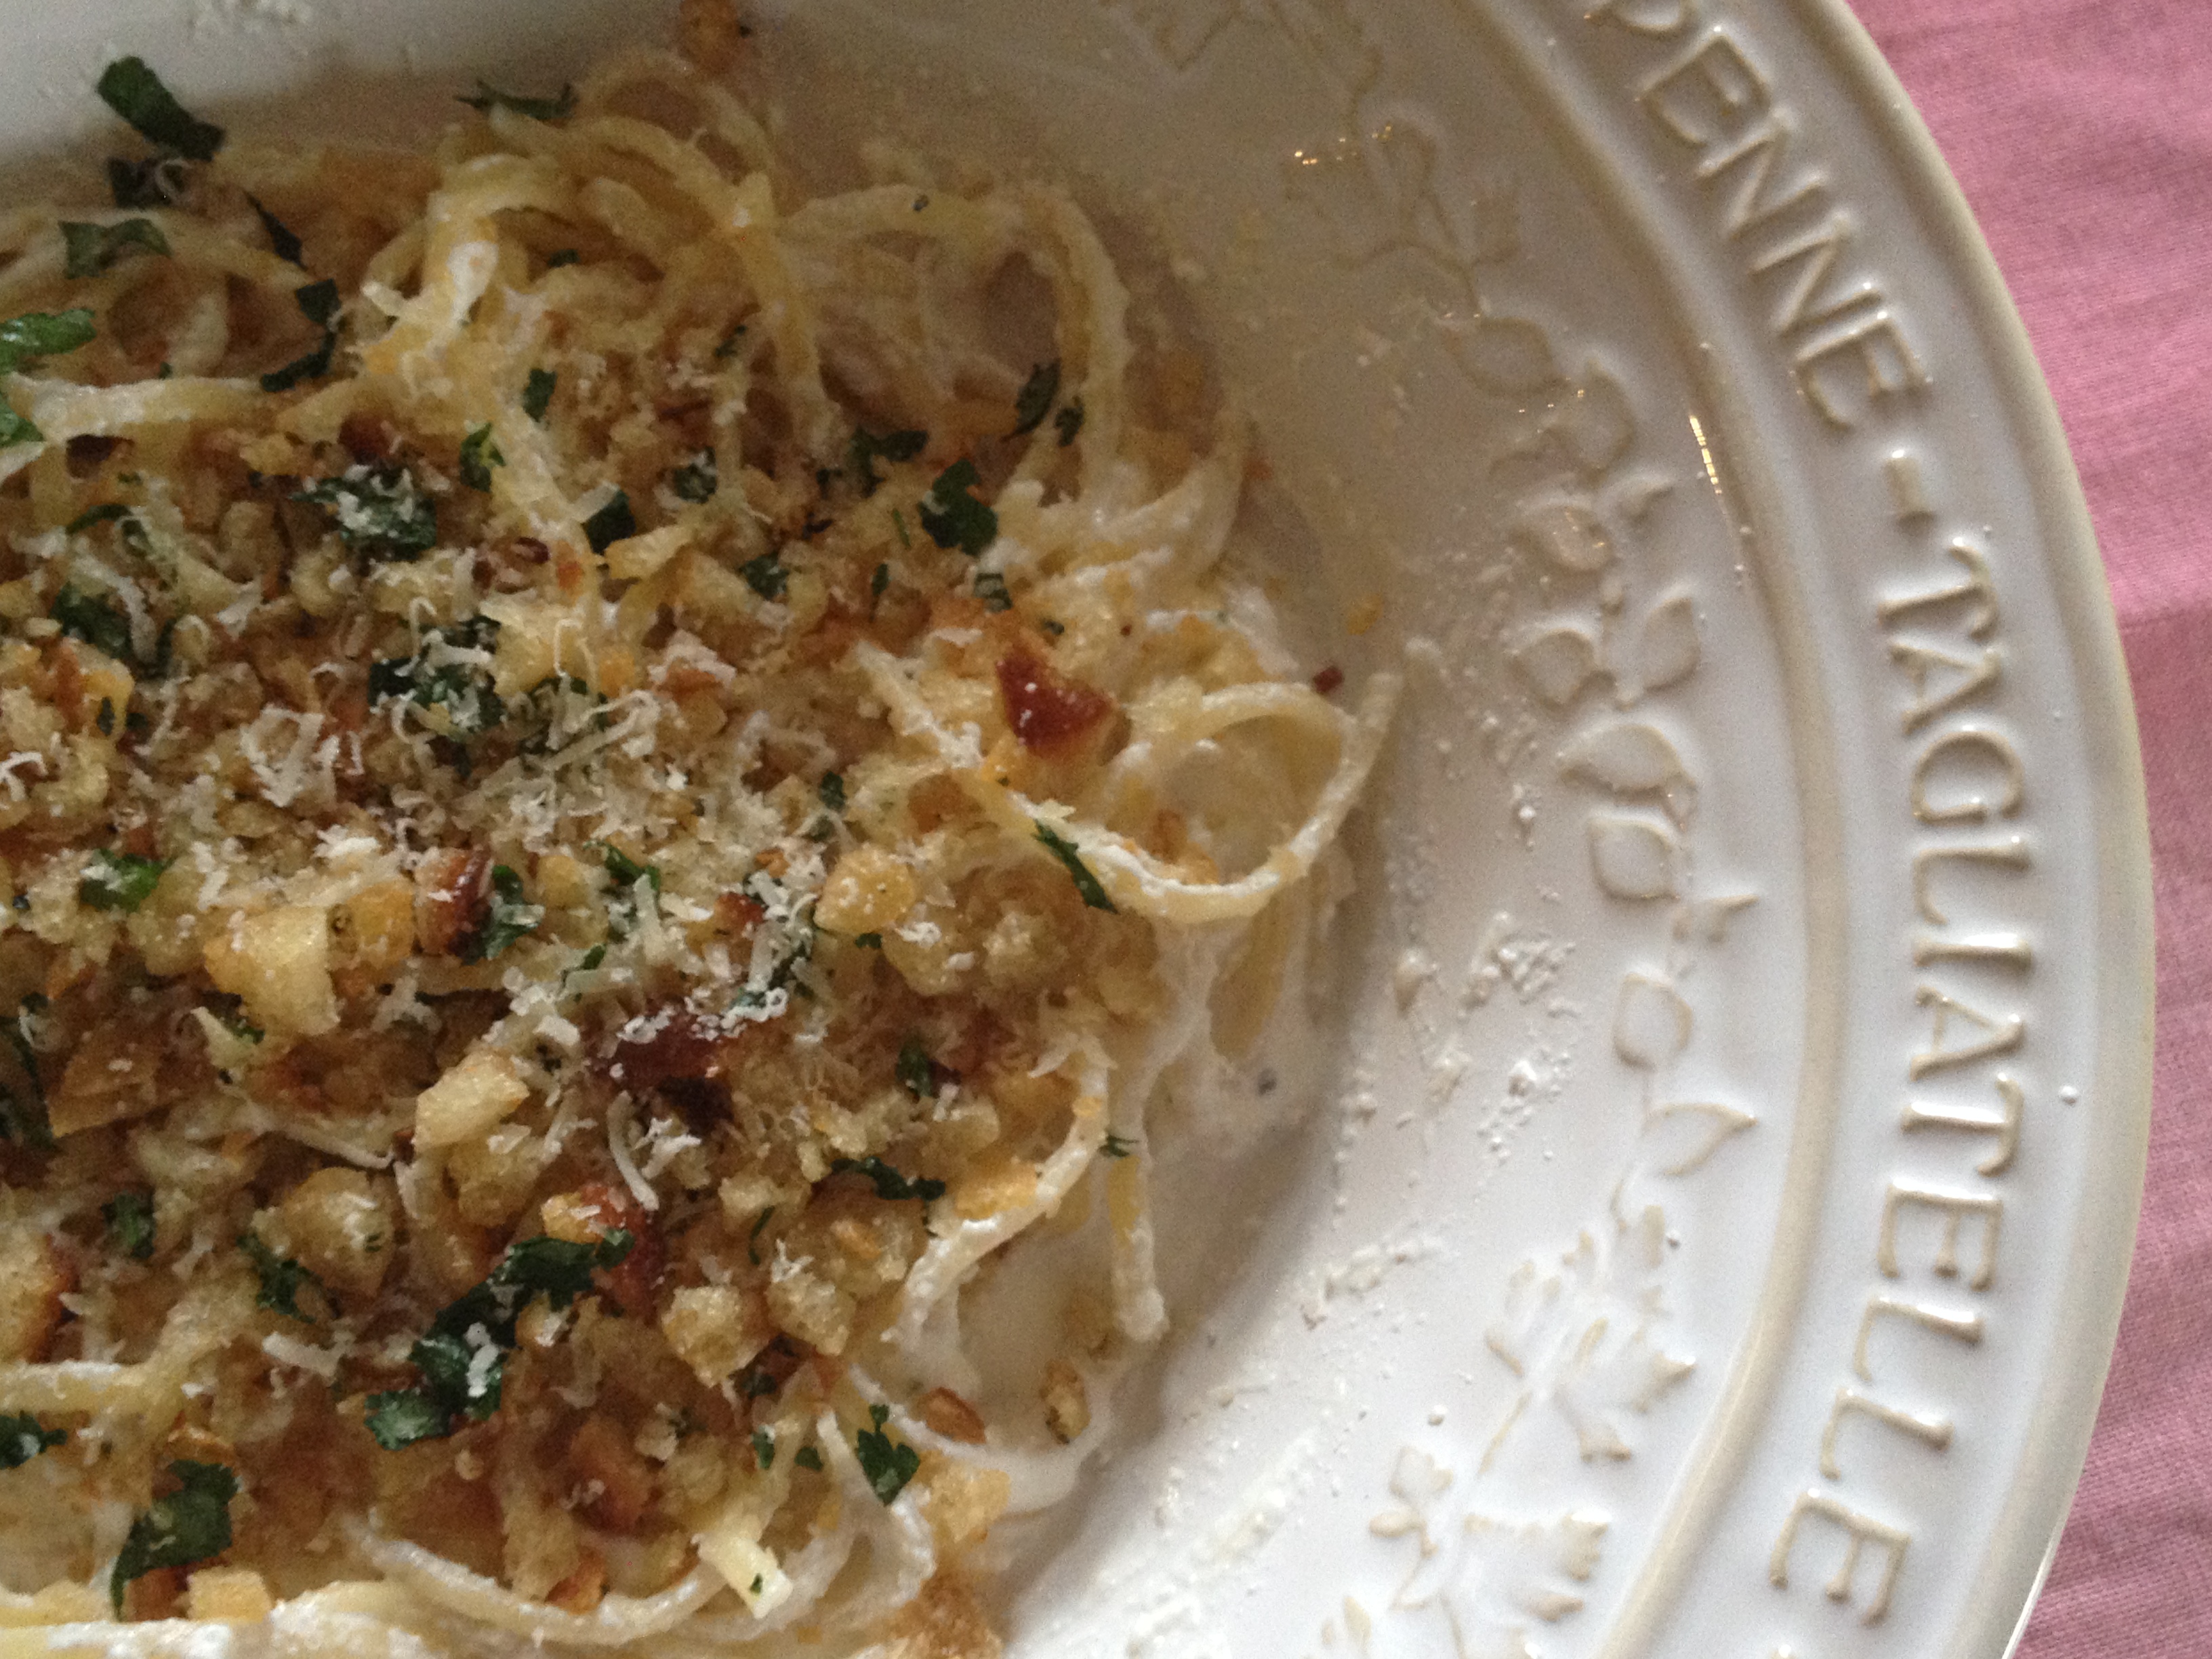
Rigatoni With Eggplant And Uncle Steve’s Arrabiata Sauce:
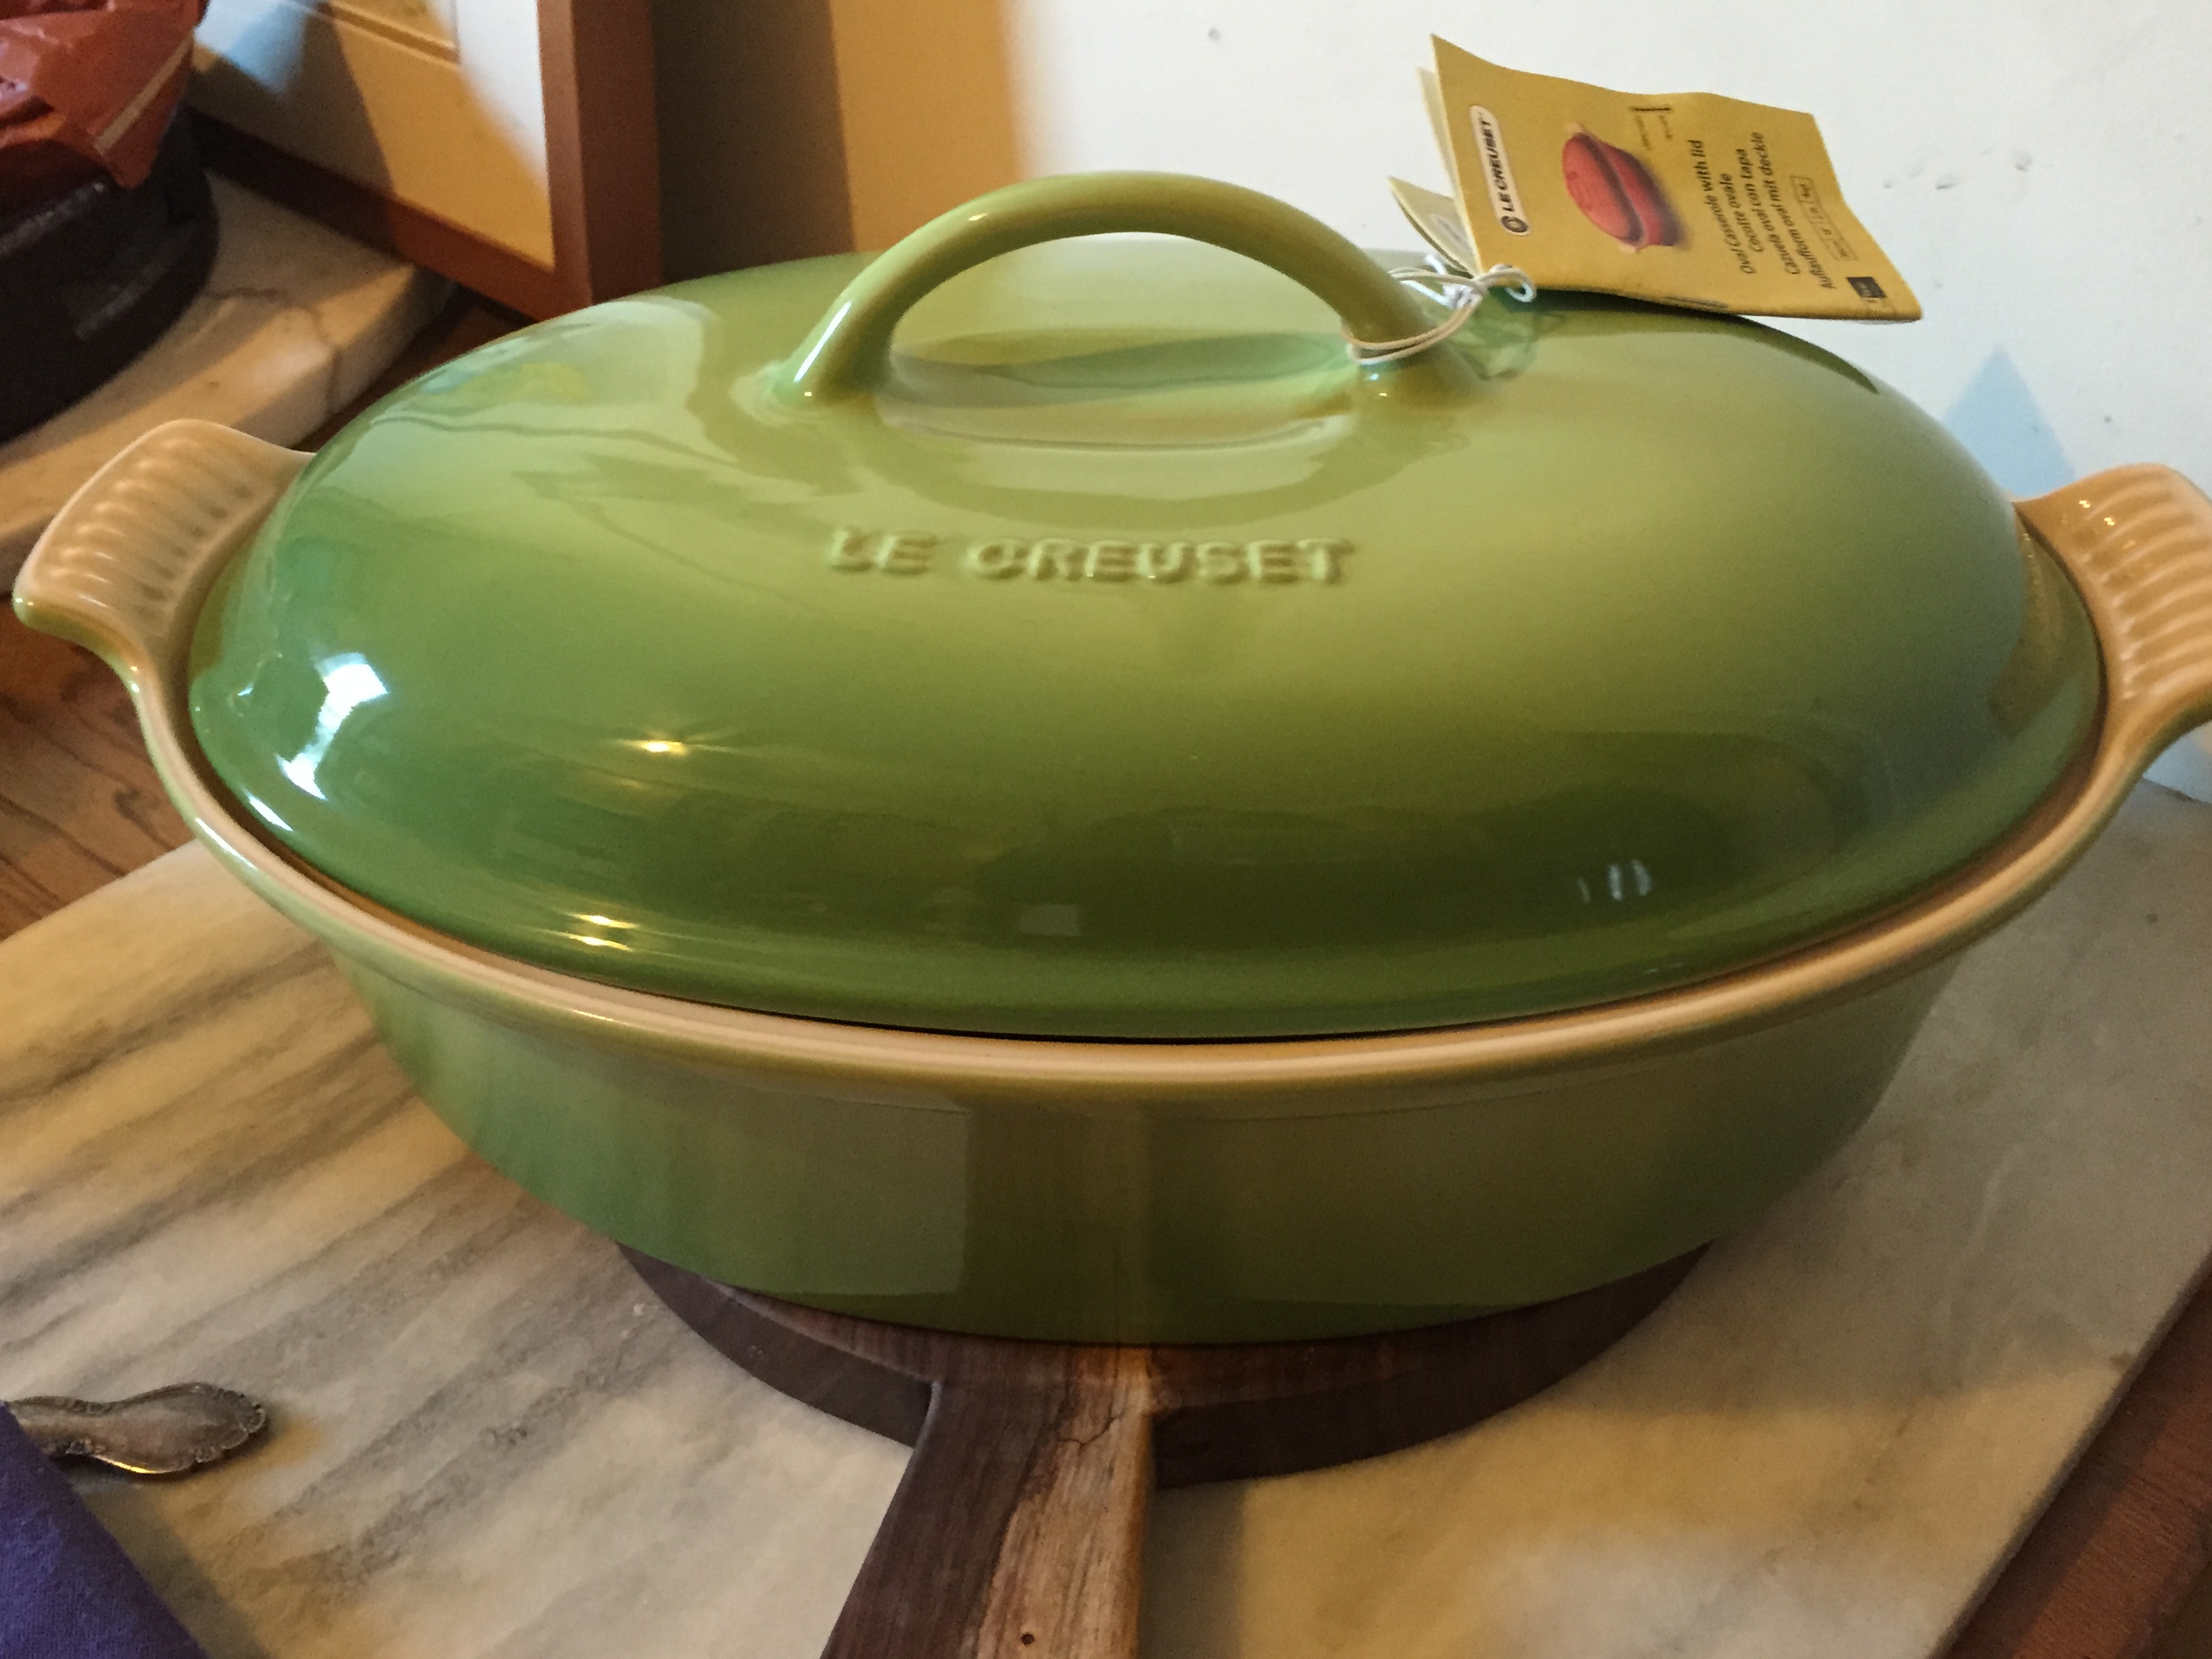
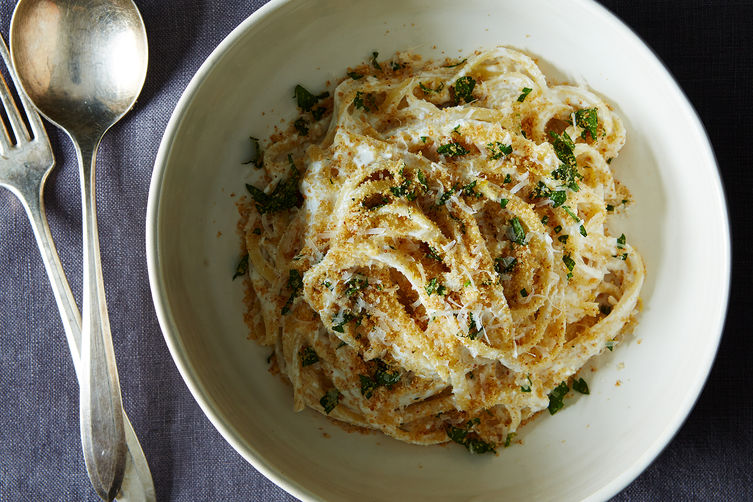
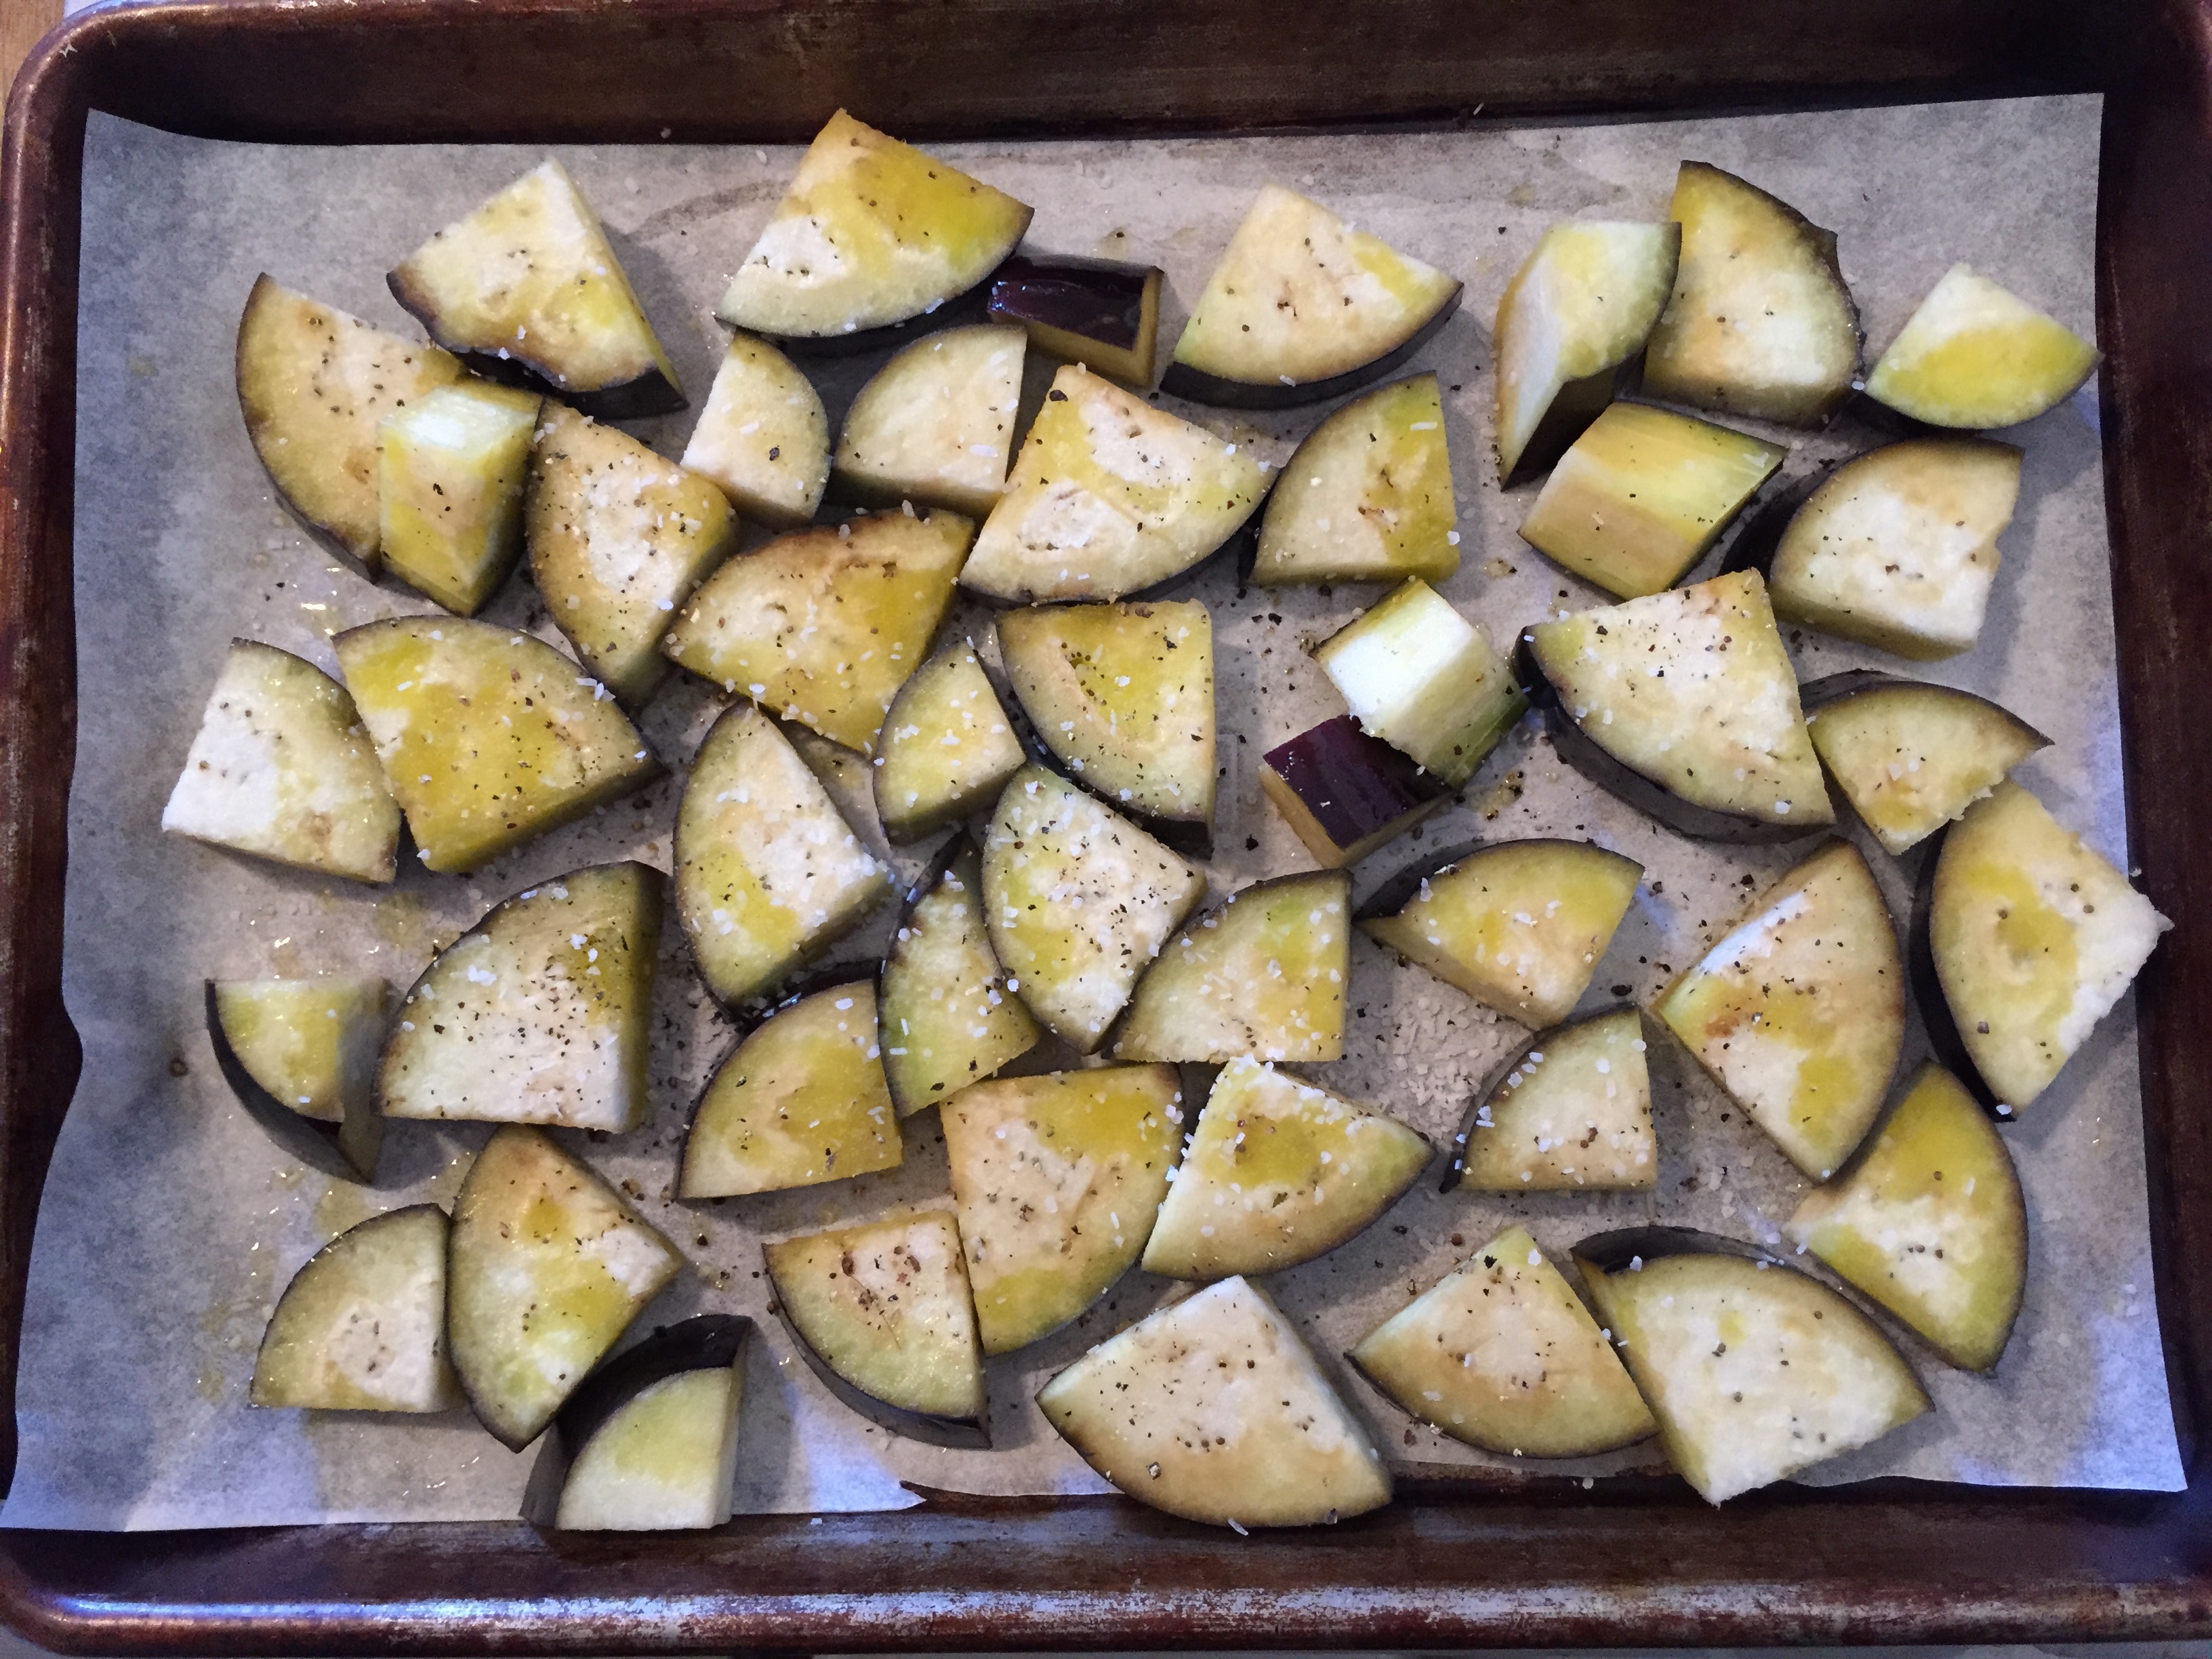
I have been craving eggplant, I thought that it would go nicely with the Arrabiata sauce. I decided to make a quick and easy pasta dish using Uncle Steve’s Arrabbiata sauce, some eggplant and rigatoni, top it with a nice big dollop of ricotta and a generous grating of pecorino romano. Previously when I bought jarred sauce I had to doctor it, you know what I mean, add some basil, garlic, olive oil, why not just make it from scratch then right? Well this sauce does not need to be doctored, it’s great right out of the jar, I did add a pinch of salt but that doesn’t count really. The meal took less than 30 minutes to make, and was delicious. I cut the eggplant into bite size pieces and roasted in the oven with some olive oil, salt and pepper after the eggplant was done I added to the sauce that was heating on the stove. when your pasta is done add it to the sauce and let it cook for a couple of minutes. Thats it, a quick delicious meal in no time and this is a product you can feel good about feeding your family. Note: Uncle Steve’s Arrabbiata is spicy, they aren’t kidding, love it!!
The entire meal was done in 30 minutes. Here is what I did:
Wash and cut the eggplant into bite size pieces, pre heat oven to 425 degree’s line a baking sheet with parchment. Spread the eggplant on the parchment, drizzle with olive oil and sprinkle with salt and pepper.
Ready for the oven
While the eggplant is roasting, put your water on for the pasta, salt generously and bring to a full boil. While the pasta is cooking check on the eggplant, remove when it’s lightly browned approximately 20 minutes.
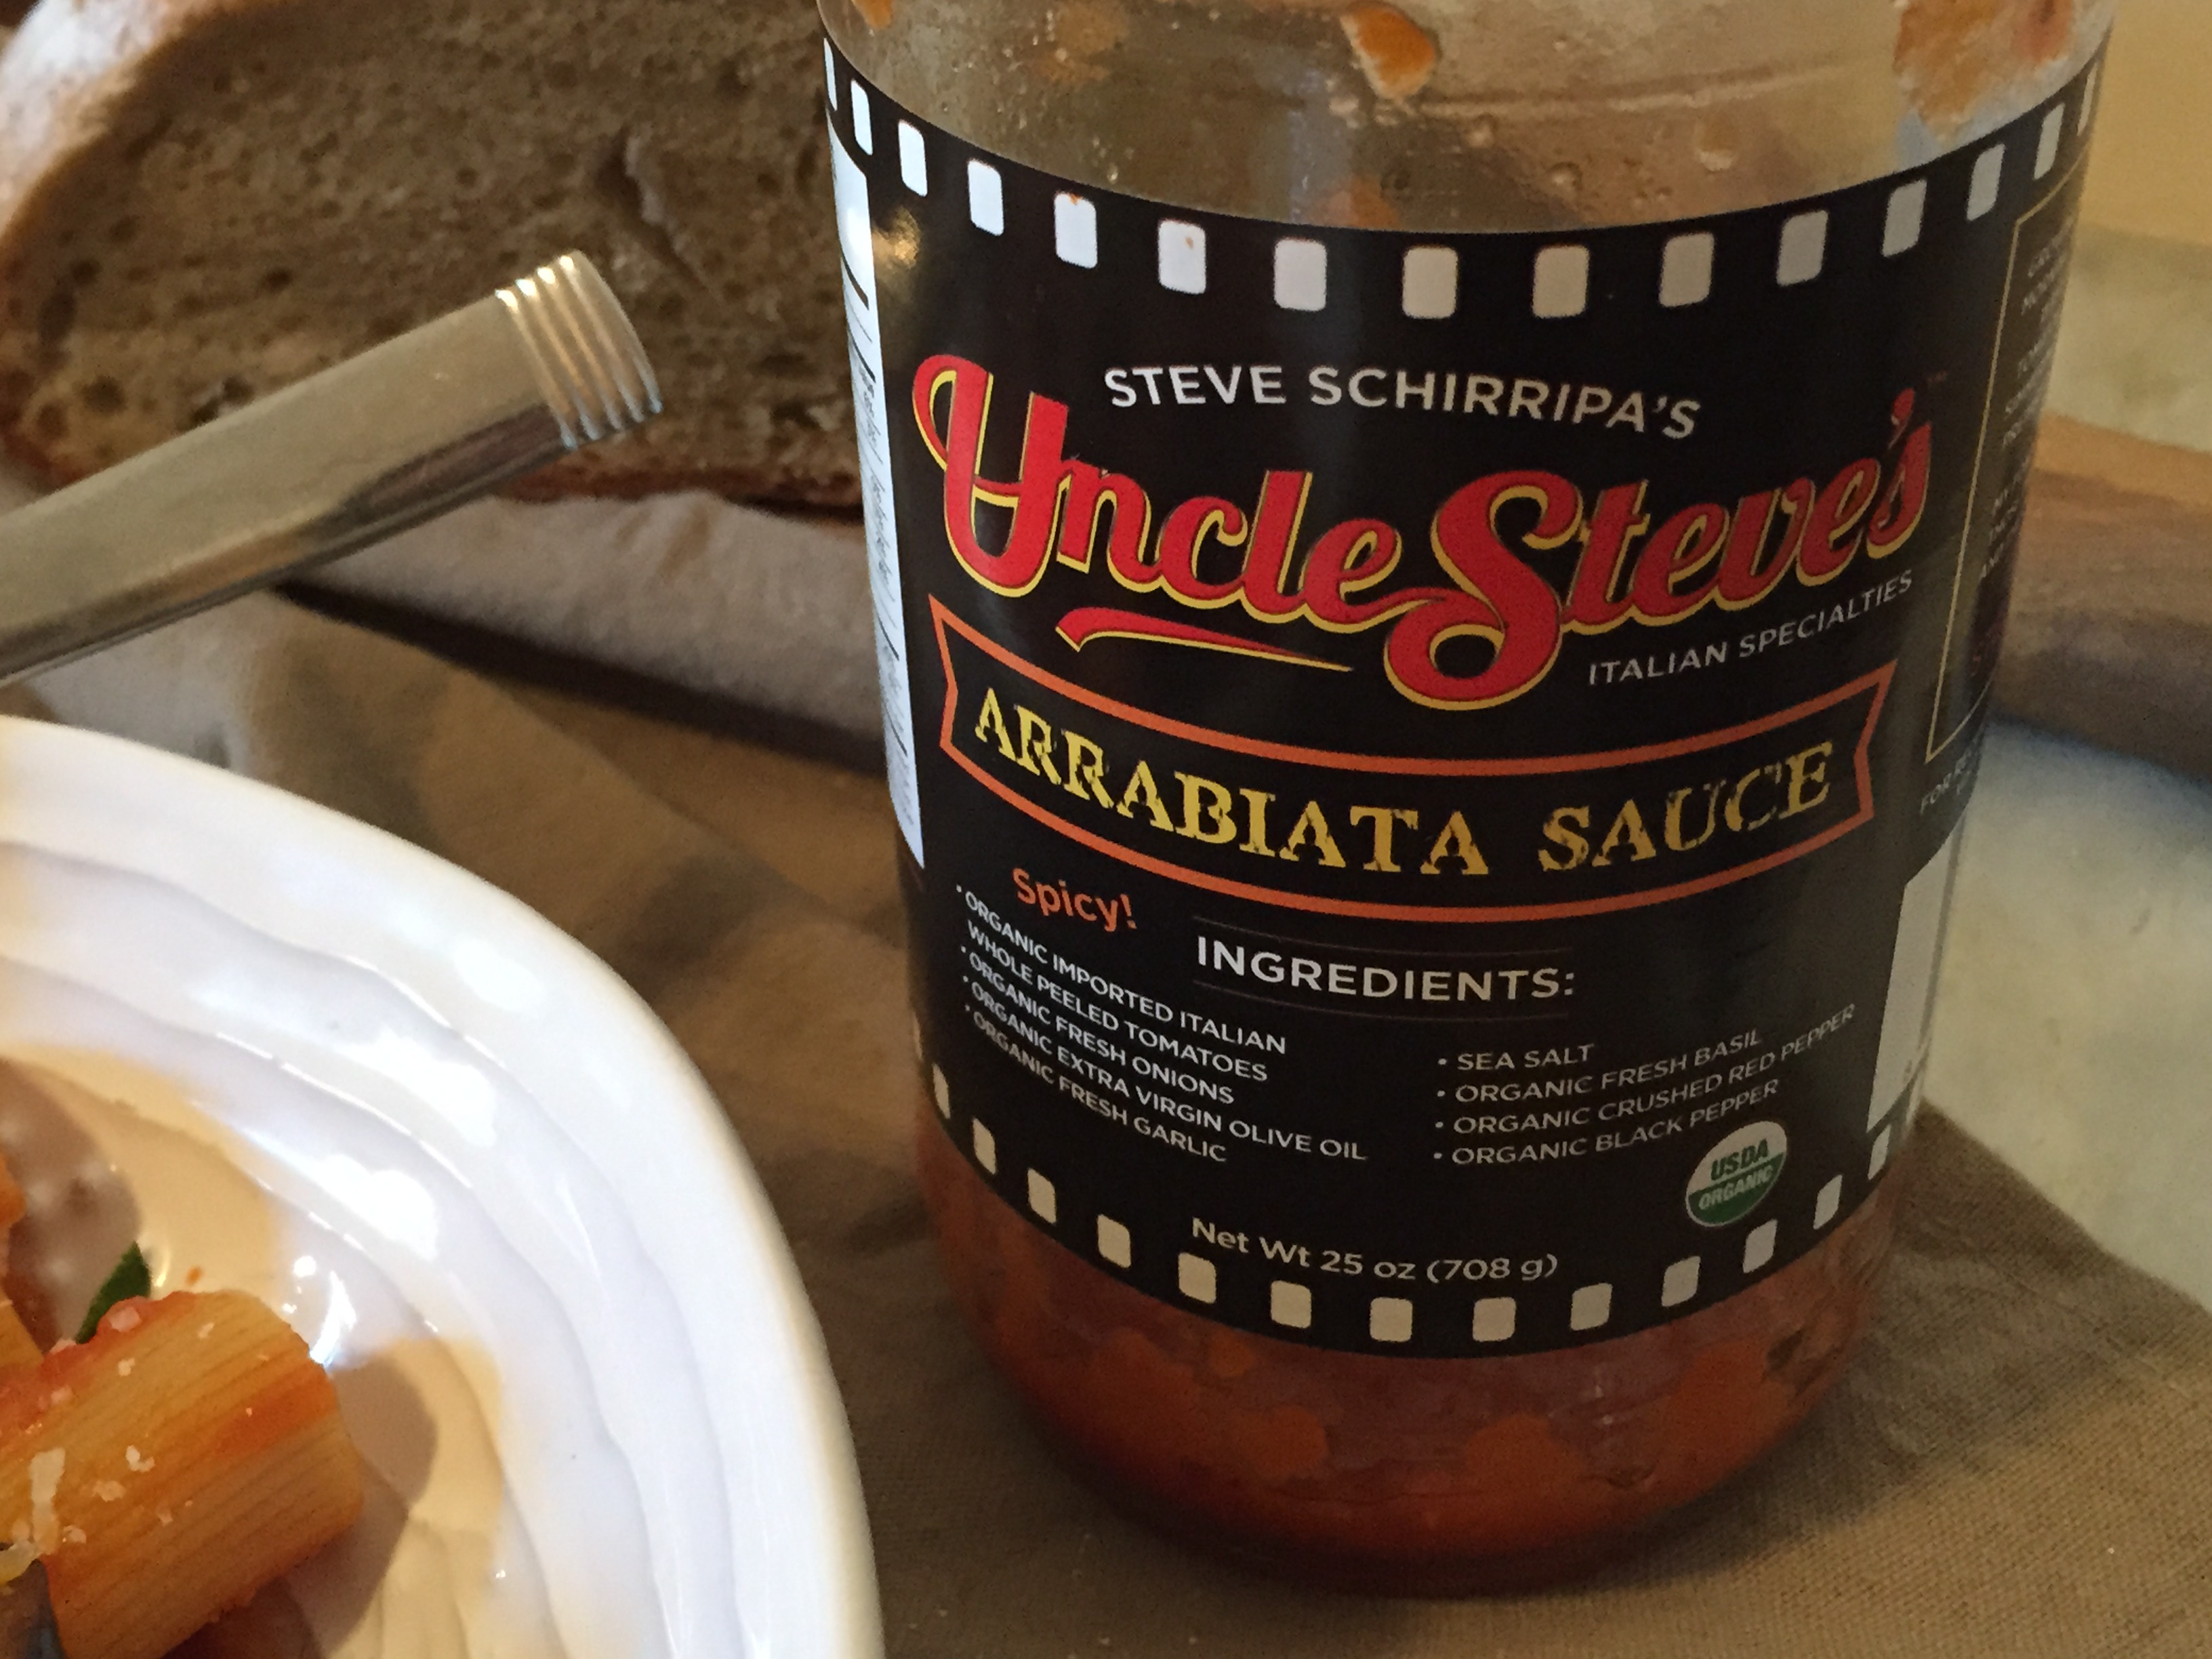
Look at the ingredients, natural, simple and good
Get out your saute’ pan and add the sauce and eggplant and simmer for a few minutes. Remove the pasta from the water when al dente (I used a spider utensil) added directly to the sauce, let the pasta cook in the sauce approximately 2 -3 minutes. Serve with ricotta and grated cheese.
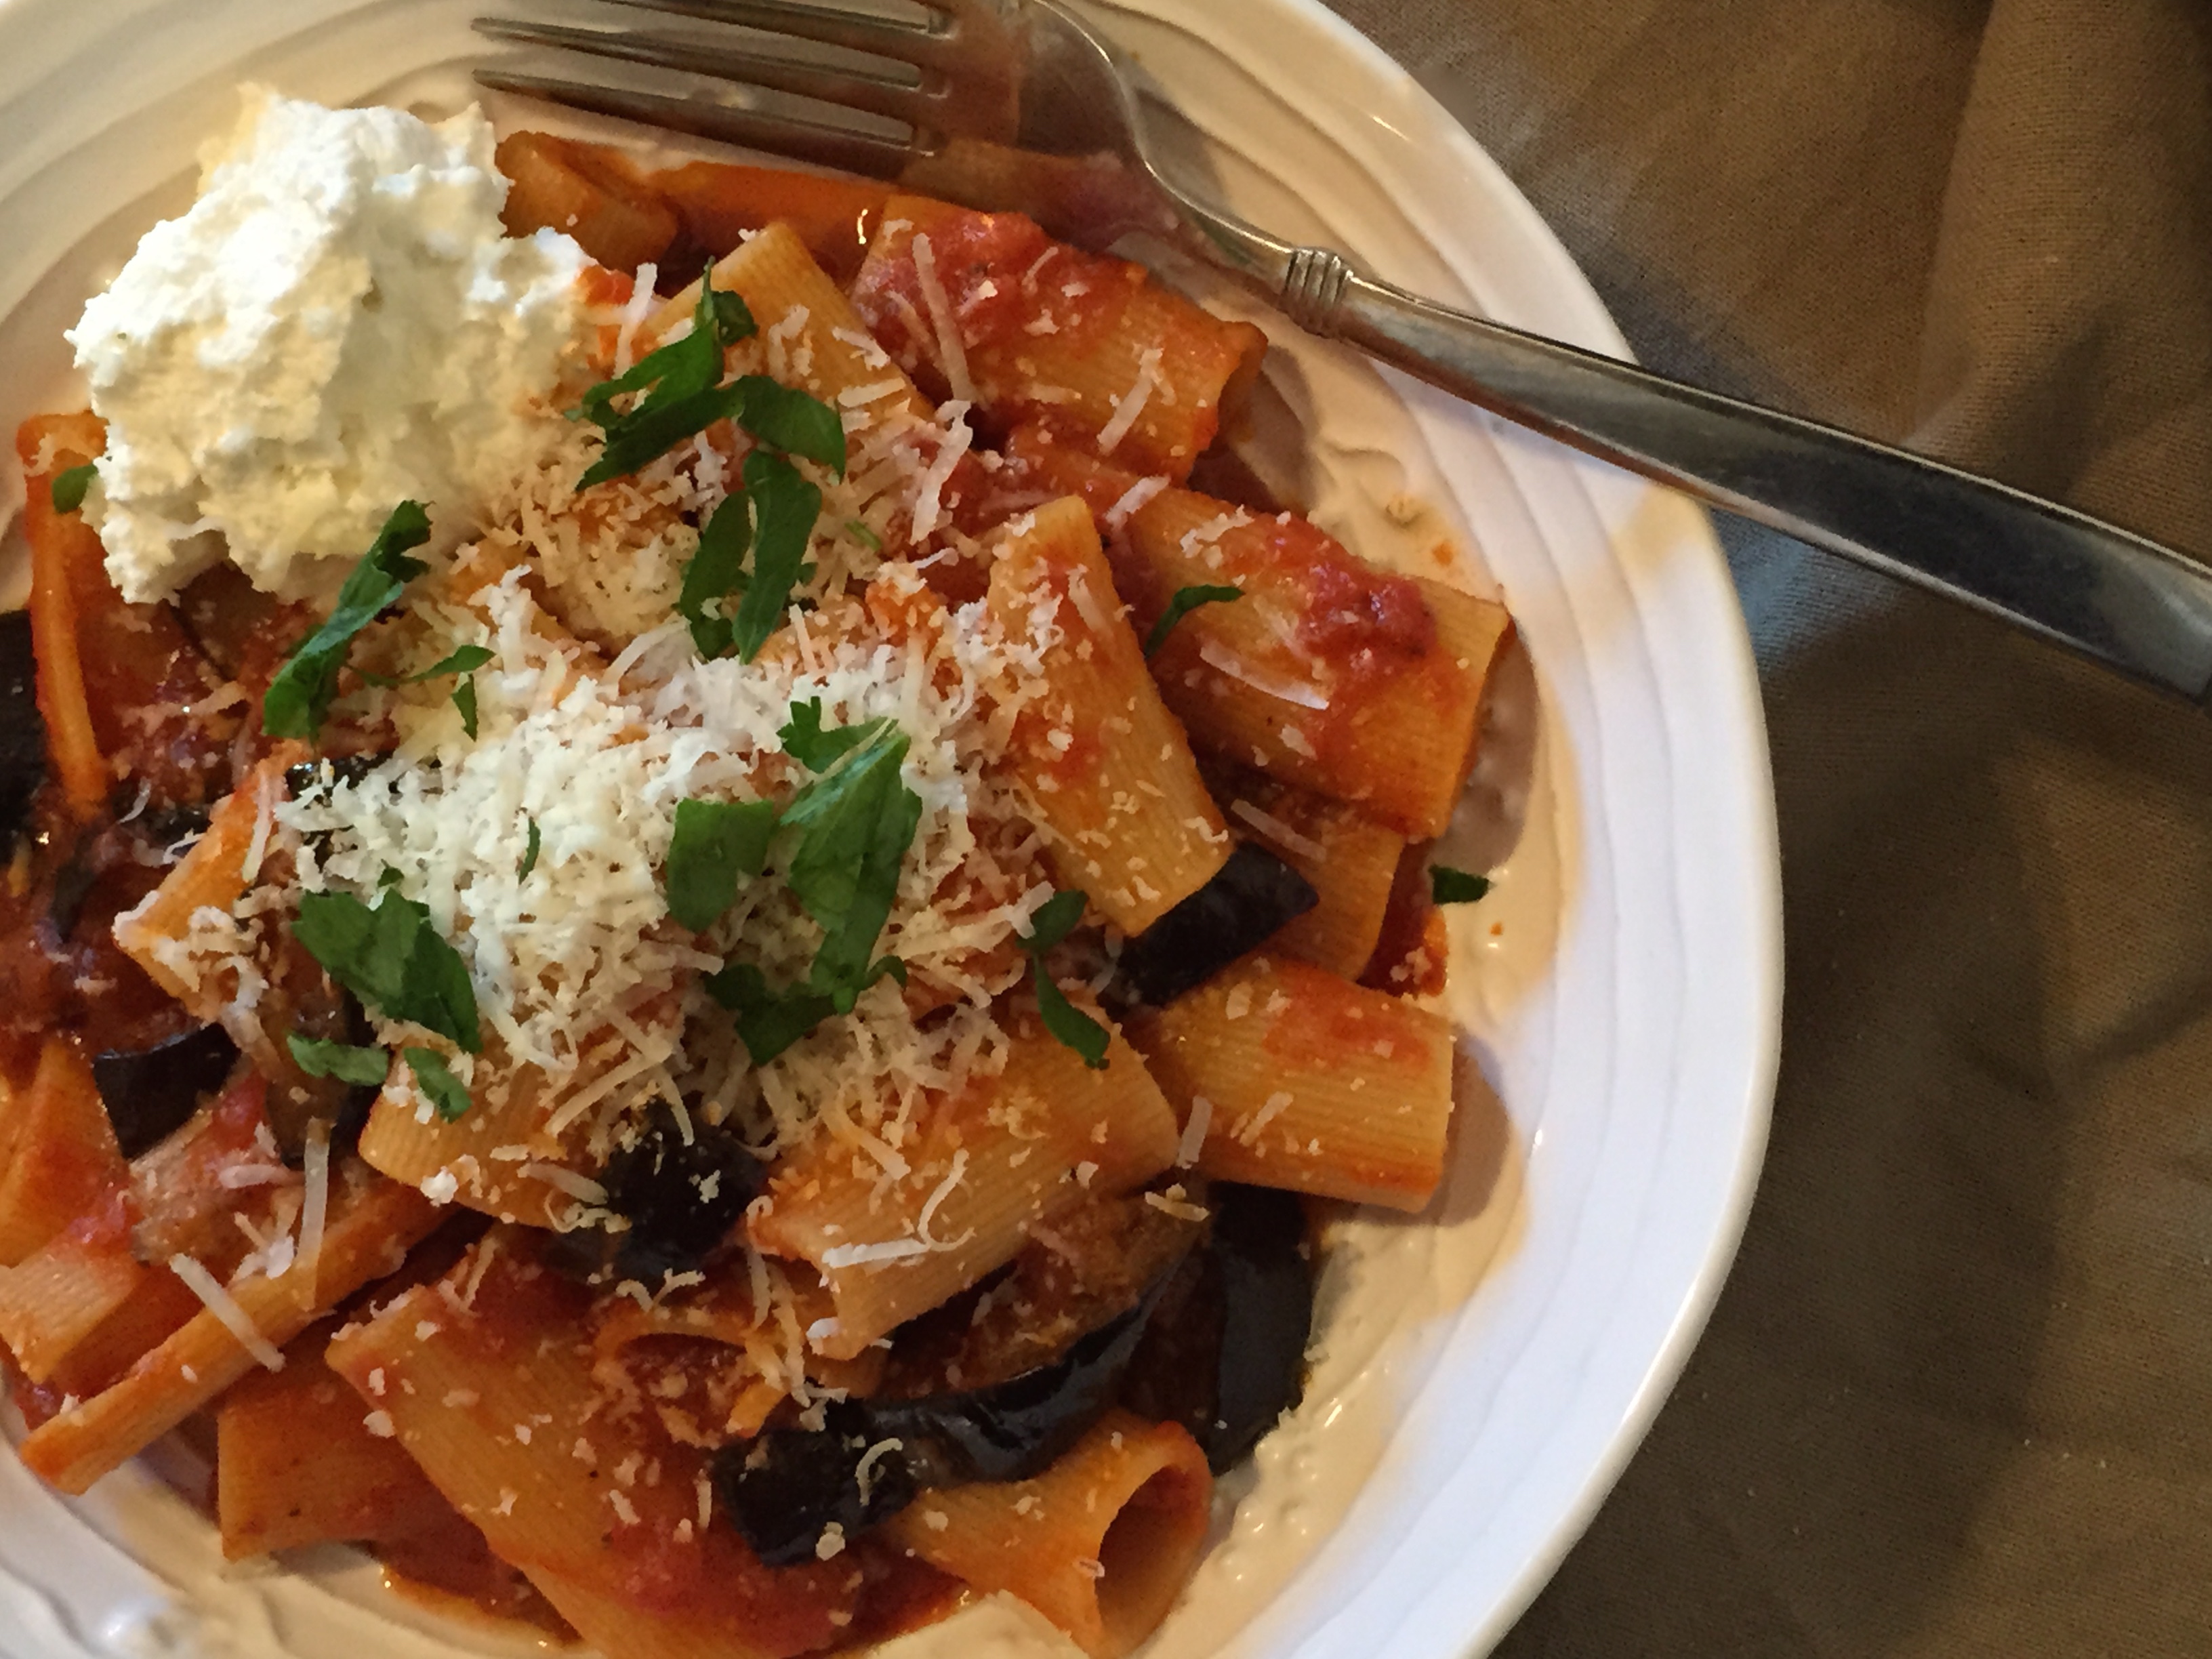
A bowl of goodness fresh, natural and delicious!