An Inspiring Meal,Wine Pairing And Fiesta Friday #38
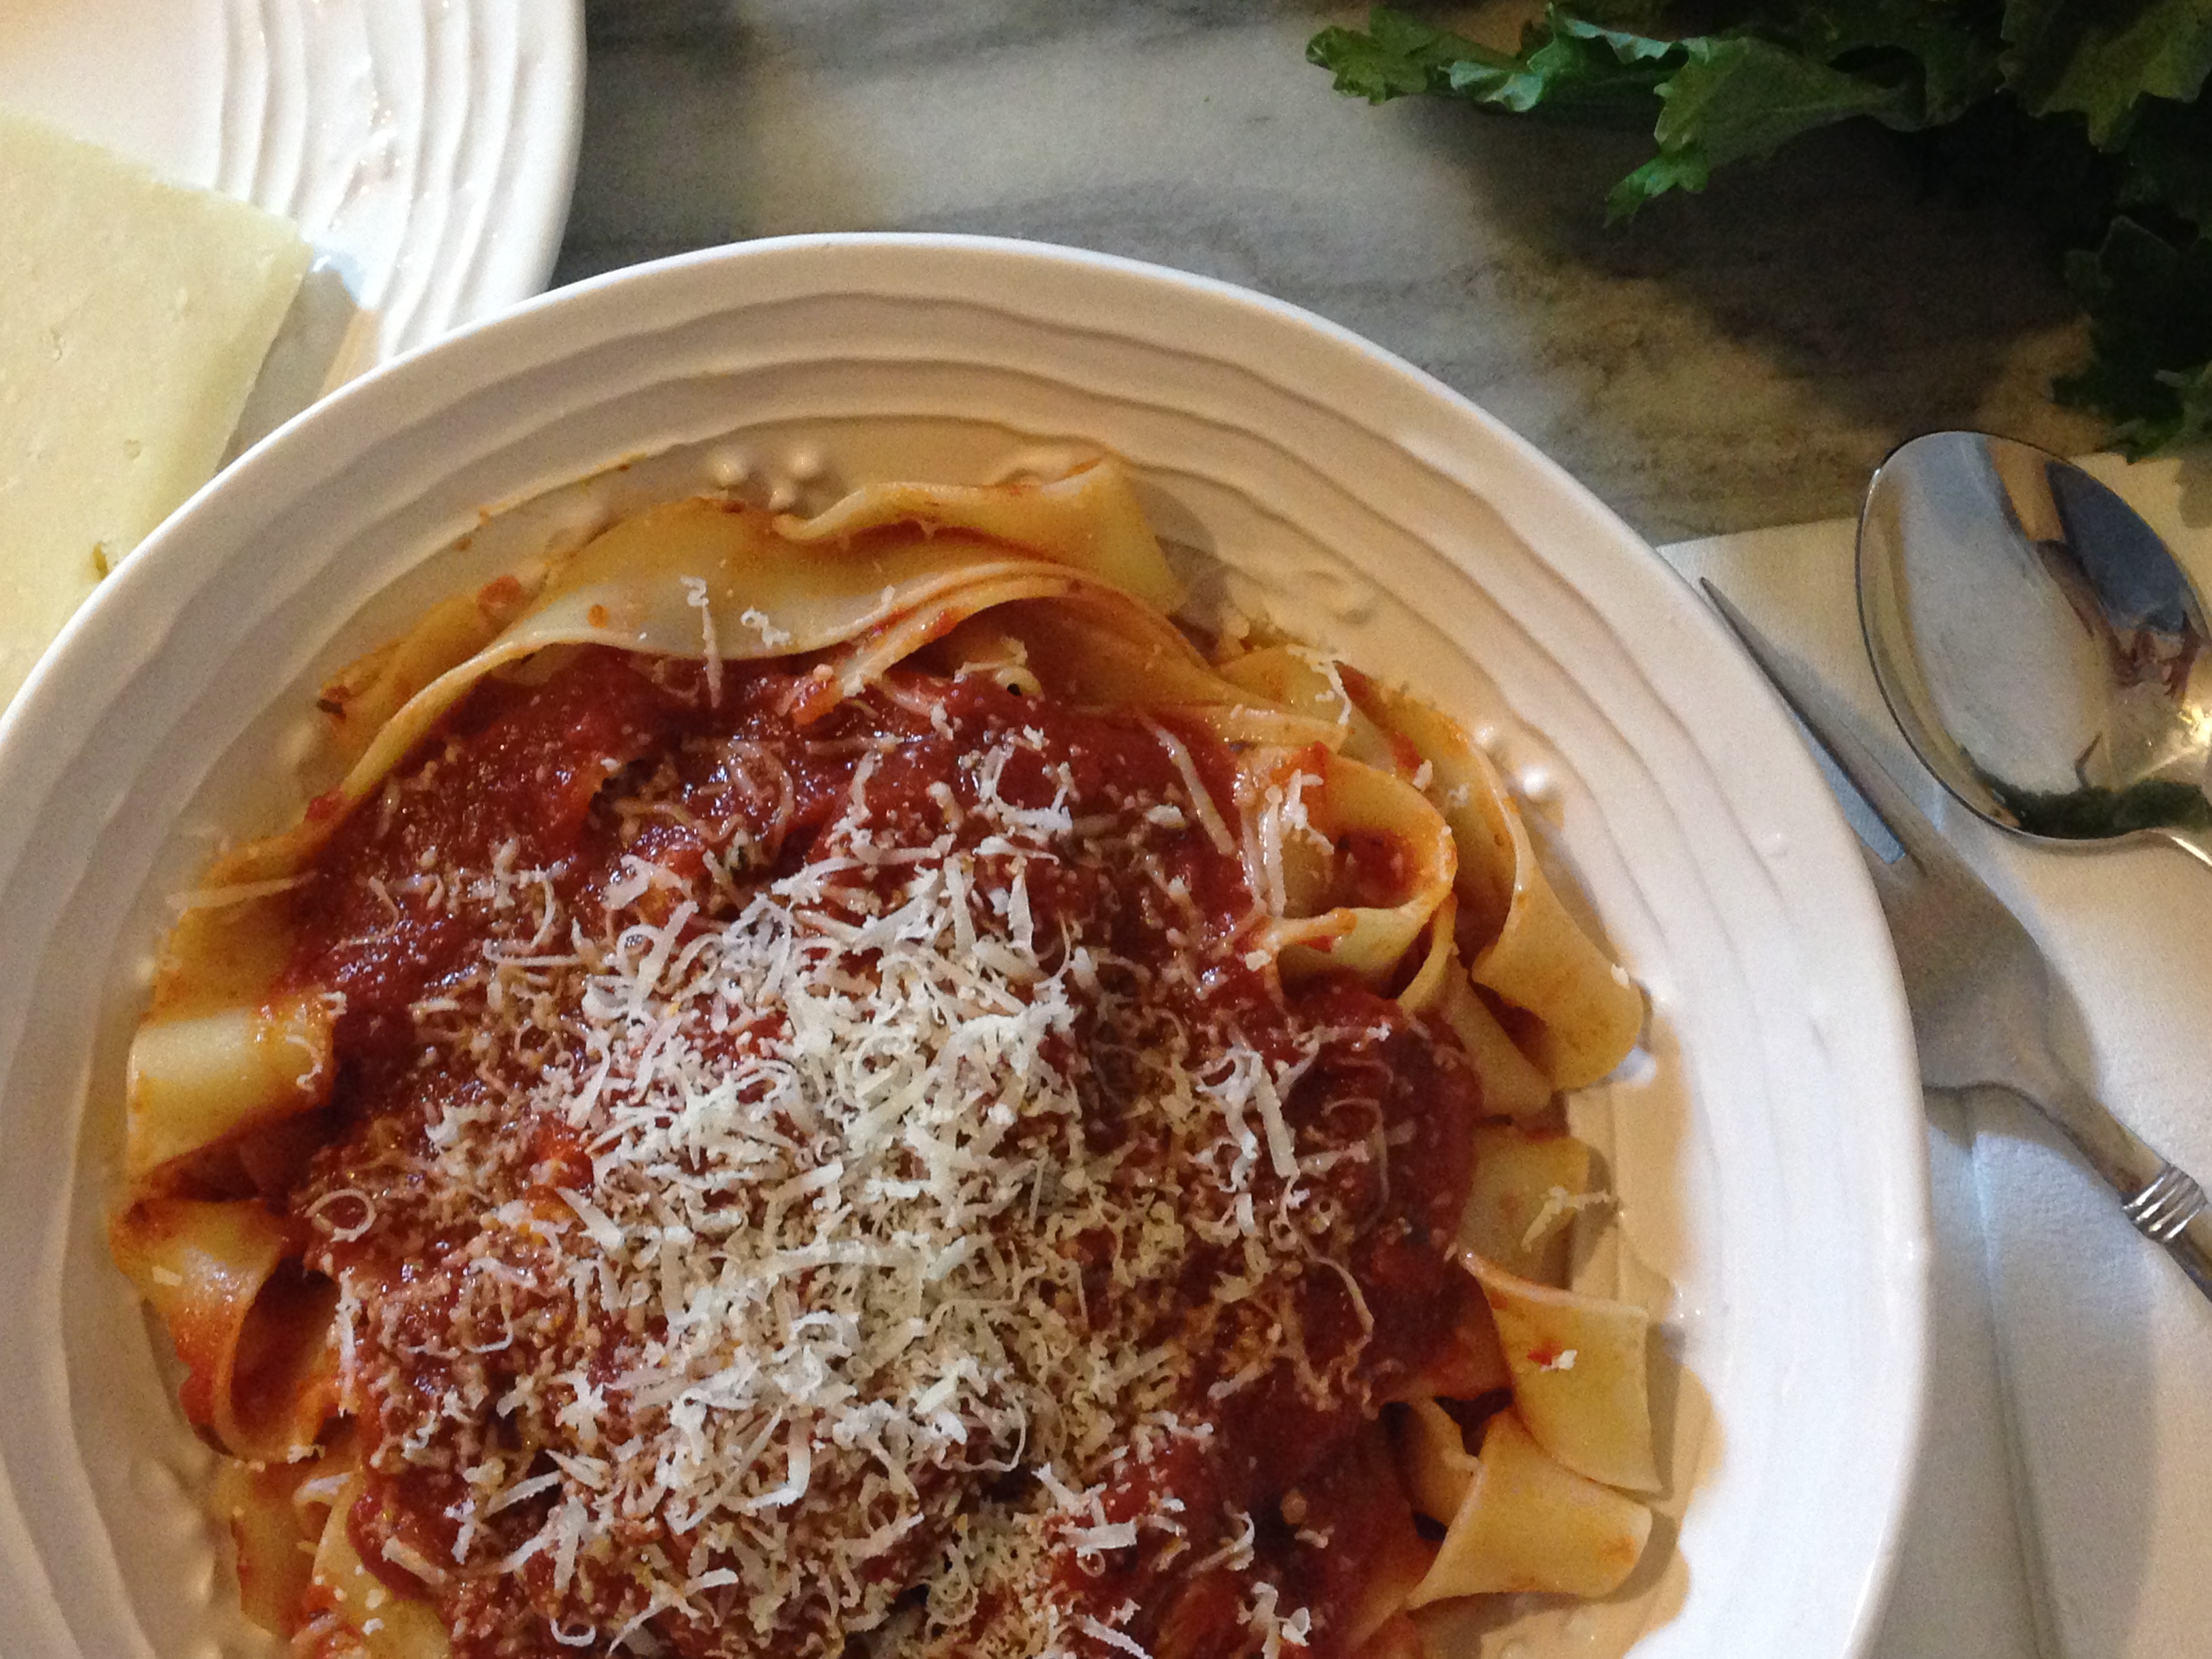
Pork Ragu With Pappardelle
I want to thank everyone who submitted recipes and so sorry it’s a day late. I wanted to cook/bake each one of them (I think I just might do just that). I am inspired when I see the wonderfully delicious and creative recipes you all make and I want to do the same. Thank you. I fed everyone’s names into Random.org and the two recipes that were chosen are:
Pork Ragu with Pappardelle by Matt @ Inspired Food
Tiramisu by Lindy @ Love in the kitchen
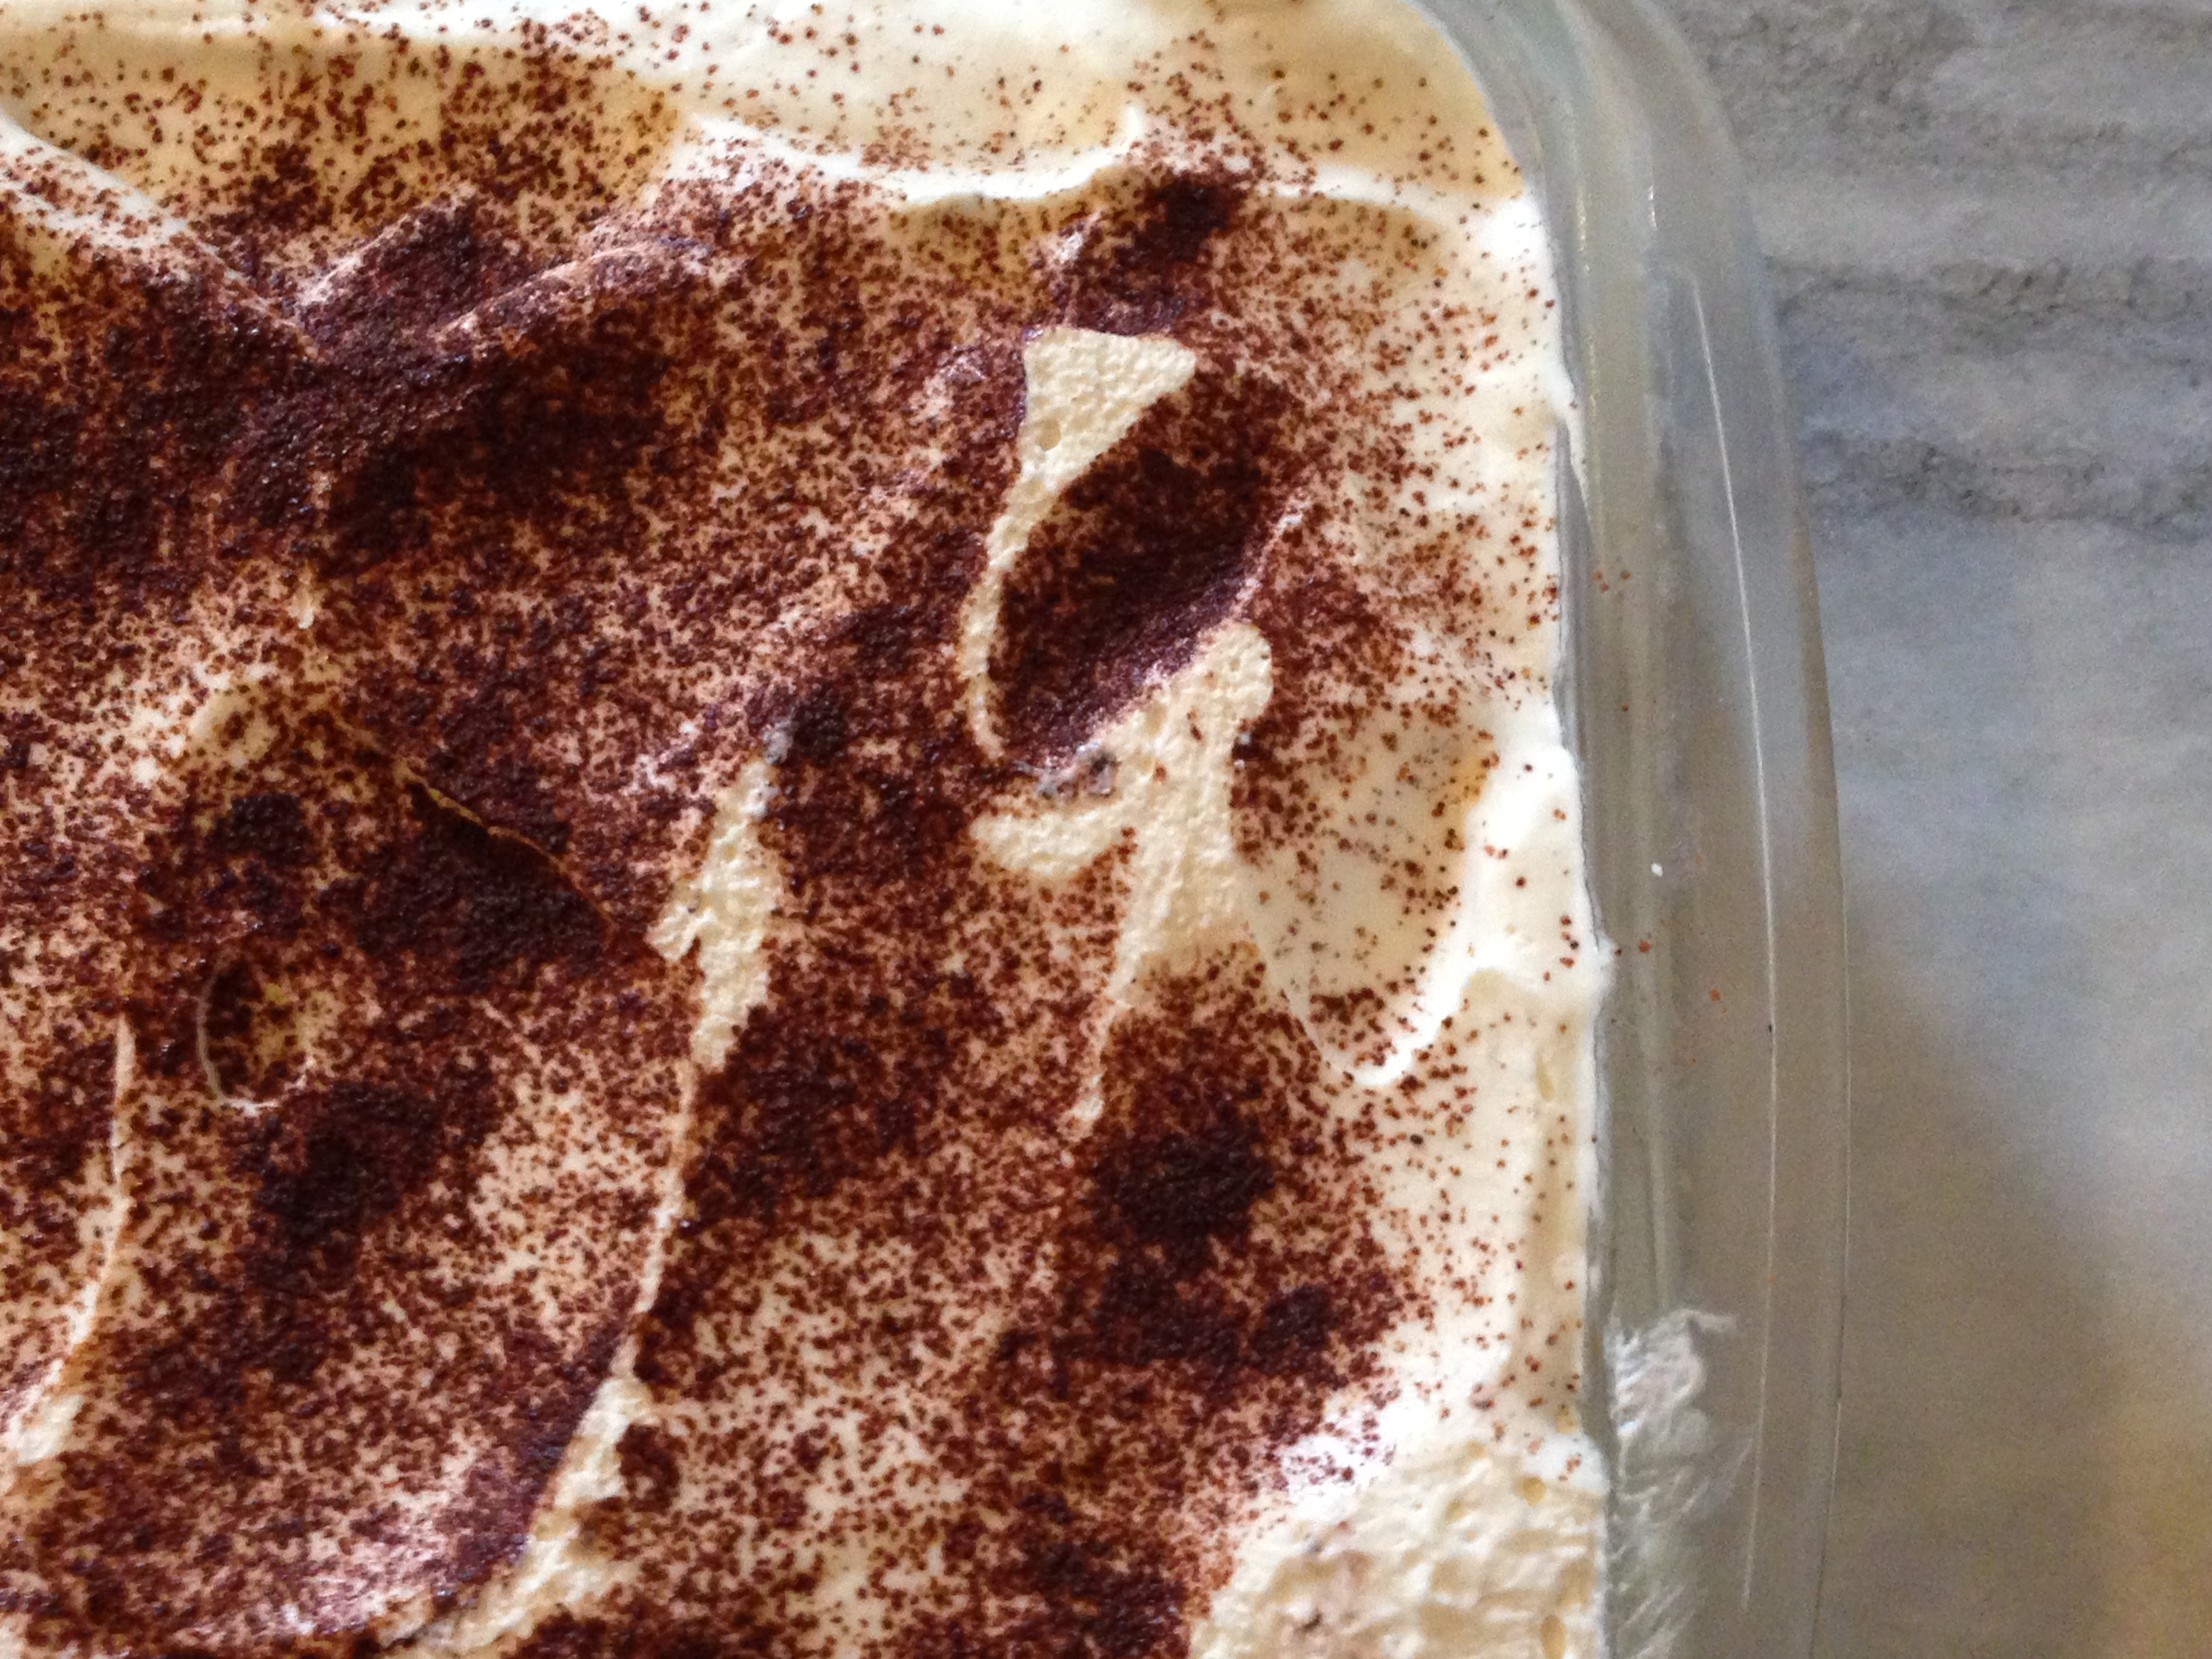
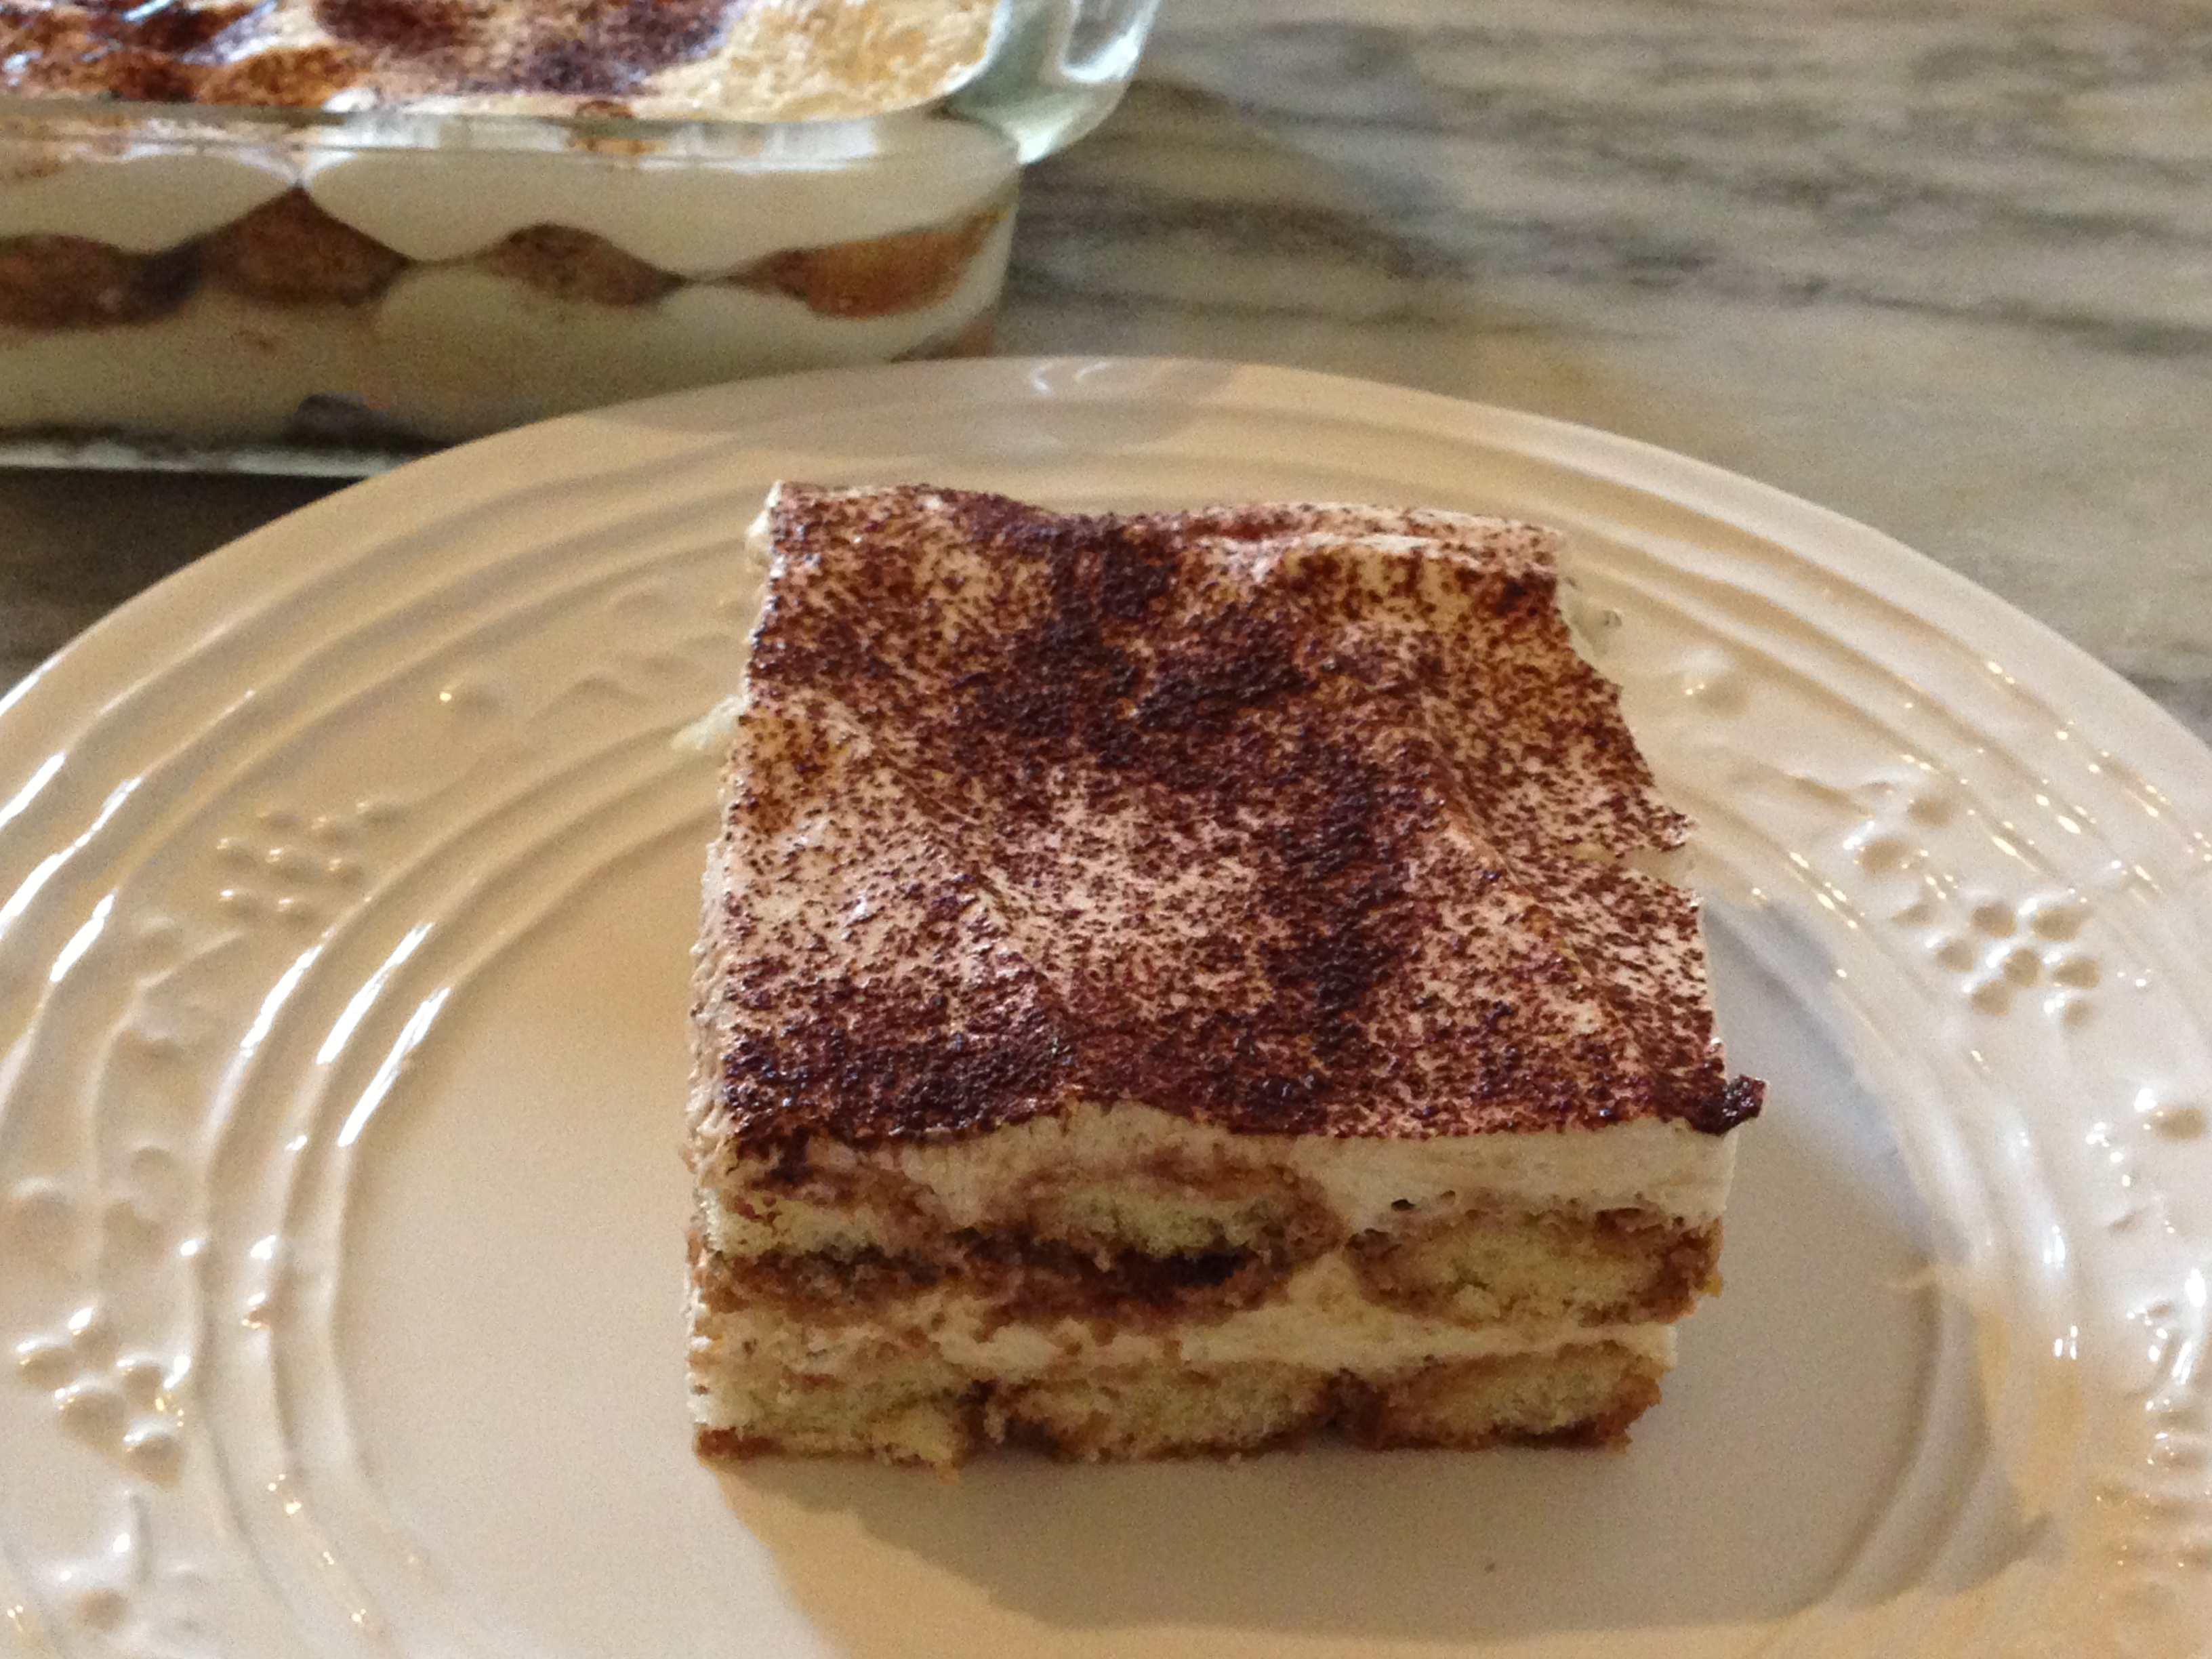
Tiramisu
I needed some comfort and the angels must have been at the helm of the random pick, Italian comfort food is just what I needed. Matt’s pork ragu is rich and meaty, and when eaten with pappardelle (I love those pasta ribbons) it’s like getting a hug from Nonna. Rather than make a salad I decided to make brocolli rabe sauteed in garlic and olive oil with toasted pine nuts and shaving of pecorino romano. I deviated only slightly from Matt’s recipe, I did not use oregano, it’s a personal preference.
As luck would have it, or I guess this was fated, when I fed the desserts into the random sorter it spit out Tiramisu, how perfect is that with this wonderful pasta dish. Lindy’s tiramisu is exactly how I like it, the perfect comforting, creamy sweet dessert. I used Kahlua in the dipping/soaking coffee, Lindy gives you a choice of Kahlua, Frangelico or Amaretto and I added 1 tbs of Marsalla to the mascarpone/cream. What a fantastic dessert!!
I could not enjoy such a wonderful bowl of pasta without a great wine. My dear friend Michelle agreed to do a wine pairing. Michelle’s wine blog Rockin Red Blog is a veritable wealth of information on wine. You have to read her wine reviews, I am so in love with her writing style, her reviews are downright sexy (can I say that). Well they are, and I have learned so much from her. I sent her Matt’s great recipe and she paired it with a wonderful Italian red. Here is the wine recommendation and review from Michelle:

cesari mara ripasso
I spent a week in Valpolicella in September visiting wineries and tasting lots of terrific wine. When Suzanne shared this recipe with me it immediately took me back to Italy. I am sure there are many wines that would pair well with this meal but I try to follow the mantra “If it grows together it goes together;” therefore, my recommendation for a wine to pair with Pork Ragu with Pappardelle is a delicious Ripasso from the Valpolicella region of Italy. Many of the fantastic wines I enjoyed in Valpolicella have limited if any distribution to the US. I am recommending a wine that is distributed within the US; however, if you are unable to find this exact wine please go to your favorite local wine retailer, share this recommendation with the wine buyer and ask him/her to please suggest a Ripasso the store has in stock with similar body and flavor profile to enjoy with this meal.
Cesari Mara 2012 Valpolicella Superiore Ripasso DOC: This beautiful Ripasso was crafted from a blend of Corvina, Rondinella and Molinara grapes. It poured a beautiful deep ruby into the glass. This wine opened with quintessential Ripasso aromas of ripe cherries and spice. On the palate it delivered pleasing flavors of ripe cherries, baking spice, cocoa and fresh tobacco leaves with a hint of vanilla on the back of the palate. This Ripasso offered a velvety full mouth feel with a lingering finish coupled with refined tannins and round acidity. This Ripasso begged to be paired with a rich and full pasta meal. I thoroughly enjoyed this wine paired with Bigoli Pasta topped with a Barnyard Ragu and fresh shaved Parmesan Cheese. Furthermore, the Cesari Mara 2012 Ripasso will make an excellent pairing with Pork Ragu with Pappardelle. Click here to find this wine; if necessary I encourage you to order it online. Average retail price $17.
The meal was so wonderful I decided I would make enough pasta and tiramisu for a crowd and bring it to Fiesta Friday hosted by the amazing Angie@The novice gardener. This weeks co hosts are Hilda and Julianna, they are so wonderful agreeing to co host a second week. I hope you brought your appetites since I have brought a lot of food and with everyones amazing and delicious offerings FF#38 is going to be a great party!! Enjoy Everyone!!
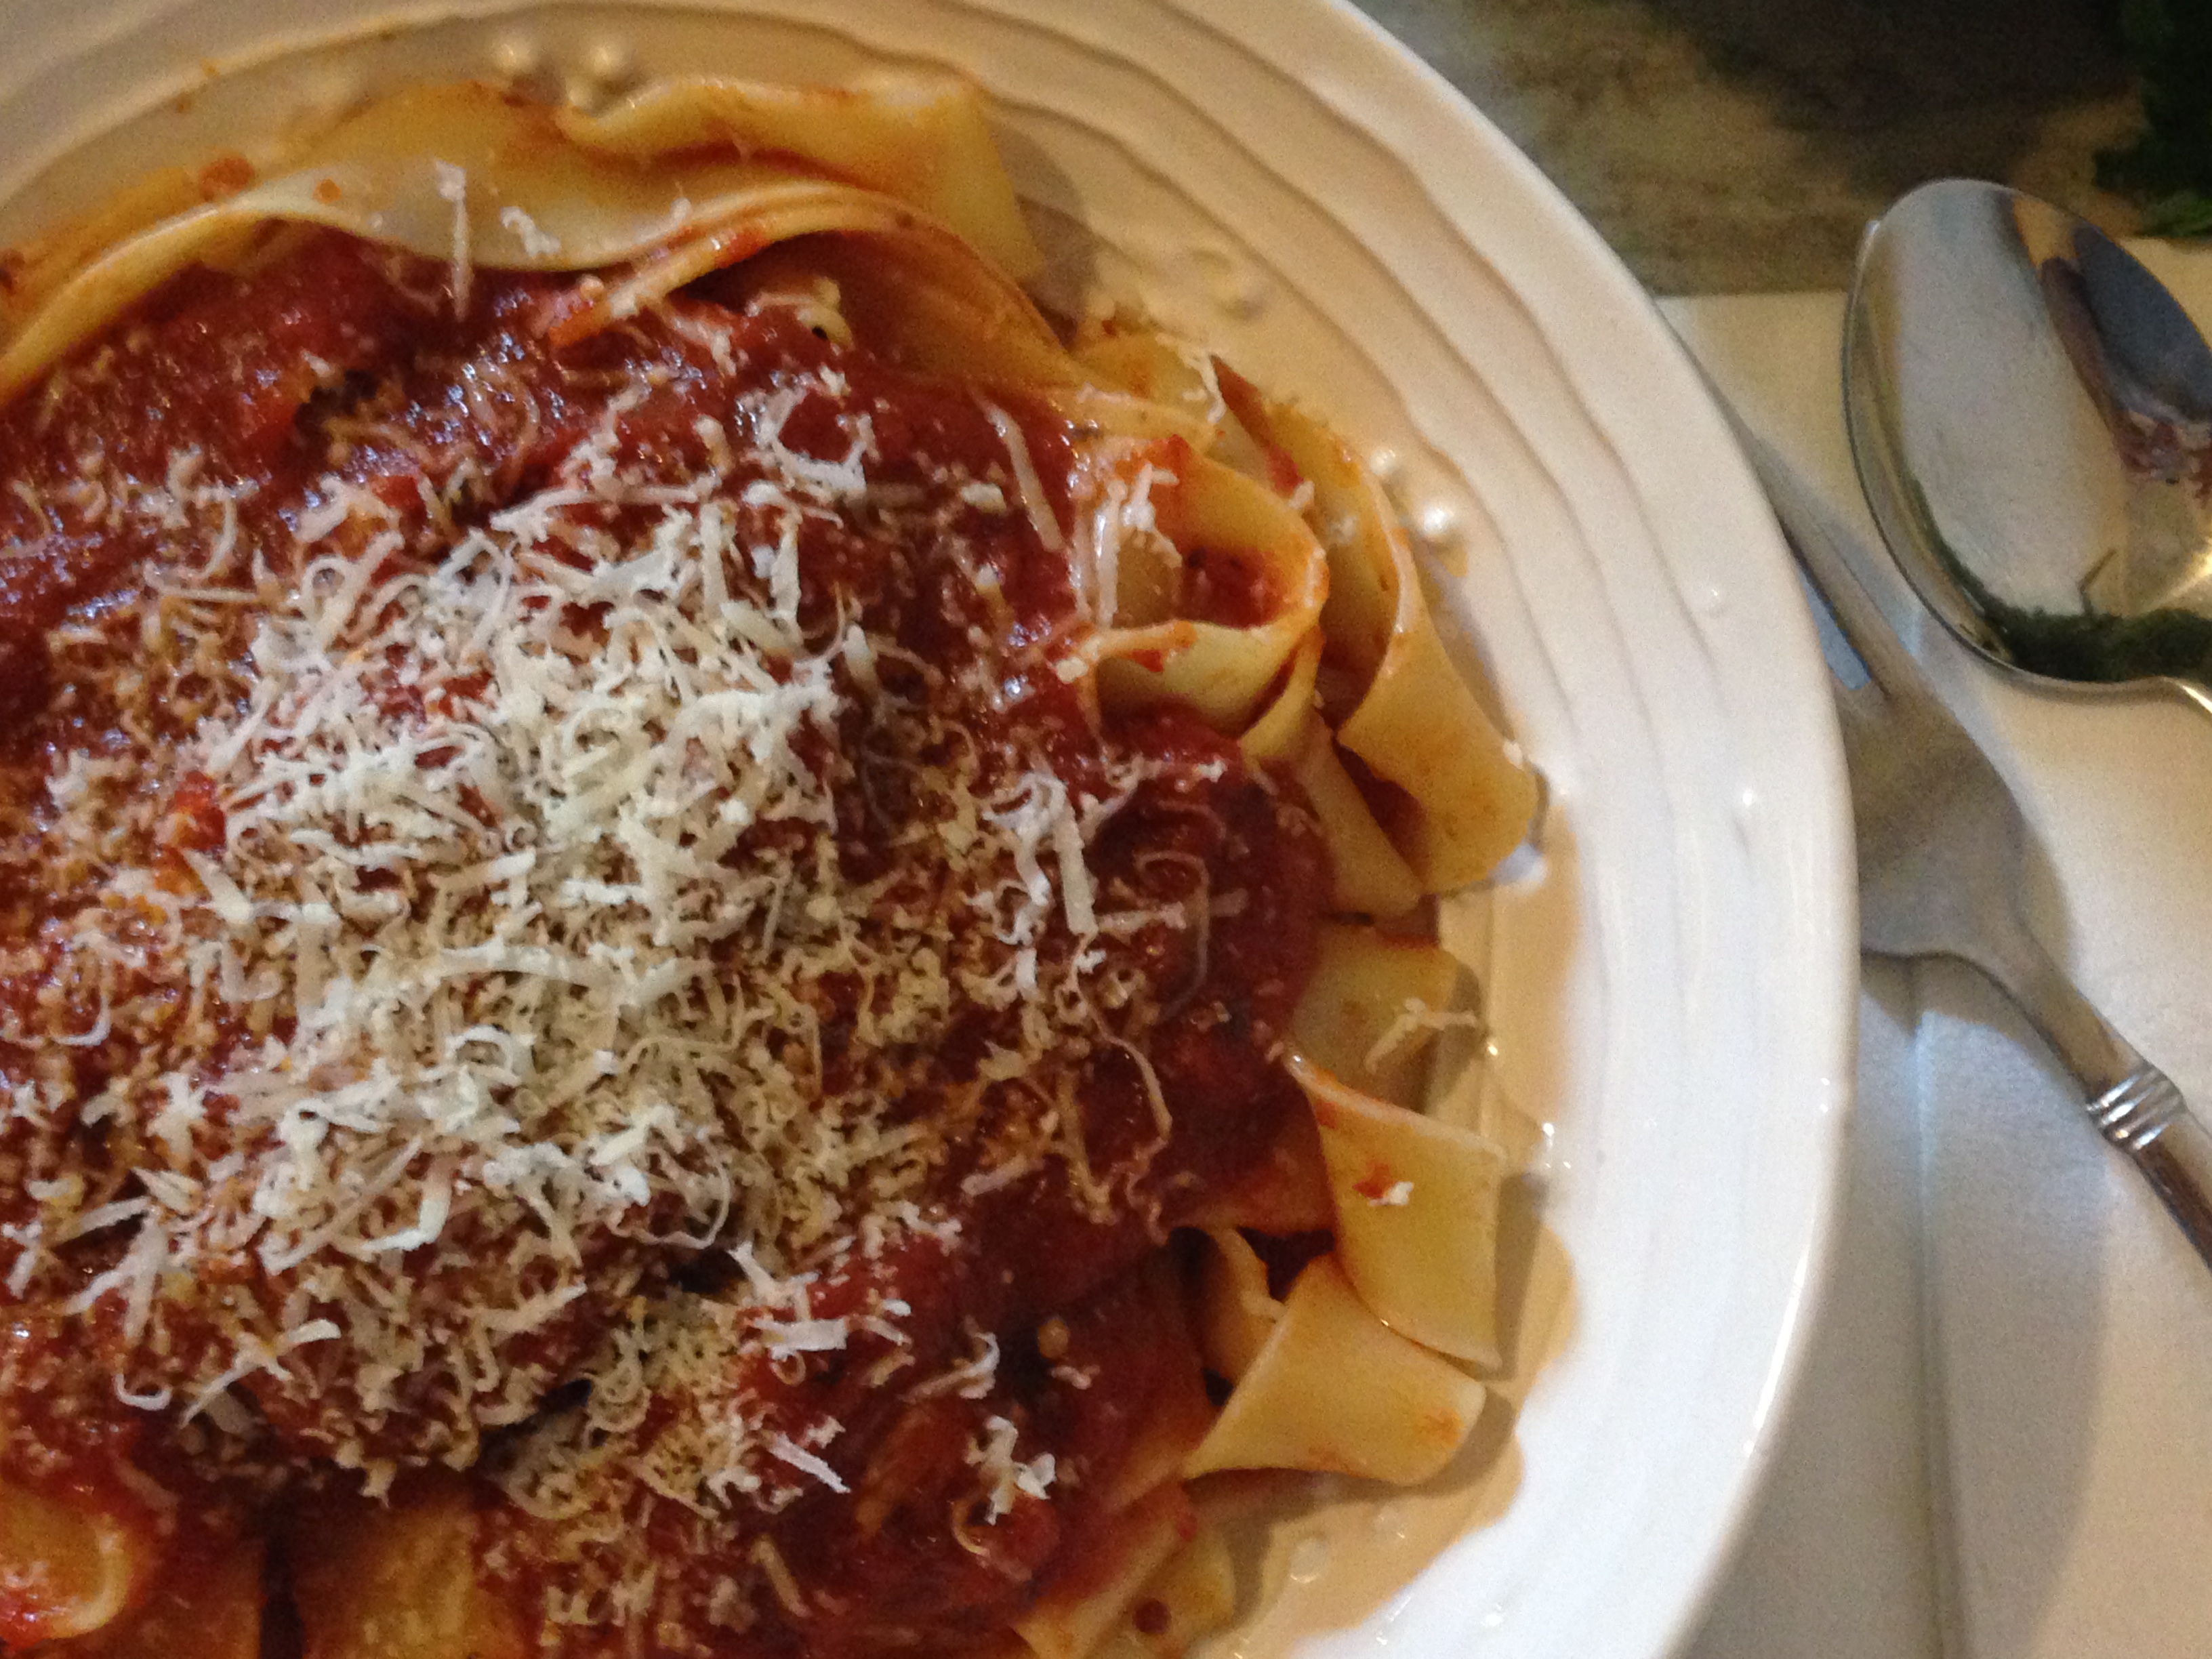
Bowl of comfort
YUM!
Fiesta Friday