Tiger Cake – Alice Medrich
I saw this cake yesterday on Food52, first of all I am a sucker for a marble cake always have been and then when I saw that it is made with olive oil I knew I had to make it. A cake made with oil would be incredibly moist and have a very tender crumb, both are requisites for a really good cake, IMHO. I also love recipes by Alice Medrich, she knows a thing or two about baking. With a little spare time today I undertook this cake, now I have made marble cakes before and you usually drag a butter knife around the batter to give the marble effect, well you don’t do that with this cake. You pour your batters separately, layering them and just bake it like that. I was a little skeptical. I had to force myself not to get the knife and start swirling,
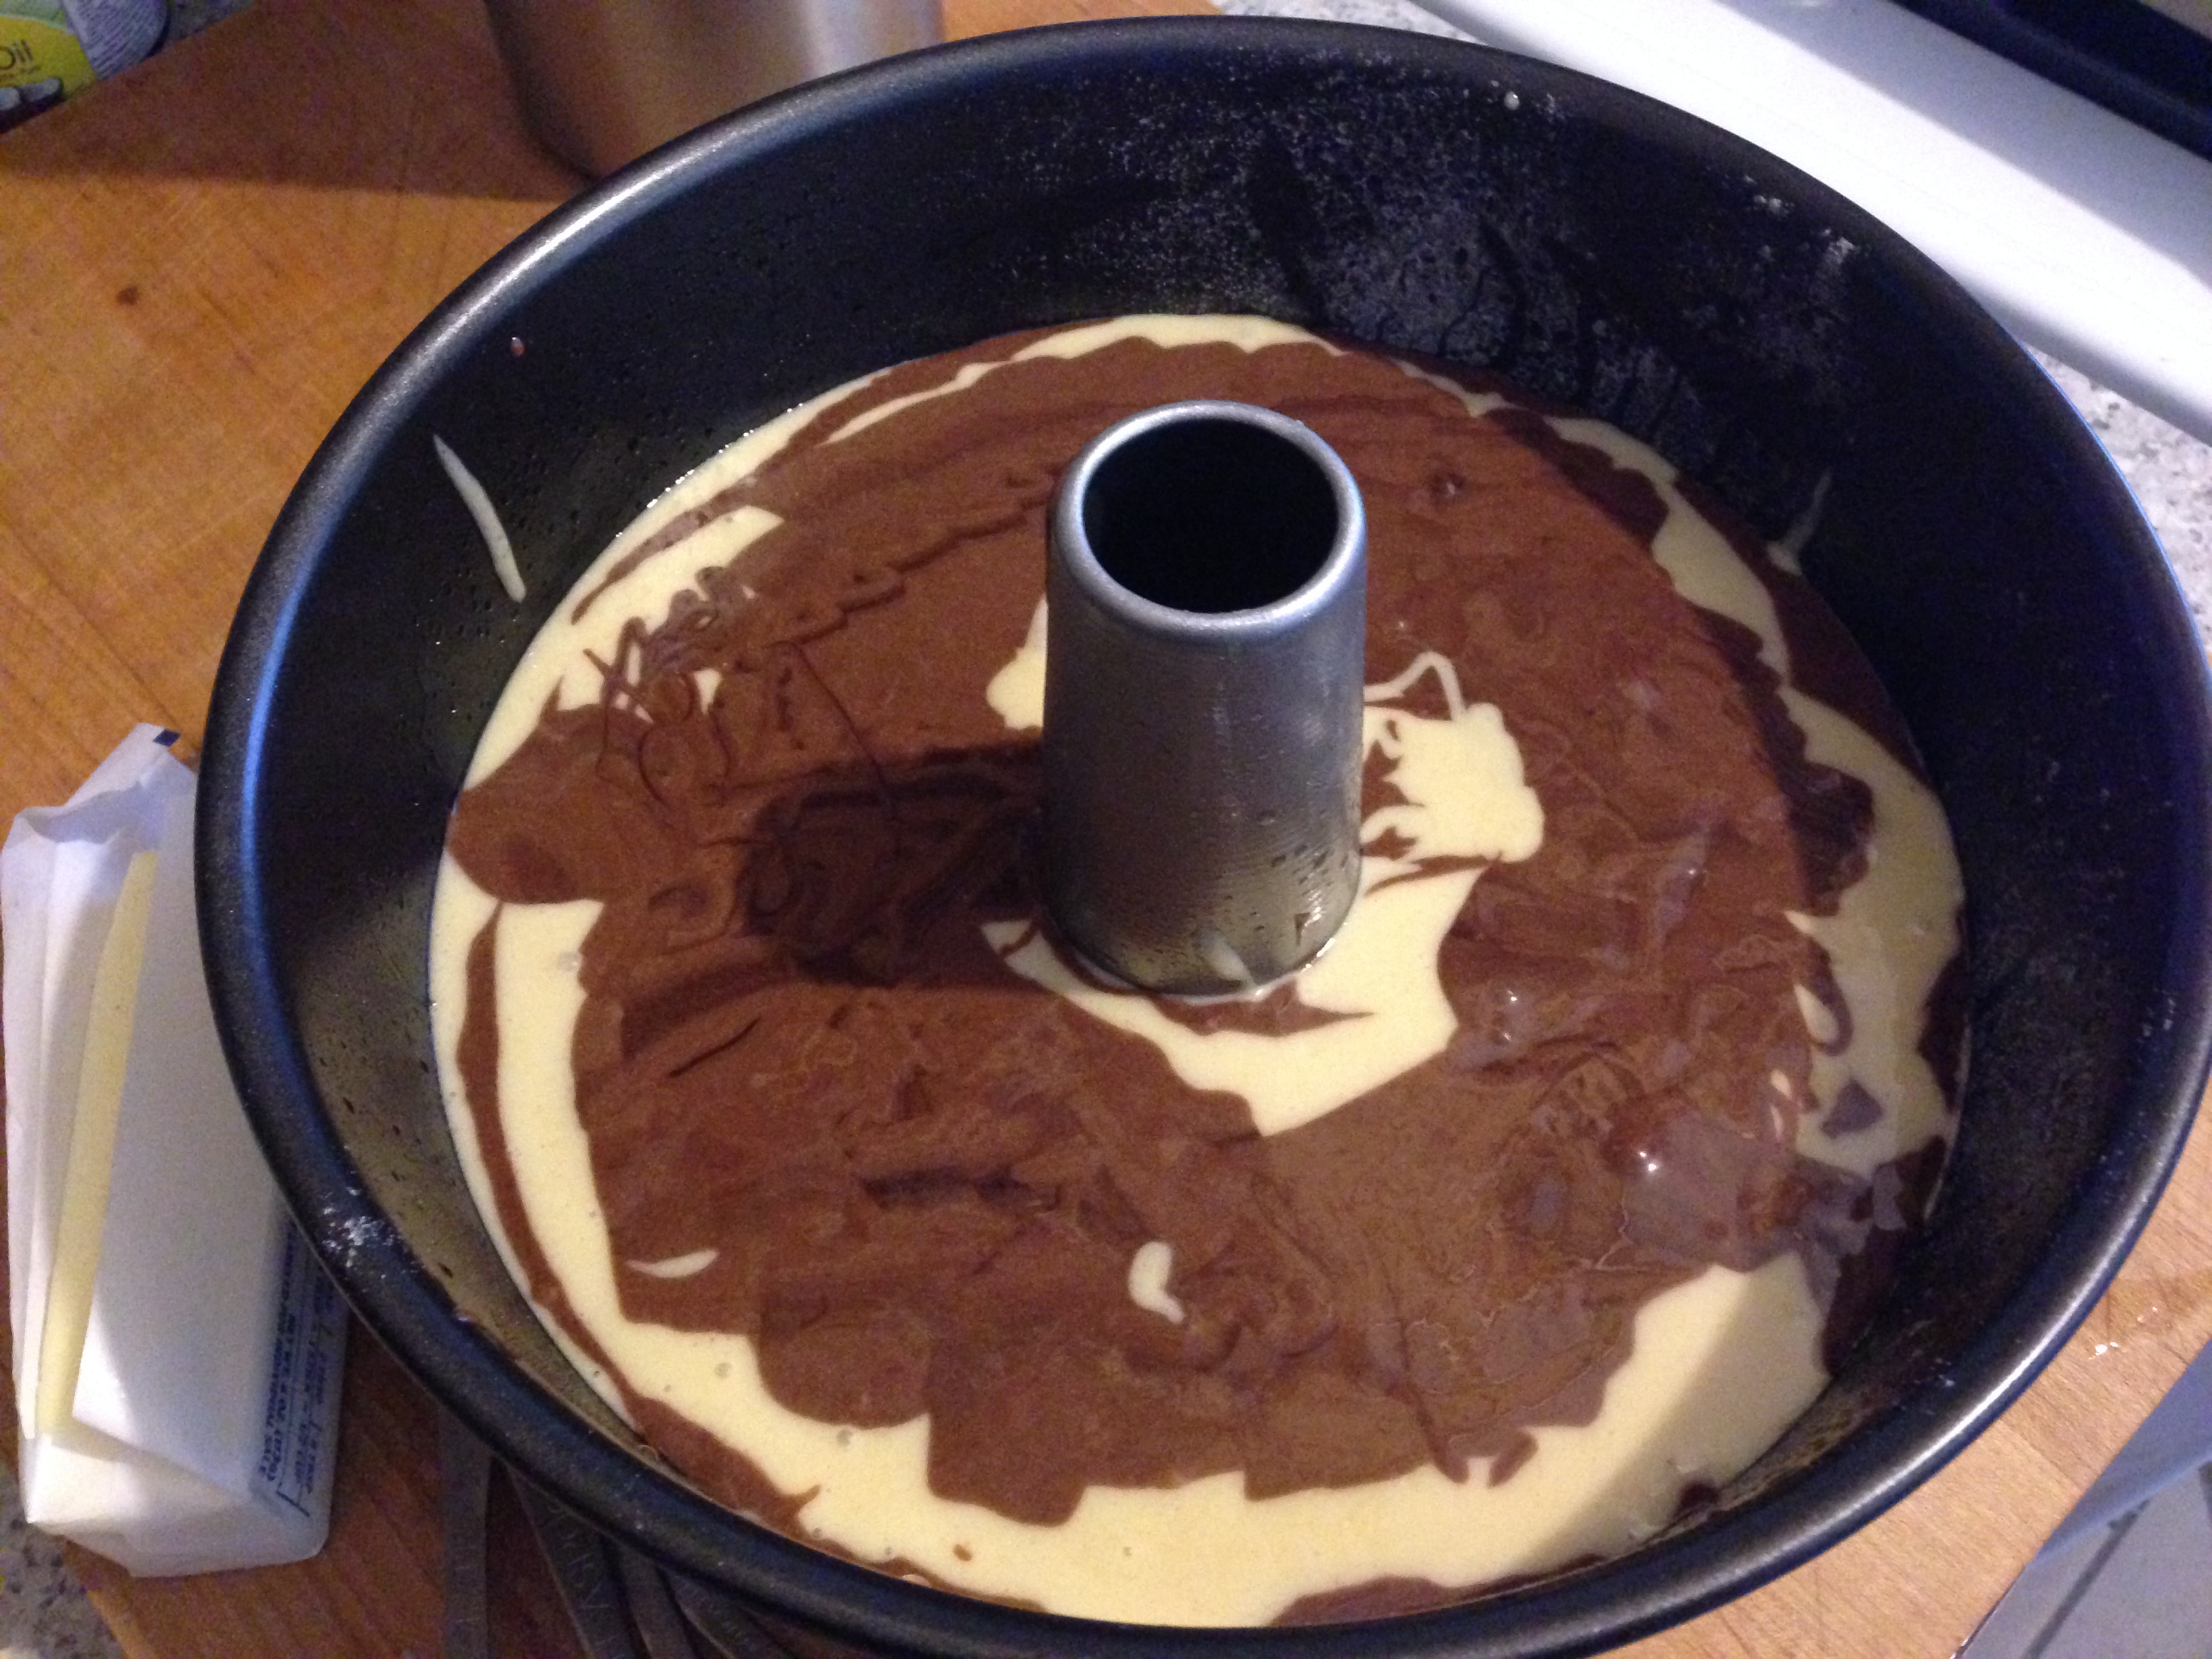
Ready to bake
Tiger Cake – Alice Medrich
Makes 1 cake in a 10-to-12 cup tube pan
1/2 cup (25 grams) natural cocoa powder (non-alkalized, non-Dutch processed)
1/2 cup (100 grams) sugar
1/3 cup water
3 cups (385 grams) all-purpose unbleached flour
2 teaspoons baking powder
2 cups (400 grams) sugar
1 cup extra virgin olive oil
1 teaspoon pure vanilla extract
1/4 teaspoon salt
1/2 teaspoon finely ground white pepper
5 cold eggs
1 cup cold milk
Position a rack in the lower third of the oven and preheat the oven to 350 degrees F. Butter or spray a 10-to-12 cup tube pan with oil spray and dust it with flour.
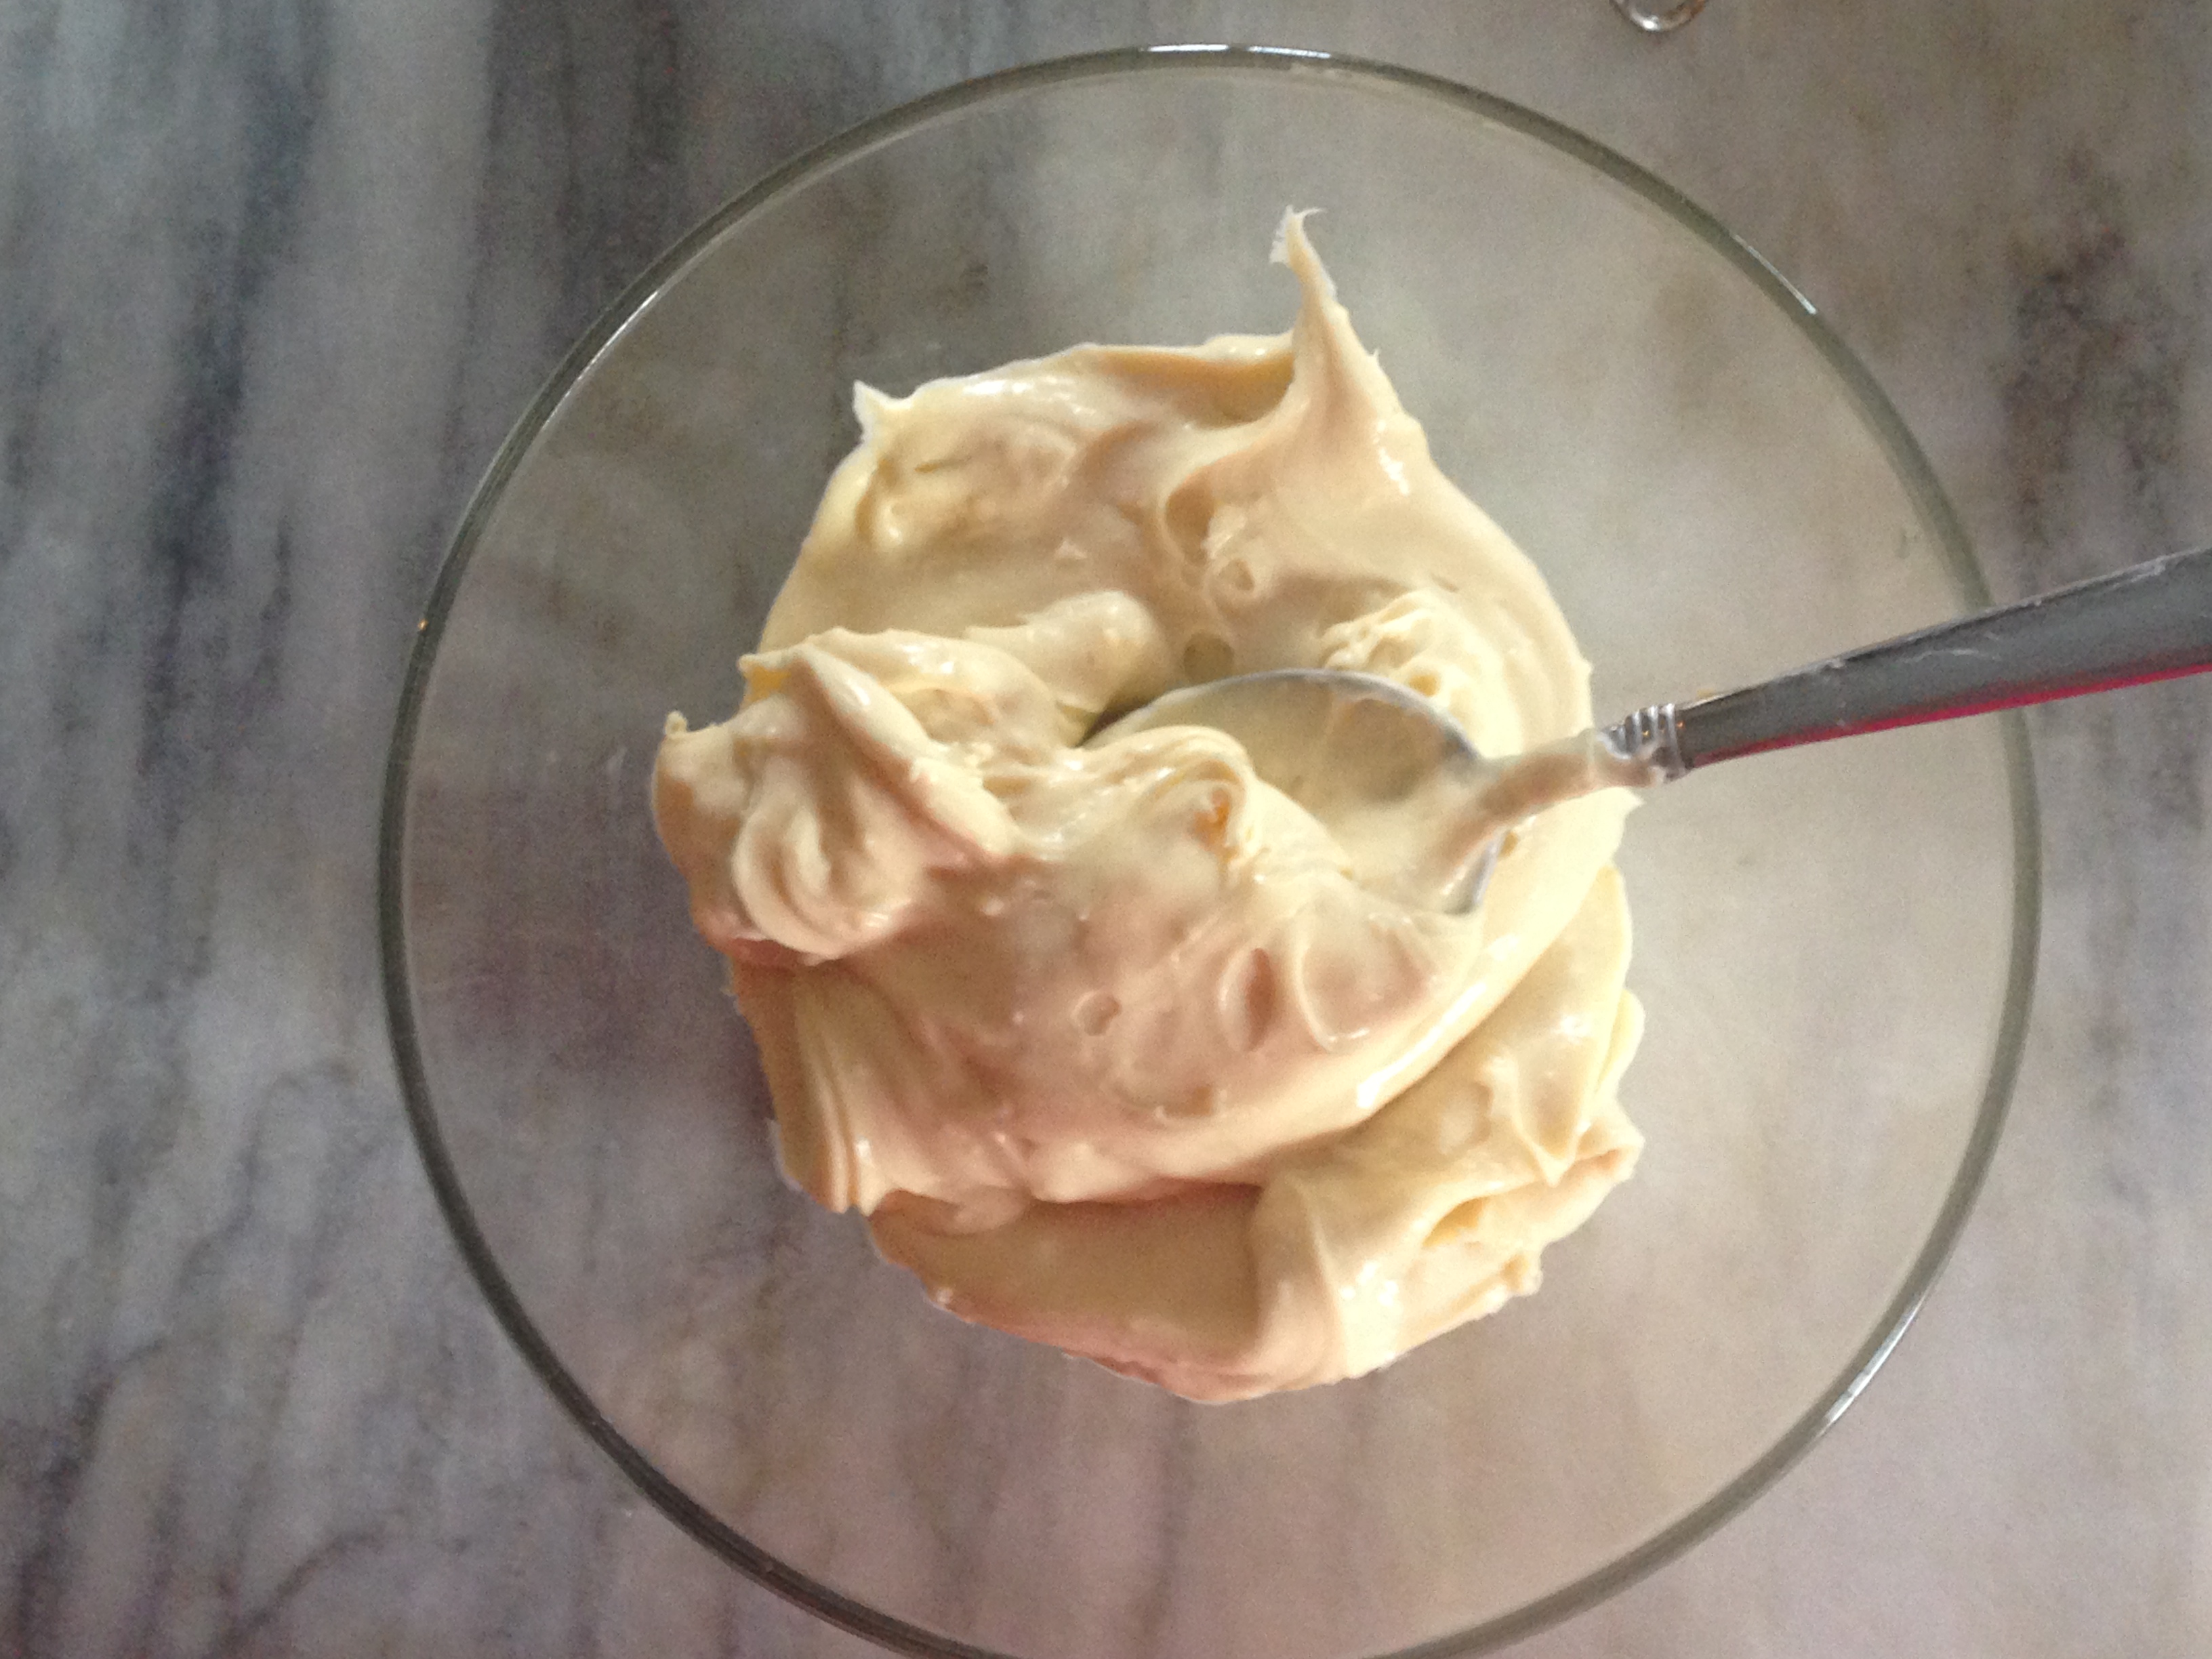
In a medium large bowl, whisk the cocoa, sugar, and water until well blended.
In another medium large bowl, whisk the flour and baking powder thoroughly and sift onto a piece of wax paper. Set aside.
In a the bowl of a stand mixer fitted with the whisk attachment, beat the sugar, oil, vanilla, salt, and pepper until well blended. Add the eggs one at a time, beating well after each addition. Continue to beat until the mixture is thick and pale, 3 to 5 minutes. Stop the mixer and add one-third of the flour mixture. Beat on low speed just until blended. Stop the mixer and add half of the milk. Beat just until it is blended. Repeat with another third of the flour, the remaining milk, and then the remaining flour.
Add three cups of the batter to the cocoa mixture and stir until blended. Pour one-third of the plain batter into the prepared pan and top with one third of the chocolate batter. Repeat with the remaining batters. Don’t worry about marbling the batters—that happens during the baking.
Bake 1 hour to 1 hour and 10 minutes, until a toothpick inserted into the middle of the cake comes out clean. Set the pan on a rack to cool. Slide a skewer around the tube and a thin metal spatula (or knife) around the sides of the pan. Lift the tube and slide the spatula under the cake to detach it from the pan bottom. Transfer the cake to a serving platter. The cake keeps for several days, at room temperature, under a dome or wrapped in plastic.
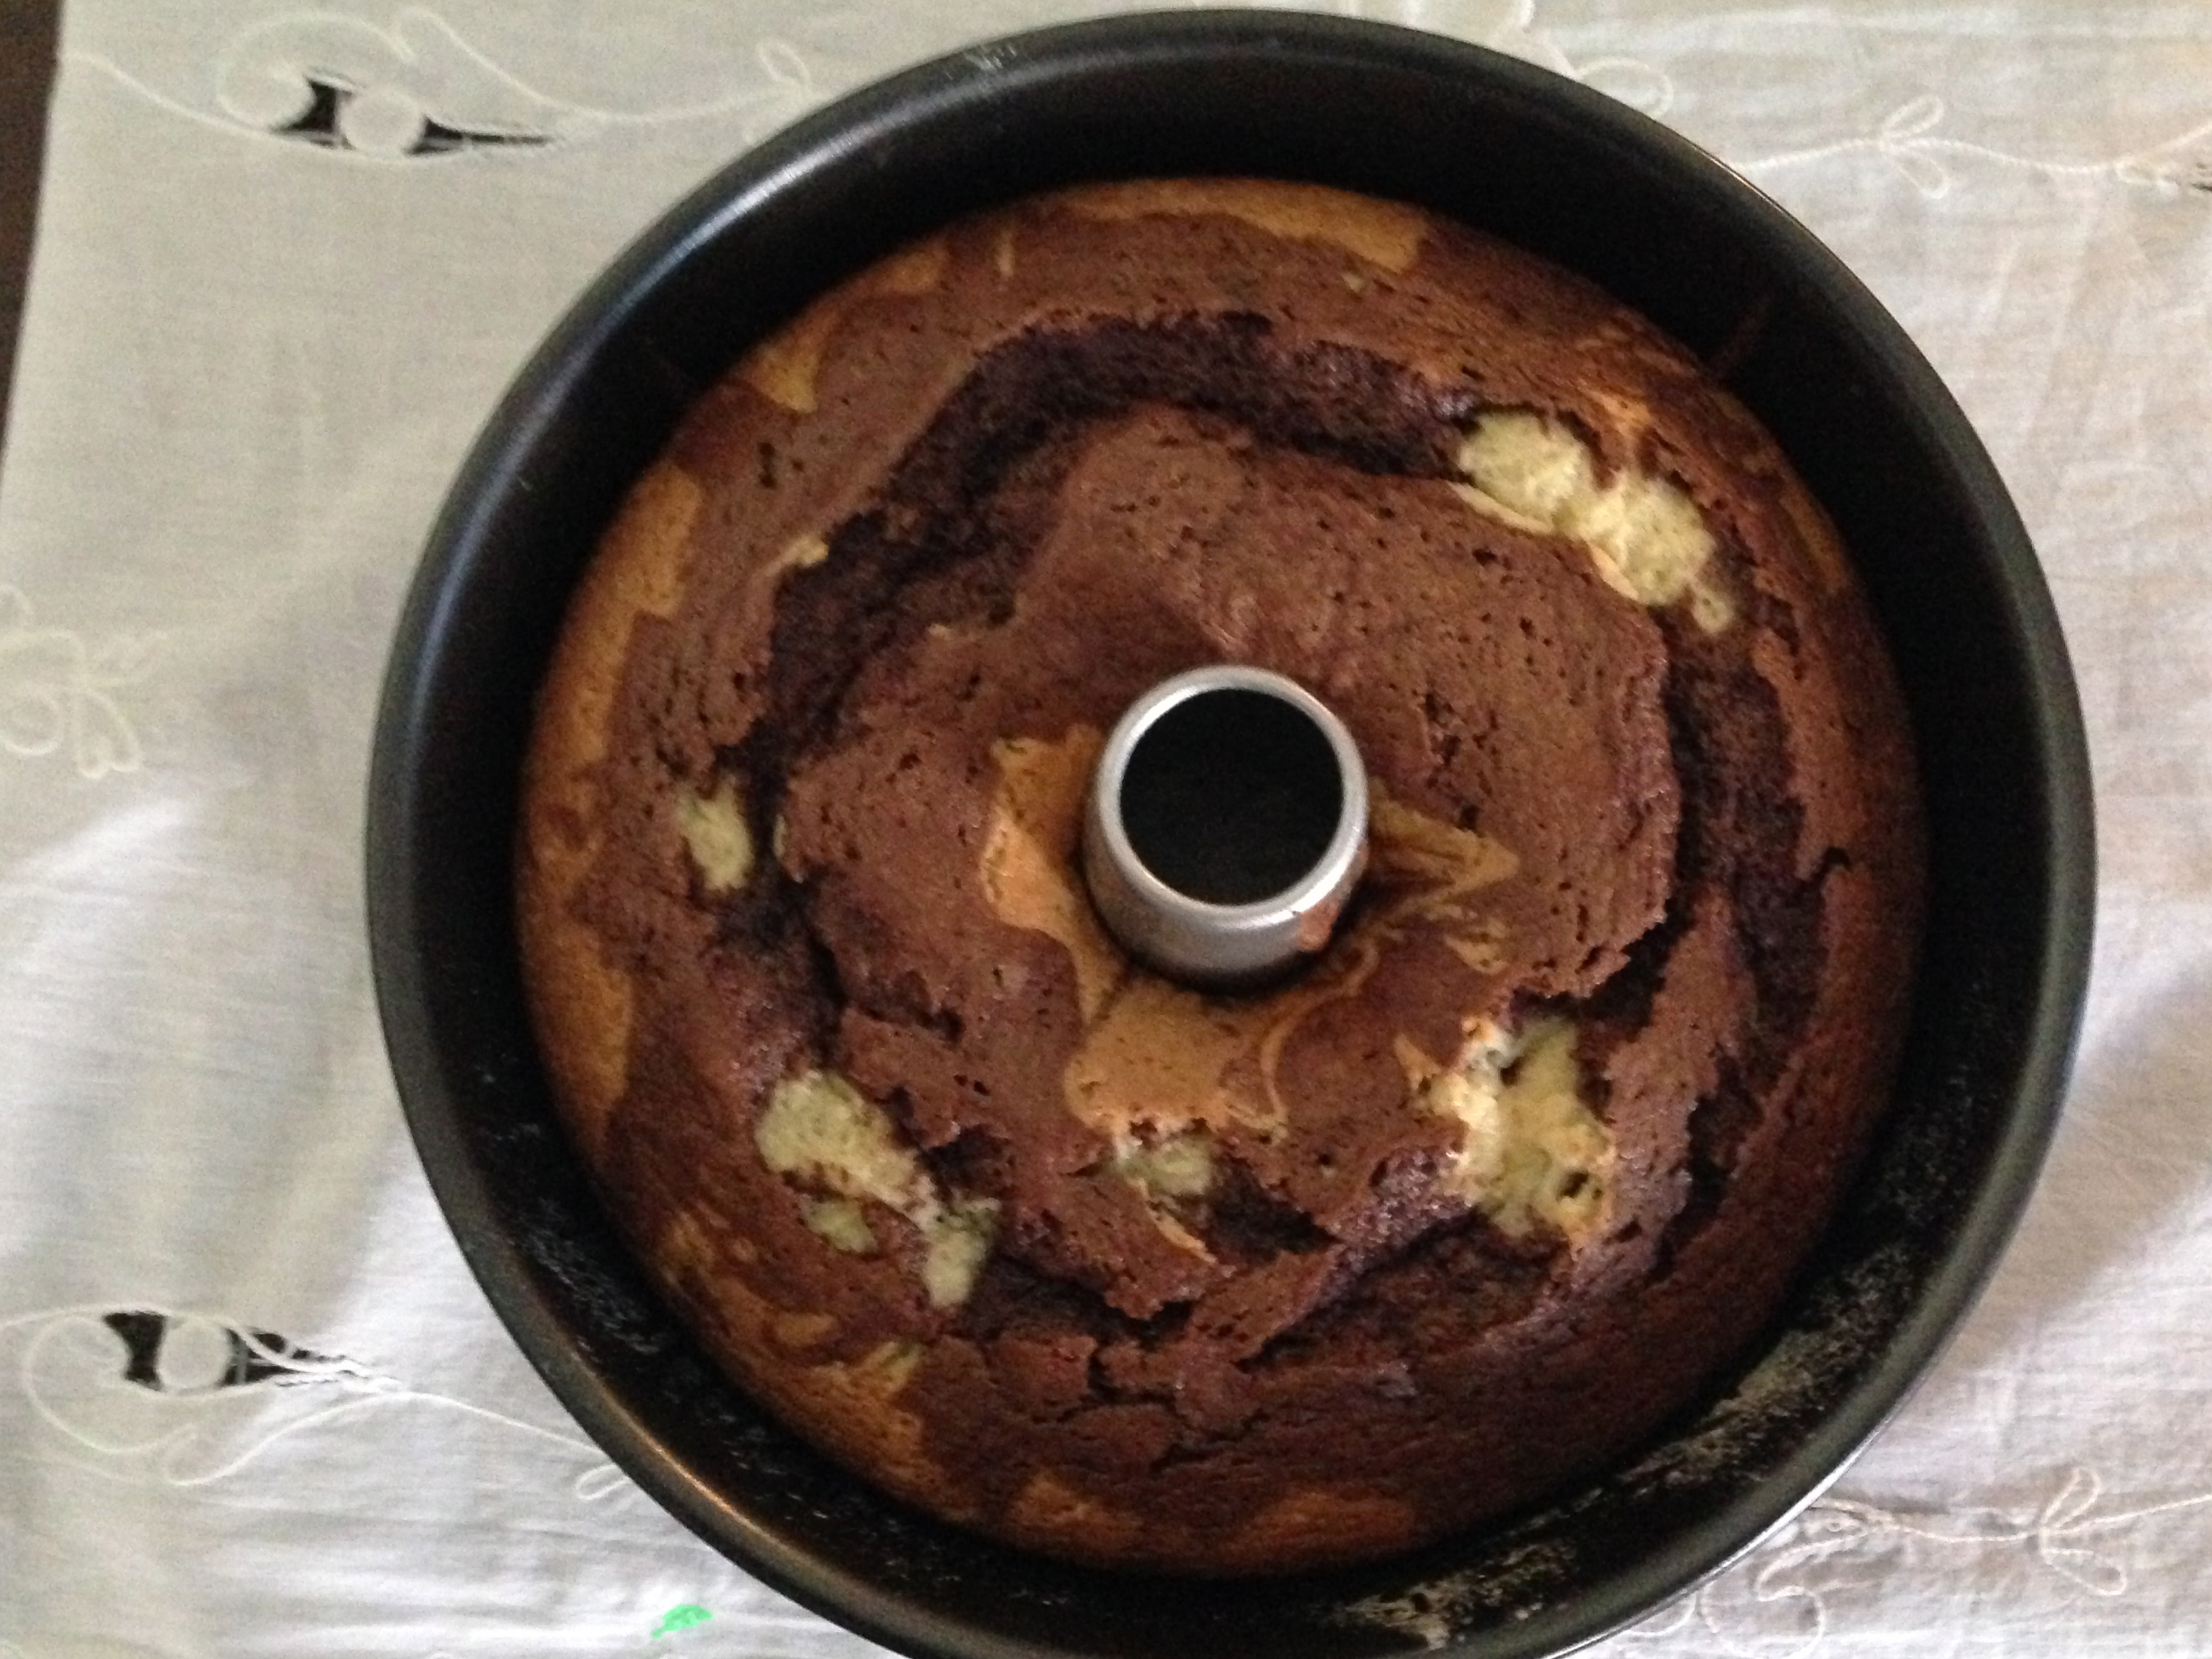
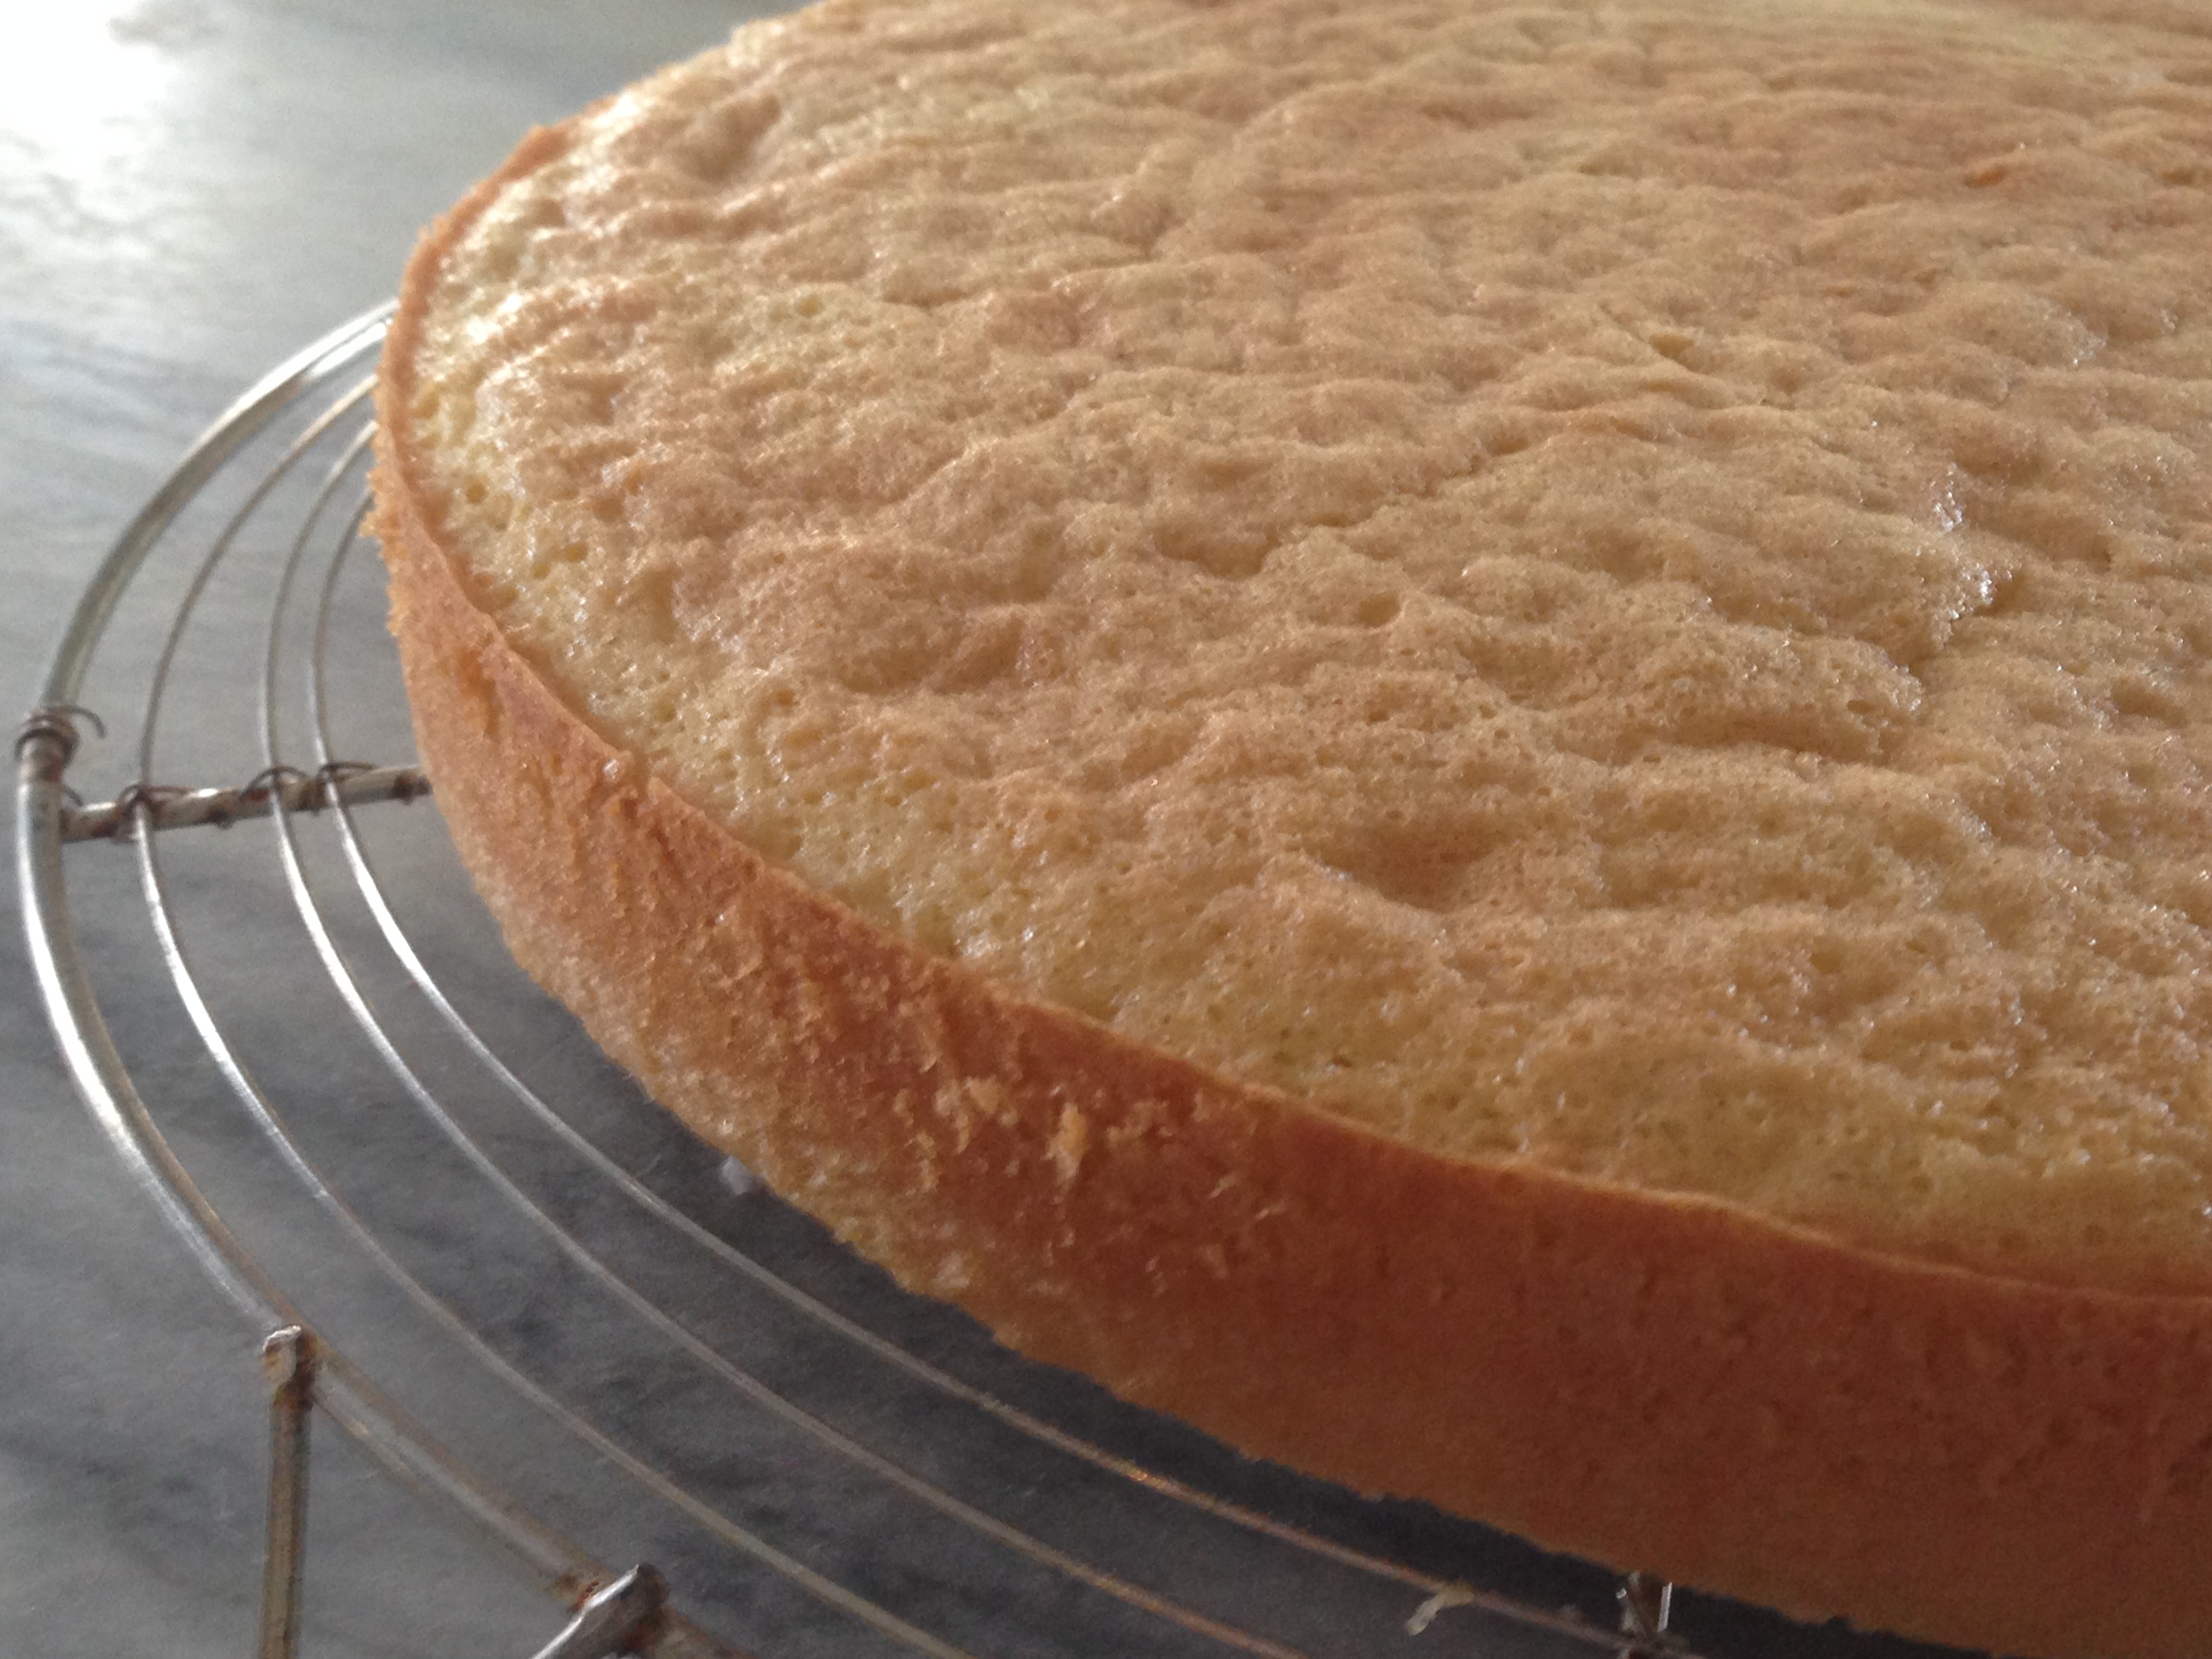
Just out of the oven
Came out of the pan like a dream
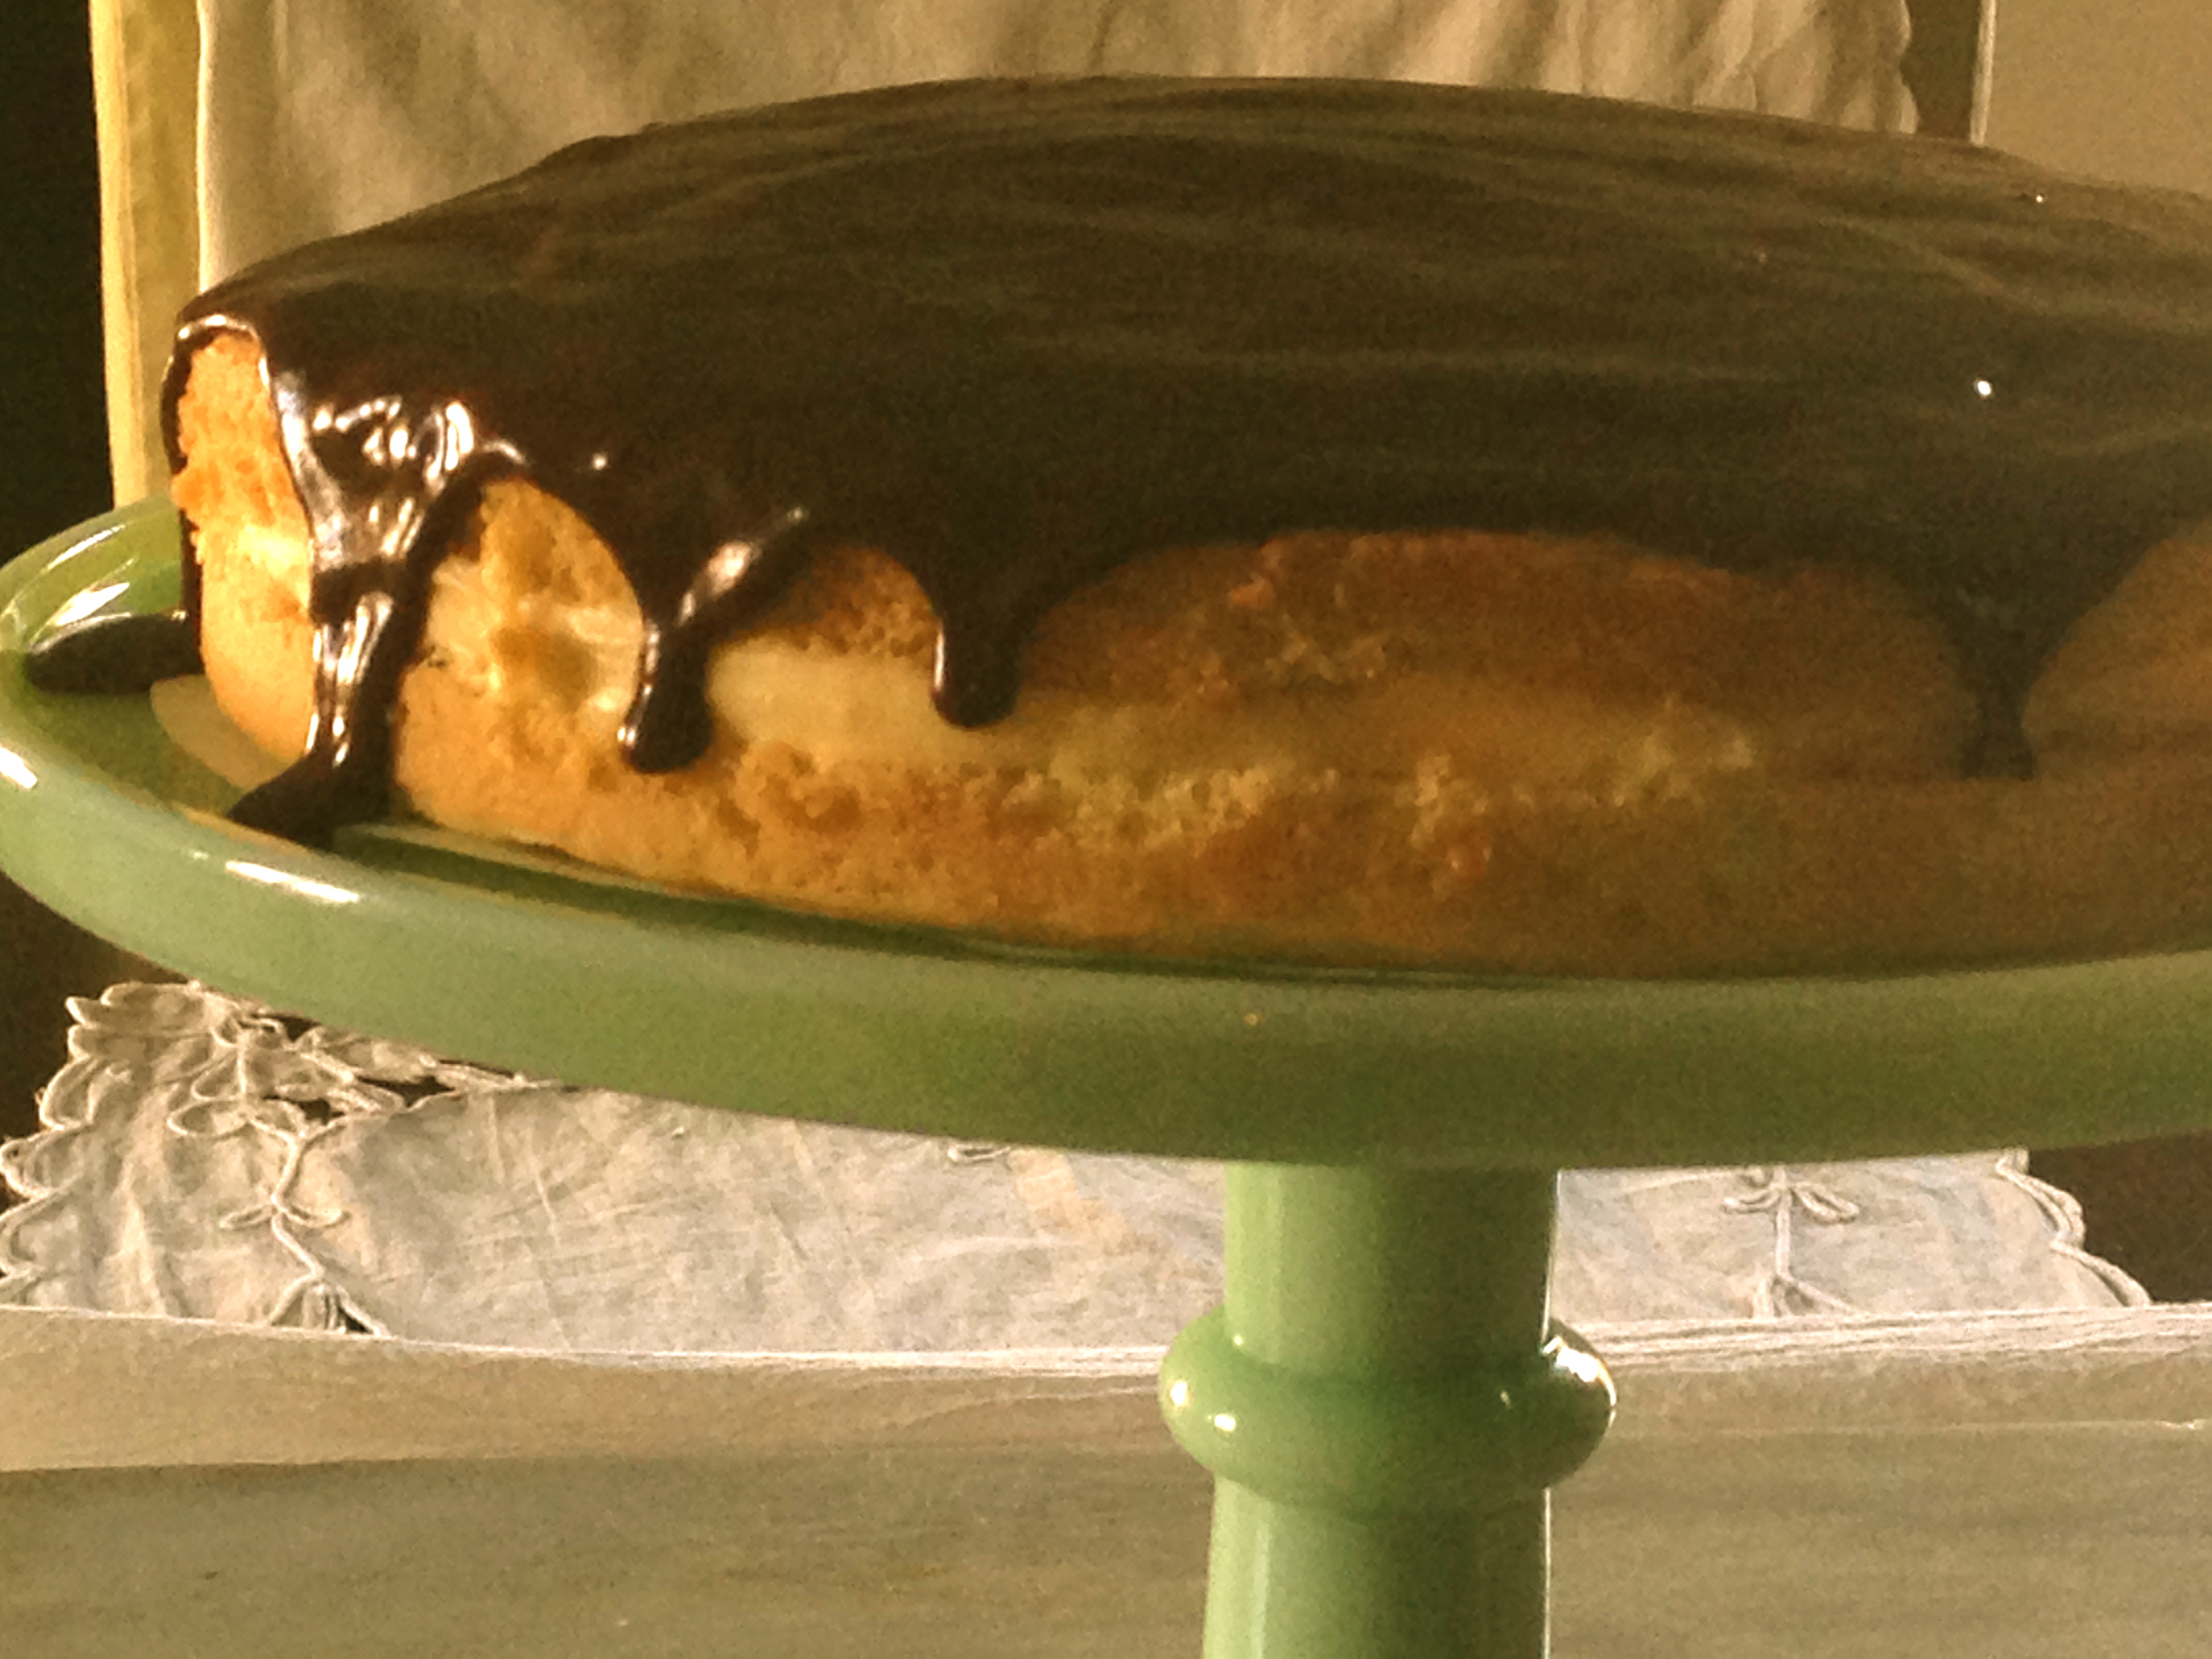
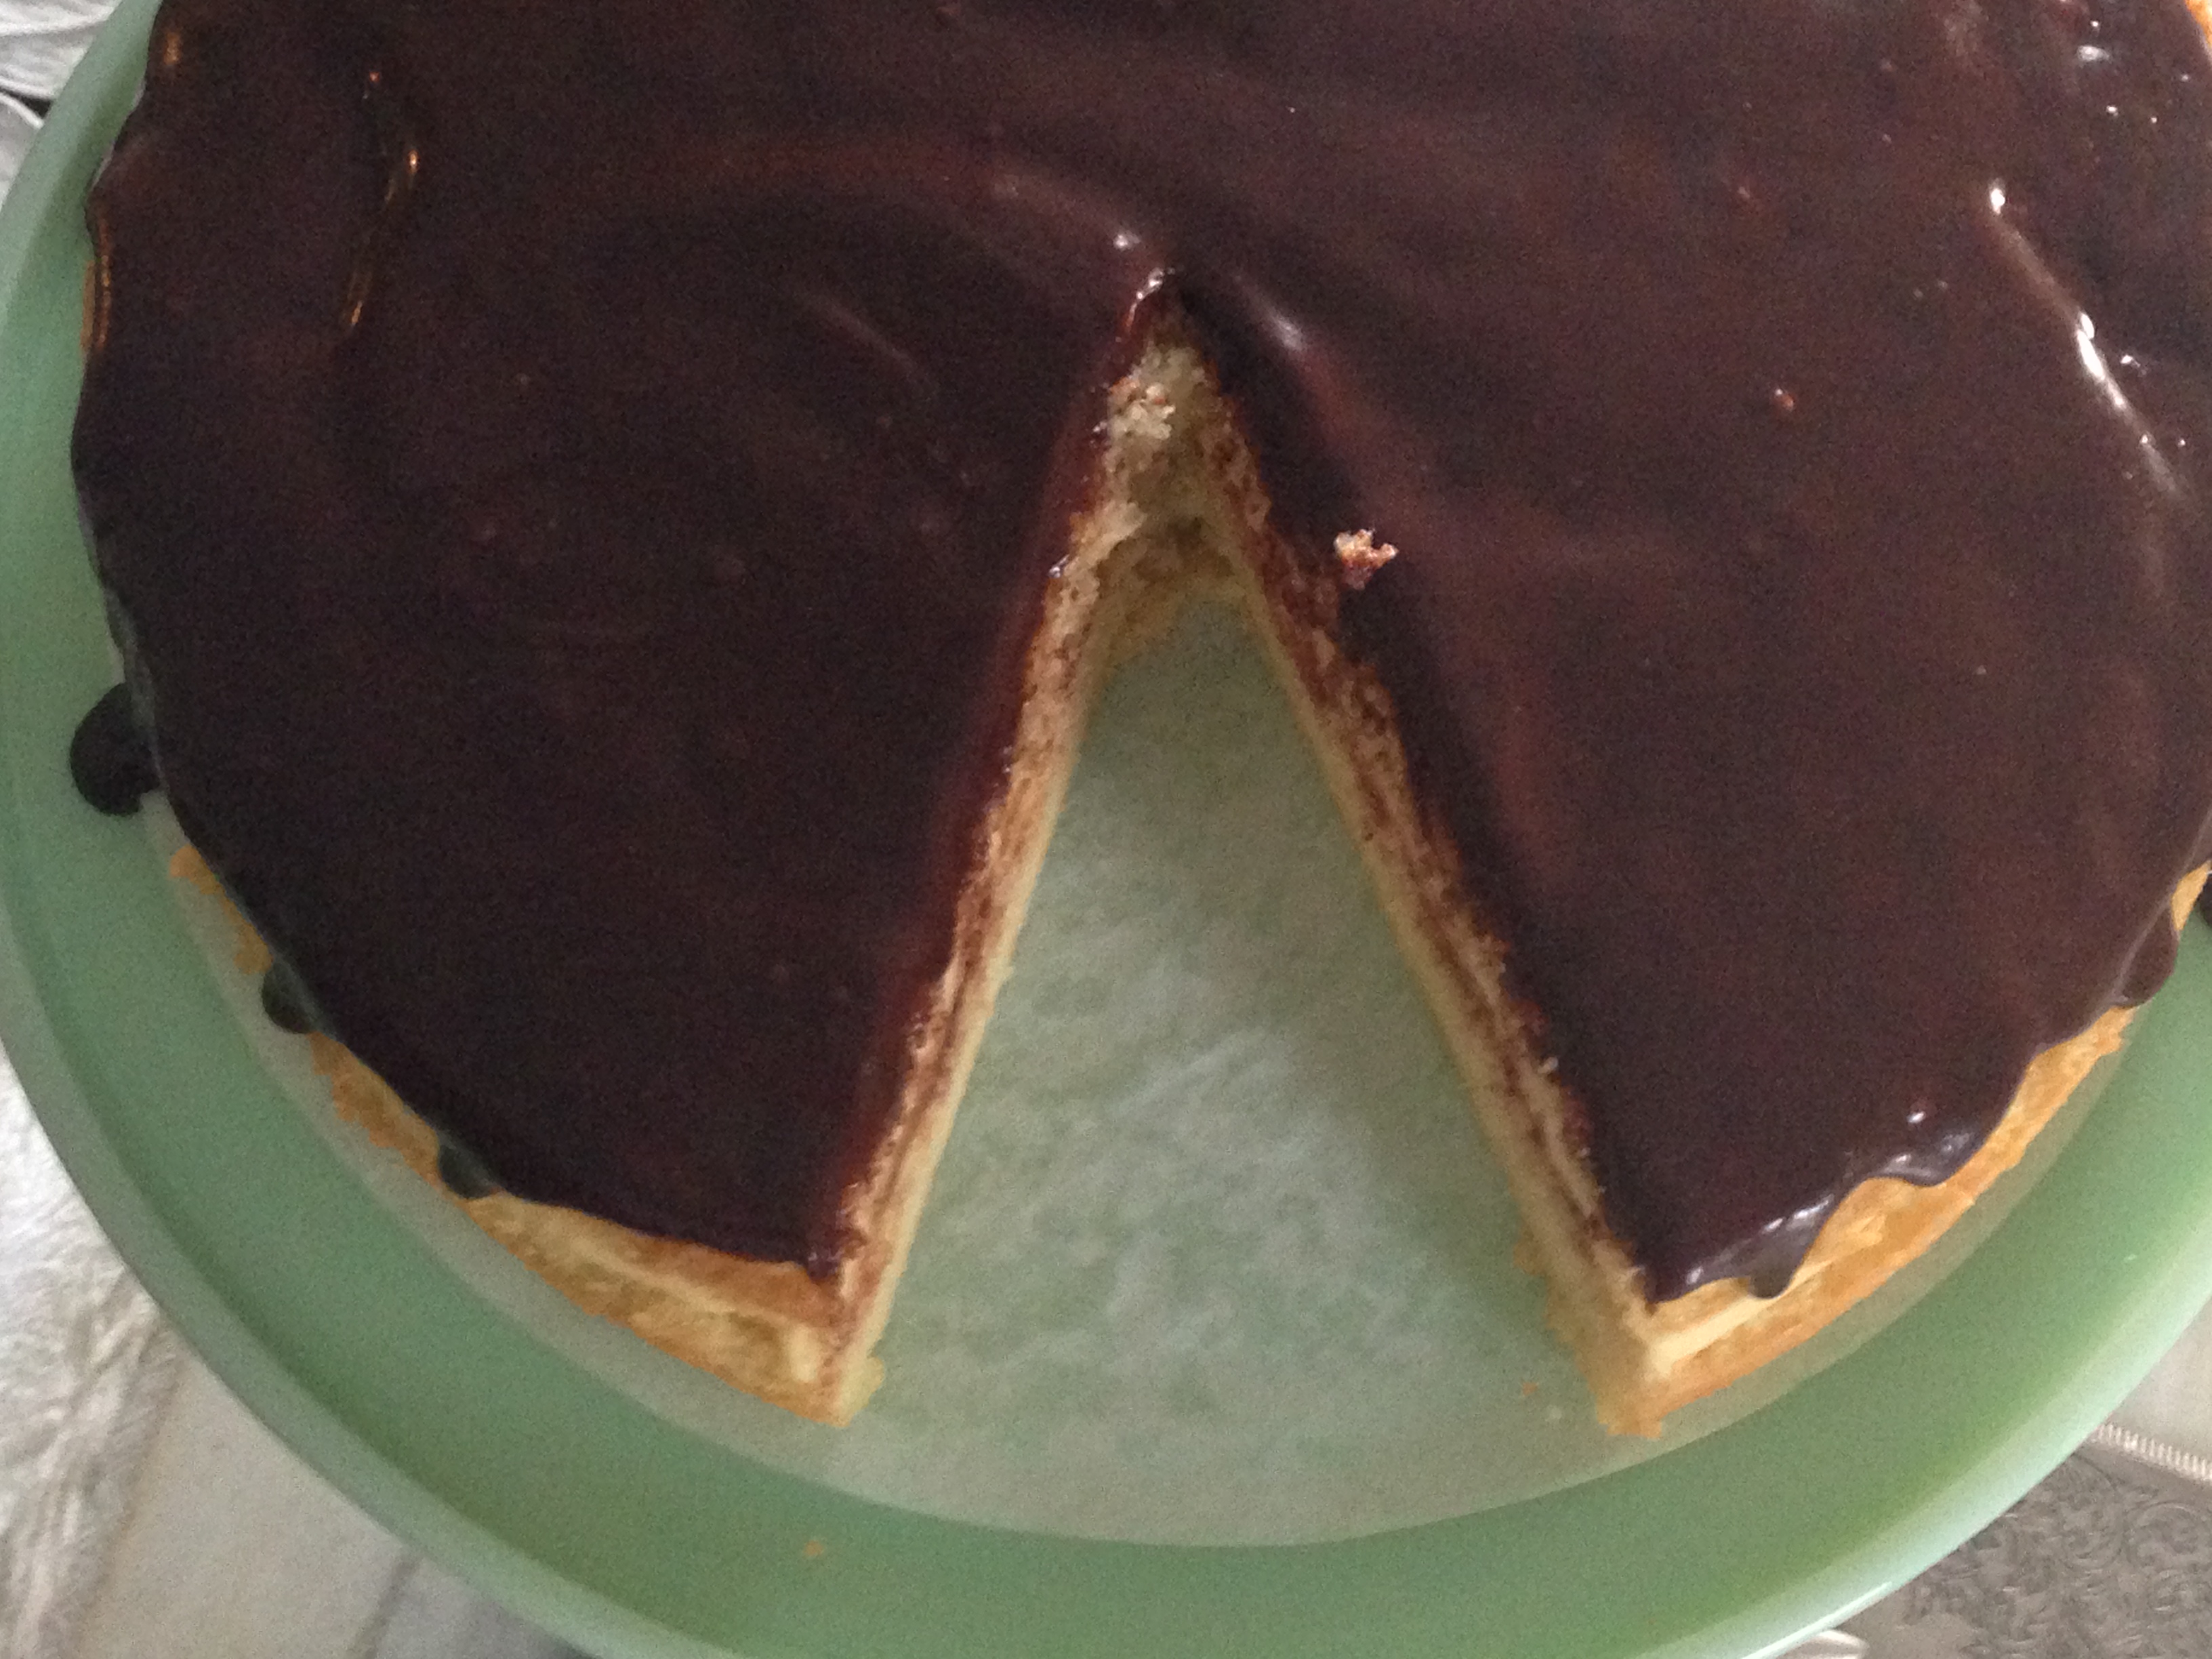
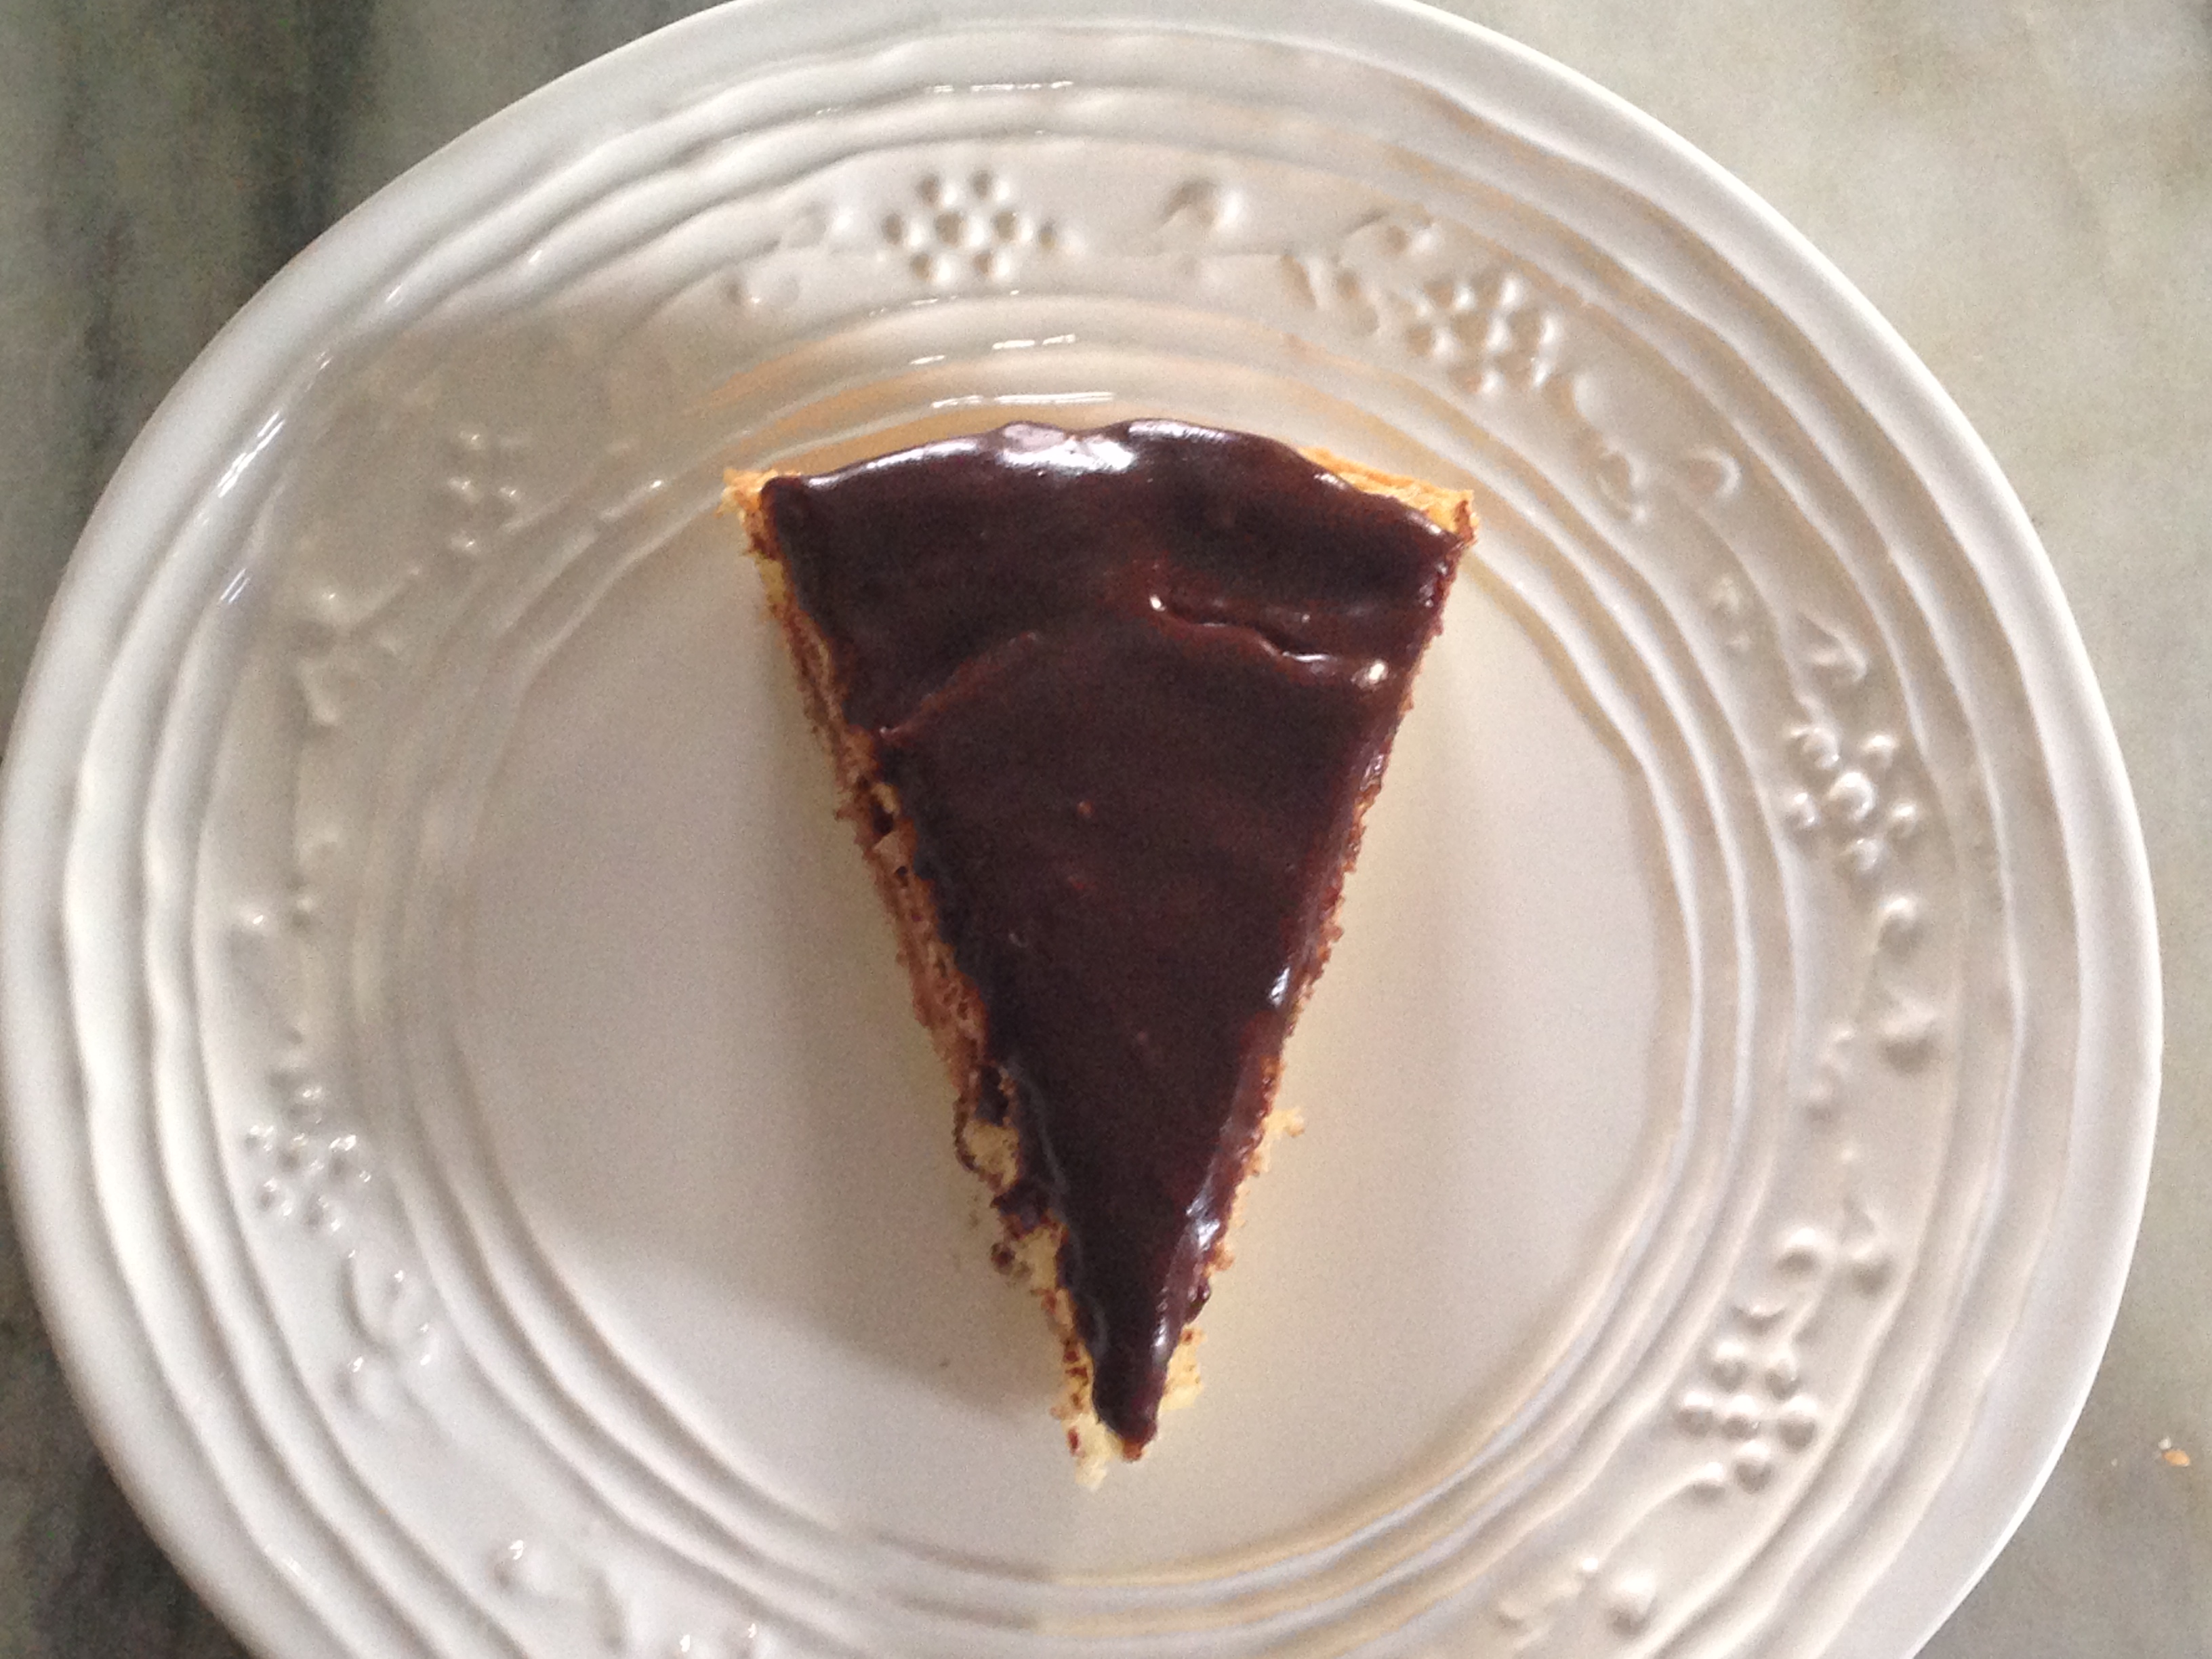
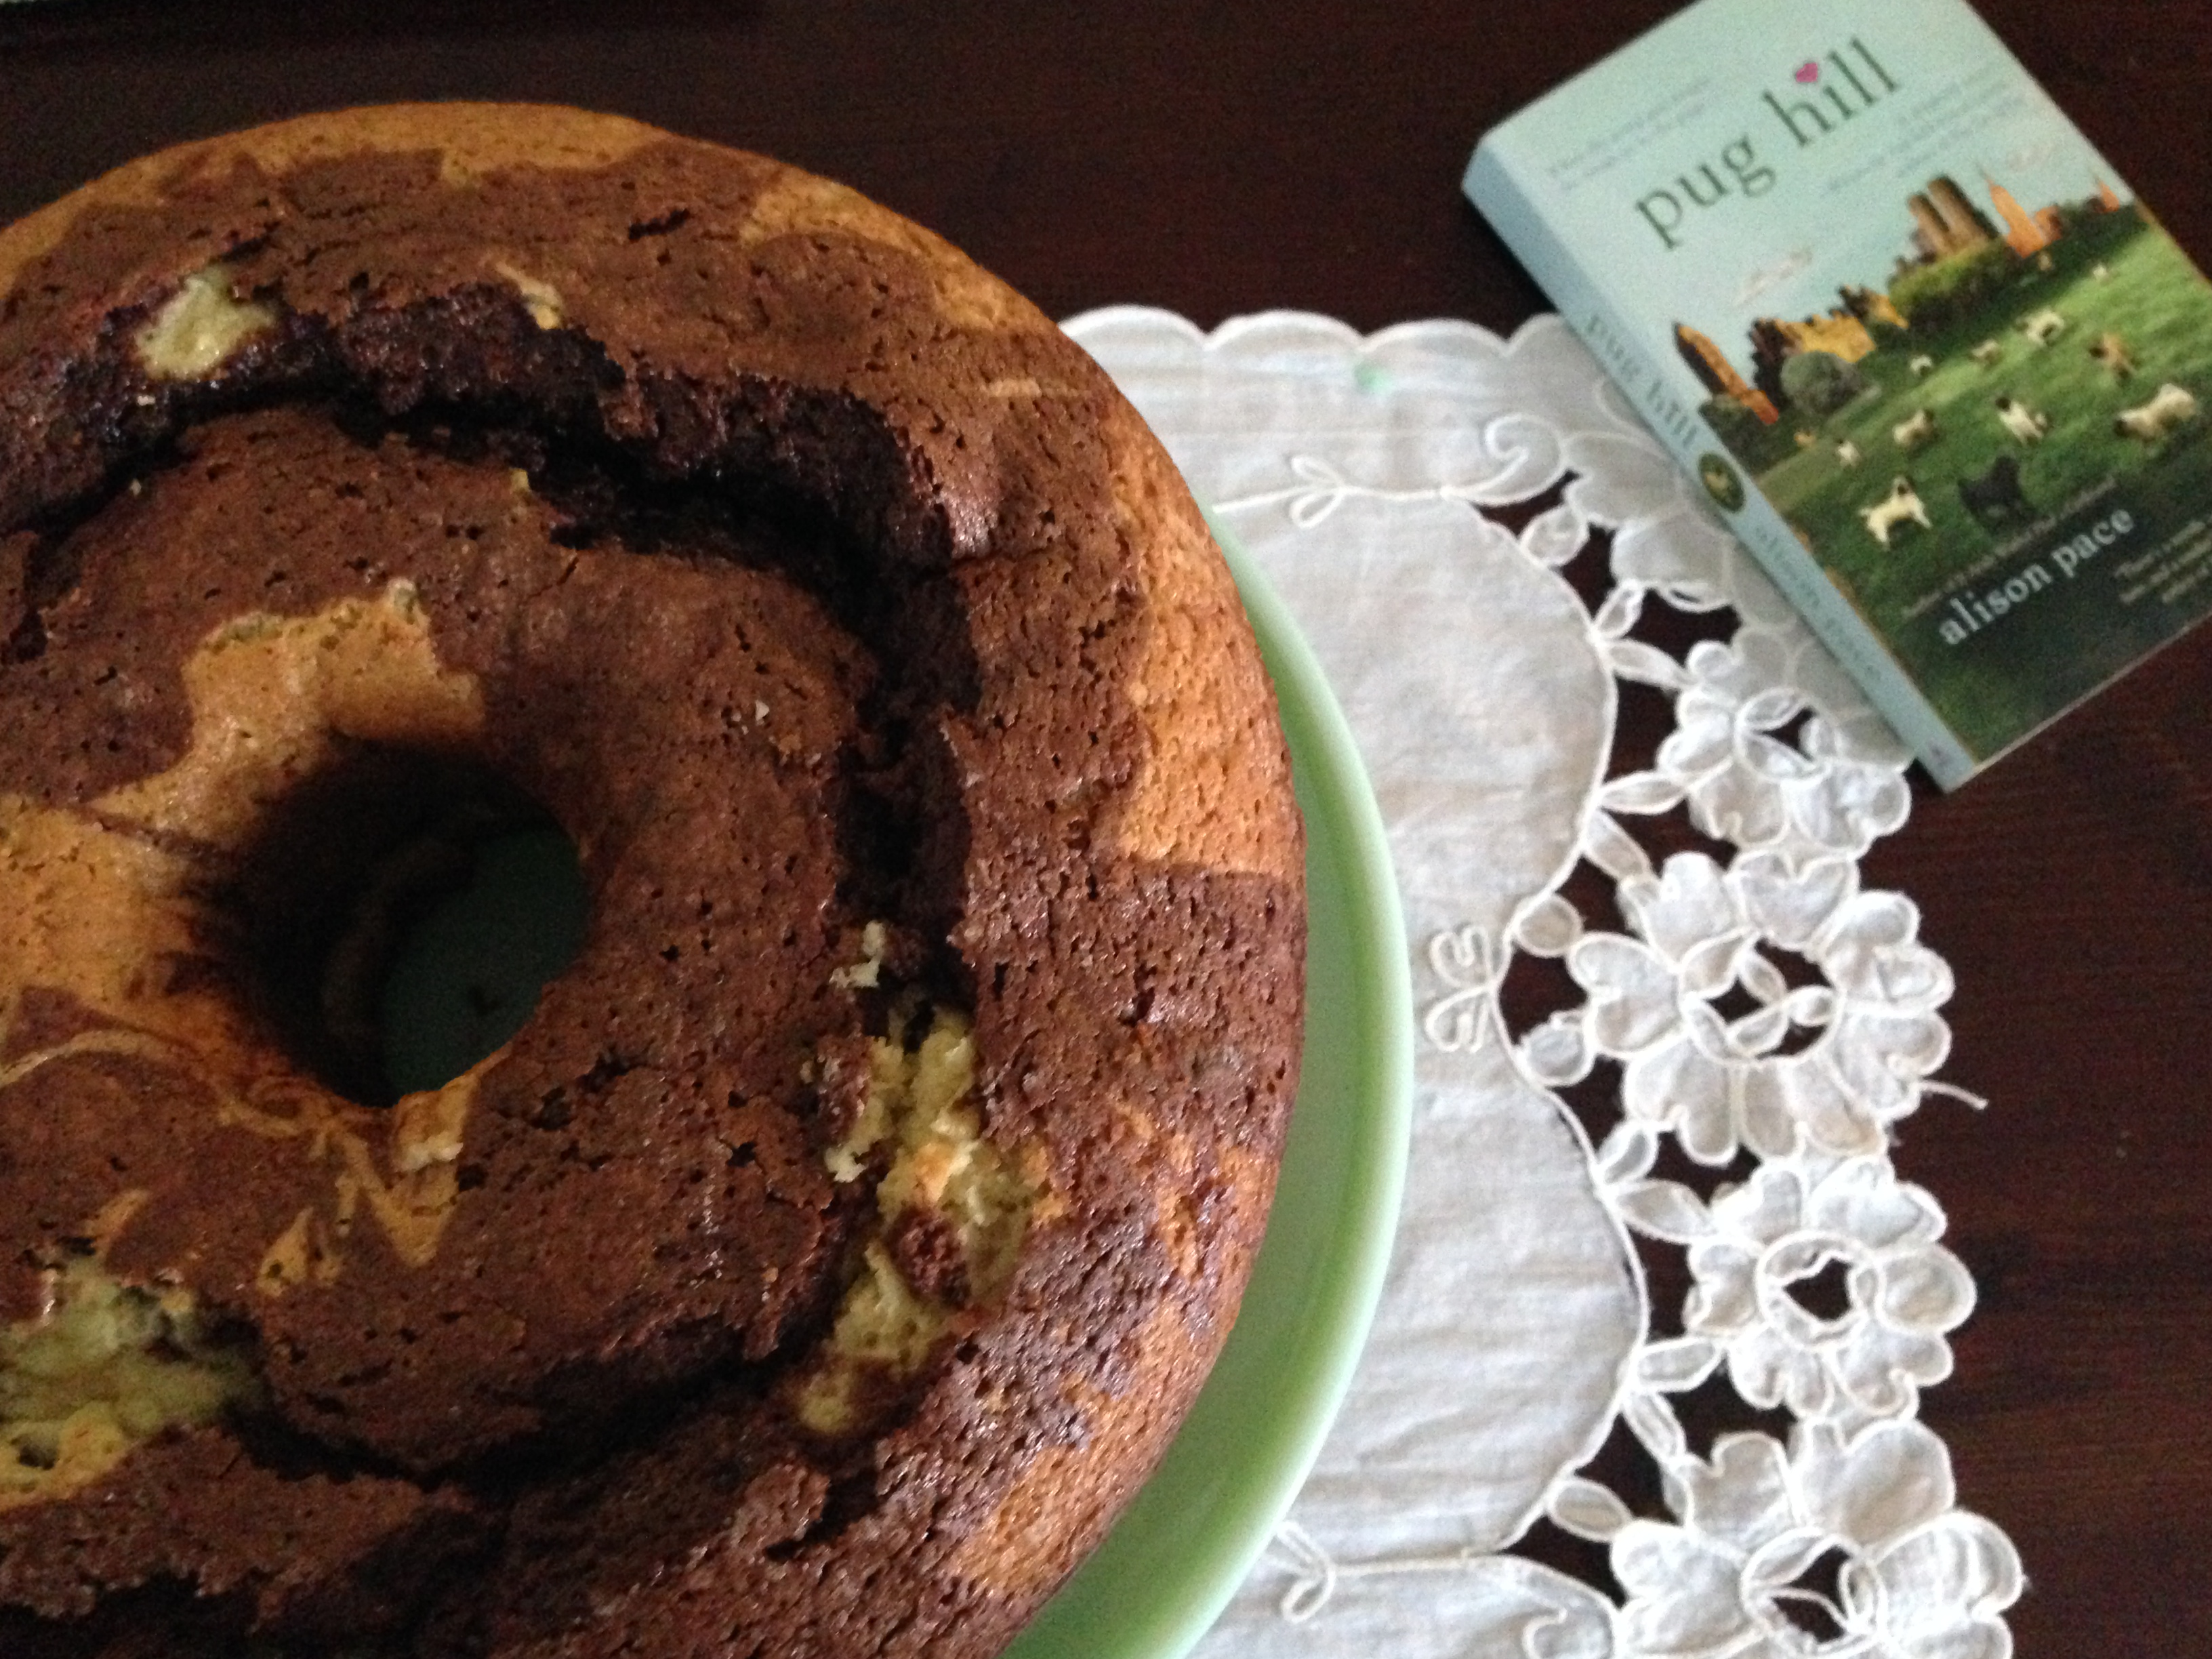
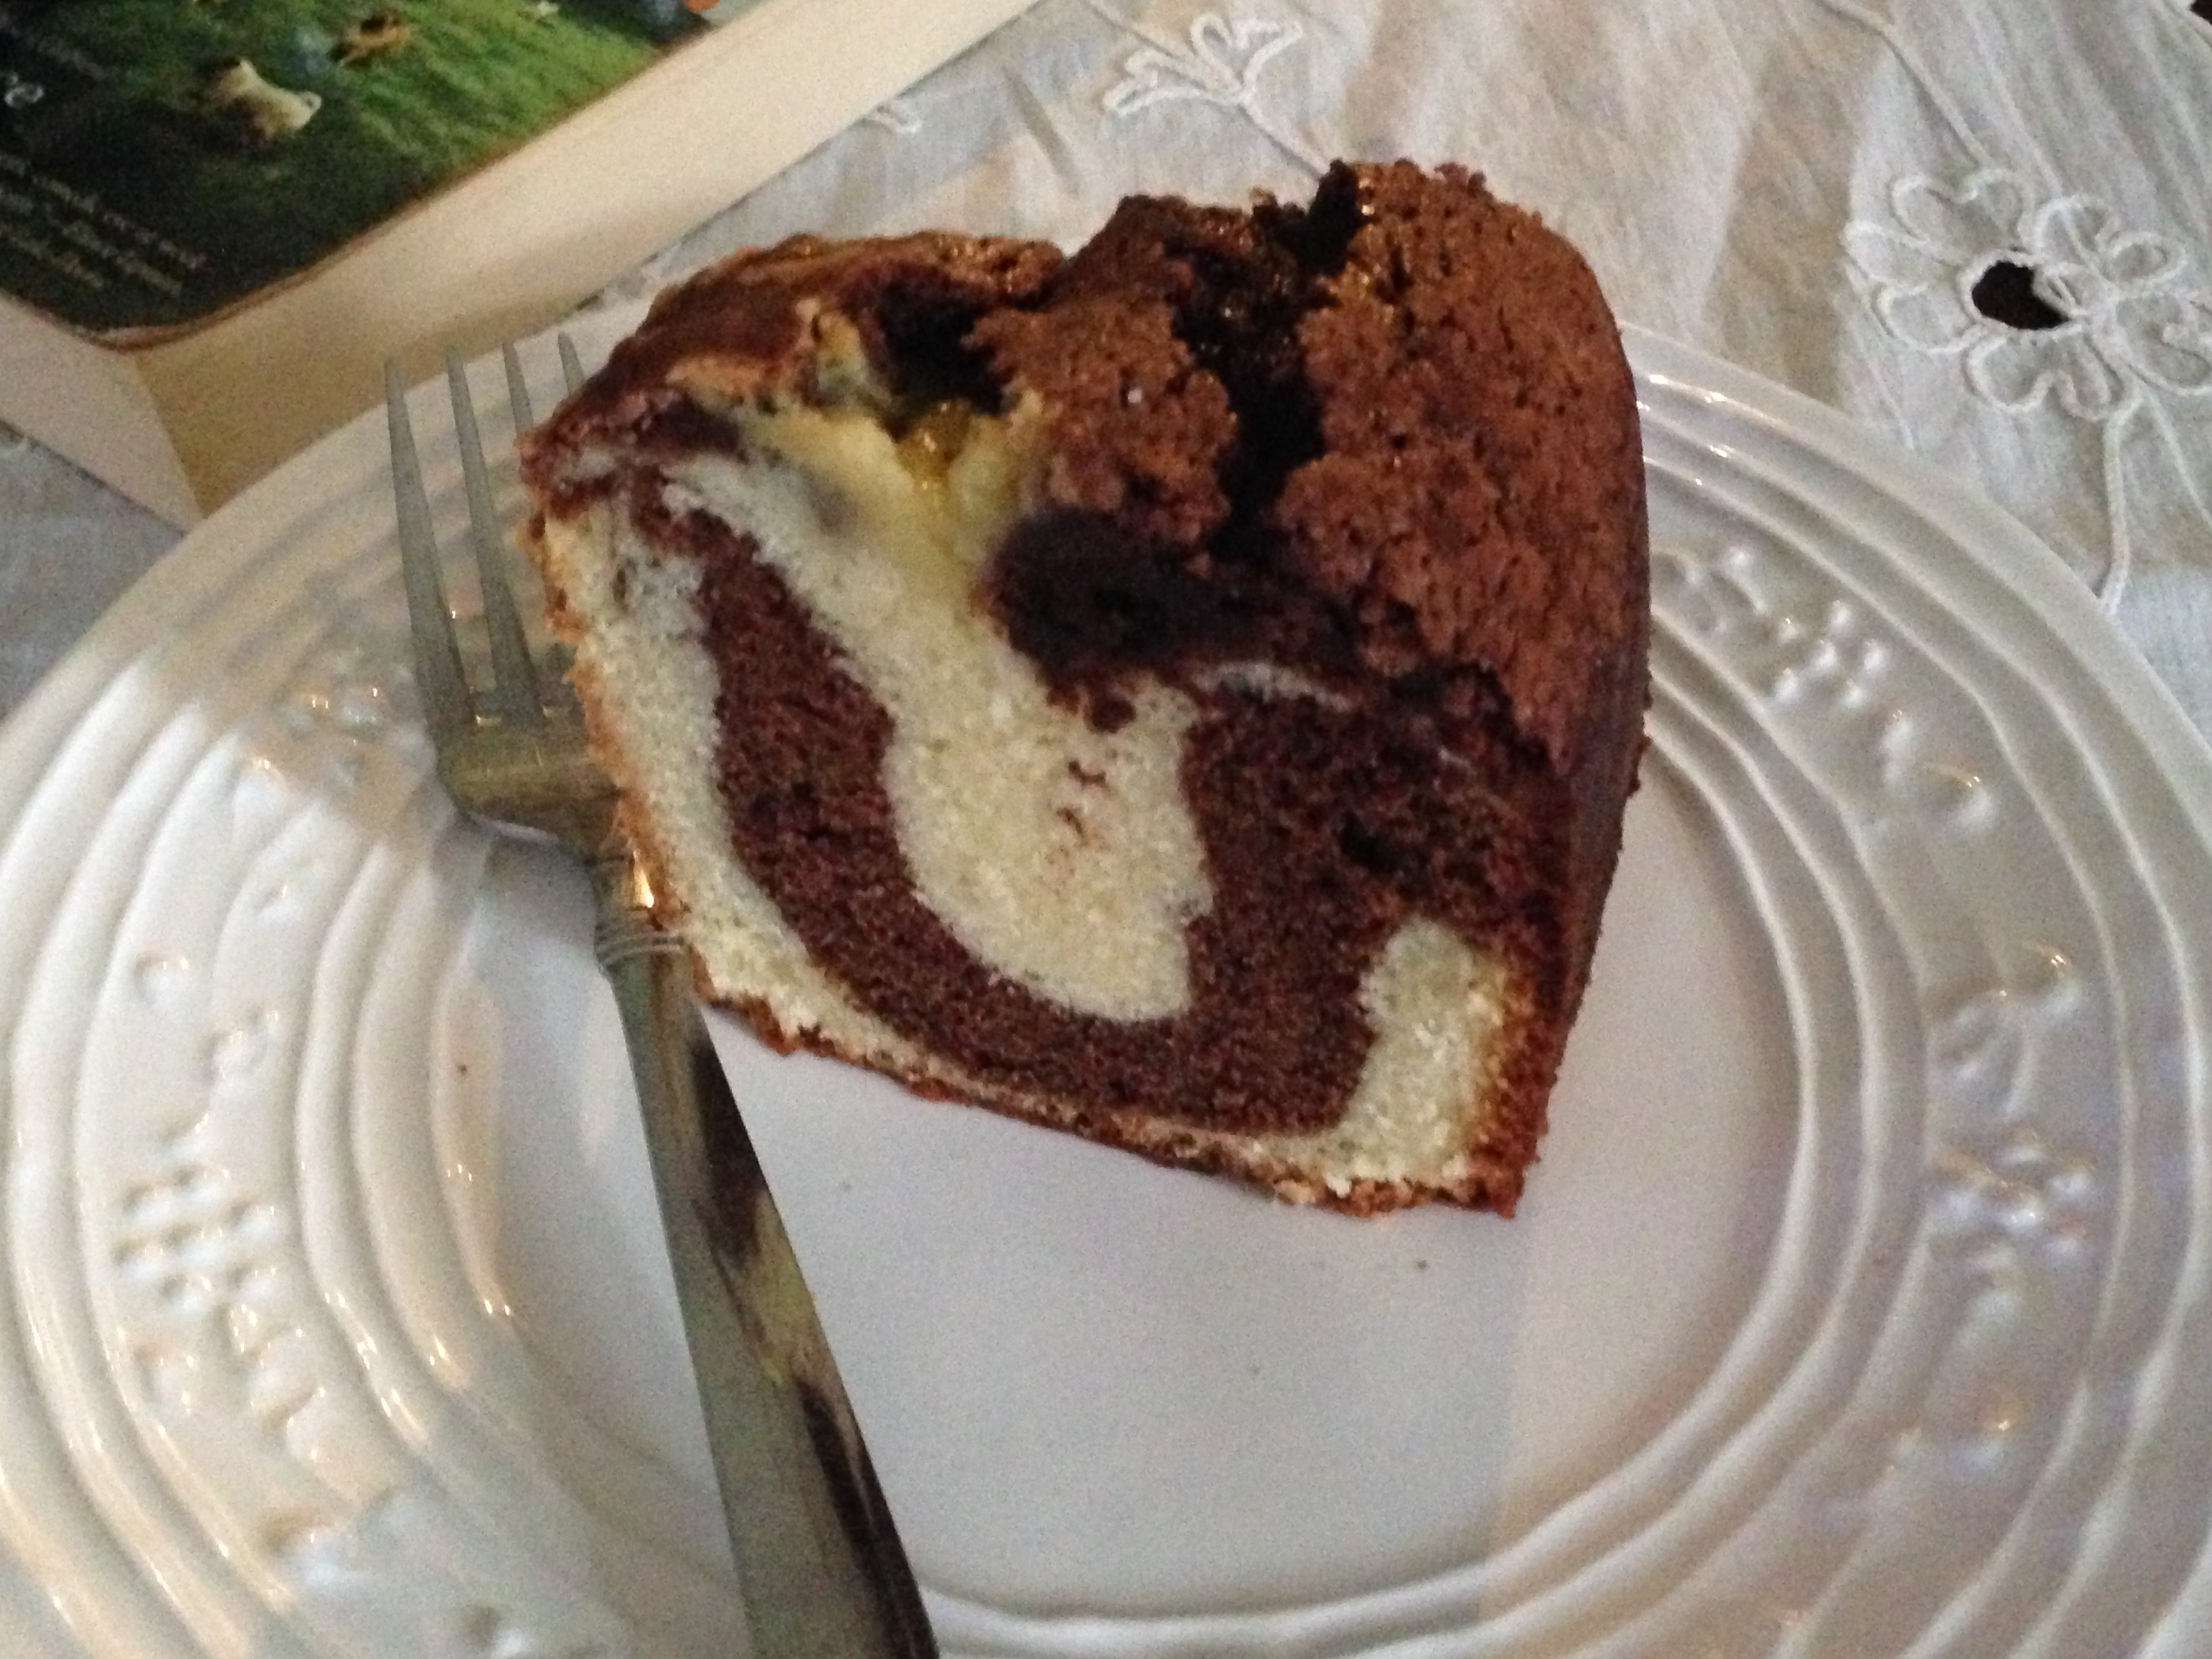
As you can see from the photo’s below, it swirled nicely on it’s own. I like the cake. It has good crumb, baked nicely. I think it would be great with a chocolate glaze drizzled on top or with some ice cream.
The next time I will add more salt, like at least 1/2 tsp, and maybe some orange zest. Note: I forgot to add the white pepper.
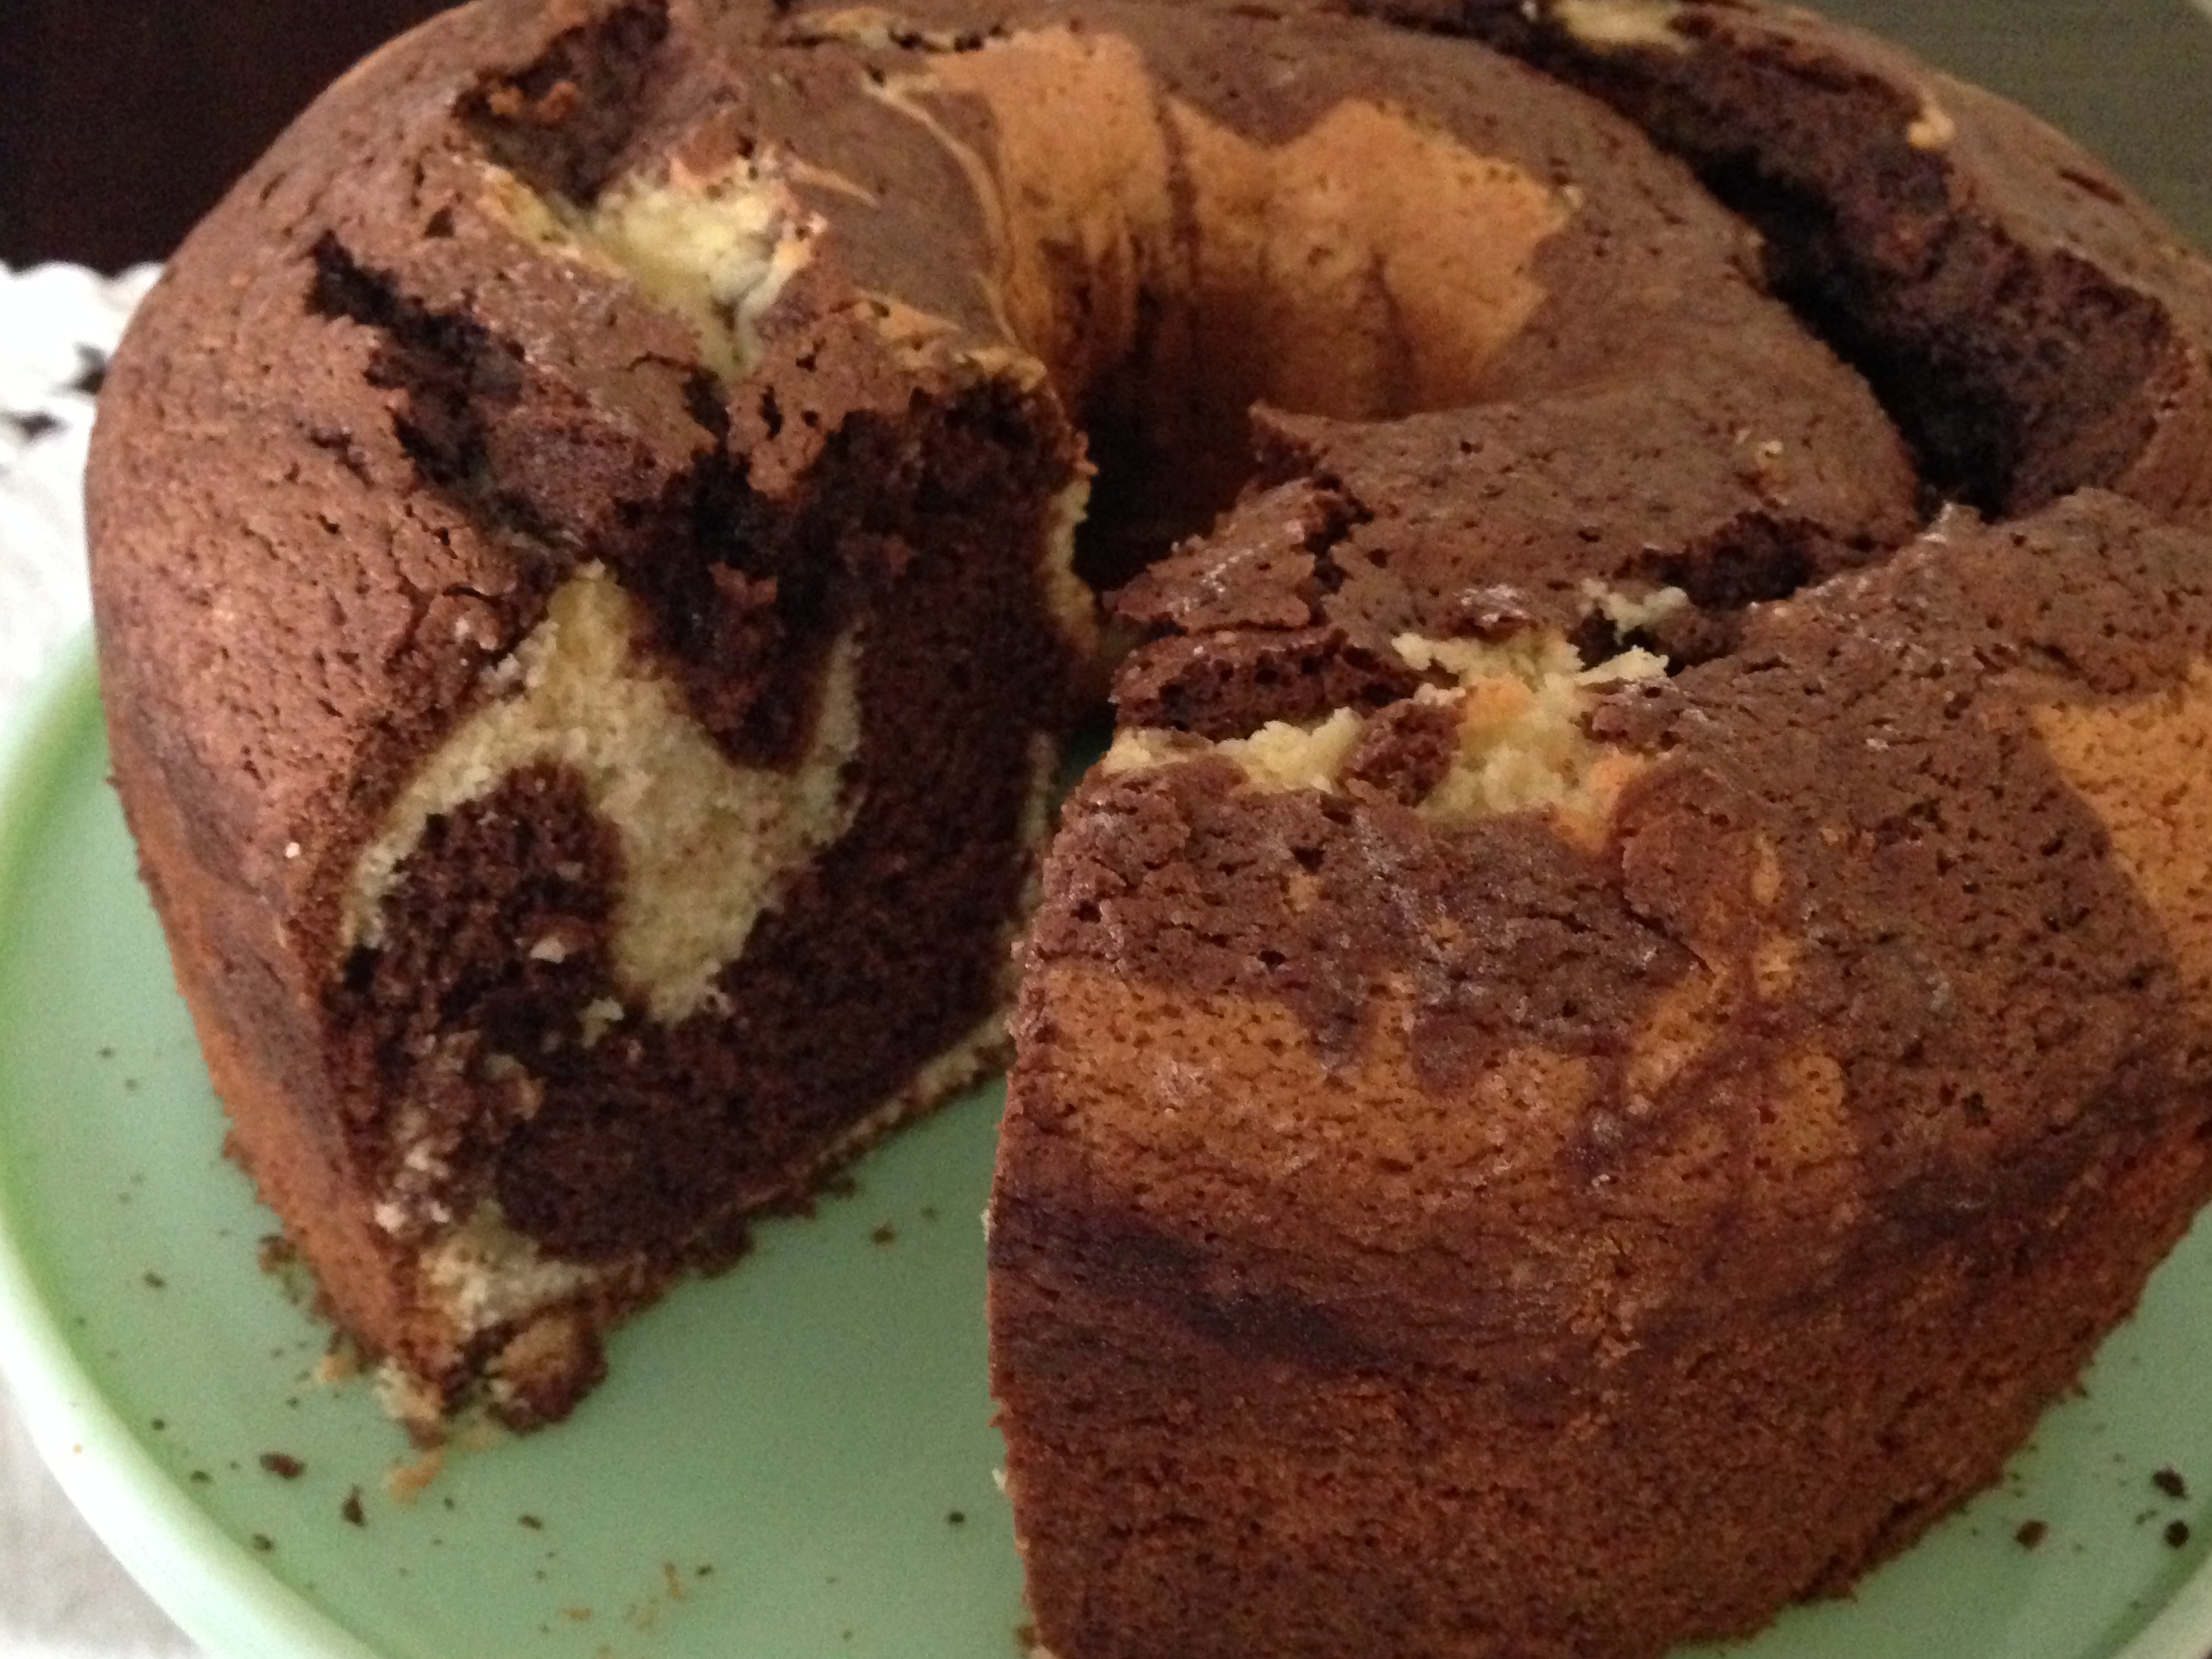
So pretty
Tiger Cake