Skip to content

Posts tagged ‘valentines day’

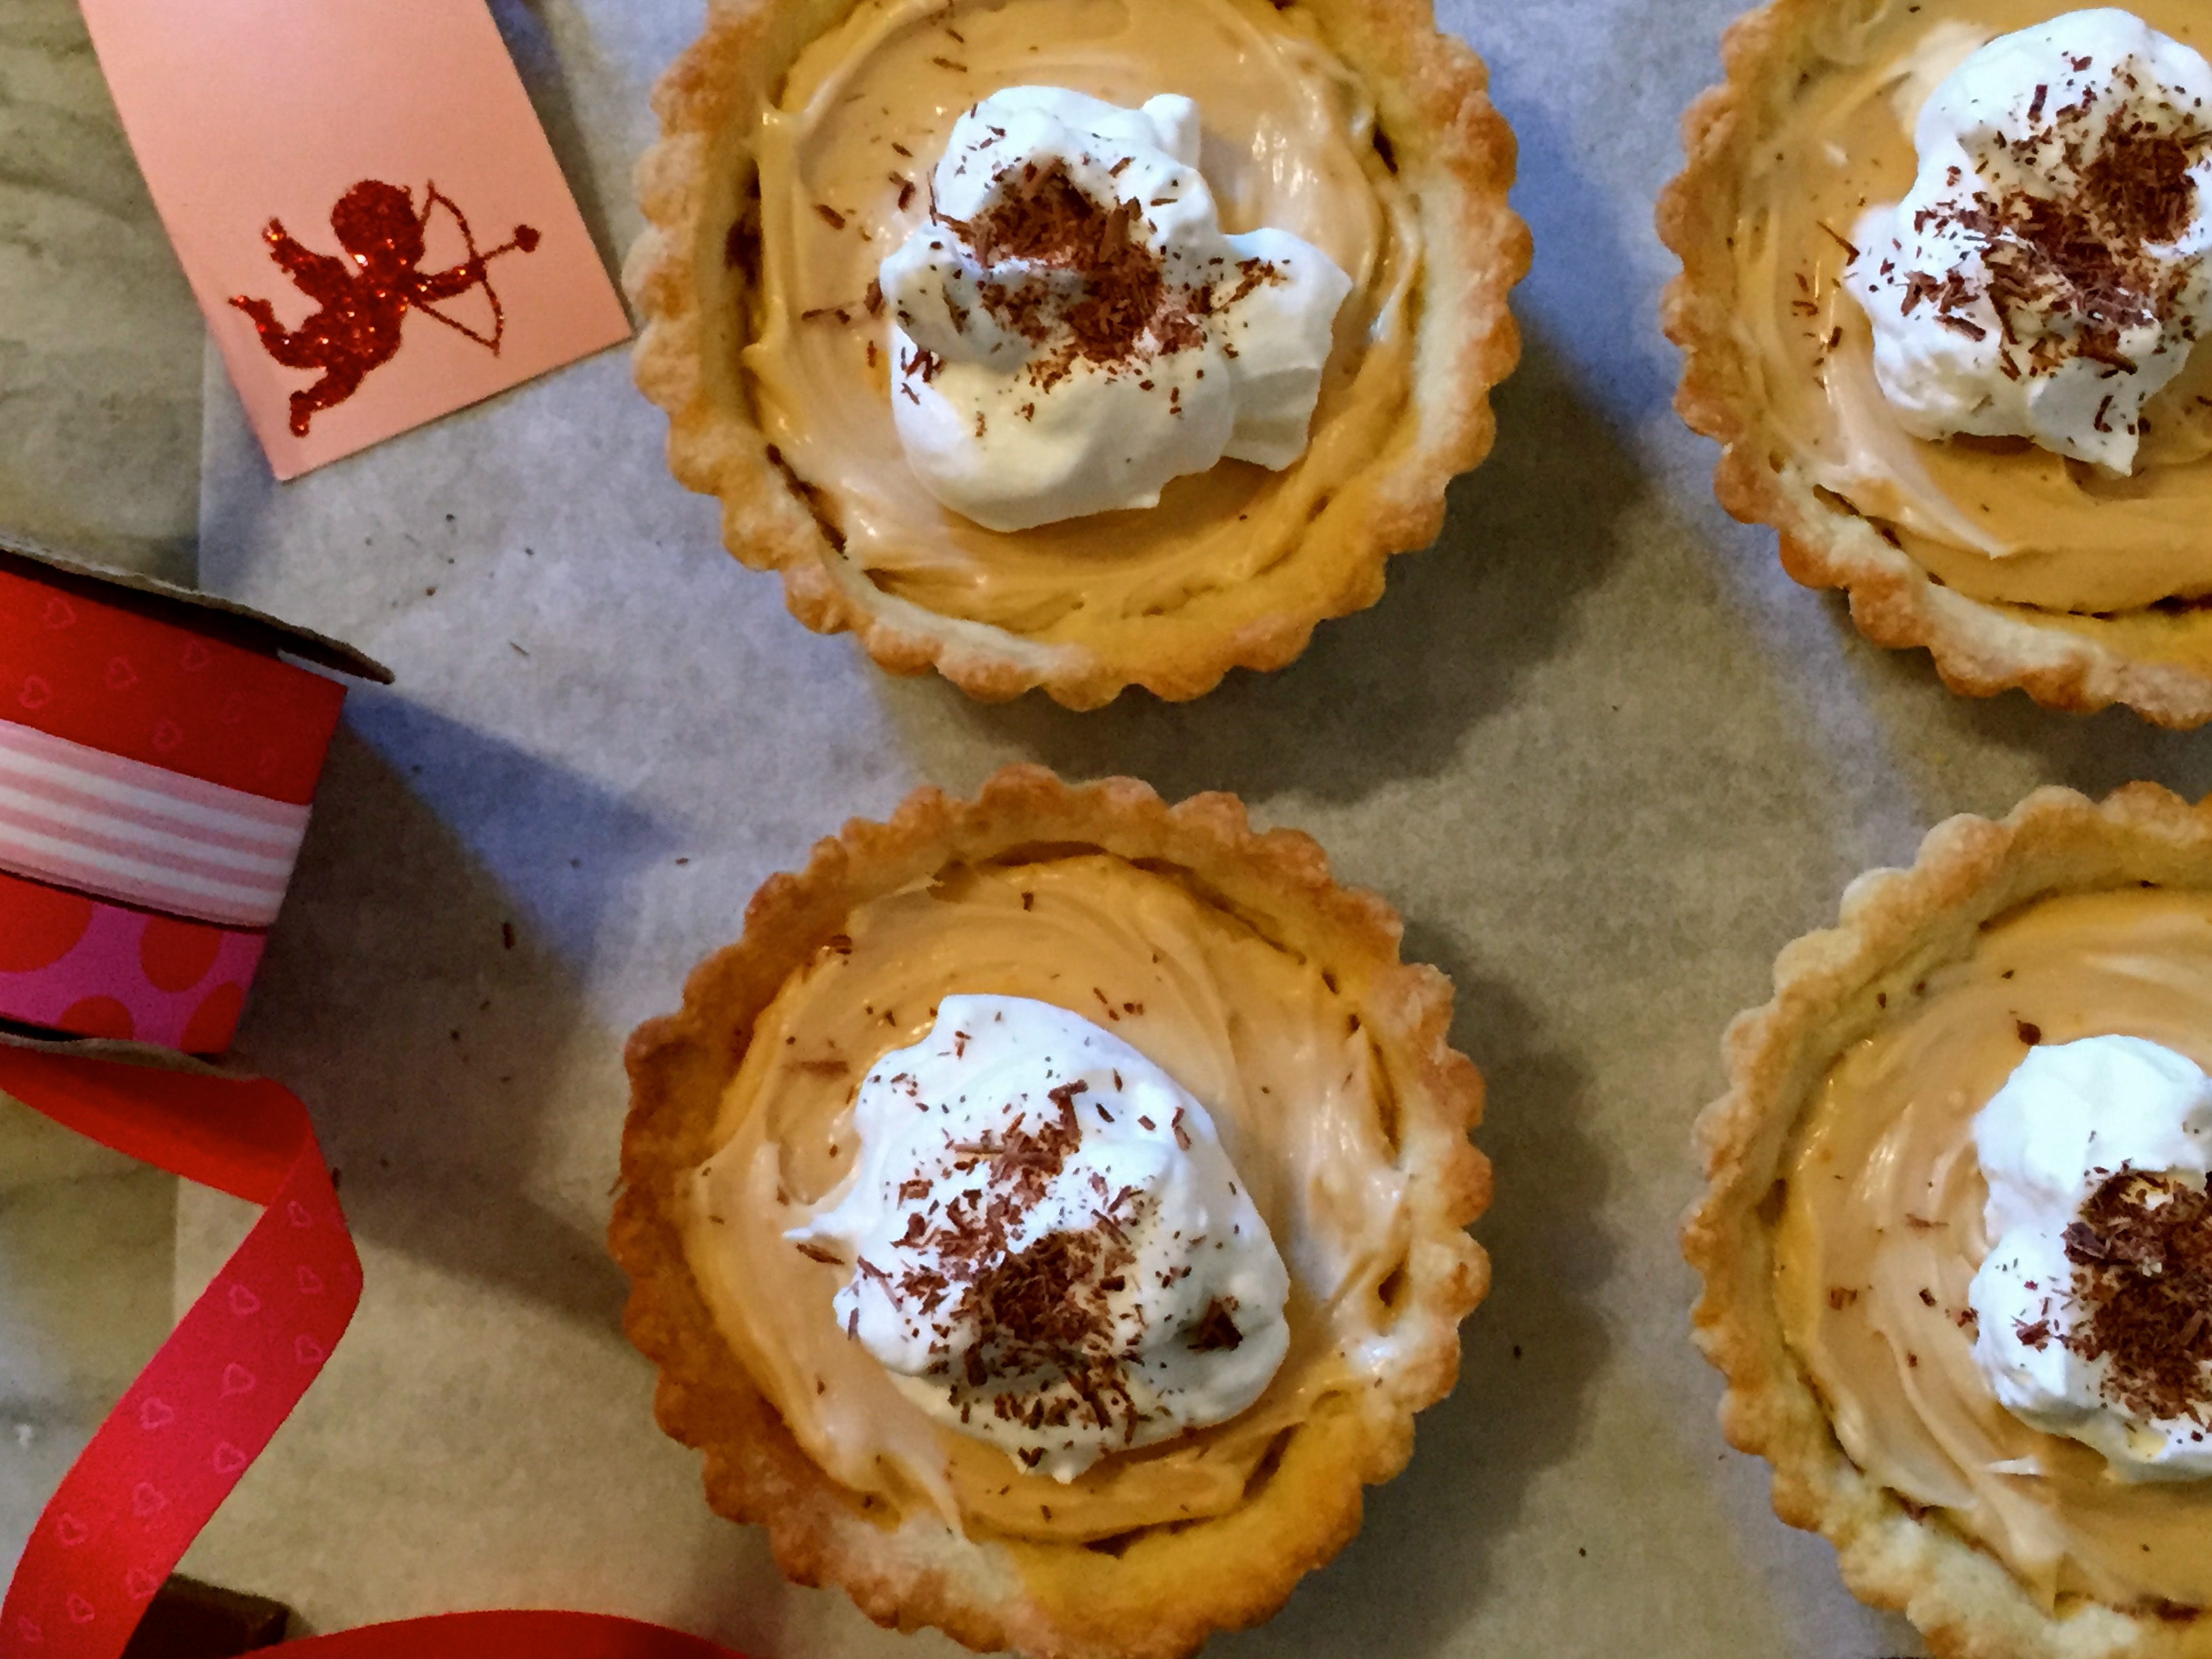
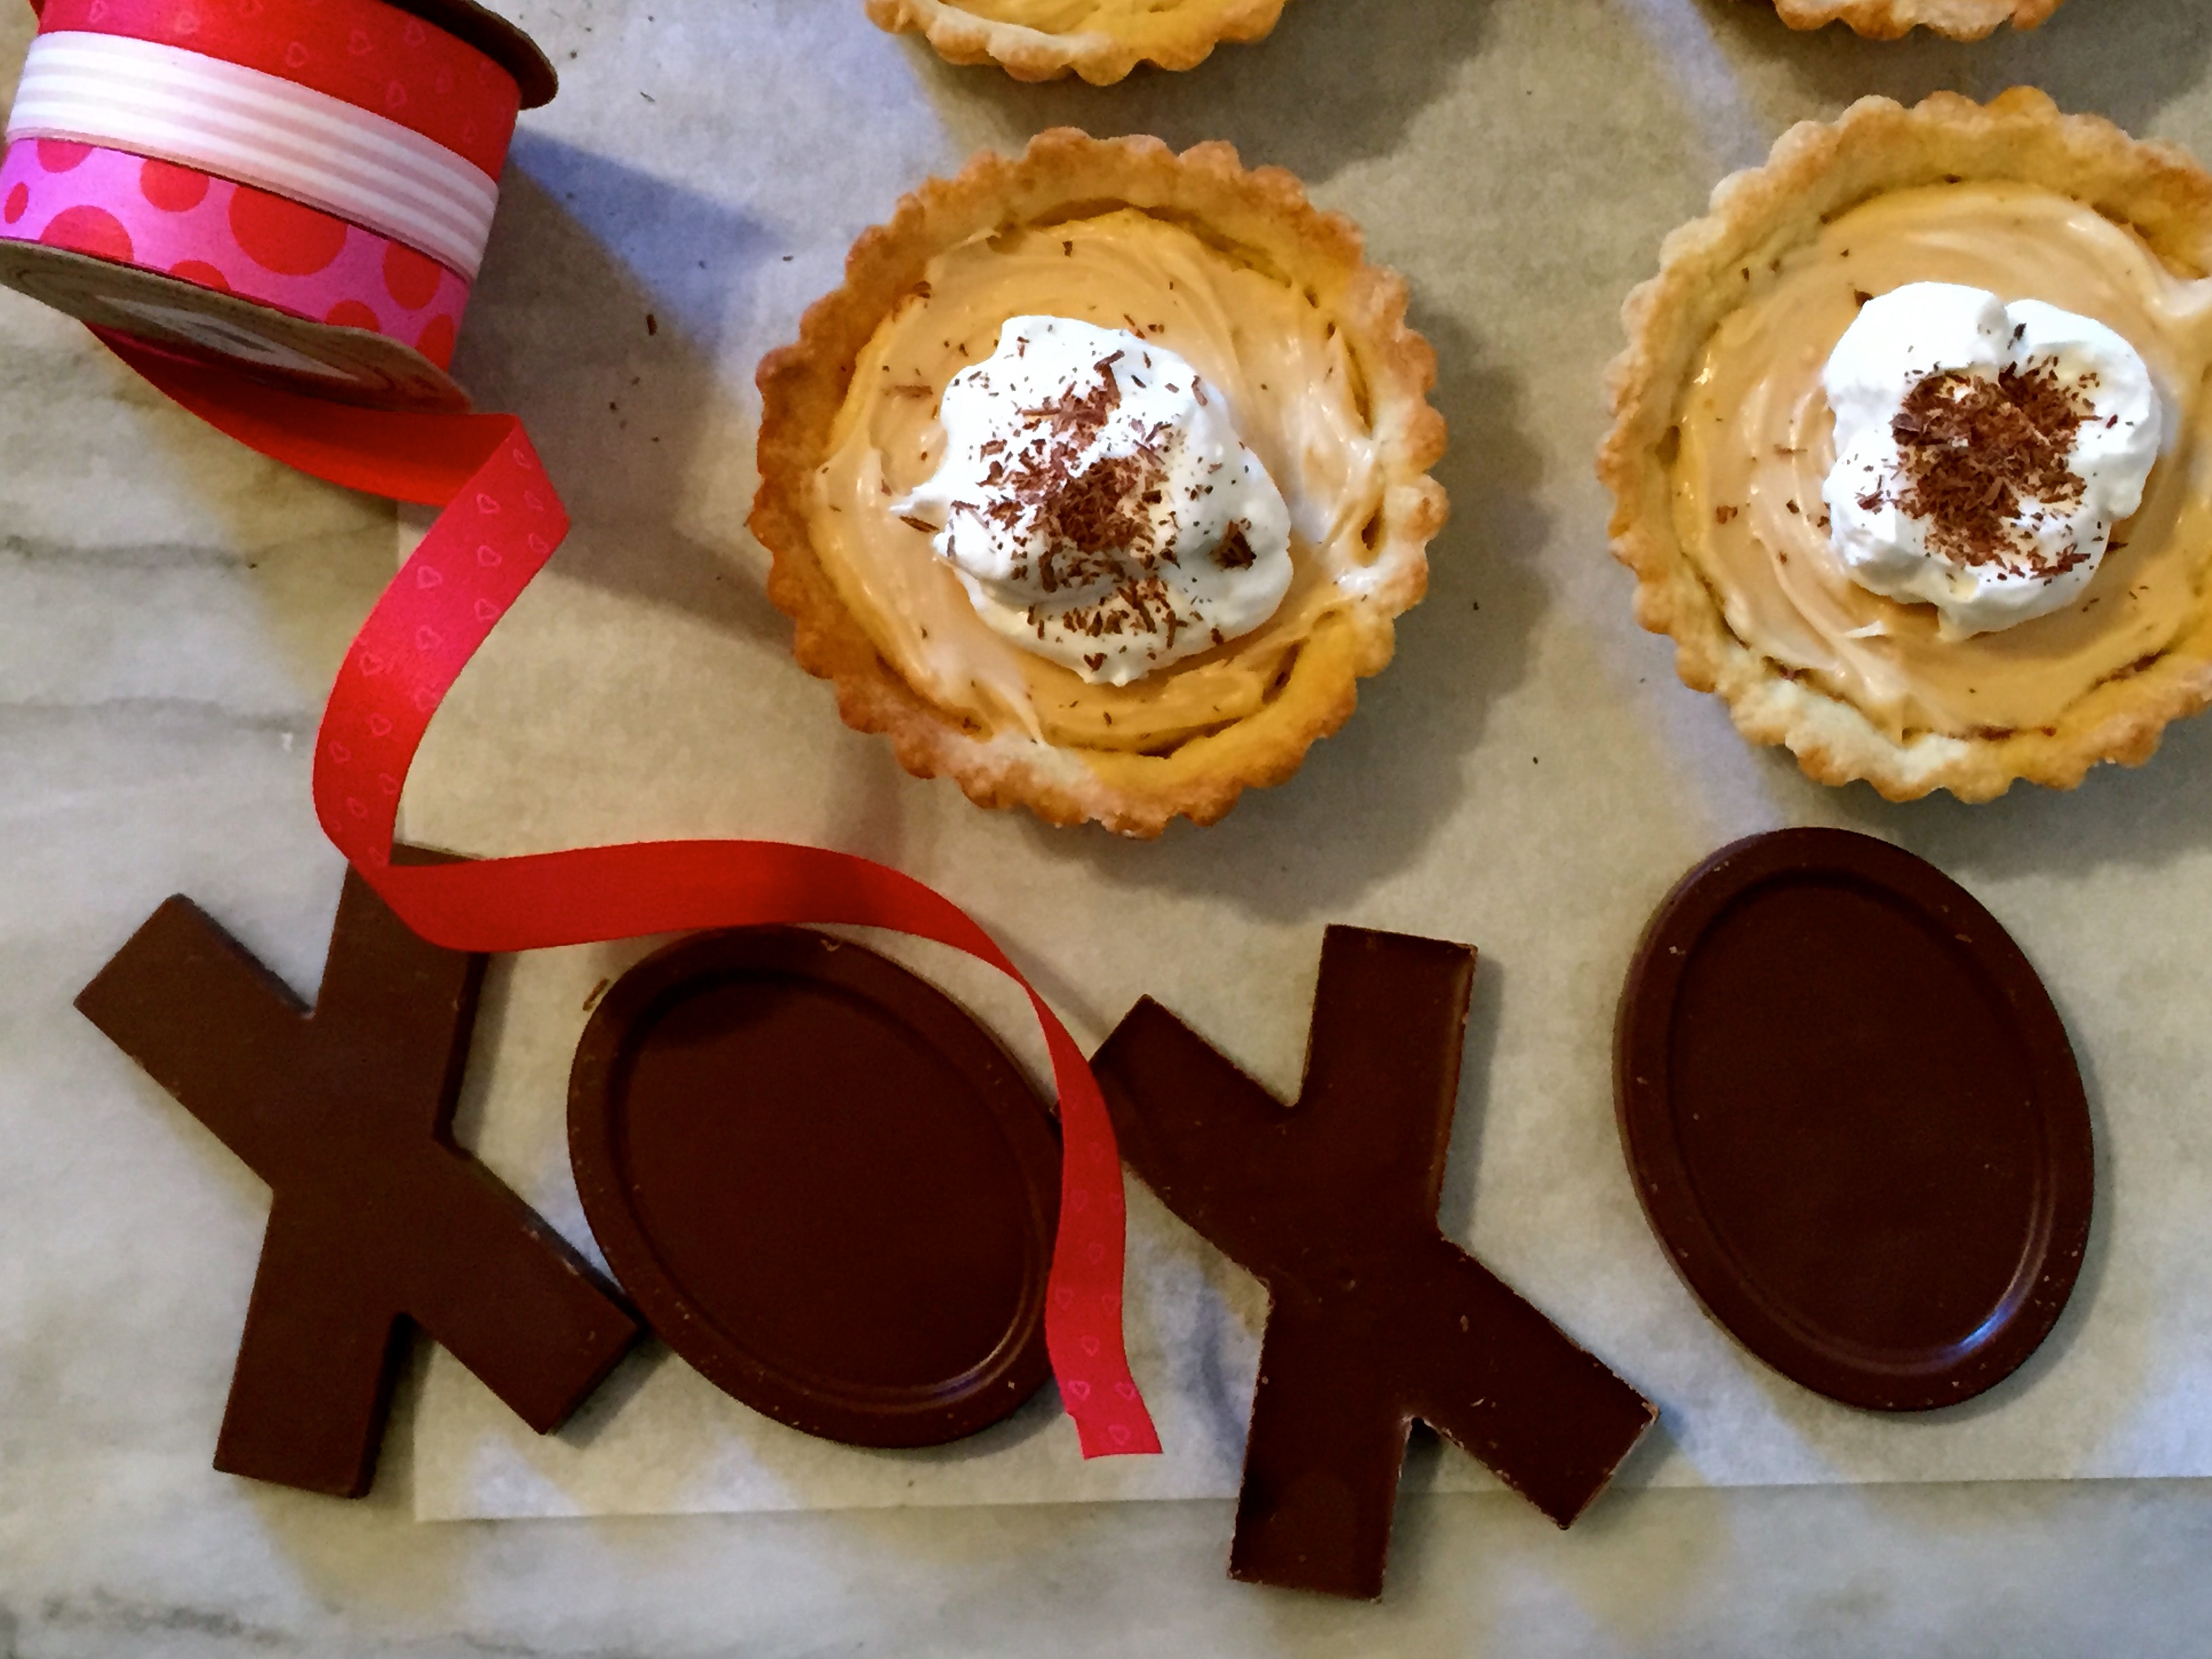
Happy Valentines Day-The Elusive Macaron And Percy’s Gotcha Day

Making a perfect macaron has eluded me for years. My first attempt was a big fail as was my second attempt. The first time I tried the French method where you add a warm sugar syrup to the egg whites with the mixer running is not a good idea for me, I have sugar strings flying everywhere and the macaron didn’t develop feet and were flat and pretty bad. The second time I used a recipe I found on Martha Stewart, there were steps and ingredients missing and I think amounts were off so another fail. Not being one to give up I found a Martha Stewart video with a recipe and I had a feeling this one would work. I followed the instructions to the letter, now there was one very important step (letting the macaron sit for about an hour before baking so they develop a skin) this was omitted, but having done research I knew to add that and by jove they turned out. They are not perfectly sized, some are a bit misshapen it will take some time to really master the piping of the batter but not bad!

Macaron are tricky, and following directions and measuring/weighing is really important. This recipe is very specific, I didn’t deviate at all. These delicious and delicate French cookies have been on my bucket list for a while, after my first fail I became discouraged and decided not to even try it again for a while. I am going to give you step by step instructions and if you follow you too can make macaron.

February 13 was also a very special day, it was the 2 year anniversary of when Percy came to live with me, his gotcha day. He is doing very well and is my best friend and the most amazing dog. Happy gotcha day Mr. P!!  You can view Martha’s recipe and video by clicking here.

French Macaron

Recipe by Martha Stewart

Makes 1 dozen

2 large egg whites at room temperature

1/4 cup granulated sugar

pinch of salt

71 grams finely ground almond flour (NOTE: you can use blanched slivered almonds and make your own flour) approximately 2/3 cup

117 grams powdered sugar – approximately 1 cup

gel food color if desired (start with one drop and add more depending on how deep you want the color)

Place almond flour (if using sliced almonds process first to a fine powder and then add the powdered sugar)  and confectioners sugar in food processor and process until mixed thoroughly and the almond flour is finely ground. Pour through a sieve and if you have more than a tablespoon of the mixture left in the sieve, place that in the processor and give it a good whiz and pour through the sieve again. Set aside. It is very important to remove any larger pieces of almond, it should be very very fine.

Heat oven to 350,  make sure rack is in the bottom third of the oven. Line a baking sheet with parchment. Pour the egg whites, granulated sugar and salt in stand mixer fitted with whisk attachment. Beat on 4 (setting) for 2 minutes, turn up the speed to 6 and beat another 2 minutes, change speed to 8 and beat another 2 minutes. At this time add the food coloring and mix to combine. Remove bowl from the mixer and add all of the flour sugar mixture at once. Using a spatula fold from bottom swiping up 37 times, the batter will loosen. It’s important to do this 37 times according to Martha who got it from an expert.

Folded 37 times and ready to pipe

Fit a pastry bag with a 3/8 inch round tip (Ateco #804) place inside a tall glass (believe me this is important since the opening of the tip is quite large the batter will leak out. Pour the batter into the bag (tip down) and secure.  Carefully pipe a small amount (about 3/4 inch) on the parchment spacing each about 2 inches apart. Tap the pan twice lifting a couple of inches and dropping onto the counter. Leave the macaron to sit for an hour even a little longer is fine. It’s important for them to develop a skin, you can actually see the change the top will become dull and look quite different once the skin develops it traps moisture in while baking making them puff and develop feet.

Bake in the 350 degree oven for 13 minutes. Remove from the oven and let sit on the sheet pan until cooled. Carefully remove the rounds, they are delicate so work gingerly. Turn over every other one as you will pipe some filling on the bottom and sandwich the other on top. The macaron should have developed feet see photo below.

the curly edge is called feet

I had some of the French buttercream and a little ganache leftover from the other cake and thought it would make a nice filling. I put the buttercream into the mixer added 1 ounce melted dark chocolate and 2 tbs of the ganache and whipped it. After you pipe a dollop of the filling onto the cookie place the other cookie on top and VERY gently press down so that the filling reaches the edge of the cookie.

You can fill with ganache, jam or buttercream. Nutella would also be delicious. You can add flavoring or different colors to the macaron shells, to make chocolate all you have to do is remove 1/4 cup of the almond flour and replace with unsweetened cocoa powder. I plan on experimenting with different flavors and colors.

Percy with his monogrammed bandana Happy Gotcha day Buddy!!

Mini Chocolate Sponge Cakes With Buttercream Frosting

This is a simple chocolate sponge cake, the one I have always and will always use because it never fails, NEVER. So easy to make and the cake is tender and soft but still maintains the sponge like quality that, well makes it sponge cake. It’s made on a half sheet pan and is the recipe I used for my Brooklyn Blackout Semifreddo cake that was posted on Food52 and also featured in their cookbook “Ice cream and Friends”. For this little dessert I cut out small ( 3.5 inch) round layers and filled with the super simple French Buttercream that I used in the Dacquoise last year. I layered 3 rounds per mini cake and the sheet cake will give you 4 mini three layer mini cakes and don’t throw out the scraps you can freeze them and make something with them.

Cake

  • 1/4 cup milk
  • 2 tablespoons unsalted butter
  • 8 large eggs at room temperature
  • 2 cups sugar
  • 3/4 cups flour
  • 1/2 cup unsweetened cocoa powder
  • 1 teaspoon baking powder
  • 1 teaspoon salt
  • 1 teaspoon vanilla

Pre heat oven to 350 degrees. Place milk and butter in glass measuring cup and microwave for 45 seconds or until butter is melted. Using stand mixer with wire whisk or electric mixer whip the eggs and sugar on med/high for approximately 8 minutes or until the mixture is pale yellow, tripled in volume and thick, with the machine running slowly add the heated milk and butter. Sift the flour, cocoa, baking powder and salt. Fold into the egg mixture, there should be no lumps. Fold in the vanilla. Grease a 1/2 sheet pan, lay parchment sheet and grease the parchment, and sprinkle with sugar. Pour batter into the pan, spread so that it is evenly distributed and bake for 20-25 minutes. Allow to cool for a couple of minutes in the pan run a knife around the edges to loosen then invert onto wire rack, remove parchment and let cool completely.

Buttercream

Recipe (doubled) food52 – Merrill Stubbs

12 oz soft unsalted butter

4 egg yolks

1 1/3 cup confectioners or powdered sugar

2 tbs vanilla extract

Put all the ingredients in the bowl of the stand mixer fitted with the whisk attachment and beat until thick, silky and spreadable. Thats it, so easy!!

Chocolate Caramel Ganache

1/3 cup heavy cream

2.5 oz dark and milk chocolate chopped

2 tbs caramel sauce (I had some homemade caramel sauce in the refrigerator but you can use whatever is your favorite this is optional).

1-2 tbs clear karo syrup

Bring cream to scalding, add chocolate and caramel sauce and let sit for 5 minutes. Stir until smooth and glossy, stir in the karo syrup. Let cool to room temperature before pouring on cake.


Happy Valentines Day, Tartlets With Blood Orange Curd, Whipped Cream And Nutella

tarts

tarts

This combines two wonderful celebrations, Valentines Day and Fiesta Friday. This post has morphed several times with some failed attempts at a cake (cake pan problems) and I have now settled on tartlets with a layer of nutella and filled with blood orange curd. They are delicious and I hope you enjoy!

This Friday, the day before Valentines Day is very special because we are celebrating two occasions, Valentines Day and Fiesta Friday #55, how great is that?  Thank you Angie@The Novice Gardener for hosting you rock,  the co hosts this week are Sue@birgerbird and me, moi, yep I’m a co host this week no link necessary because if you are reading this you are already here!! Very excited to host with my buddy Sue.

I needed to use the blood oranges so I squeezed the juice ahead of making the curd and froze in ice cube trays, I also threw in 2 mandarins. the color is incredible!!!


Look at the color of the blood orange juice

Look at the color of the blood orange juice can you figure out which is the mandarin

Blood Orange Curd

adapted from lemon cream recipe from Tartine Bakery Cookbook

Makes about 2 1/2 cups (625 ml) (It made exactly 16 oz for me)

1/2 cup + 2 tbsp (5 oz/155 ml) Juice from Blood Oranges

3 large eggs

1 large egg yolk

1 tsp orange zest

3/4 cup (6 oz/170 g) sugar

Pinch of salt

1 cup (8 oz/225 g) unsalted butter

zest of one whole orange (medium size)

Pour water to a depth of about 2 inches into a saucepan, place over medium heat, and bring to a simmer.

Combine the orange juice, whole eggs, yolk, sugar, zest and salt in a stainless steel bowl that will rest securely in the rim of a saucepan over, not touching, the water. (Never let the egg yolks and sugar sit together for more than a moment without stirring; the sugar will cook the yolks and turn them granular.) Place the bowl over the saucepan and continue to whisk until the mixture becomes very thick and registers 180° F on a thermometer. This will take 10 to 12 minutes. If you don’t have or trust your thermometer, don’t worry. It should thicken to the point that your whisk leaves a trail through the curd. NOTE: I don’t use a thermometer, the mixture will thicken and coat the back of the spoon, draw a line on the back of the spoon with your finger, the line will stay intact. It took about 11 minutes for mine to thicken properly.

Remove the bowl from over the water and let cool to 140° F, stirring from time to time to release the heat. Again I didn’t use a thermometer, I poured into the blender, and by the time I cut the butter into tbs size pieces it was just the right temperature.

When the cream is ready, leave it in the bowl if using an immersion blender, or pour it into a countertop blender. With the blender running, add the butter 1 tablespoon at a time, blending after each addition until incorporated before adding the next piece add the additional orange zest and pulse once or twice.. The cream will be quite thick.

Blood Orange Curd

Blood Orange Curd

You can use the cream immediately, or pour it into a storage container with a tight-fitting lid and refrigerate for up to 5 days. To use after refrigeration, if necessary, gently heat in a stainless steel bowl set over simmering water until it has softened, whisking constantly. Note: Your beautiful vibrant, brightly colored blood orange juice will turn a sort of beige color after mixing with the eggs and butter, you can if you wish add a tiny drop of food color to turn it pink, more fitting for valentines day or go au naturale and as you can see I went natural.

Pate Sucree

From Martha Stewarts Pie’s and Tarts

2 1/2 cups all purpose flour

1/4 cup sugar

1/4 tsp salt

1 cup (2 sticks or 8 oz) unsalted butter cold cut into small pieces

2 large egg yolks

2-4 tbs heavy cream or ice water

Pulse flour, sugar and salt in food processor until well combined. Add butter and pulse until mixture resembles course meal. Add the egg yolks and drizzle the cream or ice water and pulse until it forms a cohesive dough. If mixture is too dry add cream or water a tsp at a time until it is cohesive. Remove from processor, wrap in plastic wrap and refrigerate for at least an hour.

To blind bake the tartlets:

Pre heat oven to 375 degree’s. Roll out or press dough into tartlet pans and refrigerate or put in freezer for 15-30 minutes before baking. Place sheet of parchment in each and fill with pie weights or place another tartlet pan on top and place them on a baking sheet. Bake for 8-10 minutes you will notice the edges lightly brown. Remove parchment and weights or pan and place back in the oven another 4-6 minutes or until golden brown. Remove to a wire rack to cool completely before filling.

nutella

nutella

To make your tarts

Spoon some nutella in the tart shell ( I like to do it when the shell is still a little warm so the nutella is easier to spread) place in the refrigerator for about 15 or 20 minutes so the nutella hardens a bit, be generous, don’t skimp on the nutella. Spoon in the curd, top with some whipped cream and chocolate shavings and serve.

Happy Valentines Day to all!!

fiesta-friday-badge-button-i-was-featured1


IMG_5020