Skip to content

Exciting News- Meet Percy My Valentine


IMG_0685I have adopted a dog!!

A few weeks ago,  I got an email from my good friend Emily, she and I have known each other for quite some time now, we met on Food52 where I have met and am friends with some amazing people. Well, Emily lives in DC with her husband T and two children, their cat Nutmeg and pug Percy, I follow her blog Em-i-lis, reading it every day it’s part of my morning routine. She is an amazing writer, a great cook and the sweetest person. In the email Em asked me if I would consider adopting her pug Percy, he is 10 years old and a real sweetheart but she just can’t give him the attention he needs with her busy life. I said yes, of course I would. After losing Izzy first and then Nando shortly after I was grief stricken but at the same time I needed some time to recover from the trauma of their deaths, I had always said that although I was not looking for another dog, at least not now, I thought that if the situation presents itself I will do it. So it did, and yesterday, Saturday February 13, they brought Percy to live with me in Brooklyn. There is once again a pug in my kitchen and I couldn’t be happier. I am grateful to Em for giving me this sweet gift and I know she will miss Percy but she can be certain that he has a good and loving home.

Got his green

Got his greenie

Out for a walk

Out for a walk

Made himself right at home

Made himself right at home

Fast asleep

Fast asleep


Cupcakes For Valentines Day And Fiesta Friday #106


IMG_0551Chocolate cupcakes with a cream cheese buttercream filling and covered with ganache, I saw these in an email or instagram or something from Williams Sonoma only they used a strawberry cream cheese filling which sounds delicious,  but I opted for a vanilla cream cheese filling instead. The cupcakes are adorable and mimic the famous Hostess Cupcake with the white squiggle on top of the icing, Instead of the squiggle you write a valentine message or pipe some hearts. I thought they were too cute (and delicious) not to make. My writing/piping skills are not that great and I think I should have followed a recipe for the icing used to write because it ran a bit, no it’s not your eyes that are blurry it’s the runny icing. Despite the less than perfect appearance they are quite delicious. Because I was having a hard time with the writing I decided to do half of the cupcakes with the vanilla cream cheese icing.

For our very special Valentines Day party I thought a nice dose of chocolate would be in order, so for Fiesta Friday #106 I am bringing these cupcakes.  This week the co hosts are  Steffi @ Ginger & Bread and Andrea @ Cooking With a Wallflower 

Happy Valentines Day Everyone!!

IMG_0516

Hershey’s Chocolate Cupcakes

Makes 24 cupcakes or two 9 inch round layers

1 3/4 cup all purpose flour
3/4 cups cocoa (I use hershey’s) the recipe doesn’t specify whether or not to use dutch or natural cocoa since its a hersheys recipe I use what they say to use.
2 cups sugar
1 teaspoon salt
1 1/2 teaspoon baking powder
1 1/2 teaspoon baking soda
1/2 cup vegetable oil (If you want to substitute melted butter for the oil its fine)
1 cup whole milk at room temperature
2 large eggs at room temperature and lightly beaten
2 teaspoon vanilla extract
1 cup boiling water
2 teaspoons instant espresso coffee (Optional but recommended)
soft butter and flour to prep baking pans or you can use cooking spray
Pre-heat oven to 350 degrees. Prepare two 9″ round baking pans, butter the bottom add a parchment round then butter bottom and sides and flour the pan or you can use cocoa powder instead of flour. If you are making cupcakes place liners in two 12 cup muffin tins. In large mixing bowl add your dry ingredients, flour, cocoa, sugar, salt, baking soda and baking powder and whisk to combine. Now add the wet ingredients milk, oil,eggs and vanilla do not add the boiling water yet. With hand held mixer beat for 2 minutes. Now add the boiling water with optional espresso powder, beat just until combined. Pour into your prepared pans (the batter is quite thin) and bake for 30-35 minutes or until toothpick inserted in center comes out clean.

Cream cheese buttercream filling

4 oz unsalted butter softened at room temperature

4 oz cream cheese at room temperature

1 3/4-2 cups powdered sugar

1 tbs milk (plus more if needed)

Beat butter and cream cheese until fluffy and soft. Add powdered sugar and 1 tbs milk. The frosting should be soft and fluffy.

Ganache

4 oz milk chocolate

4 oz dark chocolate

1 cup heavy cream

Heat the cream to scalding, chop the chocolate and place in mixing bowl, pour the hot cream over the chocolate and let sit for 5 minutes. Stir until smooth. Let the ganache come to room temperature stirring frequently.

To make the filled cupcakes, refrigerate the cupcakes so they are cold, with a paring knive cut a small hole in the center of the cupcake (you can eat that little tidbit) pipe the filling into the center, smooth the top and refrigerate for several hours. Pour the room temperature ganache on top and refrigerate again. If you want to try your hand at piping the squiggle either get the pre packaged stuff or make your own with confectioners sugar and water. I don’t really have a recipe for that but it should be easy enough to locate. Won’t give you mine since it ran.

IMG_0633

I am receiving a very special Valentines gift today which I am so excited about. I’ll let everyone know about it later. Have a great day and lots of Love!

fiesta-friday-badge-button-i-was-featured1

Guest Post- Three Little Halves Meyer Lemon, Cornmeal And Olive Oil Cake With Rosemary Glaze

I am honored to know and call Aleksandra a friend, she is the author of the gorgeous blog Three Little Halves. I met her several years ago on Food52 and was immediately mesmerized by her delicious recipes and then I saw her blog and was literally blown away with the beauty and artistry of her photographs and illustrations, her writing is lyrical and engaging and speaks of family and history and travel and her recipes are delicious and creative and literally make you want to make them immediately. Read a little about her accomplishments, she is a James Beard Foundation nominee, her blog was a finalist for Savueur Magazines Blog awards, her blog is named as one of the top 100 for 2015  by Inspired. She has also won many contests on Food52 and has numerous Wildcard Wins and Community Picks. Oh, yes, I also should add that she is a brilliant Scientist by avocation. This uber talented and accomplished woman is one of the nicest people you will ever meet, and before I introduce Aleksandra, Queen Sashy, I  want to thank her for being so kind and I am humbled and grateful for her friendship and support. I also want to thank her for making this cake, a nod to my recipe, which she made her own and took to another level with her wonderful additions and photographs.

Everyone meet Aleksandra..

meyer lemon cake

It gives me a great pleasure to contribute this post to Suzanne’s blog…

Four years ago, I stumbled upon a gorgeous photo of plum and mozzarella salad on Pinterest, or maybe it was on Facebook, I do not quite remember anymore. It took me to a place called Food52 – an awesome little corner of the Internet where home cooks got together to exchange recipes, chit-chat, ask questions, debate and learn. And compete — that’s the part they all liked a lot! I joined and Food52 became my virtual playground, a kitchen family so to speak. As it happens most of the time in the world of the World Wide Web, one does not get to see one’s cyberspace buddies, just their avatars — oftentimes their pets or plants they like to grow — and one gets to know them by their semi-real names (meet emilyC and drbabs), the causes they champion (hello healthierkitchen and Greenstuff), their favorite foods (nice to meet you Brussels Sprouts for Breakfast, sexyLAMBCHOPx and gingeroot), or what they excel at (yup, that’s boulangere). I often catch myself trying to imagine how my kitchen comrades look, wondering who they are in real life, what they do, or what kind of person they might be. Sometimes, their comments and answers on the hotline add a trickle of information. Some folks are chatty, some are serious and to the point. There are the funny ones, the polite ones and the fact checkers. Those who like to brag a little, and those who know what they are talking about. The opinionated, the passionate, the informed… And the ones with a big heart. That’s about the first thing that comes to mind when you meet sdebrango on Food52. The ones with a really, really, really BIG heart. That’s about the first thing that comes to mind when you meet Suzanne in real life.

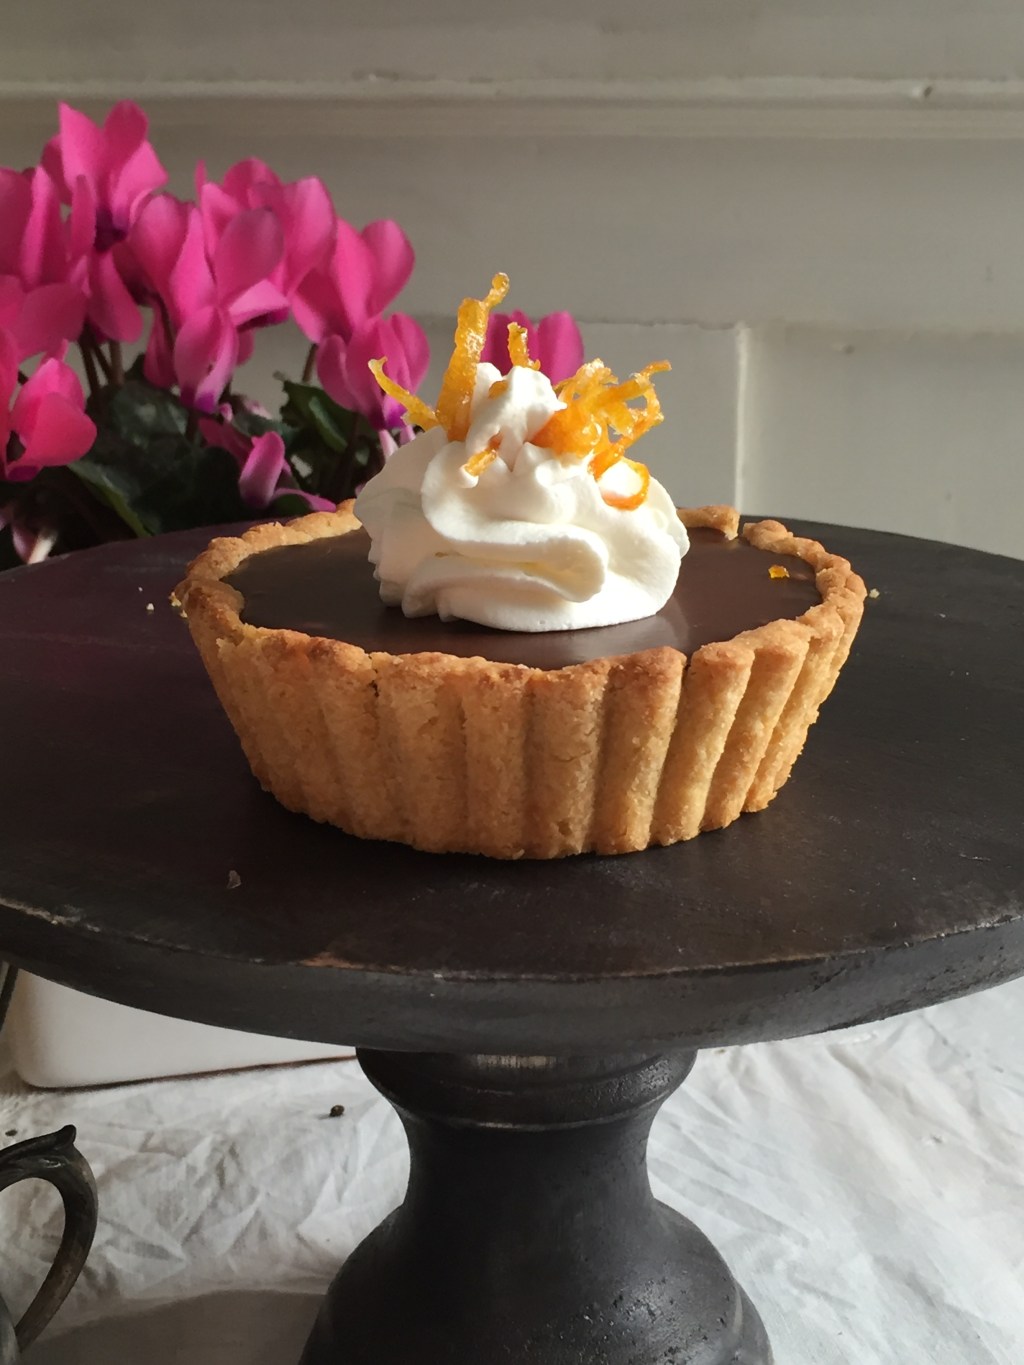
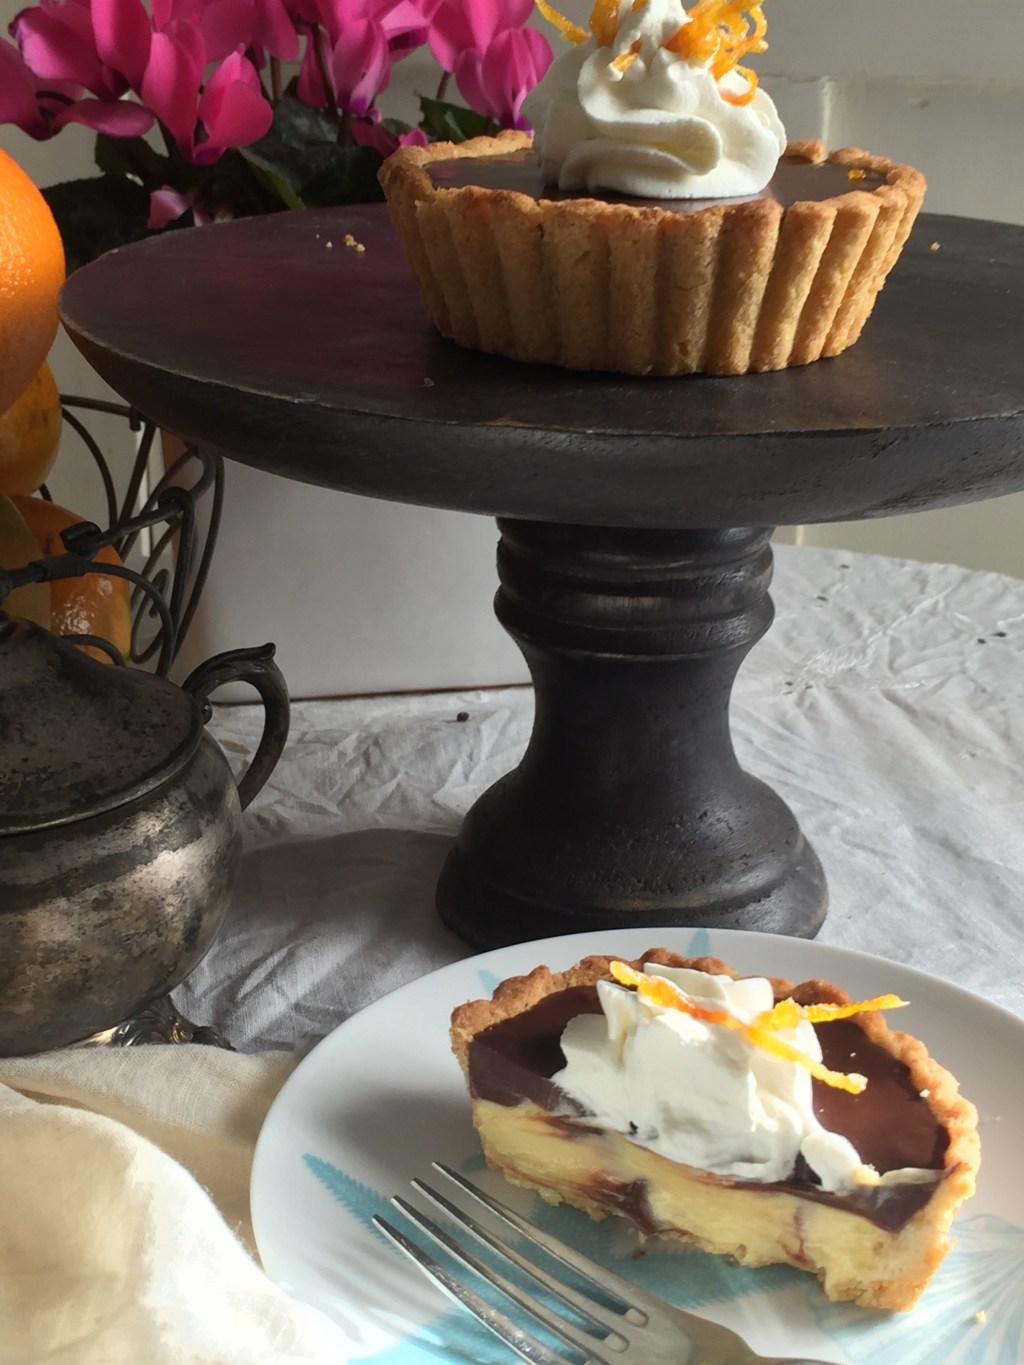
Suzanne does not brag and it might take a thing or two — a glimpse at her profile, a walk through her recipes, a tour of her blog — to realize what an extraordinary cook she is. She is the kind of cook you trust, the kind of cook you would like to have cooking for you every single day. Suzanne’s recipes are about honoring good food and good ingredients, and about feeling good. I had the privilege to cook for Suzanne when she organized Food52 potlucks in her Brooklyn home — it’s a privilege and responsibility, because you know you are cooking for a mighty good cook. Writing a guest post for Suzanne’s blog kind of makes you feel the same, and when she asked me to contribute, I caught myself wondering. What to cook? Which recipe to share? One of my favorite Food52 recipes is Suzanne’s citrus and semolina olive oil cake; it’s a poor man’s dessert one might find somewhere on the Mediterranean coast, a simple thing, yet a slice of it feels like a piece of sunshine on the plate. I made the cake many times, citruses and olive oil are a combination I love, so perhaps, I thought, a tiny tribute to it, an homage so to say, would be a way to give back and honor a great recipe, a magnificent cook, and most of all, a wonderful person.

meyer lemon cornmeal and rosemary cake-3-2

meyer lemon cornmeal and rosemary cake-3-4

Meyer Lemon, Cornmeal and Olive Oil Cake with Rosemary Glaze

This cake will really benefit from a good olive oil and Meyer lemons. Needles to say, when Meyers are not in season, you can always use plain good old lemons. I also like to play with different combinations of citruses and herbs, such as grapefruit and mint, lime and lemon thyme, and orange and lemon verbena.

for the cake

* 1 1/4 cup all purpose flour
* 1/2 cup stone ground cornmeal flour (I used Bob Red Mills)
* 1 tsp baking powder
* 1/2 tsp baking soda
* 1 tsp kosher salt

* 3 large eggs
* 1 cup full fat Greek yogurt
* 3/4 cup fruity extra virgin olive oil
* 3/4 cup granulated sugar
* zest of two Meyer lemons
* 3/4 cup lemon juice (juice of two Meyer lemons)

* a little bit of butter and extra flour for greasing and flouring the pan

for the glaze

* 1 cup granulated sugar
* 1 cup water
* 3-4 sprigs of rosemary

hardware

* 9 x 5 inch loaf pan

Heat the oven to 325F convection (350F regular).

In a bowl mix together all purpose flour, cornmeal, baking powder, baking soda and salt.

In a small bowl, whisk the eggs gently.

In a large bowl mix yogurt, olive oil, sugar, lemon zest and lemon juice. Add the eggs to the yogurt mixture and stir until combined. Add the dry ingredients into the mixture, and stir gently, until fully combined. Be careful not to overwork the batter.

Grease and flour the pan. Pour the batter into the pan and bake for about 50 minutes, until cake is golden and toothpick inserted into the center comes out clean. Leave the cake in the pan for about 15 minutes, and then take it out and place on a serving plate.

While the cake is in the oven, make the glaze. Combine water, sugar and rosemary in a medium saucepan over medium-high heat. Bring to a boil, stirring occasionally, and boil until sugar is completely dissolved. Remove the saucepan from the heat, and let it stand, covered, for about 30 minutes to an hour.

While the cake is still warm, pour the glaze all over it. Wait for a while until the cake absorbs the syrup and repeat once more. (You will have some extra syrup left.) Serve the cake warm, at room temperature or cold, with the remaining syrup on the side.


meyer lemon cornmeal and rosemary cake-3

Lamb Pot Pie With Saffron Pastry

IMG_0388 Read more

Rustic Italian Rolls For Fiesta Friday #105

IMG_0360

This is not exactly conducive to dieting, I have been baking bread, a lot of bread lately. the good news is I give away some and freeze some. One recipe of The Solitary Cooks rustic Italian bread makes 3 medium size loaves, boules or batards. With this batch I made 2 boule and 8 sandwich size rolls. Just a hint, once I make the dough and it proves at room temp I put it in the refrigerator for 48-72 hours, believe me,  this is a good thing, the bread develops incredible character and flavor. I also stagger the making of the bread. I made the 2 boule yesterday and the rolls today. I have never gone more than 72 hours in the refrigerator but I can’t imagine it would be bad to even give it an extra day. Building character is a good thing.

2 Boule

2 Boule

The rolls are perfect sandwich size, or would be a generous dinner roll. Because they are portable and delicious and who doesn’t like bread I thought I would bring them with me to Fiesta Friday #105. This week Angie’s co hosts are Lily @ Little Sweet Baker andJulianna @ Foodie On Board. Hope to see some (or all) of you there and bring a dish, it will be fun. Guaranteed!!

I am giving the link to the recipe which I have done many times, Cynthia, The Solitary Cook gives amazing, explicit instructions on how to make this bread also including a link to her instructions on making the preferement or biga and I want you to go to her site and read it. She is amazing.

gorgeous rolls

gorgeous rolls

fiesta-friday-badge-button-i-was-featured1

Whole Grain Waffles

Handsome waffle maker

Handsome Breville waffle maker photo from Williams Sonoma website

I procrastinate, a lot. I have been wanting to get a new waffle maker for about a year or more but thought I would wait for old one to die, it didn’t but was producing some pretty sorry waffles. I threw caution to the wind and took the plunge. I bought the Breville Smart Waffle maker, and I am really glad I did. It’s wonderful and I have been making waffles for a couple of days now and having a lot of fun experimenting with different recipes. I love how nice and thick the waffles are, uniformly cooked and crisp on the outside, very tender on the inside. This is not a sponsored post by the way, I bought and paid for it this is entirely my opinion and I was not coeerced.

Today I made some whole grain waffles using spelt, oat and almond flour primarily. The waffles are really good, very light and flavorful and I feel pretty good about eating one. A little fresh fruit and drizzle of honey or maple syrup, some butter and you have a nutritious start to the day. I adapted the recipe for Classic Waffles that came in the instruction book.

IMG_0313

Whole Grain Waffles

Made 9 waffles

1 cup spelt flour

1/2 cup oat flour

1/2 cup all purpose flour

1/3 cup almond flour

1 tbs baking powder

1 tsp kosher salt

1/4 cup organic sugar (can adjust more or less or use honey or coconut sugar)

1 3/4 cup milk (almond milk would be nice also)

3 large eggs

5 oz butter melted

1 tsp vanilla

Add the flours, baking powder, salt and sugar to medium size mixing bowl. Whisk to combine and make a well in the center. In another bowl beat the eggs with a whisk, add the milk, melted butter and vanilla. Pour the wet ingredients into the center, whisking while p0uring. Don’t over mix, there may be a few small lumps, thats ok. Let the batter rest while your waffle maker heats. Follow manufacturers cooking instructions. Enjoy!!

IMG_0266 IMG_0318

A Trio Of Bruschetta

IMG_0171

I participate in a cooks collective headed up by Sonal from simplyvegetarian777, you all know Sonal. She will ask those that participate in this Facebook event to come up with a recipe and link it to the Facebook page. This time, since the Superbowl is around the corner she asked us to prepare super bowl appetizers or snacks. This was right up my alley since lately I have wanted food that is simple to make, takes very little time to cook, is snack size and delicious. I have made multiple loaves of this Rustic Italian Bread, I wrap it and freeze it and it is just as good as the day I bake it after some time in the oven to crisp and thaw.

There is really no recipe here, I am sure you have all had bruschetta, so simple to make and you can have an endless variety of toppings.. I made three different types all taking almost no time at all to prepare. They are wonderful as a starter or even a meal. You can make the tomatoes and squash and pesto ahead of time and refrigerate, I like to do that because putting these together will be quick and simple. There is really no recipe for this you can make them as you like and to suite your taste. The Super Bowl challenge must be vegetarian or vegan, this is a meat free zone. I love the idea of bruschetta with varied ingredients and flavors.

The Bruschetta

Ricotta, roasted tomato and basil

Parsley,basil,garlic and pine nut pesto with tomato, shaved parmigiana drizzled with balsamic vinegar

Oven roasted butternut sqush with sage and ricotta drizzled with honey..

You will need the following:

Start with a loaf of good rustic, peasant bread

Garlic 2 cloves – 1 for the pesto and the other to rub on the bread

olive oil

sea salt and pepper

Tomatoes – enough for oven roasted and sliced on top of the pesto

herbs, I like basil and parsley and dried sage for the squash

Ricotta

Cheese, romano and parmigiana

butternut squash cut into bite size pieces.

honey

pine nuts-toasted

Pre heat oven to 375. Toss the butternut squash with olive oil, sprinkle with dried sage and season with salt and pepper. Roast in the oven for 30 minutes. You can roast the tomatoes at the same time. Cut in half and drizzle with olive oil, season with salt and pepper takes approximately 30 minutes in the oven.

Make your pesto: In the food processor add a handful of Italian flat leaf parsley a couple of basil leaves, a clove of garlic, toasted pine nuts and grated cheese. Process until it’s chopped and then add 1/4 cup olive oil while the processor is running.

rustic italian bread

rustic italian bread

Slice your bread in approximately 1/2 inch thick slices diagonally.  For the ricotta and roasted tomato and pesto bruschetta rub the bread lightly with a clove of garlic, brush with olive oil, sprinkle with the tinest amount of salt and place in the broiler just until it starts to toast, don’t let it get dark. Spoon some ricotta on a slice, arrange some roasted tomato, sprinkle some grated cheese and return to the broiler for a minute or so, just to heat it, it will get a little browned on top. Before serving drizzle with olive oil and place some basil leaves on to garnish.

Spread the pesto on the bread, add some sliced tomato and shaved parmigiana, drizzle with olive oil and balsamic vinegar.

For the Butternut Squash bruschetta, spread some ricotta on a slice of bread, place some of the roasted squash on top and place in the oven on broil for about a minute just to heat it and get slightly browned. To serve drizzle with some honey and sprinkle a few flakes of sea salt and some ground pepper.

More Bruschetta ideas

More Bruschetta ideas


Chicken And Vegetable Roast For Fiesta Friday #104

Chicken and vegetables

Chicken and vegetables

This was a quick meal I made for yesterday’s dinner using what I had on hand, this really isn’t a recipe, you know how it is when you don’t really know what exactly to make and start putting things together.  I used boneless skinless chicken breasts, red micro potatoes, shallot, baby orange, red and yellow peppers, cherry tomatoes and garlic and before serving finished it with a parsley/garlic/lemon gremolata of sorts. Because I used boneless skinless breasts I made everything separately rather than roasting the vegetables in with the meat the entire time. You have to be careful how long you cook those breasts as they can dry out rather quickly and I wanted the vegetables to brown and caramelize. You can change the vegetables to suit your taste, add some spice if you like, harissa would be delicious, use chicken with skin and bones if you like. The whole meal took me about an hour and a half from start to finish and because I did most of it in the oven I didn’t have to babysit a pan on the stovetop.

For a change I thought I would bring a main course rather than dessert to Fiesta Friday. Join in, bring a dish and remember to link to Fiesta Friday, Angie’s old blog The Novice Gardener is no more it’s all in one place now. Angie and her lovely co hosts this week are  Mila @ milkandbun and Hilda @ Along The Grapevine

See you at the party!!!

Chicken and vegetable roast

Serves 3 or 4

3 boneless skinless chicken breasts

1 lemon

3 small cloves garlic smashed

12 micro potatoes cleaned and cut in half

6 baby peppers of assorted colors halved, seeds and membranes removed

12 cherry tomatoes cleaned and cut in half

1 shallot cut in half

1 cup chopped parsley

Pre heat the oven to 375 degree’s. Line a sheet pan with parchment paper and place the tomatoes, peppers and shallot, drizzle with olive oil, season with salt and pepper and roast in the oven for 30 minutes. Remove and set aside. Place another sheet of parchement and add the potatoes, drizzle with olive oil, season with salt and pepper and roast for 30 minutes. Set aside.

Heat oven to 425 degree’s. Rub the chicken with olive oil, season with salt and pepper and thyme. Heat cast iron skillet or heavy pan on stove top, get it good and hot. Add some olive oil and the chicken breasts, sear until lightly browned. Remove from heat source. Add the garlic cloves, squeeze half a lemon onto the chicken, cut the lemon half in two and throw in the pan. Roast the chicken for 15 minutes remove from the oven, and take the lemon quarters and garlic out of the pan, set the garlic aside and discard the lemon, (NOTE: If there is a lot of liquid or oil in the pan remove all but a few tablespoons before adding the vegetables) add the potatoes and other vegetables and arrange arround the chicken breasts. Return to the oven and roast for another 15 minutes, the internal temperature of the chicken breast should be 165 degree’s. While the chicken and vegetables are in the oven chop the parsley, cut the soft garlic and add, squeeze the juice of the remaining half lemon on and season with salt and pepper.

When ready to serve, garnish with the parsley mixture.

Guest Post-Curried Eggplant Steaks With Chickpeas From Simply Vegetarian777

A picture is worth a thousand words…. it really is and all you have to do is look at the pictures for these incredible recipes and words become insignificant. My very dear friend and fellow blogger Sonal from Simply Vegetarian777 graciously agreed to do a guest post and I was thrilled that she said yes. I admire her so much, her skill in cooking, writing and photographing and her kindness. I have mentioned before how she has sent me spices. I follow her on FacebookPinterest  Twitter @simplyveg777 and on Instagram ( simplyvegetarian777). I am constantly amazed at her talent. I also have to note that she does a series of posts with Diabetes friendly meals every Thursday, I have sent some to my Mom and it inspired her to change her diet. Sonal you are amazing thank you so much and take it away my dear….

Curried Eggplant Steaks with Chickpeas

image1

It’s a great honor for me to do a guest post for Suzanne. She is such a great support system to me and to many others who are connected to her via blog. Her approach and enthusiasm towards food is unmatchable.

I think I first met her through fiesta Friday, over an year ago, and since then I have been spoiled by her through her ever encouraging comments and constant presence. Thank you Suzanne for being there. I really appreciate it :).

image3

I was very confused as to what to bring for a guest post for her blog. I wanted to create a dish which was Indian origin but at the same time, something which has an international appeal and an easy to implement recipe.

Curried Eggplant Steaks with Chickpeas

Curried Eggplants

image4

Kitchen Equipments Required

A non stick or hard anodized pan, chopping board, knife, flat spatula, small bowl

Ingredients

Eggplant – 1 large
Oil – 1 tbsp
Turmeric – 2 fat pinches
Red chili powder – 2 fat pinches
Cumin powder – 2 fat pinches
Dry mint – 2 fat pinches (optional)
Salt – 2 fat pinches

Method

1. Mix turmeric, red chili powder and salt together in a small bowl.
2. Wash and cut the eggplant in 4-5 thick and long slices.
3. Sprinkle and rub the spice mixture on both sides of the eggplant slices.
4. Heat oil in the pan. Place the slices in the hot oil. Reduce the flame to medium. Cook from both the sides for approximately 2&1/2 to 3 minutes each till tender and slightly crispy.
5. The Curried Eggplant Steaks are ready.

image5

Serve these with the Quick and Easy Chickpeas Curry.

Chickpeas Curry

image2

Kitchen Equipments Required
A sauce pan with lid, stirring spoon, chopping board, knife, blender.

Ingredients

Chickpeas, boiled – 1&1/2 cups. I used 1 can.
Onion – 2 tbsp, chopped
Tomato – 2 medium
Ginger – 1 small piece
Garlic – 1 big pod
Oil – 1 tsp
Coriander powder – 1/2 tbsp
Turmeric powder – 1/4 tsp
Red chili powder – 1/8 tsp
Cumin powder – 1/2 tsp
Garam Masala – 1/2 tsp
Salt to taste
Cilantro leaves for garnish
Water – 1 cup

Method

1. Add tomato, onion, ginger and garlic to the blender. Purée it fine.
2. Heat oil in the pan. Add the purée and all the spices to the pan. Reduce the flame to the medium low.
3. Cover with lid and let the purée cook till all the water is evaporated and it thickens.
4. Add the boiled chickpeas to the sauce along with 1 cup of water. Mix them well. Cover with lid again and cook till it thickens again.
5. Garnish with cilantro leaves.

Serving Suggestion

1. Curried Eggplant Steaks can be served as is and taste great as snack.
2. The chickpeas curry can be served with rice or naan.
3. The eggplant steaks and chickpeas curry can be served as a complete meal along with some warm basmati rice.

I hope you had a good time reading the recipe. I had a great time creating it for all of you :).

Cheers,
Sonal

Chocolate Orange Cream Tart


IMG_9862

The lastest contest at Food52 is all about tarts, Your Best Tart to be exact, I have to say that making pies and tarts is something I love doing,  I put my thinking cap on because I wanted to come up with a recipe that was a little different and creative.  Buttery pastry with an assortment of fillings whether sweet or savory is comfort food at it’s best IMHO. I was already in the cream or curd mode after making the scones so I whipped up another batch just using oranges and tangerines, it has substance from the addition of cream cheese which give a little tang also, the crust is adapted from Martha Stewarts recipe for Pate Sucré.  The combination of chocolate and orange has always been one of my all time favorite flavor combinations so I covered the orange cream with a ganache gently flavored with orange thanks to the addition of Grand Marnier. A simple whipped cream garnish and some candied orange zest make this a lovely dessert.

I know I posted this already but I decided to bring my little tarts to the party, Fiesta Friday #103 the big event Angie is hosting and her lovely co hosts this week are two of my all time favorites  Your co-hosts this week are Sonal @ simplyvegetarian777 and Petra @ Food Eat Love. YAY!!!

Makes 9 inch tart or 6 tartlets
Pate Sucré
2 1/2 cups all purpose flour
1/2 teaspoon salt
1/4 cup sugar
8 ounces cold unsalted butter cut into pieces
3 egg yolks from large eggs
3 tablespoons heavy cream
Orange Cream
6 egg yolks from large eggs
1 1/2 cup sugar
1/2 cup freshly squeezed orange or tangerine juice
4 teaspoons orange zest divided
1/2 cup unsalted butter
4 tablespoons cream cheese softened
Ganache
4 ounces dark chocolate
4 ounces milk chocolate
1 cup heavy cream
1 tablespoon Grand Marnier or orange liquor
Tart Crust-Put the flour, salt and sugar in the food processor, pulse to combine, add the butter and pulse until it resembles fine crumbs. Add the egg yolk and cream and pulse until the dough comes together, it will be shaggy but thats ok, test it by pinching a piece and if it holds together it’s fine. Divide in two, press into disks and refrigerate for an hour. Pre heat the oven to 375, line tart pan or tartlet pans, prick with fork and place in freezer for 30 minutes. Place a piece of parchment in the tart pan or pans and pour in pie weights or beans. Bake 20 minutes remove the parchment and weights and place back in the oven for another 10-15 minutes until golden brown. Cool on rack.
Orange Cream-Zest the fruit and juice and set aside. In mixing bowl add the egg yolks, sugar and a pinch of salt. Beat with hand held mixer until creamy and light. Whisk in the juice and 2 tsp of zest and pour into sauce pan. Cook at medium low heat stirring constantly until the sugar has melted and it’s hot to the touch. Now add the butter one piece at a time stirring constantly until the butter is melted. Place thermometer in and continue cooking until it reaches a temperature of 175 degrees. Remove from heat. Pour through a sieve into a bowl or large measuring cup, add 1 tsp of orange zest stir to combine and cover with plastic that sits directly on top of the curd, allow to come to room temperature then refrigerate overnight. Pour the chilled curd in the blender with the cream cheese and the rest of the orange zest and blend until thick and creamy. Spoon into container and refrigerate until ready to use.
Ganache-Heat the cream to scalding, chop the chocolate and place in mixing bowl, pour the hot cream over the chocolate and let sit for 5 minutes. Stir until smooth, add the liquor and stir. Let the ganache come to room temperature stirring frequently. Place in the refrigerator for about 30 minutes to thicken a bit you want the ganache to be thick but still pourable.

IMG_9908
Assembling and serving:
tart shell or shells
Ganache
orange cream
whipped cream and orange zest to garnish
Spoon the chilled orange cream into the tart shell filling the shell halfway. Pour the ganache on top of the orange cream and return to the refrigerator where it needs to chill for at least 4 hours or overnight. Serve with a dollop of whipped cream and some candied orange zest.

IMG_9886