Skip to content

Posts from the ‘Desserts’ Category

Chai Honey Pecan Ice Cream

YUMMY

YUMMY

The good people at Calmer Sutra Tea were kind enough to send me a jar of their Hiranya Chai Spiced Honey after seeing my post on granola that was made with their delicious ginger infused honey. I have become a big fan of the company and I have Mary Frances from Mary’s Secret Ingredient to thank for that. She sent the jar of honey in my box of goodies along with their tea. It was love at first bite for me and now I am hooked on their delicious products. They did not ask me to create a recipe but how could I not after tasting this amazing honey. It’s summer in the US (finally) and my thoughts turn to ice cream. I also think this would be delicious made with coconut milk also for my vegan and lactose intolerant friends.

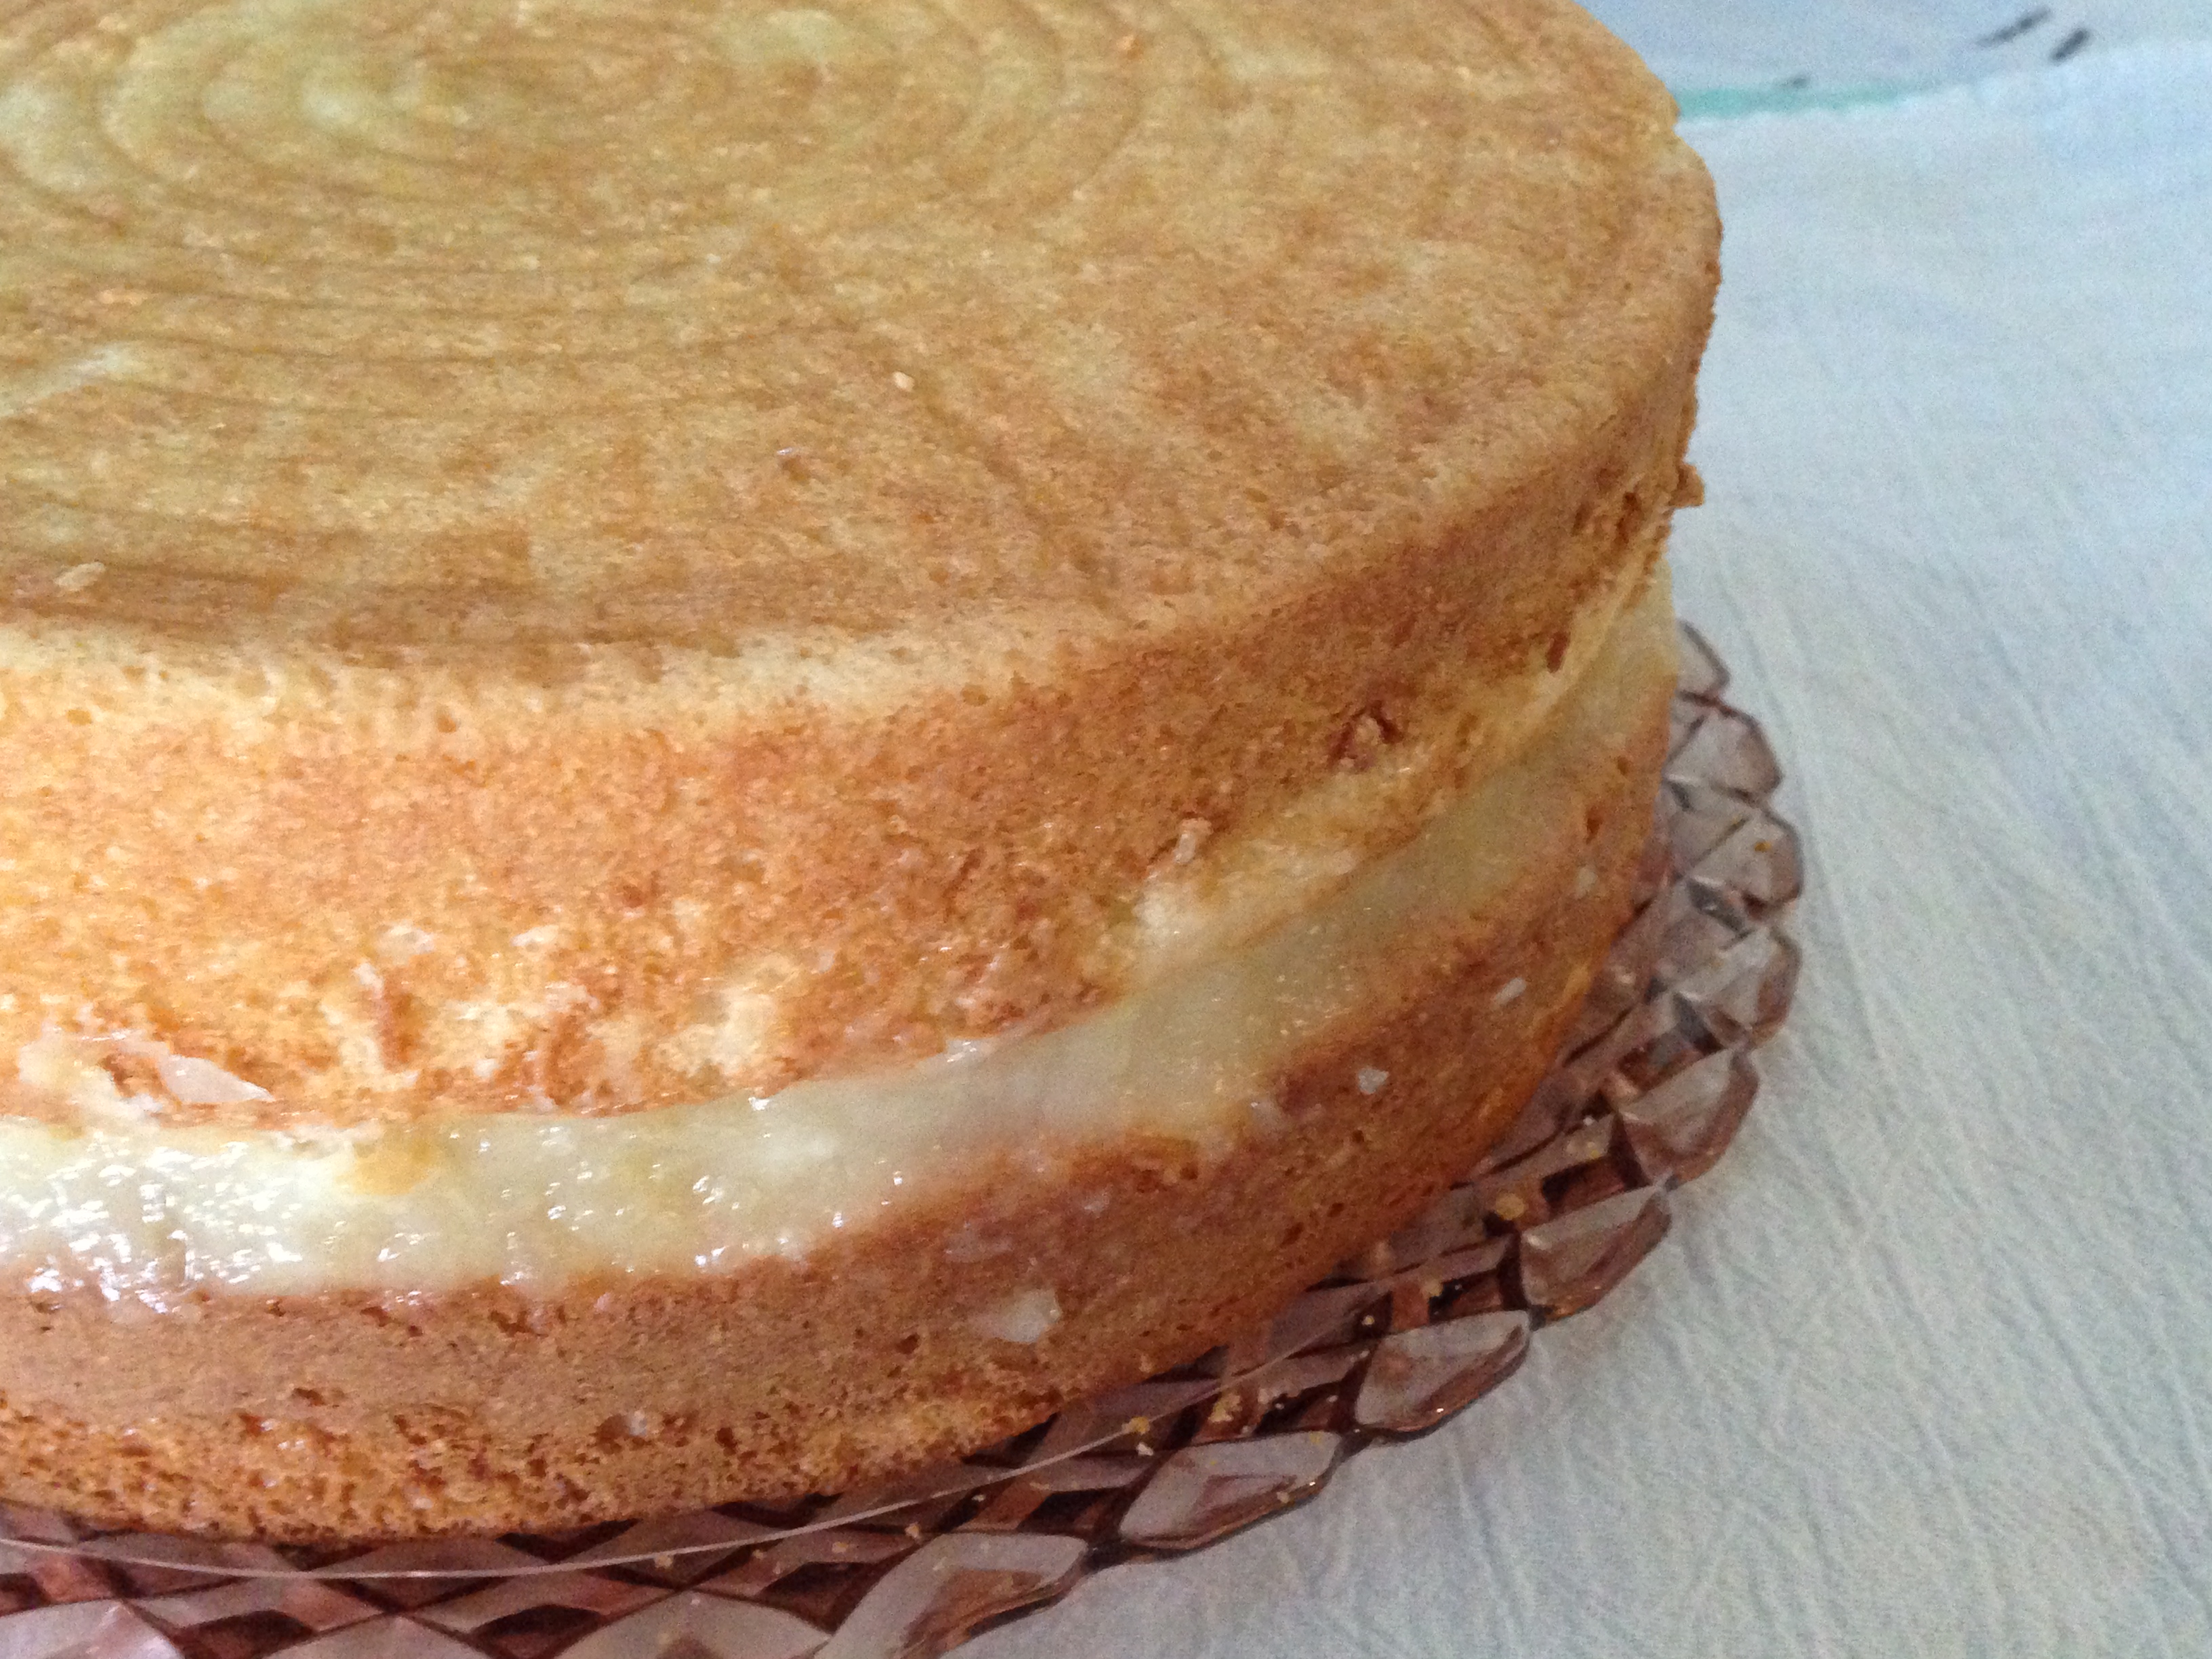
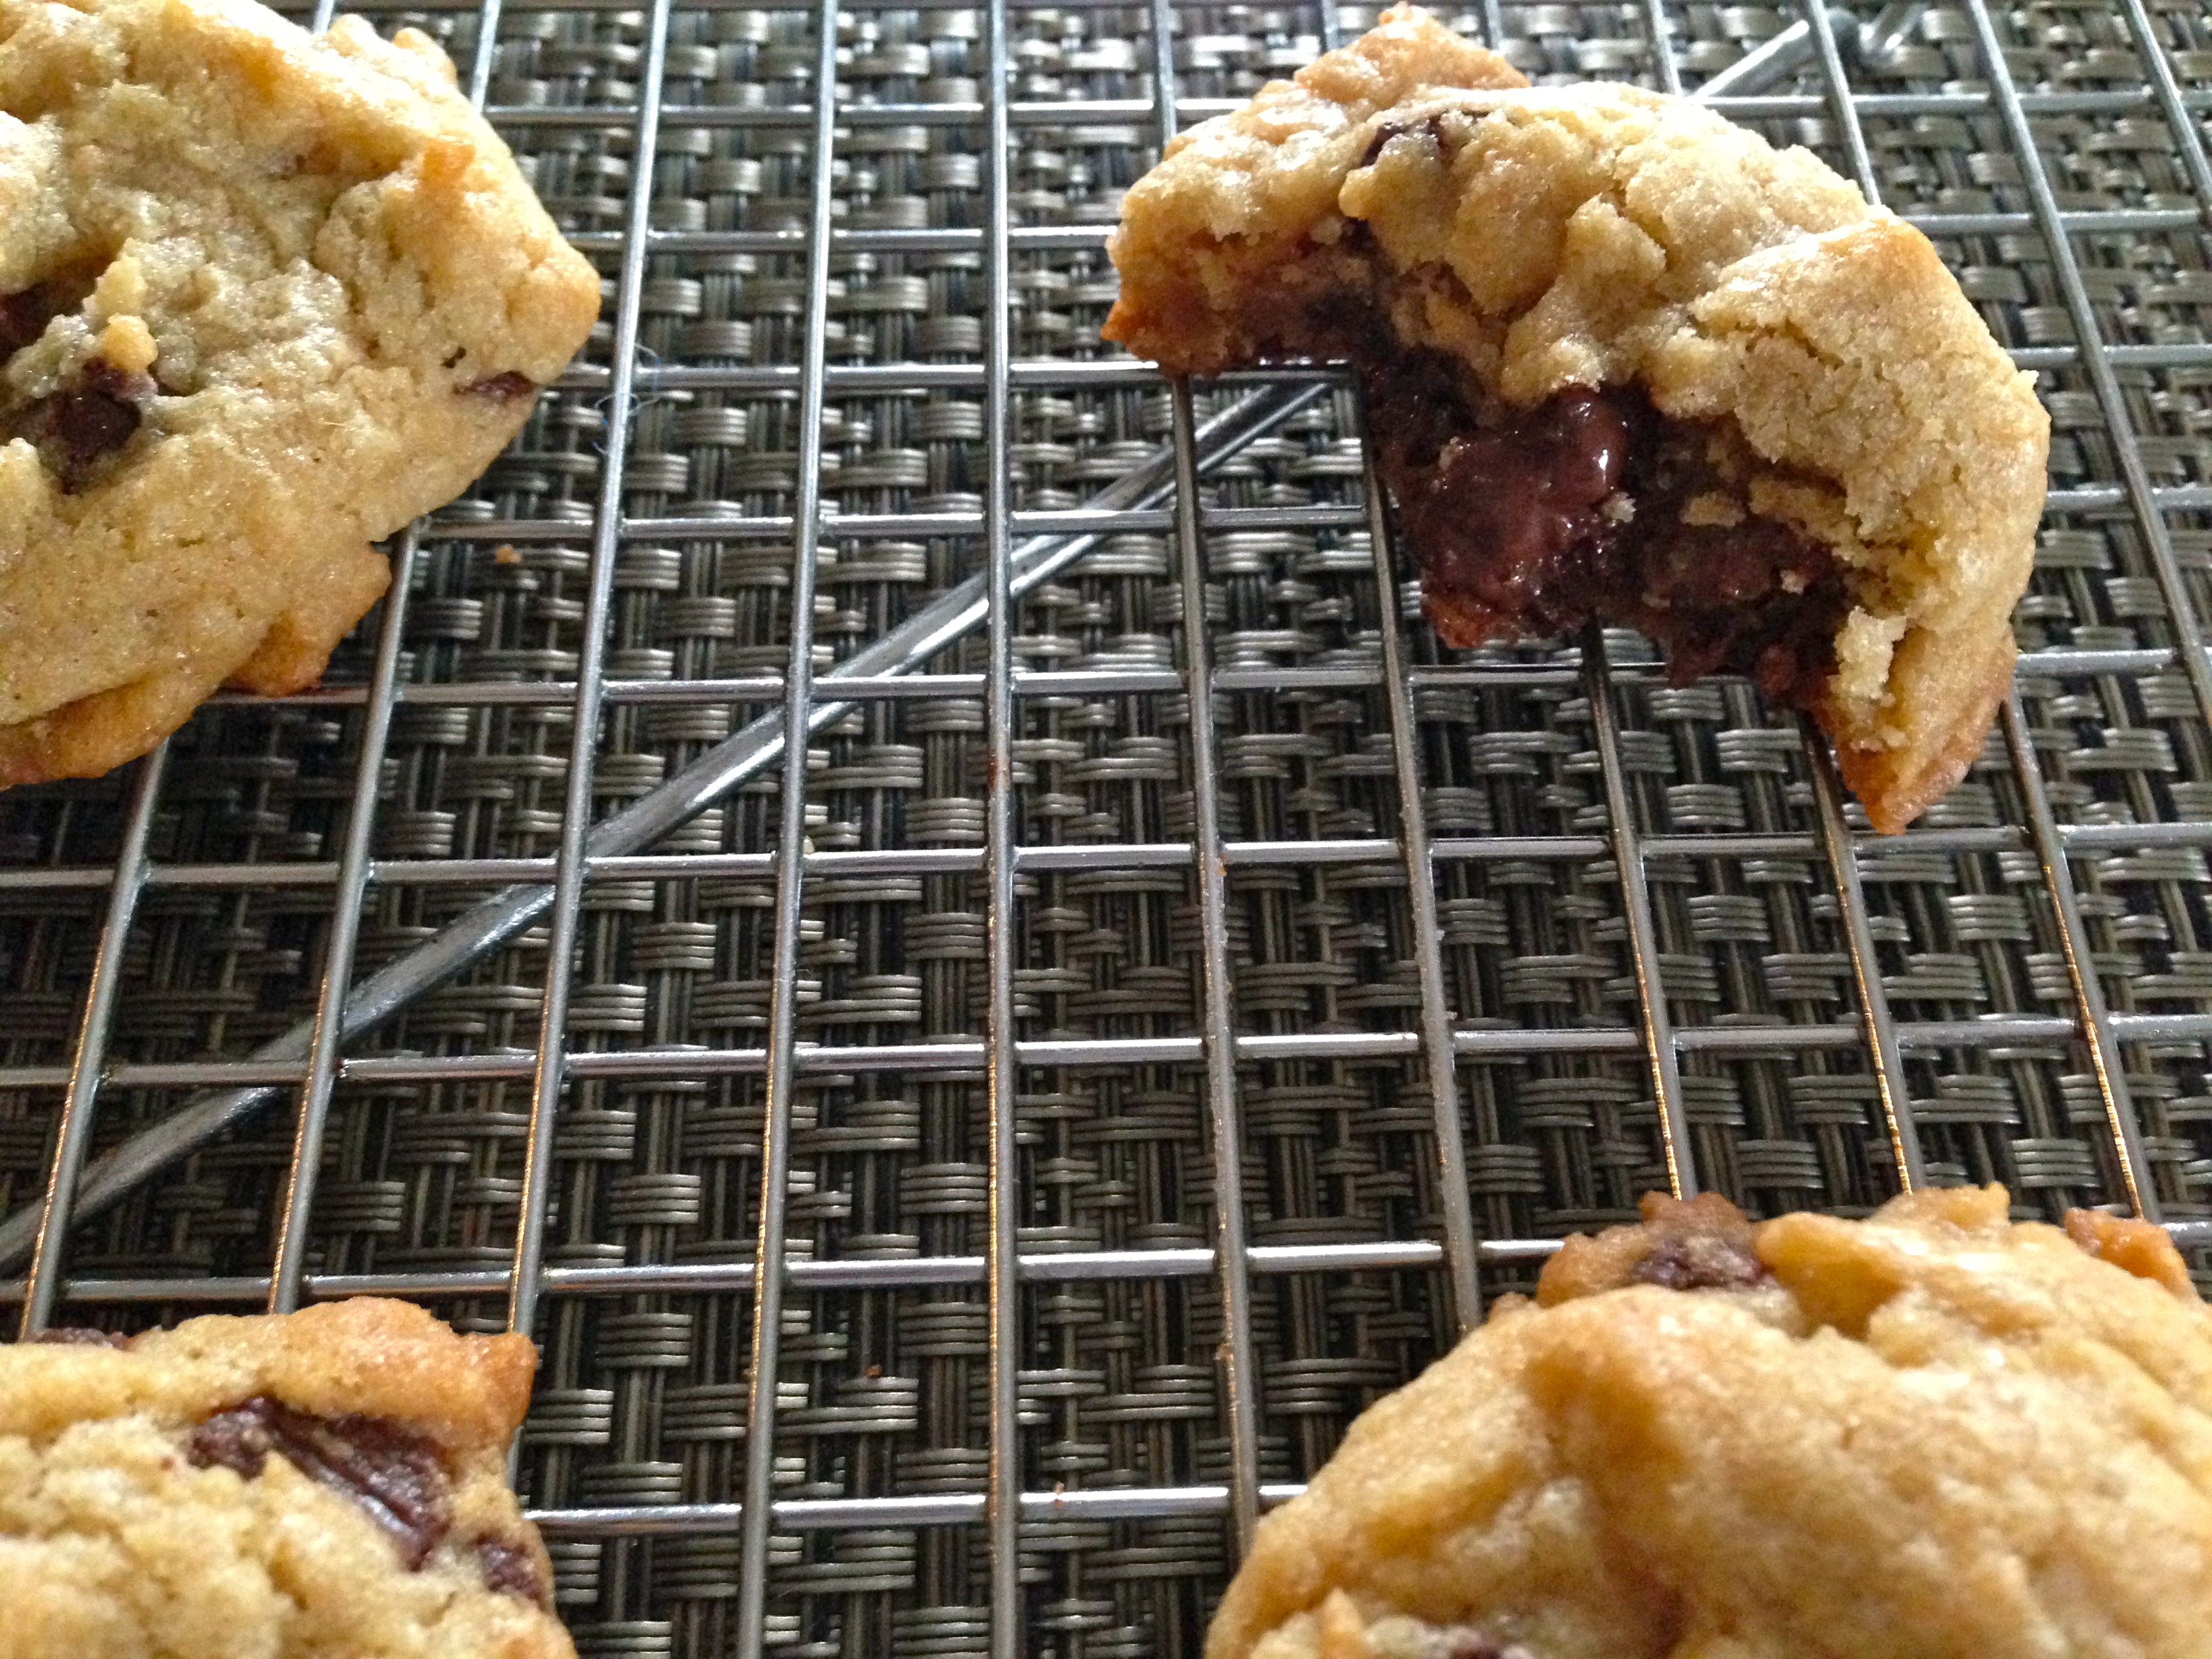
The ice cream is made with chai honey and organic sugar using my basic recipe for custard. I thought well, chai honey ice cream would be amazing but why not add some pecans, but not just any pecans. I coated them with butter and chai honey and toasted them in the oven. The fragrance is intoxicating. Honestly, if you want a great snack make a big batch of these nuts and put them out, I guarantee you and your family or guests will love them. You can’t eat just one!! The ice cream is creamy with a hint of chai spice and honey and absolutely wonderful with the pecans. Serve on it’s own or I think it would be amazing on a warm slice of apple pie. I am a big fan of their  products, the tea is incredible and well, you know what I think of the honey. The flavor is intense, absolutely natural and the quality is excellent. I highly recommend you give their products a try. Full Disclosure: I was sent a jar of the honey from Calmer Sutra but the opinion is totally my own!!!

Chai Honey Pecans

Chai Honey Pecans

Chai honey buttered pecans

3/4 cup pecans

1 tbs salted butter

1 tbs Calmer Sutra chai honey

Pre heat oven to 300. Melt the butter (I used the microwave) place pecans, melted butter and chai honey in bowl and mix, make sure each nut is covered in the honey and butter. Place on parchment lined baking sheet and toast in oven for 15- 20 minutes. Let cool, break apart and give a rough chop and set aside. Important: I toast the nuts on low heat, first time I did it the oven was too hot and the honey burned. I found 300 degrees for 15 or 20 minutes is perfect. 

The Custard Base

5 egg yolks

1/1/2 cups heavy cream

1 1/2 cups whole milk or half and half

3 tbs Calmer Sutra Chai Honey

1/4 cup organic sugar

pinch of sea salt

1 tsp pure vanilla extract

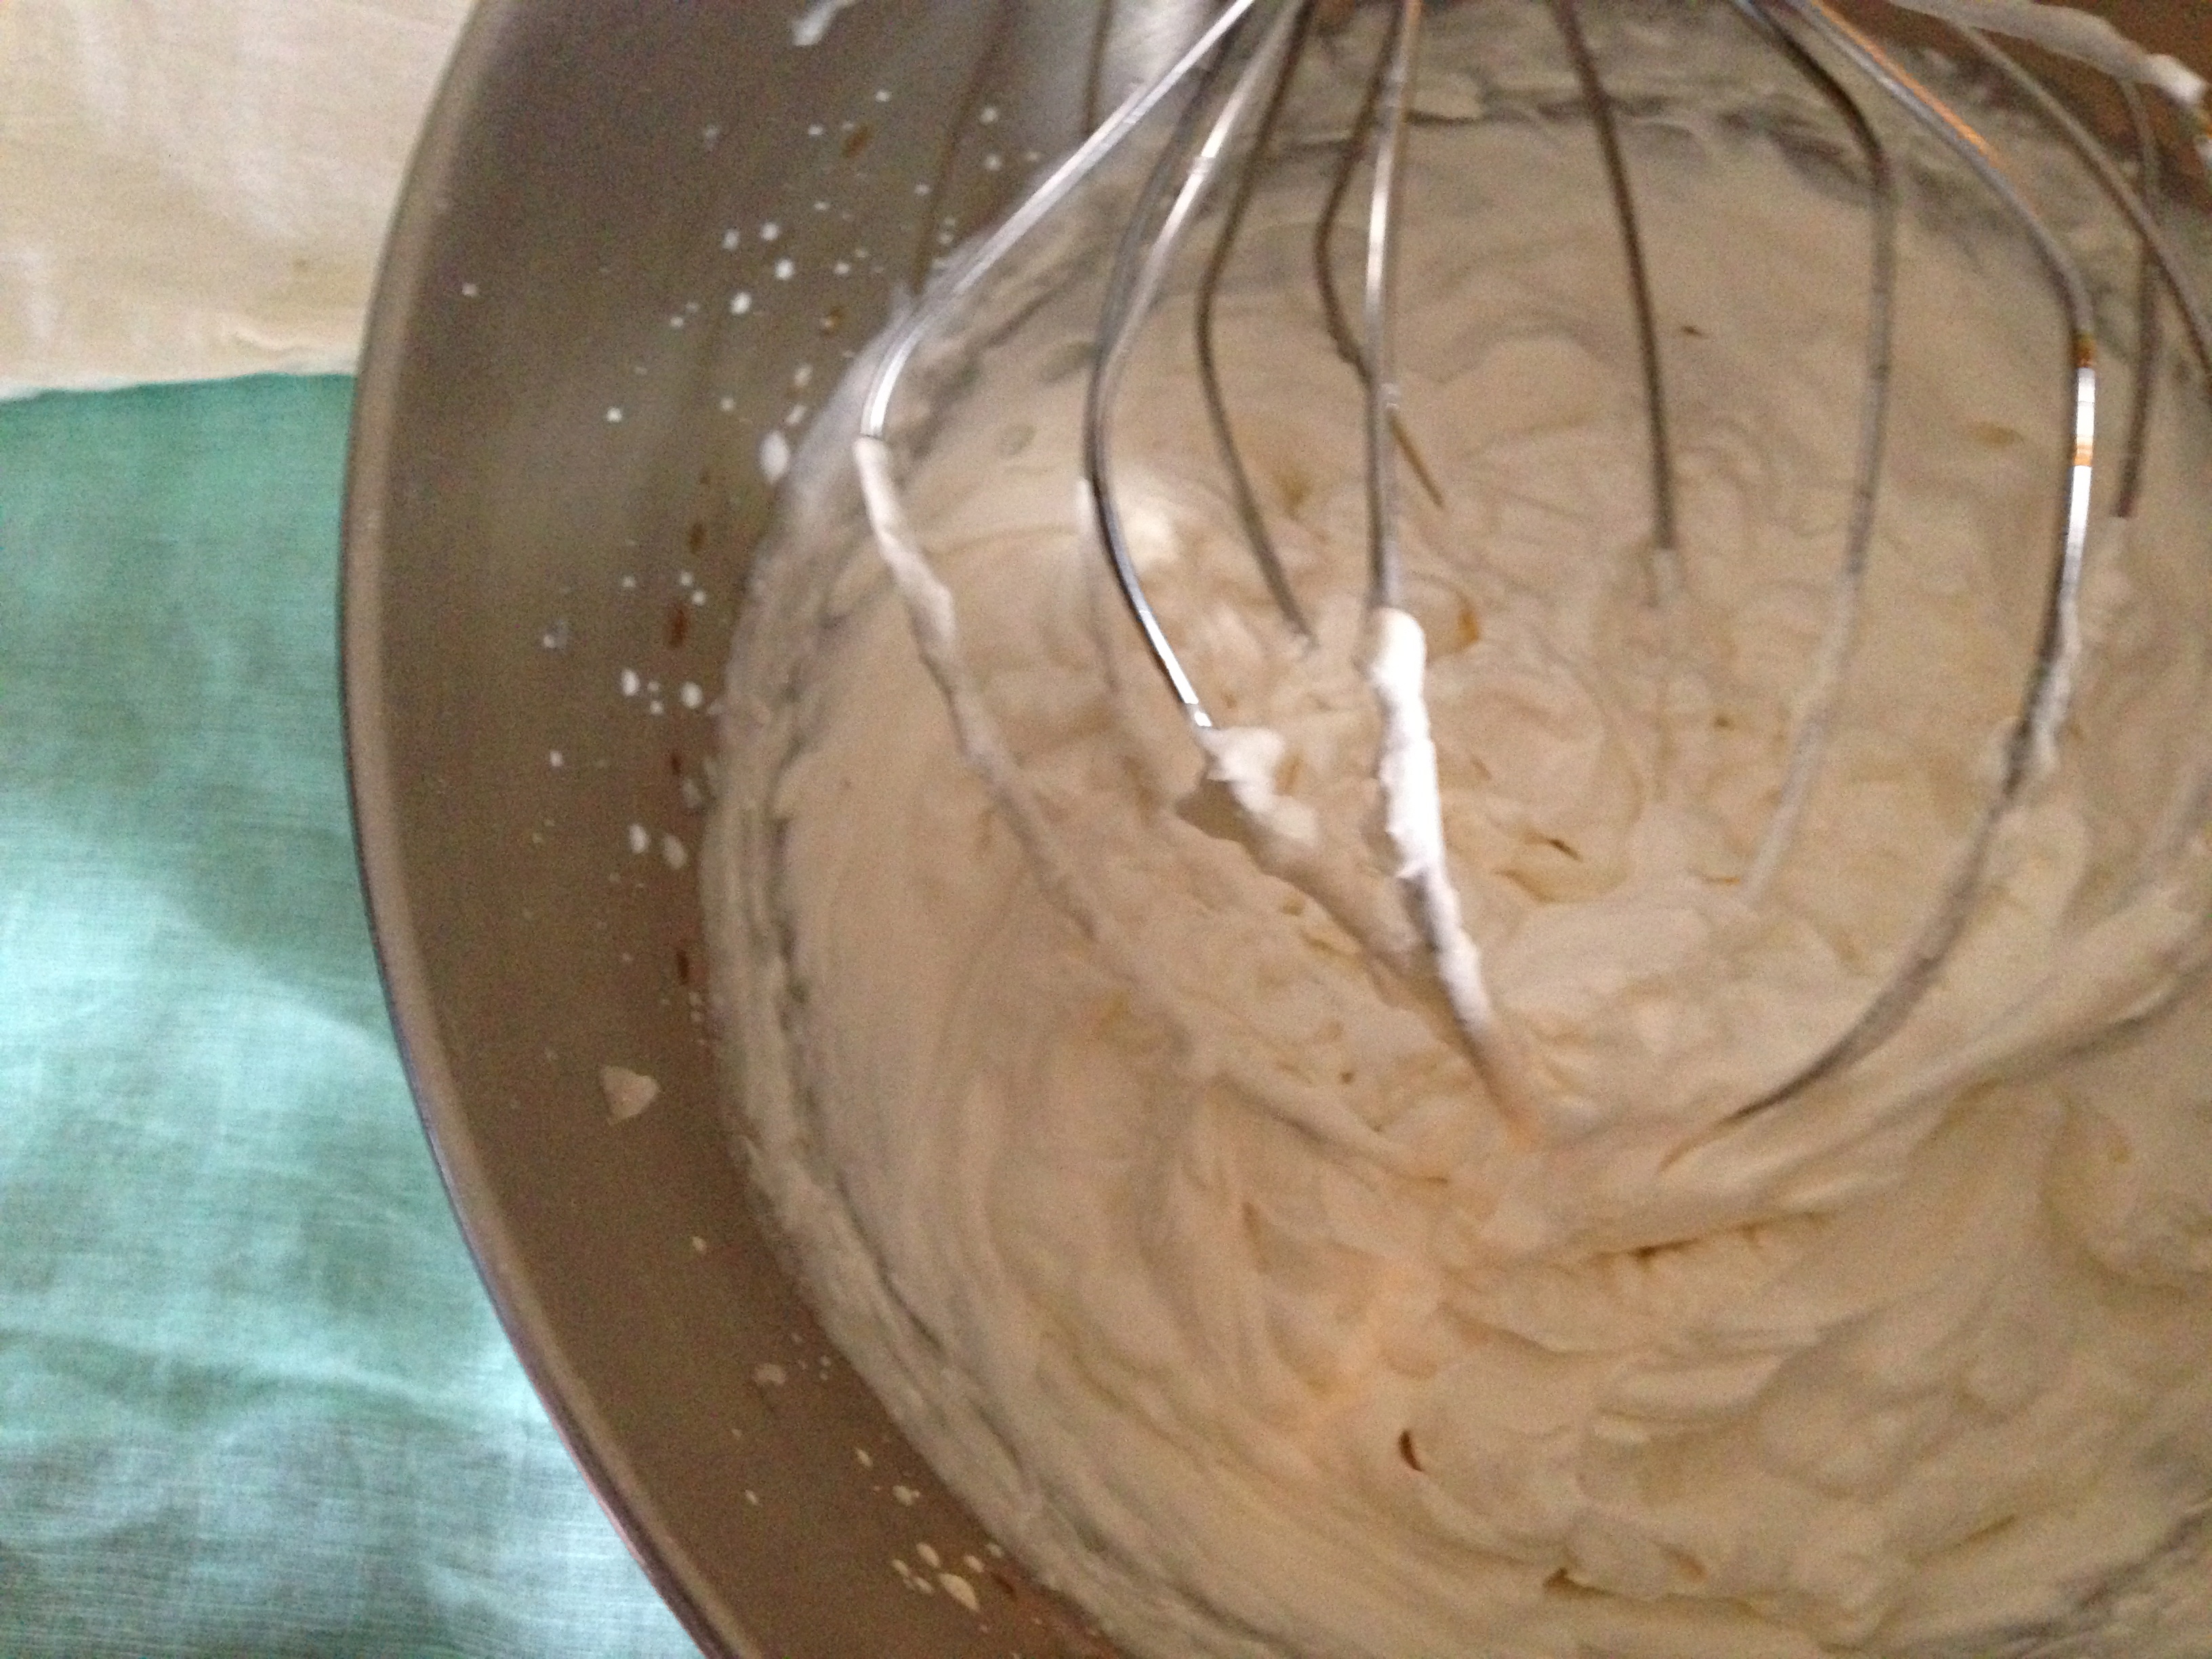
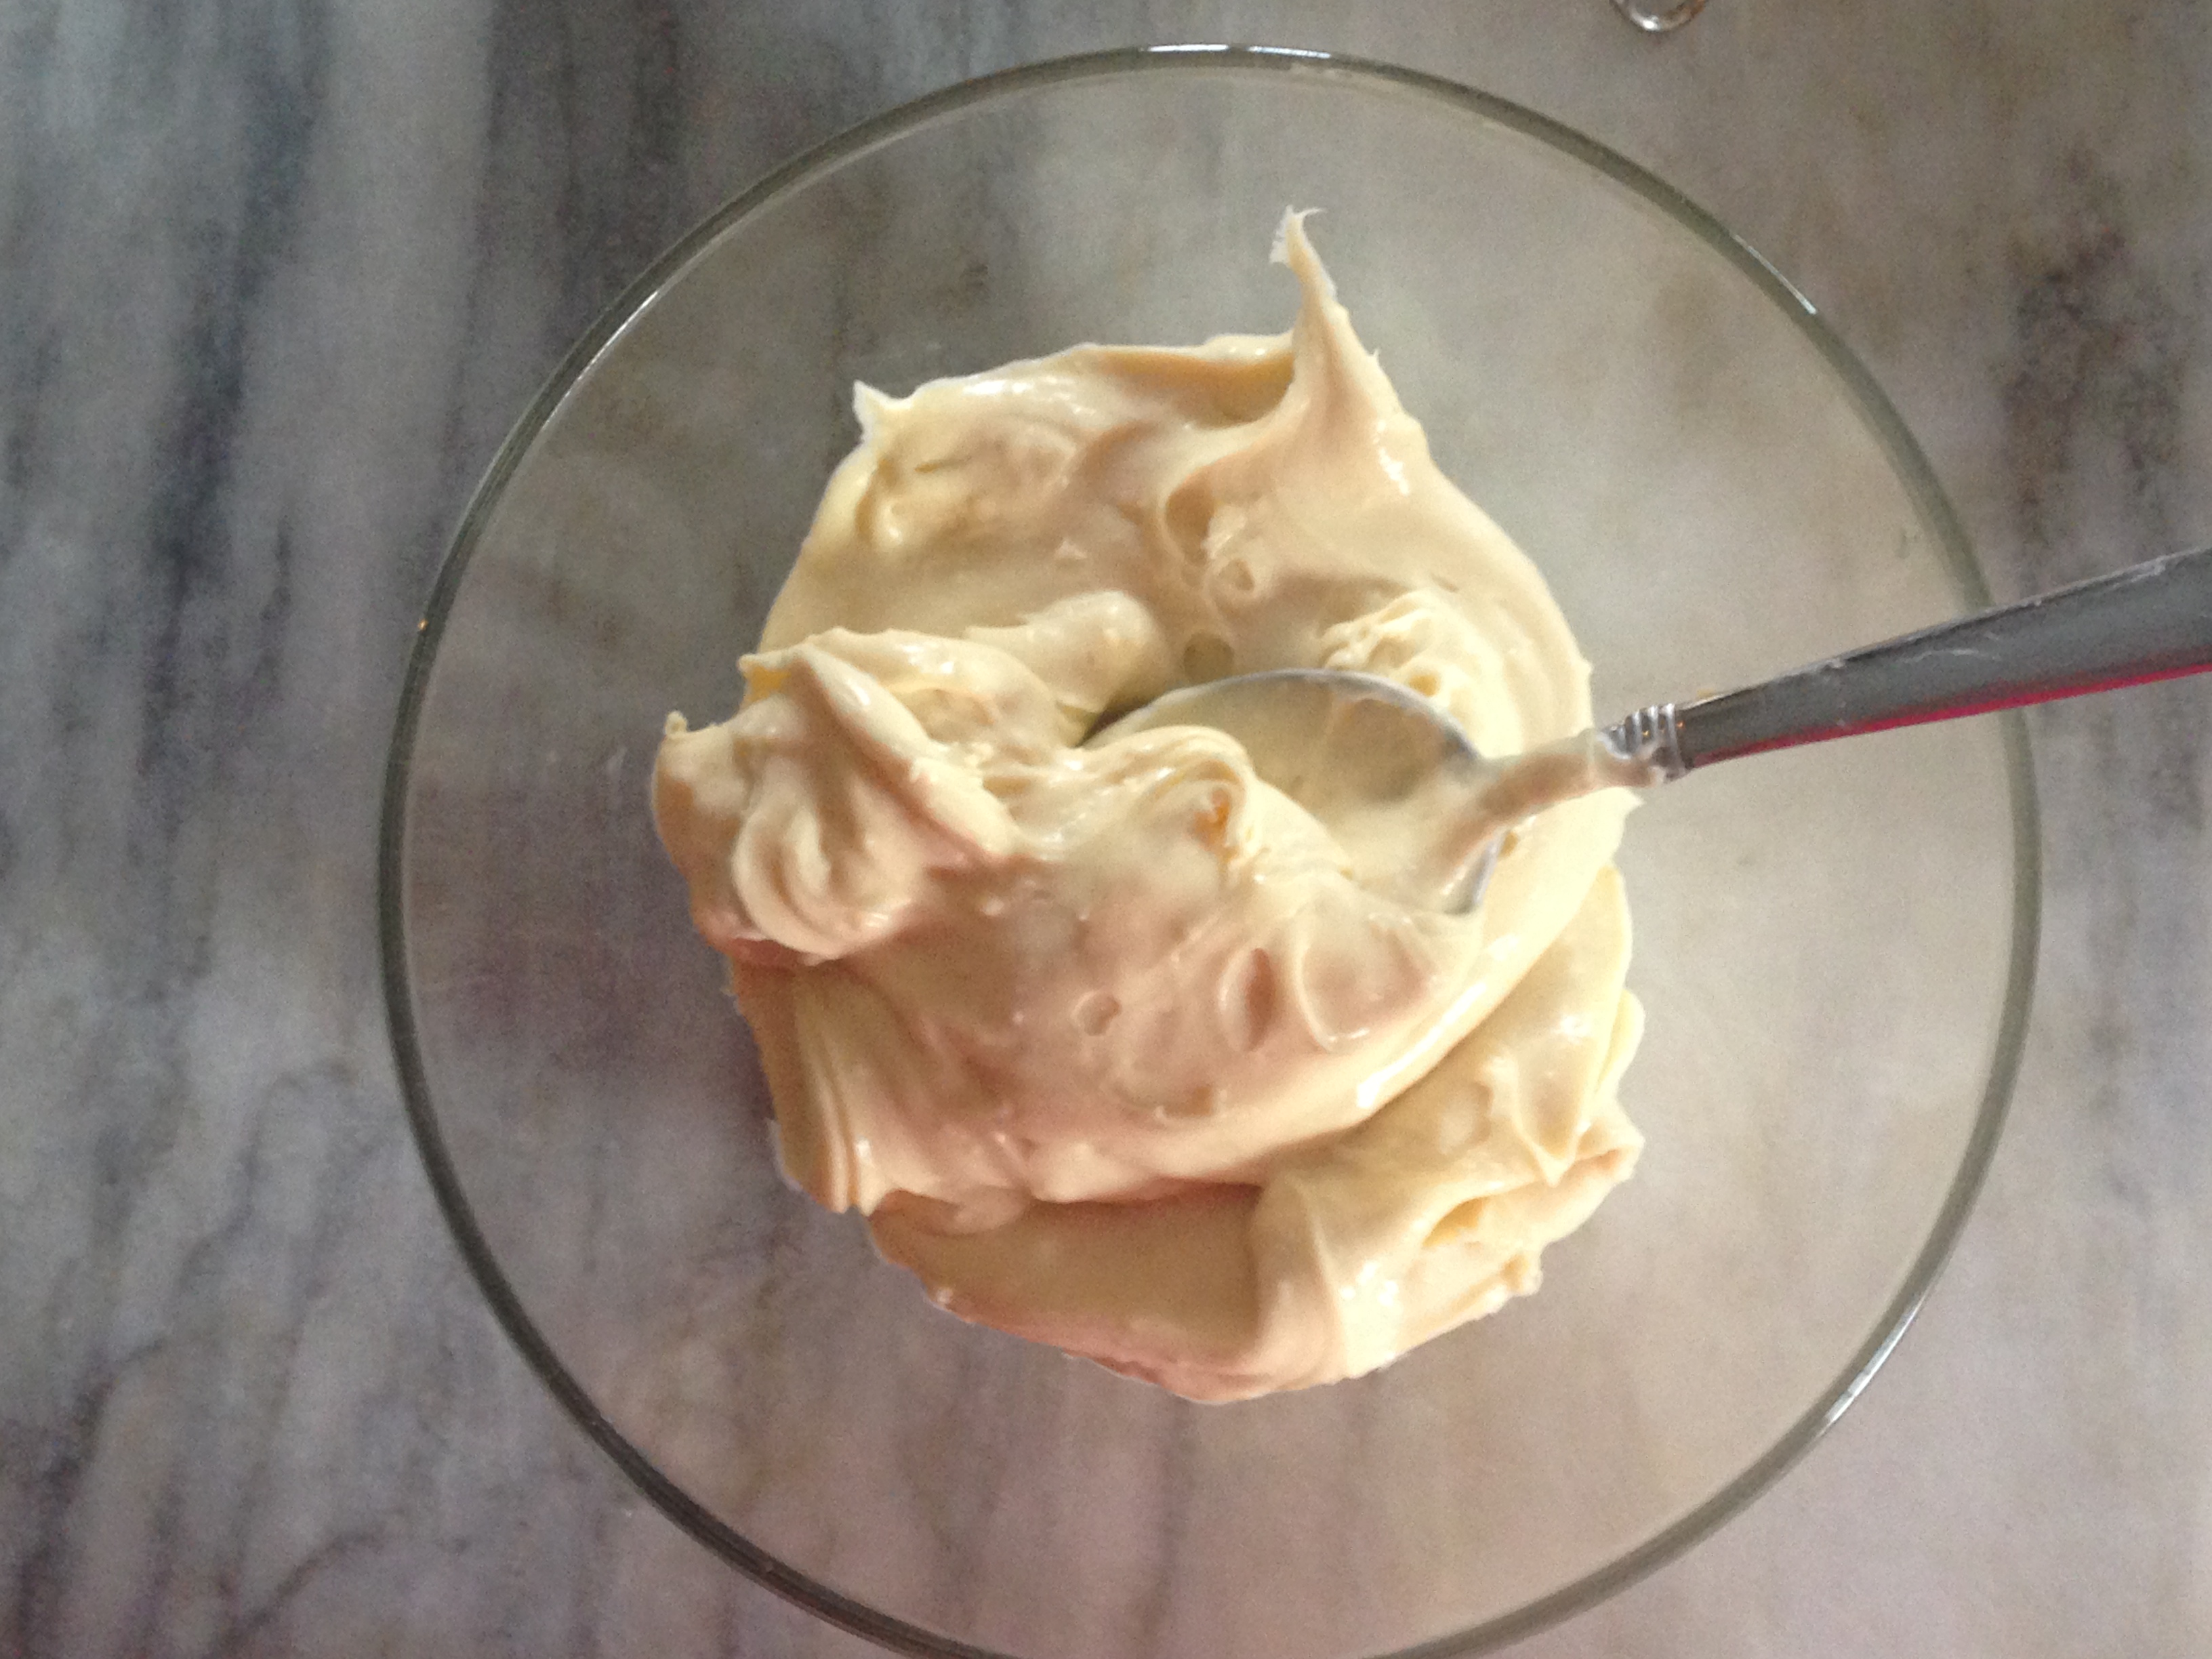
Pour the cream, honey, sugar and salt into a medium sauce pan and bring to scalding. Beat egg yolks until thick and creamy and lighter in color. Temper the egg yolks by slowly adding the hot milk whisking while adding. When you have added half pour back into the pot with the rest of the milk and cook stirring constantly until the mixture thickens and coats the back of a wooden spoon and when you swipe your finger it makes a line that stays intact. Remove from heat and stir in the vanilla. Pour into a bowl or large glass measuring cup, place plastic wrap directly on top of the custard and let come to room temperature. Now refrigerate at least 6 hours or overnight preferably. NOTE: You may notice I use a small amount of the honey both in the nuts and custard well, thats all you need, the honey is intensely spiced, it’s wonderfully assertive so a little goes a long way.

To make the Ice Cream

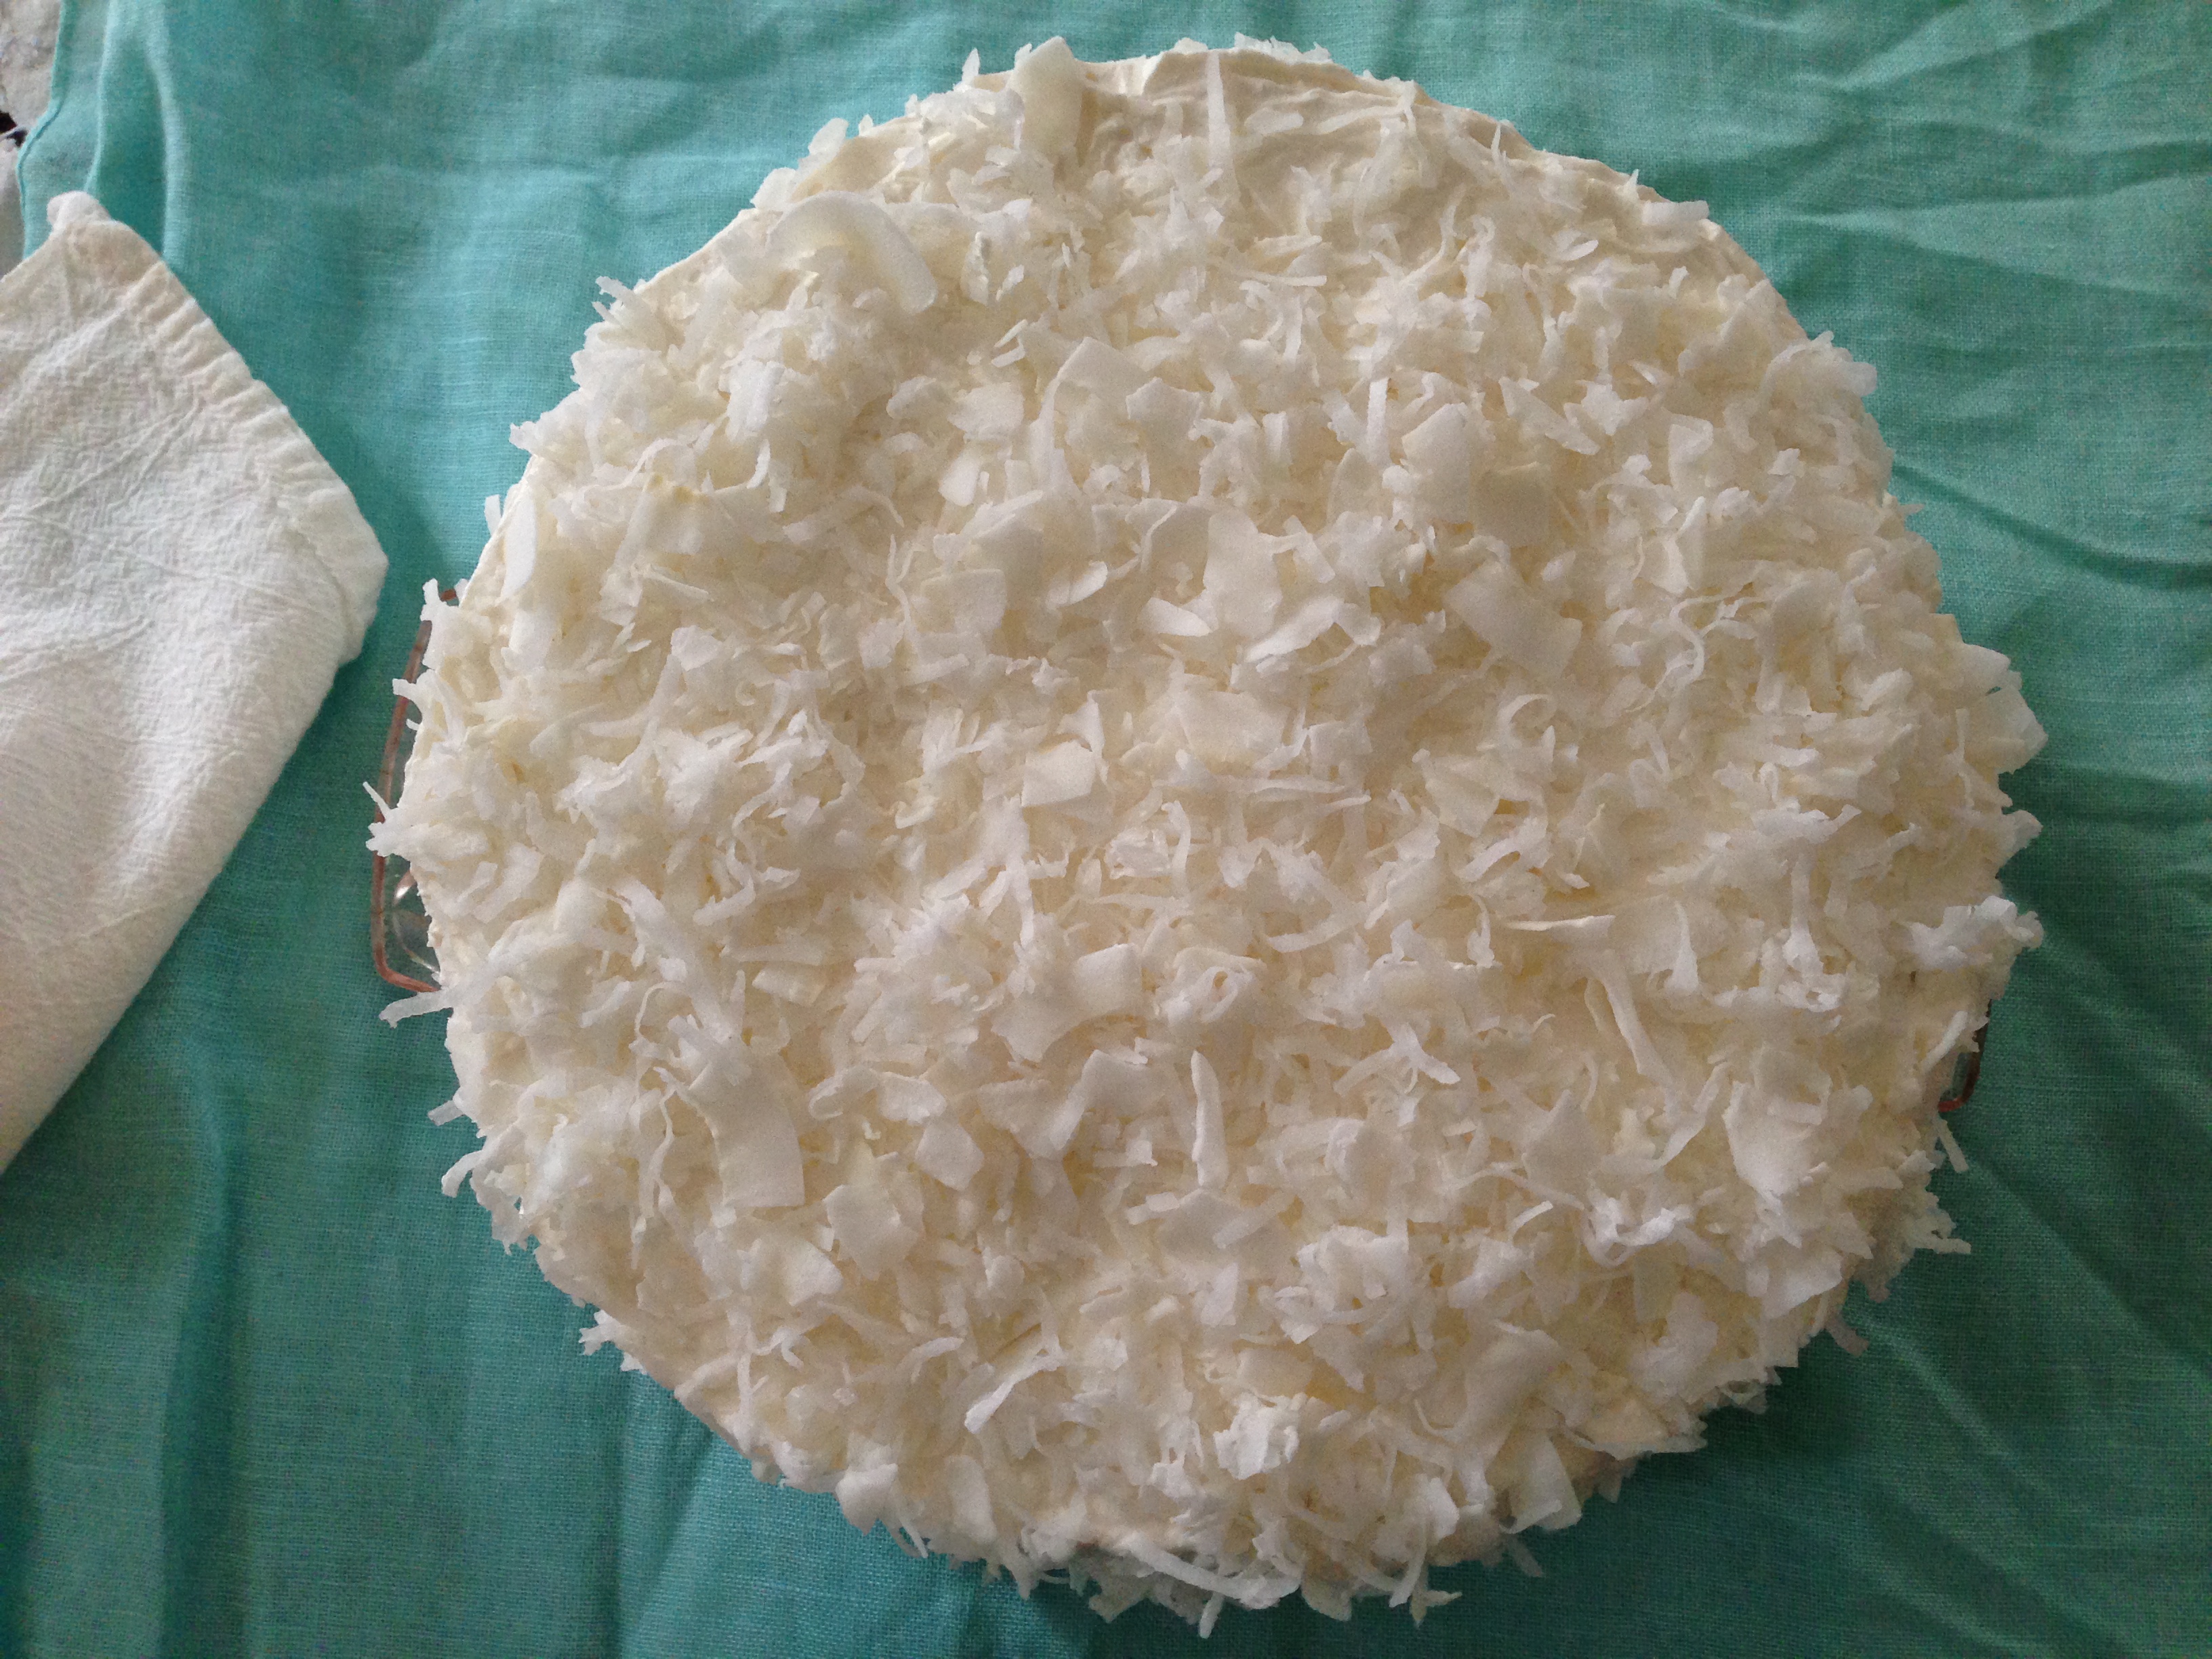
Follow manufacturers instructions for your ice cream maker, when the consistency of soft serve add the nuts and spoon into freezer container. Freeze for 4-6 hours or until it is scoopable.  Enjoy!!

Ready to freeze

Ready to freeze

Calmer Sutra Honey

Calmer Sutra Honey

An Ice Cream Cake For Fiesta Friday #20

Ice cream cake

Ice cream cake

This is a very special Fiesta Friday for me, not only am I making one of my favorite cakes to bring to the party but I am also co -hosting this affair. I am very excited that Angie@the novice gardener asked me to officiate Fiesta Friday #20 with the wonderful, talented and totally awesome Fae @fae’s twist and tango. I am honored to co host with Fae, one of my culinary,blogging idols. So for this auspicious occasion I say, “let them eat cake” ice cream cake that is. I made a wonderful chocolate sponge, some homemade caramelized white chocolate ice cream and I bought some toasted almond gelato. This is served with a homemade kahlua fudge sauce. I had a bit of a disaster, I tried to move the cake before it was completely cooled and it broke. Therefore you can see from the photo the Frankenstein effect, I had to piece it together in the pan I used for a mold. It doesn’t matter really because it’s delicious anyway and when covered with fudge sauce hopefully no one will notice.

I have to say again how thrilled I am to have been asked to host this party, Fiesta Friday is a blast, I am officially inviting ALL OF YOU to participate, visit The Novice Gardener (link is in the first paragraph) sign up, it’s not work its fun. Hope to see you all at the next party.

Caramelized White Chocolate Ice Cream:

A Recipe by David Lebovitz

Makes about 1 quart

Note:Make sure the caramelized white chocolate is warm when you mix it with the cream. You can reheat it in a bowl set over a pan of simmering water, or in a microwave on low power, stirring until smooth.

8 ounces (240g) caramelized white chocolate

1 cup (250ml) heavy cream

2 cups (500ml) whole milk

1/2 cup (100g) sugar

1/8 teaspoon sea salt

5 large egg yolks

1. Mix the warm caramelized white chocolate in a large bowl with the heavy cream, and set a mesh strainer over the top.

2. In a medium-sized saucepan, heat the milk, sugar, and salt.

3. Whisk together the egg yolks in a small bowl and gradually whisk in half of the warm milk, then scrape the warmed yolks back into the saucepan.

4. Cook over moderate heat, stirring constantly with a heatproof utensil, until the mixture thickens and coats the utensil.

5. Immediately pour the custard through the strainer into the white chocolate mixture and stir until smooth. Put the bowl in an ice bath, and stir until cool.

6. Chill thoroughly in the refrigerator, then freeze in your ice cream maker according to the manufacturer’s instructions.

This is the best ice cream I think I have ever had, it’s so creamy and the perfect consistency, thank you Mr, Lebovitz for a wonderful recipe.

Note: In step one I deviated slightly, I heated the cream in the microwave to warm it for 30 seconds, I then added the chocolate and put it back in the microwave for another 20 seconds. It melted the chocolate and made a ganache. It was easier to combine with the custard when it was already melted.

The Cake:

1/4 cup milk
2 tablespoons unsalted butter
8 large eggs at room temperature
2 cups sugar
3/4 cups flour
1/2 cup unsweetened cocoa powder
1 teaspoon baking powder
1 teaspoon salt
1 teaspoon vanilla

Note: I find the amount of batter varies every time I make this, I never like to fill the pan to the rim, it’s better to leave a small space so the cake can rise. If you have leftover batter make a few cupcakes.

Pre heat oven to 350 degrees. Place milk and butter in glass measuring cup and microwave for 45 seconds or until butter is melted. Using stand mixer with wire whisk or electric mixer whip the eggs and sugar on med/high for approximately 8 minutes or until the mixture is pale yellow, tripled in volume and thick, with the machine running slowly add the heated milk and buter. Sift the flour, cocoa, baking powder and salt. Fold into the egg mixture, there should be no lumps. Fold in the vanilla. Grease a 1/2 sheet pan, lay parchment sheet and grease the parchment, and sprinkle with sugar. Pour batter into the pan, spread so that it is evenly distributed and bake for 20-25 minutes. Allow to cool for a couple of minutes in the pan run a knife around the edges to loosen then invert onto wire rack, remove parchment and let cool completely.

Assembling the Ice Cream Cake:

I used a 10 inch loaf pan, lined with plastic wrap. Cut the sheet cake to the size of the loaf pan, you will need 3 pieces. Lay first piece in bottom of the loaf pan, spread softened ice cream. Add another layer of cake, spread with more ice cream, finish with a layer of cake, cover completely with plastic wrap and put in freezer for at least 4-6 hours but it’s better over night. To unmold simply very gently pull the plastic wrap over hang loosening the cake, unwrap, slice and serve.

Kahlua Fudge Sauce

4 ounces dark chocolate broken into small pieces
1/4 cup +2 tbs heavy cream
1 tablespoon kahlua liquor (optional) you can just add some vanilla extract
Heat milk until scalding, add chocolate  to hot cream, let sit for approximately 5 minutes, stir until smooth and add the kahlua. Let cool to room temperature. It will thicken as it cools. NOTE: I like to drizzle on the cake while its still warm!!


Cherry Ginger Hand Pies

Cherry Ginger Handpie

Cherry Ginger Handpie

I am so excited, this is my first submission for Fiesta Fridays, the very fun and creative brain child of Angie from The Novice Gardener. I thought it would be fun to bring dessert to the party/fiesta, who doesn’t love dessert and cherry pie is one of my favorites. I had some preserved sour cherries that I got last summer and since this is a fiesta I decided to give them a little kick by adding some spicy ginger. It’s a delicious combination. Imagine flaky buttery pie crust with tart/sweet cherries with a kick. Serve warm with some ice cream.

I used my go to pie crust recipe from Julia Child, it never fails me, I love making hand pie’s not only are they cute but there is built in portion control, So dust off your tiara and feather boa and join the party!

Julia Childs Pastry Dough

Makes enough dough for a double crust 9 inch pie

1 1/2 cups all purpose flour

1/2 cup cake flour

1 tsp salt

6 oz cold unsalted butter cut into tbs size pieces

4 tbs shortening or leaf lard cold

1/2 cup ice cold water

You can make this either by hand or in the food processor. To make by hand, put flours, salt, butter, lard or shortening into mixing bowl, use pastry cutter to combine until it resembles pea size crumbs. Add water mix with fork, gather with your hands, divide dough into a 2 discs and cover with plastic wrap. Refrigerate for 1 hour.

In Food Processor, add the flours, salt, butter and shortening or lard into the bowl of the processor. Pulse a few times until the mixture resembles pea size crumbs. Add the water and pulse a few times until it becomes a cohesive dough. Divide dough into two discs and wrap in plastic and refrigerate for 1 hour.

Cherry Pie Filling

1 quart cherries (I used sour cherries)

1 – 1 1/2 cup sugar (according to taste, you determine how sweet you like it)

1 – 1 1/2 tsp grated fresh ginger (depends on how assertive you want your ginger to be, add 1 tsp then taste)

1/4 cup water or juice

Place everything in sauce pan, bring to boil and then reduce heat. Simmer for 20 minutes until mixture thickens. Remove from heat and cool to room temperature. If your cherries don’t thicken enough make a slurry with a tsp or two of corn or tapioca starch  and a splash of water and add to the cherries while cooking.

Making the pies

Pre heat oven to 375 degrees and line a sheet pan with parchment.

Roll your pie dough into a thin sheet and using a biscuit cutter or glass cut out rounds, you can make them whatever shape you like of course, square, rectangular or even a triangle. Place some of the cooled filling in the middle,  brush the edge of the round with egg wash and place another round on top, crimp, brush top with egg wash or cream, sprinkle with sugar and cut a vent in the middle, continue until all the dough is used and bake for 40-45 minutes or until golden brown. Cool on rack, serve warm with ice cream or heavy cream.

fiesta-friday-badge-button-i-party

Coconut Pineapple Layer Cake

Coconut on the cake

Coconut on the cake

I guess you could call this a pina colada cake or a pineapple coconut layer cake, yellow cake, pineapple filling and a coconut whipped cream frosting generously covered in flaked coconut. I use my Tender Yellow Cake recipe, adapted James McNair’s whipped cream frosting and made a simple pineapple filling using crushed pineapple. I have been making this cake for years and it’s requested all the time.

The Yellow cake is a very old recipe penned by my Mom after years of research and IMHO it’s the best yellow cake ever. Tender, fine crumb and very moist. It contains vegetable oil, not  butter and the egg whites are separated and whipped making this cake light and it has a great rise. Click here for the recipe, I have published it several times.

Unflrosted

Unflrosted

Pineapple filling

1 20 oz can crushed pineapple, unsweetened in it’s own juice (or use fresh pineapple if you prefer)

1/2 cup sugar

1/4 cup corn starch

1 tsp lemon zest

pinch of salt

1 tbs butter

Place contents of the can of pineapple in a medium saucepan, add the sugar, cornstarch,lemon zest and salt and whisk or mix to combine making sure there are no lumps.

Turn heat to medium high and cook stirring constantly until mixture thickens. Remove from heat, add the butter and stir until it’s melted. Spoon into heat proof bowl, cover with plastic wrap that sits directly on the mixture. Let come to room temperature and then refrigerate until completely cooled or over night.

Coconut Whipped Cream Frosting

adapted from James McNair’s whipped cream frosting

1/2 cup full fat coconut milk

3 tsp corn starch

1/4 cup + 1 tbs powdered sugar

1 1/2 cup heavy cream very cold

1 tsp vanilla

Place coconut milk, cornstarch and powdered sugar in small saucepan, whisk to remove any lumps. Turn heat to medium high and cook until mixture thickens. Remove from heat and spoon into a bowl, let come to room temperature stirring frequently to keep skin from forming or cover with plastic wrap placed directly on the mixture and let sit until cool.

Coconut milk stabiizer

Coconut milk stabiizer

Chill the whisk attachment or beaters of your mixer along with the bowl. Add the heavy cream, beat until it begins to hold shape, now add the coconut milk mixture and vanilla extract and continue beating until it becomes thick and is a spreading consistency. Use immediately or refrigerate until ready to use.

Just whipped

Just whipped

To assemble:

Frost the cake with the whipped cream frosting, I start from the center and work the frosting down the sides of the cake doing a crumb layer first then finishing if off nice and smooth.

Frosting in the center

Frosting in the center

I like to mix sweetened regular flaked coconut with unsweetened large flakes, it looks nice but it also is a bit less sweet. using all one kind is either too sweet or not sweet enough and a mix I find to be perfect.

Mixed flakes of coconut

Mixed flakes of coconut


Tiger Cake – Alice Medrich

I saw this cake yesterday on Food52, first of all I am a sucker for a marble cake always have been and then when I saw that it is made with olive oil I knew I had to make it. A cake made with oil would be incredibly moist and have a very tender crumb, both are requisites for a really good cake, IMHO. I also love recipes by Alice Medrich, she knows a thing or two about baking. With a little spare time today I undertook this cake, now I have made marble cakes before and you usually drag a butter knife around the batter to give the marble effect, well you don’t do that with this cake. You pour your batters separately, layering them and just bake it like that. I was a little skeptical. I had to force myself not to get the knife and start swirling,

Ready to bake

Ready to bake

Tiger Cake – Alice Medrich

Makes 1 cake in a 10-to-12 cup tube pan
1/2 cup (25 grams) natural cocoa powder (non-alkalized, non-Dutch processed)
1/2 cup (100 grams) sugar
1/3 cup water
3 cups (385 grams) all-purpose unbleached flour
2 teaspoons baking powder
2 cups (400 grams) sugar
1 cup extra virgin olive oil
1 teaspoon pure vanilla extract
1/4 teaspoon salt
1/2 teaspoon finely ground white pepper
5 cold eggs
1 cup cold milk
Position a rack in the lower third of the oven and preheat the oven to 350 degrees F. Butter or spray a 10-to-12 cup tube pan with oil spray and dust it with flour.
In a medium large bowl, whisk the cocoa, sugar, and water until well blended.
In another medium large bowl, whisk the flour and baking powder thoroughly and sift onto a piece of wax paper. Set aside.
In a the bowl of a stand mixer fitted with the whisk attachment, beat the sugar, oil, vanilla, salt, and pepper until well blended. Add the eggs one at a time, beating well after each addition. Continue to beat until the mixture is thick and pale, 3 to 5 minutes. Stop the mixer and add one-third of the flour mixture. Beat on low speed just until blended. Stop the mixer and add half of the milk. Beat just until it is blended. Repeat with another third of the flour, the remaining milk, and then the remaining flour.
Add three cups of the batter to the cocoa mixture and stir until blended. Pour one-third of the plain batter into the prepared pan and top with one third of the chocolate batter. Repeat with the remaining batters. Don’t worry about marbling the batters—that happens during the baking.
Bake 1 hour to 1 hour and 10 minutes, until a toothpick inserted into the middle of the cake comes out clean. Set the pan on a rack to cool. Slide a skewer around the tube and a thin metal spatula (or knife) around the sides of the pan. Lift the tube and slide the spatula under the cake to detach it from the pan bottom. Transfer the cake to a serving platter. The cake keeps for several days, at room temperature, under a dome or wrapped in plastic.

Just out of the oven

Just out of the oven

Came out of the pan like a dream

Came out of the pan like a dream

As you can see from the photo’s below, it swirled nicely on it’s own. I like the cake. It has good crumb, baked nicely.  I think it would be great with a chocolate glaze drizzled on top or with some ice cream.
The next time I will add more salt, like at least 1/2 tsp, and maybe some orange zest. Note: I forgot to add the white pepper.

So pretty

So pretty

Tiger Cake

Tiger Cake


Chocolate Chip Cookies

Chocolate Chip

Chocolate Chip

I wanted to make some cookies to give to some workmen who will be doing some work in my apt tomorrow, they are so nice and don’t price gouge, besides paying them I wanted them to have a treat. I thought I would give the cookie recipe in my old Betty Crocker cook book a go. It’s so simple and I must say the cookies are really good. I used dark and milk chocolate chunks and dark brown sugar, the recipe didn’t specify. They came together quickly and baked up soft on the inside a little crisp on the outside and really good!

I’ve owned this cookbook for years and rarely use it, but I think I am going to start experimenting with some of the recipes. I really liked this one.

Betty Crockers Chocolate Chip Cookies

Made 27 cookies for me (recipe said it makes 4 dozen)

1 cup (2 sticks) room temperature unsalted butter

3/4 cup granulated sugar

3/4 cup dark brown sugar

1 egg room temperature

2 1/4 cups all purpose flour

1 tsp baking soda

1 tsp salt

1 tsp vanilla extract

Chocolate chips (I use dark and milk chocolate and never measure)

Nuts are optional but I like hazelnuts or pecans in mine

Pre heat oven to 375 degrees. Line baking sheet with parchment or silpat. Cream butter and sugar using paddle attachment until creamy and smooth, add the egg and vanilla and continue beating until incorporated. Sift the flour, baking soda and salt and add to the creamed mixture and mx just until its combined. Don’t over mix. You can make your cookies right away if you like but I like to refrigerate over night and bring to room temperature before baking. I like to use a 1 1/2 tbs scoop and place a heaping mound on the baking sheet, baking a dozen cookies at a time. You can sprinkle a few flakes of sea salt on top of the cookies before they bake if you like, it’s delicious!

Bake for 10-12 minutes rotating pan halfway through baking. Remove to cooling rack and enjoy!

Yum!

Yum!


Genoise With Strawberries And Whipped Cream Frosting

The cake

The cake

The Genoise I made the other day was for a special event, it was made for a very special girl who turned 9 years old today. She wanted colored icing and strawberries. I wanted to try and make the frosting pink without the use of food color. I thought the genoise lent itself to a whipped cream frosting rather than a buttercream because of the addition of fresh strawberries. I have posted here on the blog the recipe I use for a stable whipped cream frosting, it’s a recipe by James McNair from his book Cakes.

It’s an excellent recipe, and makes a very stable frosting that will not turn watery or dissolve. Here is the basic recipe:

Whipped Cream Frosting:

From James Mcnair’s Cakes

  • 1/4 cup powdered sugar
  • 2 1/2 teaspoons cornstarch
  • 2 cups Heavy whipping cream Divided
  • 1 teaspoon Pure vanilla extract
  1. Place metal bowl and wire whisk beater or beaters in freezer to chill.
  2. In a small saucepan combine the powdered sugar and cornstarch whisk until mixed. Slowly whisk in 1/2 cup heavy cream whisk until smooth. Place on medium heat and stir constantly to prevent scorching at the bottom stir constantly until mixture thickens and almost comes to a boil. Remove from heat, transfer to a bowl and set aside stirring occasionally until it reaches room temperature.
  3. In the chilled bowl combine the remaining 1 1/2 cups of heavy cream and the vanilla beat with the chilled whisk of your stand mixer or your hand held mixer until the cream begins to hold shape. While still beating add the powdered sugar mixture a little at a time. Beat just until the mixture forms stiff peaks when the beater is raised and is spreadable, be careful not to over beat. Use immediately.

I took the basic recipe ad changed it a bit since I wanted my frosting to be pink. First I made a strawberry syrup by simply boiling strawberries with a little sugar, strain, smash and bottle. Super easy. I did this the day before and refrigerated the syrup. It’s a beautiful red.

strawberry syrup

strawberry syrup

Here is the recipe for the pink whipped cream frosting using James McNair’s whipped cream frosting as a base:

1/2 cup strawberry syrup

2 1/2 tsp corn starch

1/4 cup confectioners sugar

1 1/2 cups heavy cream

1 tsp vanilla

In small saucepan add the strawberry syrup, cornstarch and confectioners sugar. Cook on medium heat until it thickens, immediately remove from the burner and spoon into a bowl . Let come to room temperature stirring occasionally.

To chilled mixing bowl add the heavy cream and vanilla,  with a chilled beater or whisk attachment start whipping the cream, when it begins to hold it’s shape add the cooled strawberry pudding, whip until it becomes a spreading consistency. Spread on your cake and refrigerate. This was enough to generously frost a 3 layer 8 inch cake.

The Basics- Creme Patissiere, Genoise And A Boston Cream Pie

Perfect egg whites Perfect egg whites

Pastry Cream and Genoise, the building blocks for many different cakes or desserts. These recipes are again from Julia Child and are in her book Julia’s Kitchen Wisdom. Pastry Cream when used as a filling in a cake, pie or tart needs to be just the right consistency, not too thin or it will be runny and not so thick that it is reminiscent of glue. I found this recipe to be pretty perfect. The recipe gives you the option of using flour or corn starch as the thickening agent. Use whatever you are comfortable with.

A perfect Genoise is not as difficult as you may think. Once you master the technique it is a beautiful thing. I have had my share of fails and I always know why it failed, it was technique. I found that when making Genoise I cannot be interrupted, each step must flow, believe me this is not easy with the elderly pugs so I carefully plan for when I will make this cake.

Creme Patissiere Creme Patissiere

Creme Patissiere

Makes approximately 2 cups pastry cream

Whisk 6  room temperature egg yolks in a stainless steel saucepan or mixing bowl, gradually adding 1 cup sugar and a pinch of salt. Continue until eggs are thick and pale yellow and form a ribbon. Sift on and whisk in 1/2 cup flour or cornstarch (I like to use cornstarch). Whisk in 2 cups hot milk or half and half by dribbles at first. Whisking slowly, bring to a boil, then wisk vigorously for a few seconds to smooth any lumps. Simmer, slowly stirring with a wooden spoon or whisk for 2 minutes (when it becomes thick) to cook the flour or corn starch (At this point whisk or stir constantly, it will thicken quickly and could easily scorch). If you are using a thermometer the custard should read 165, it will be very thick.  Remove from heat and blend in 1 tbs pure vanilla extract and 2 tbs unsalted butter and rum or kirsch. Strain through a fine meshed sieve into a bowl. Let cool, stirring occasionally to prevent lumps. Press a sheet of plastic wrap onto the surface to prevent a skin from forming. Cover and refrigerate for up to 2-3 days. Can also be frozen.

Note: The pastry cream is very thick, I usually whip it with my mixer before using it, add 2-4 tbs of heavy cream and whip or whisk until it’s fluffy. 

9 inch genoise 9 inch genoise

Genoise

For about 6 cups of batter, to make 1 round 9 x1 1/2 inch cake, or 1  round 8×2″ cake or enough for 16 cup cakes or a 12×16 inch sponge sheet.

1/2 cup plus 1/3 cup plain unbleached cake flour sifted

1 tbs plus 1/2 cup sugar

1/4 tsp salt

1/4 cup clarified butter (I don’t always use clarified butter and it turns out just fine)

4 large eggs (soak the eggs in warm water for 5 minutes before whipping them, this will help to aerate the eggs and they will whip higher- saw this tip on a video Gourmet Magazine did)

1 tsp pure vanilla extract

Pre heat oven to 350 degrees. Slide rack onto the lower middle level and prepare your pan. (I like to use a parchment round) butter and flour your pan well.

Sift the flour with the 1 tbs of sugar and salt and set aside, reserve your clarified butter. Beat the eggs with the remaining  1/2 cup sugar and vanilla in your mixer until it has formed the ribbon.  At once rapidly sift on and fold in a quarter of the flour, then fold in half of what remains, then fold in the remaining flour. In other words you will fold in the dry ingredients in 3 installments.  Fold a large plop of this batter into the clarified butter, then fold into the remaining batter. Turn batter into prepared pan filling to no more than 1/4 inch from the rim of the pan. Bang lightly on work surface to deflate bubbles and bake 30-35 minutes until light and golden brown and showing a faint line of shrinkage from the sides of the pan, let cool 20 minutes before unmolding onto a rack. Let cool completely before filling or icing.

Note:If you use an 8 inch round, the cake it is much higher than the 9 inch.

Making clarified butter:

The simple system: melt the butter and pour the clear yellow liquid off the milky residue. The professional long keeping method: Bring butter to a slow boil in a roomy saucepan and boil until its crackling and bubbling almost cease. Pour the clear yellow butter through a tea strainer into a jar where it will keep for months in the refrigerator or freezer.

Boston Cream Pie Boston Cream Pie

Boston Cream Pie

A little history from Wikipedia:

A Boston cream pie is a cake that is filled with a custard or cream filling and frosted with chocolate. Although it is called a Boston cream pie, it is in fact a cake and not a pie. Created by Armenian-French chef M. Sanzian at Boston’s Parker House Hotel in 1856, this pudding and cake combination comprises two layers of sponge cake filled with vanilla flavored custard or crème pâtissière. The cake is topped with a chocolate glaze (such as ganache) and sometimes powdered sugar and a cherry.

The Boston cream pie is the official dessert of Massachusetts, declared as such in 1996.

This is my all time favorite cake, it has been since I was a child. It was my choice for a Birthday cake. There is something about the yellow cake, creamy vanilla pudding and chocolate ganache that are just so delicious.

The Glaze or Ganache

4 oz chocolate (all dark or half dark half milk) chopped into small pieces

1/4 cup + 2 tbs heavy cream

1 tbs Kahlua or corn syrup (Optional)

Place chocolate in bowl, heat cream to scalding, pour over chocolate and let sit for 5 minutes, add the optional Kahlua or corn syrup, stir until smooth and shiny.

Assembling

Cut your cake layer in half, brush each half (cut half) with simple syrup (you can flavor with a liquor if you like) spread a thick layer of pastry cream on the bottom half, place top half on, press down gently, smooth pastry cream with flexible offset spatula, pour ganache or glaze on cake. Serve at room temperature.

Beautiful Beautiful

IMG_5578

Valentines Day – Part 2 – The Basics: Dessert, A Vanilla Souffle

Deflated a bit

Deflated a bit

I hit the publish button by accident this was supposed to be published on Friday but here it is today.  The posts will now be out of order, sorry!!

The Souffle, it can strike fear in the heart of almost every cook (including me) truth be told I have never made a souffle. I have eaten my fair share and really love them but have never actually made one. This is Julia’s base Vanilla Souffle recipe that I varied slightly, she does give several different variations and I took creative license and added what I wanted. The variation is minor, instead of vanilla extract I used vanilla paste that has the beans in it and I added cognac. Served with chocolate salted caramel ice cream. Well, they did not turn out as I hoped they would, the rise was not sufficient, they tasted great though. This was my first attempt at a souffle and I did it with a bit of a handicap, I whisked with my injured hand and I probably did not whisk well enough. Also note if you make individual souffle’s reduce baking time to 12 – 15 minutes. They deflated pretty quickly and I was not able to get photo’s fast enough, although the rise was a bit higher it still was not as I imagined a souffle to be. I also did not use a collar because I could not attach because of my hand. 

Vanilla Bean Cognac Souffle

Makes a 6 cup souffle or 3 individual 8 oz and one 4 oz souffle’s

3 tbs flour

1/4 cup milk

1/3 cup + 2 tbs sugar

4 egg yolks

2 tbs butter softened (optional)

5 egg whites

2 tsp vanilla paste

3 tbs cognac or brandy

Note: The original recipe calls for 1 tbs of vanilla extract.

Preparing the souffle dish: Choose a straight sided baking dish or a charolotte mold. Smear a light coating of soft butter over the inside of the dish, covering bottom and sides. Dust with granulated sugar covering the bottom and sides, shake out excess.

The collar: If you are using a collar cut a length of parchment paper or aluminum foil long enough to wrap around the dish with a 2 inch overlap. Fold in half lengthwise and butter one side. Wrap the collar around the dish buttered side in. Secure in place with butchers twine or straight pins.

Prepare your souffle dish as directed. Slide the oven rack into the lower third of the oven and pre heat to 400 degree’s.

Whisk the flour and milk in a saucepan and add 1/3 cup sugar, whisk until well blended and lump free. Bring to a boil and slowly boil whisking constantly for 30 seconds. This is now a bouillie.  Remove from heat, let cool for a moment, then, one by one beat in the egg yolks and the optional butter.

Whip the egg whites to soft peaks sprinkle in the 2 tbs of sugar and beat until stiff shiny peaks form. Whisk the vanilla and cognac into the sauce base then whisk in a quarter of the whites to lighten it. Delicately fold in the remaining whites and turn the mixture into the prepared dish or dishes, filling all the way to the top of the dish. Using the tip of a paring  knife or even a scrupulously clean fingernail run the knife or finger along the side around the circumference of the dish, not all the way down the sides just around the top, this will create the slight well around the souffle. NOTE: I forgot to do this and this could possibly be a reason why my souffle did not rise as well as it should have.

Set in oven and immediately reduce heat to 375 degree’s and bake until the souffle has begun to puff and brown  – about 20 minutes for a large souffle and 12-15 minutes for individual. Rapidly slide out rack and dust with confectioners sugar. Continue baking until it has puffed high into the collar. Tips for when your souffle is done. If it has a collar, rapidly release it just a bit to check – if the puff sags re-fasten the collar and bake a few more minutes. When a skewer is plunged down in the side of the puff and comes out with a few particles clinging, the souffle will be deliciously creamy inside but will not hold up long. If the skewer comes out clean, it will hold up a little longer. The souffle should rise about 3 inches above the rim.

Serve immediately.

With ice cream

With ice cream

Rosemary Walnut And Plum Rugelach

Rugelach

Rugelach

I make rugelach every year for the holidays and every year I try to come up with a new flavor profile. Last year I did chocolate hazelnut which was really nice. This year I wanted a subtle herbal note and an altogether different jam I was kind of stuck on apricot. I thought that buttered walnuts and rosemary would make a nice combination and I made some spiced plum jam this summer, the combination sounded really good to me so I gave it a go. The walnuts have a very subtle rosemary taste (I am not a huge fan of strong rosemary) and the plum jam with gently spicing was wonderful with the walnuts. The crust is my standard cream cheese rugelach recipe, it never fails.

Rosemary Walnuts

1 1/2 cups walnuts

2 tbs butter melted

1 tbs fresh rosemary chopped

Pre heat oven to 350. place parchment sheet on small sheet pan. Mix walnuts, melted butter and rosemary in mixing bowl, pour onto sheet pan and roast for 15-20 minutes, they are done when you can smell the nuts. Remove from oven and let cool.

Makes 4 dozen

The Dough and filling:

8 ounces cream cheese at room temperature

2 sticks unsalted butter at room temperature

1/4 cup granulated sugar + more for sprinkling on cookies

1/4 teaspoon kosher salt

1 teaspoon vanilla extract

2 cups all purpose flour

1 1/2 cup rosemary walnuts

1/2 cup plum jam

1/4 cup light brown sugar packed

  1. In stand mixer fitted with paddle attachment cream the cream cheese and butter until light. Add the sugar, salt and vanilla. With mixer on low add the flour and mix just to combine. Dump dough onto work surface form into a ball cut into four quarters and wrap each in plastic wrap, refrigerate for one hour
  2. Chop walnuts and add brown sugar, mix together.
  3. Remove one of the dough quarters from the refrigerator, roll into a circle on floured work surface. I use the lid of my dutch oven to cut an even circle. Spread jam on the dough round, sprinkle nut/sugar mixture on top of the jam and press down gently with your hand. Cut into quarters and cut each quarter into 3 pieces. Roll from widest end to smallest.
Rugelach

Looks like pizza right??

Place each rugelach on parchment lined baking sheet. Put in freezer for 15 minutes before baking. While they are in freezer pre heat your oven to 350 degrees.

Bake for 15-20 minutes until golden brown. Remove to cooling rack.

Yum!

Yum!