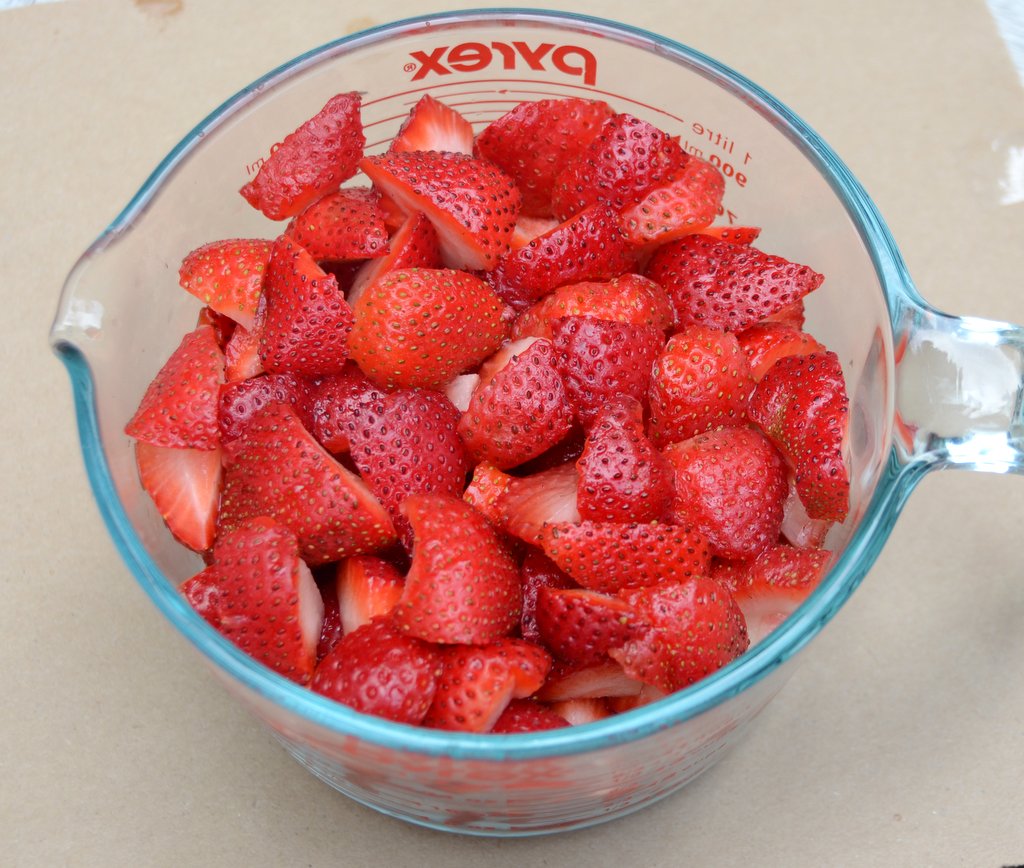
Strawberries prepped for jam
E m-i-lis, the lovely blog that I enjoy every single morning while I’m having my morning cup of coffee, I enjoy it because it’s honest, open, always has amazing recipes and satisfies the voyeur in me by giving me a peek into the life of Emily, her two sons Jack and Oliver and husband T and I can’t forget her adorable Percy the pug and Nutmeg the cat. I asked Emily to do a guest post for me because I love her blog but I also LOVE her jam, I have been the recipient of several jars and it’s the best jam EVER!! I also had the opportunity to meet her in person when she and T came to NYC, we had a great day. I first met Emily on Food52, we became online friends I was in awe of her recipes she submitted on the site, each one so delicious like this Rhubarb Cherry Hibiscus Crumble. Emily is a mother, blogger, caterer, canner, organizer, well she wears many hats. She teaches canning/preserving and jam making in Washington DC where she and her family reside. Check out her blog, subscribe, you’ll love it. I really enjoy sharing what I think is great content on blogs that I follow, I love making jam but haven’t a clue how it is done properly. Emily’s instructions are easy to follow she’ll make a great jam maker out of anyone, even me, you see I have a fear of canning or preserving.
Allow me to introduce Emily who will demystify the art of jam making and she is also offering a delicious recipe for Strawberry Cardamom Jam. Take it away Em!!
Two of my fondest memories involve jam. Or at least, the jam-making process, also known as canning. When I was a young girl, I often watched my grandmother cook. Nanny, my mom’s mom, lived just a few miles from us, and I grew up spending a great deal of time with her, something I felt lucky about then but appreciate even more now that I’m an adult with children of my own.
Nanny, a French Cajun, married a Sicilian-American, a handsome, sometimes-grumpy restaurateur who loved to eat. We called him Papa and most of our Sunday lunches were spent sitting with them at their 1950s Formica table, eating steaming plates of spaghetti and roast, fresh salad and iced tea. Papa regularly bellowed from his end of the table, “More cheese!” and one of us would dutifully pass the freshly grated Parmesan Nanny kept in an hinged-top silver bowl.
One of Nanny’s specialties, and one that very literally made our holiday tables special, was her cranberry sauce. It was the antithesis of that canned cranberry log by which I mean it was instead, a spectacularly crimson, lazy suspension of cranberries and chunks of diced lemon in a sweet-tangy combination of sugar, Mayhaw (a Southern berry-producing tree) juice and grated apple which had dissolved away into nothing but flavor and pectin. Her cranberry sauce made turkey sing, and it was equally wonderful straight from the jar, licked off a tea spoon. She taught me to make it and those lessons were my initial foray into canning.
Fast forward many years, and my husband and I are in Normandy, staying at a B&B near Mont St. Michel. We were newlyweds so everything was dreamy anyway, and on top of that: France. After we awoke our first morning there, we made our way down to the dining room where we found a literal buffet of fresh jams made by the Madame. We ate an ungodly amount of bread during that breakfast, simply to keep tasting her concoctions. They were magnificent, though the only flavor I recall is her rose petal jelly; the others have swirled together like a decadent taste tie-dye.
It seems no more than obvious, really, that I should now be such an avid canner. I teach canning and preservation classes throughout the D.C. area, and during the summer months, my canning pot never leaves my stove top. Putting things up, as canning used to be called, feels like a bind to the past, a connection to what I idealize as a simpler (though not easier) time. I like being constrained by the seasons, preserving week by week what is being harvested locally at that time.
Strawberries (Fragaria ananassa) are technically not berries but accessory fruits, meaning they grow not from the plant’s ovaries but from the vessel that envelopes them. Nonetheless, they are, at present, brightening up farm stands and grocery displays everywhere. They’re leaking their lollipop red juice down eager fingers, throughout shortcakes and all over whipped cream. Part of the great red trinity that also includes watermelon and tomatoes, strawberries let us know that summer is most definitely here.

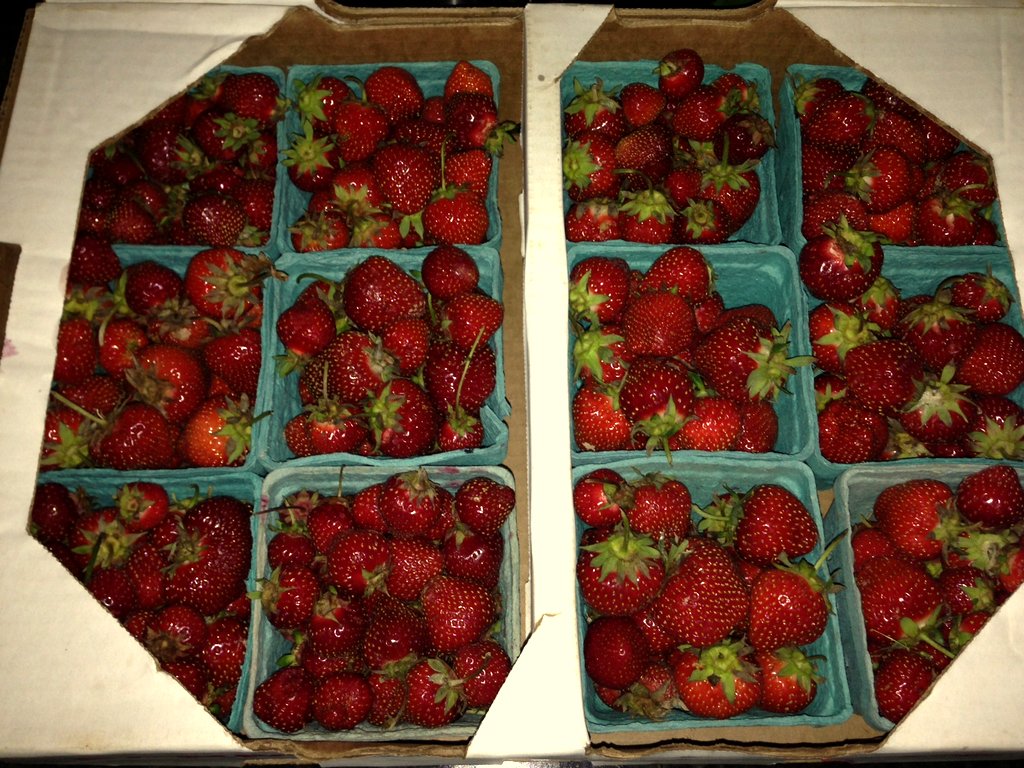
A flat of fresh strawberries
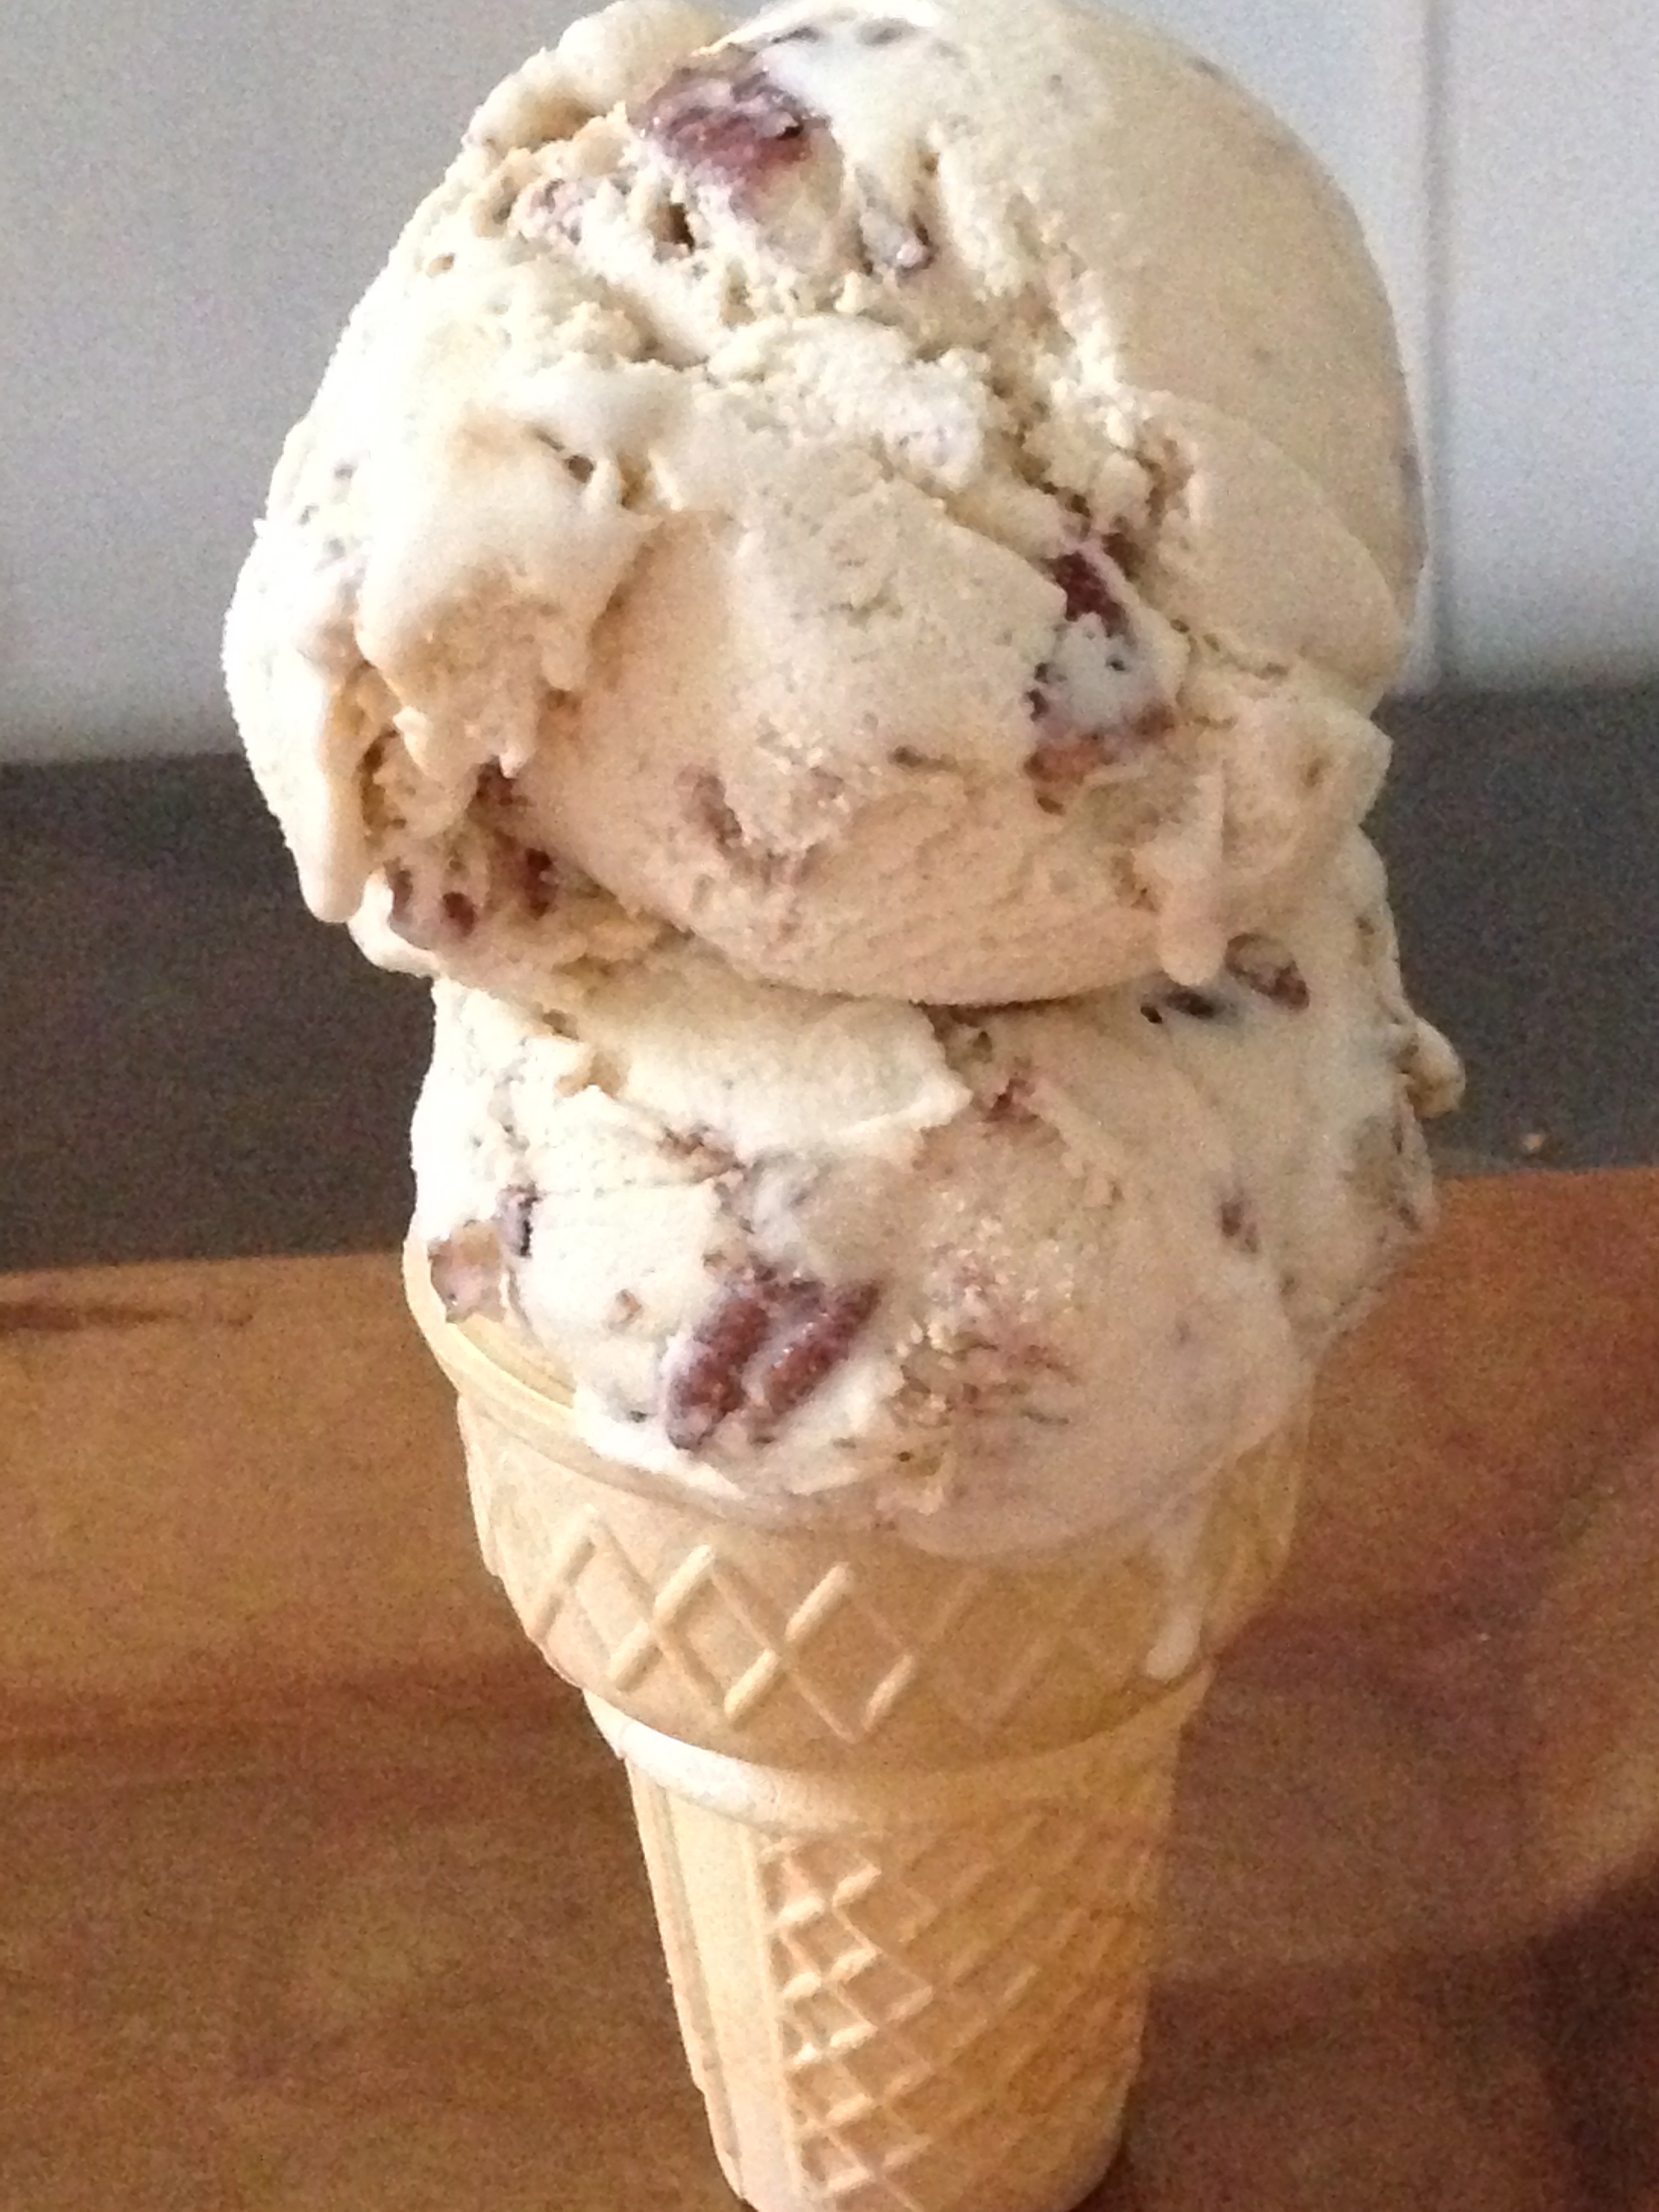
Although strawberries are an incredibly delectable ingredient in jam, their lack of natural pectin can make it tough to achieve a set any firmer than sauce. Strawberry sauce is wonderful in its own right; think spooned over ice cream, stirred into fresh lemonade, blended into smoothies. But for toast and its bready kin, you really want something more spreadable than pourable.
You can certainly add pectin, the powdered or liquid forms made by Ball for example, but I prefer not to because I find that it leaves a vaguely metallic aftertaste (the powdered type) or instills a slightly unnatural wobble (the liquid). Also, I use organic fruit and sugar and feel like I’m letting them down if I add to them a commercially produced substance. Pomona’s natural pectin is gelatin free which is great for vegetarians and folks who keep kosher, but you’ve got to activate it by adding calcium water to your jam, and I rarely feel like taking that extra step.
To avoid dealing with pectin altogether, you can add a pectin-rich fruit to the strawberries -rhubarb adds just the heft you need- but what if you want straight up strawberry jam in which the strawberries are the lone star on the stage? A cored and grated apple does the trick beautifully. Apples are high in pectin and fill in the gelation holes that strawberries alone cannot.
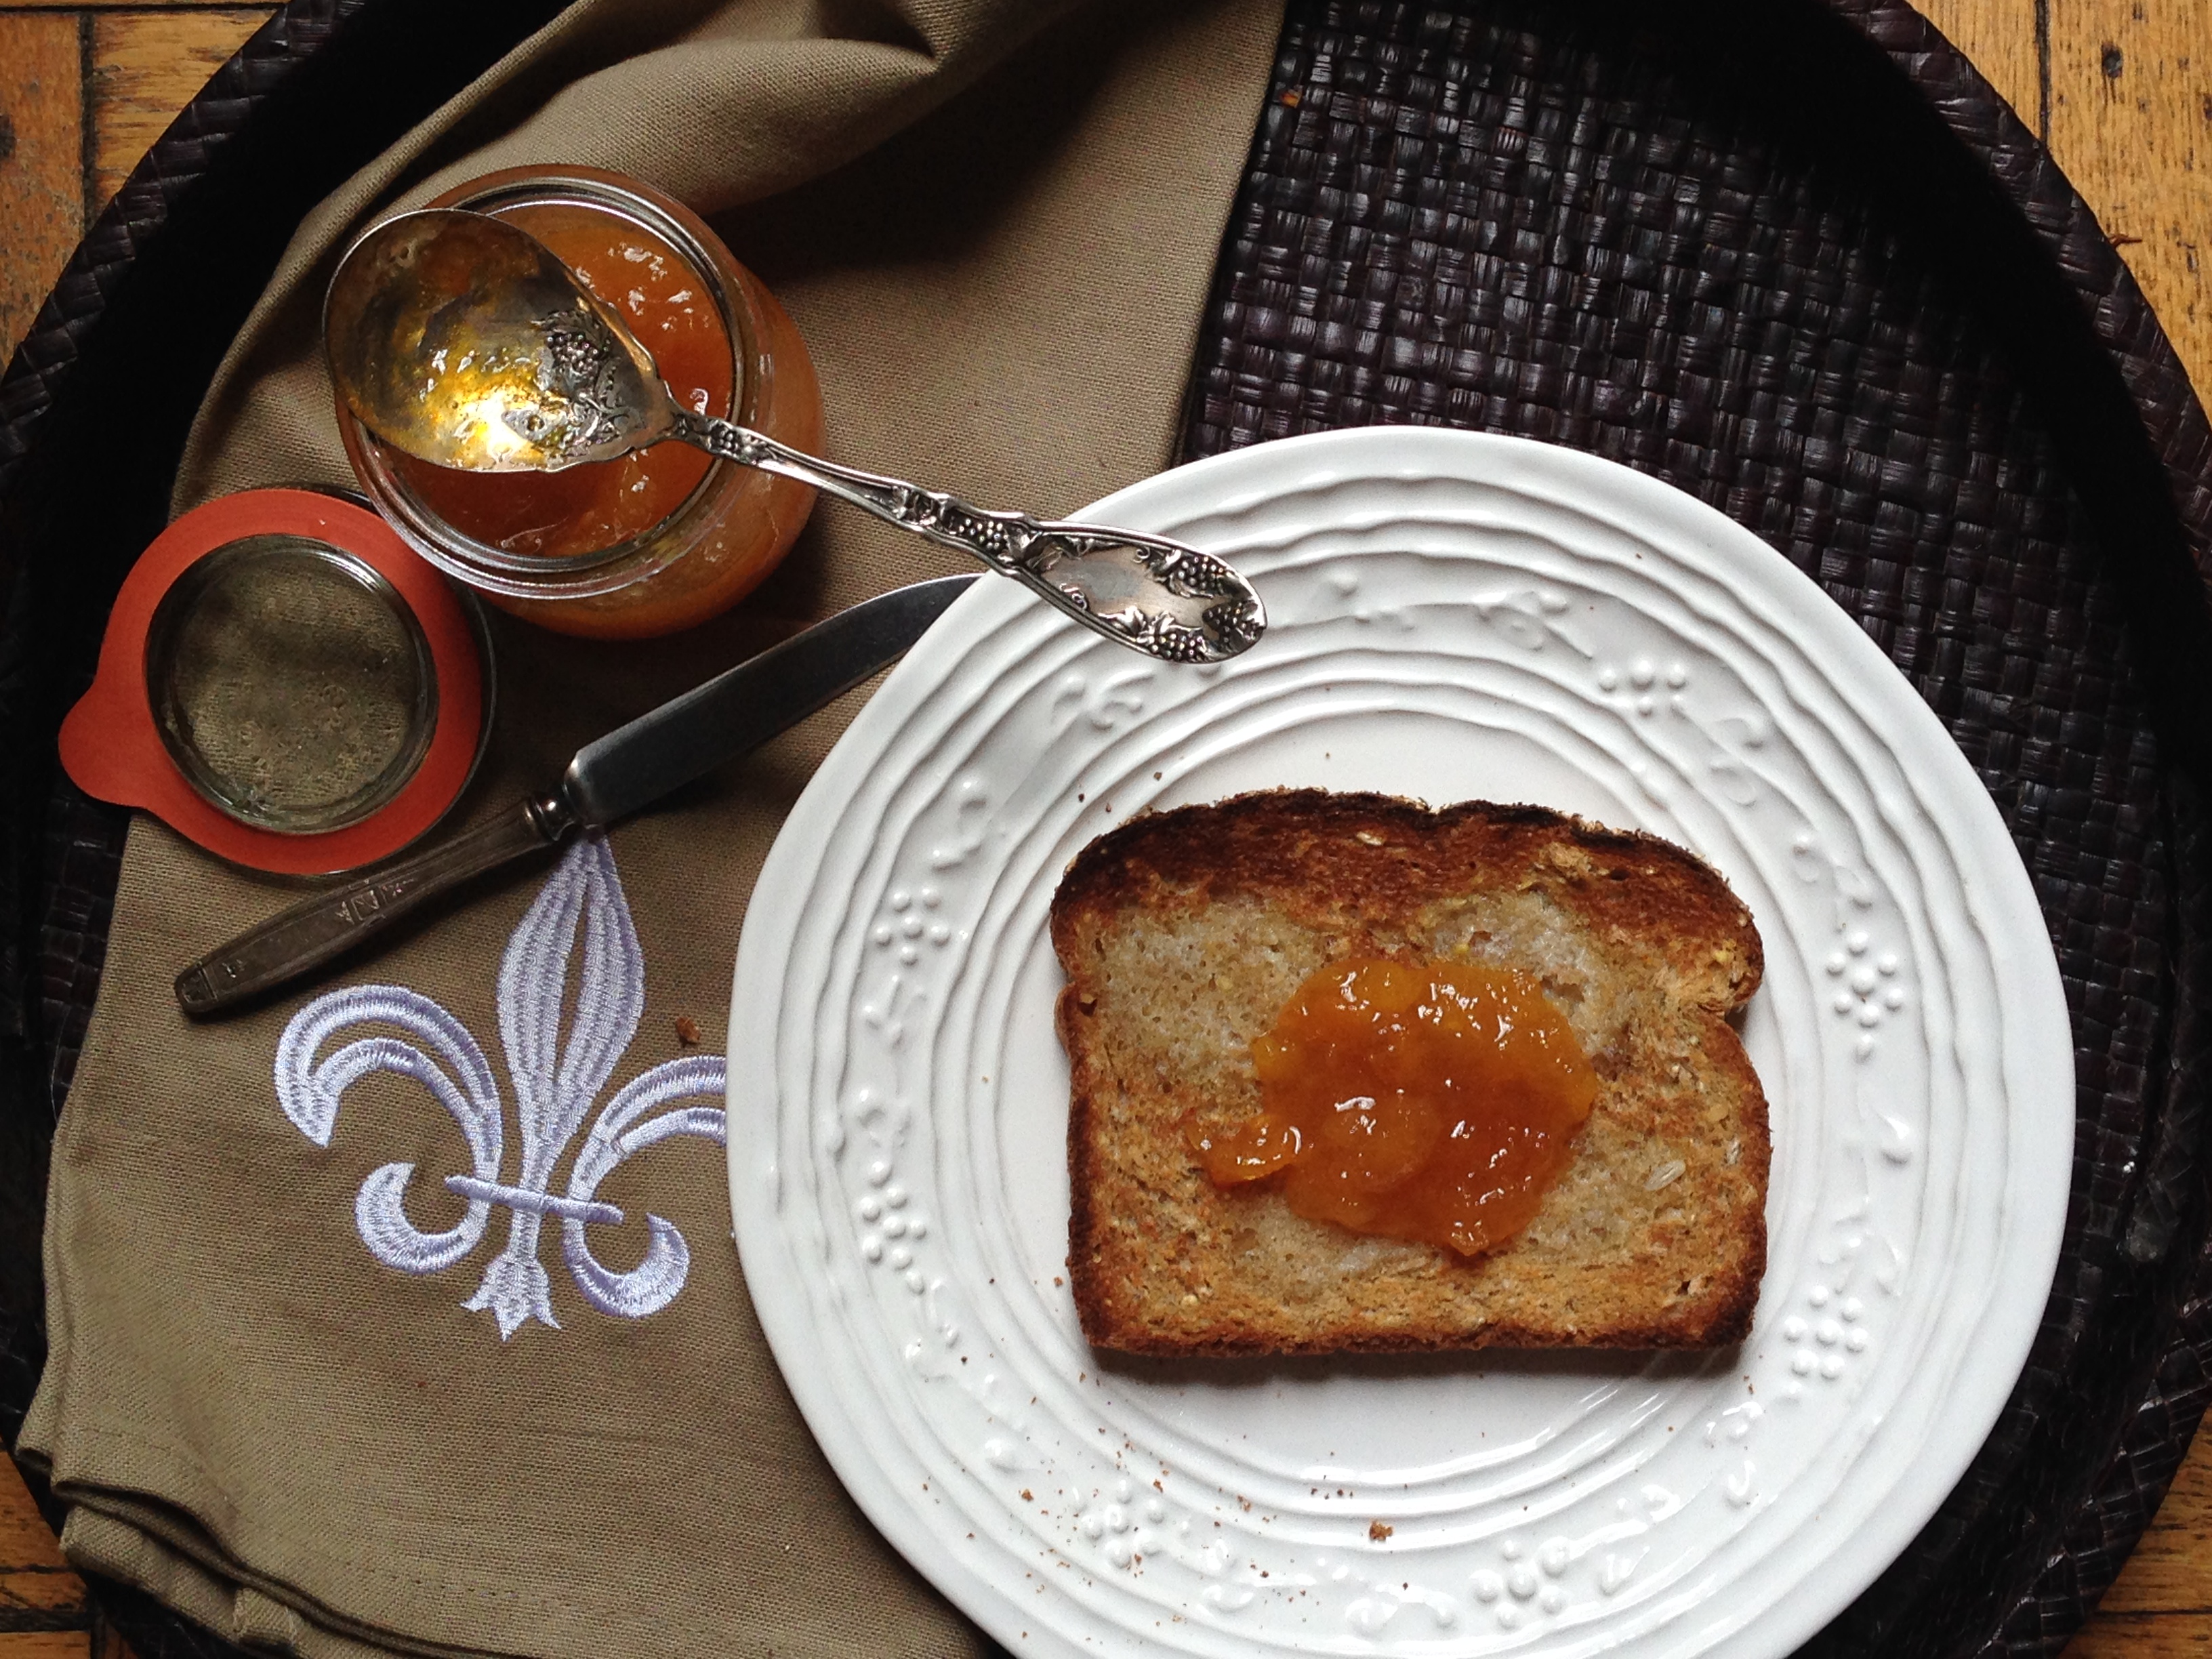
This recipe, one of my newest, lets summer strawberries shine. Their flavor is buttressed by sugar, apple and lemon, while cardamom adds a magical element of mystery and offsets the sugary sweetness nicely. It’s a loosely set jam studded with hunks of berry and, as was Nanny’s cranberry sauce, it’s as good when used in the “expected” way -toast- as it is off a spoon straight from the jar. I also love it with Greek-style yogurt and homemade granola!
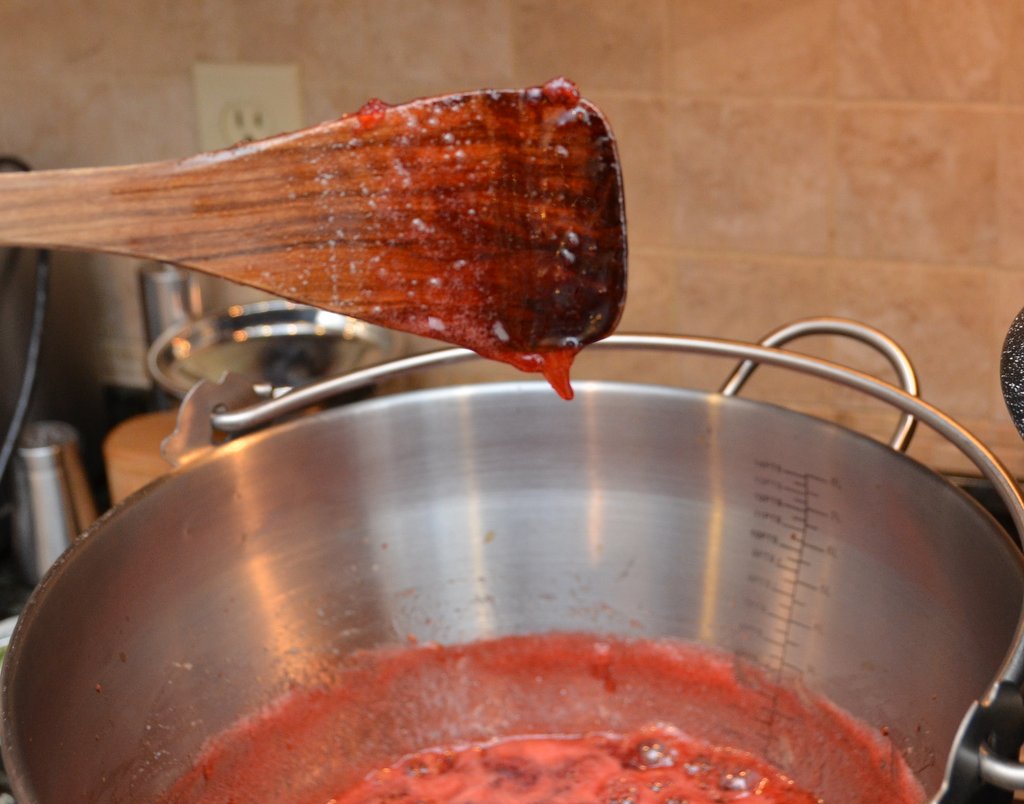
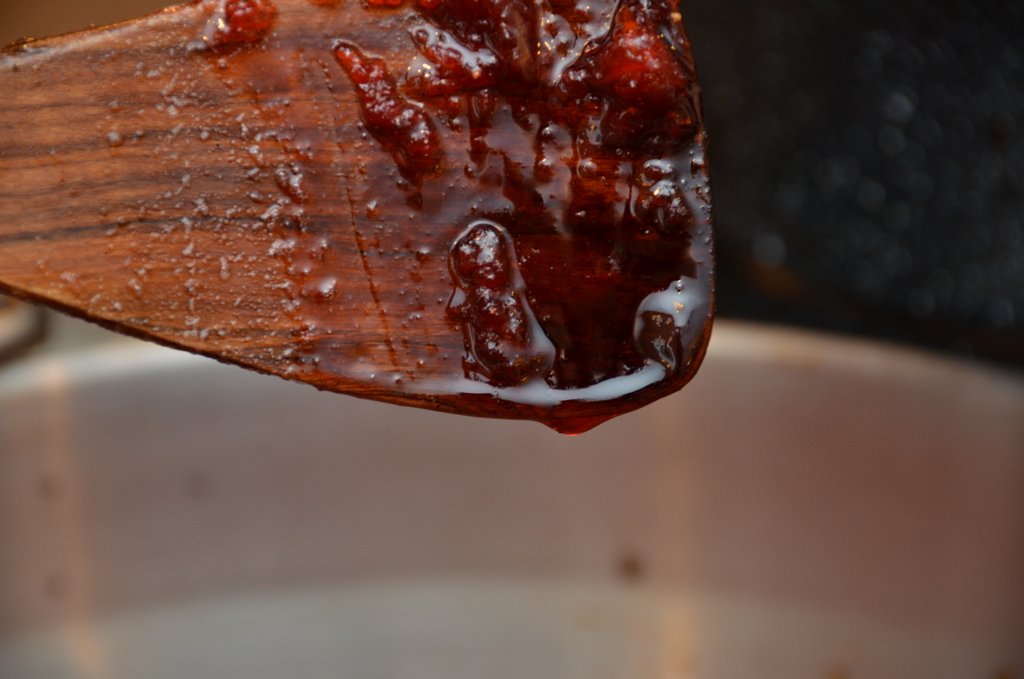
If you have a trusty wooden spoon, use that when you make jam. A great way to tell if your jam is at a set-point is if it sheets, rather than rains, off the back of the wooden spoon. A stainless, plastic or silicone implement will not work for the sheet versus rain test.
Strawberry-Cardamom Jam
http://em-i-lis.com/wordpress/recipes-new-format/jams-chutneys-and-other-canned-treats/strawberry-cardamom-jam/
Ingredients (I recommend using organic if you can):
4 cups washed and trimmed strawberries, cut into halves or quarters
1¾ cups unrefined, granulated sugar (I use the 365 organic from Whole Foods)
juice of ½ lemon
¾ teaspoon ground cardamom; use a nice pungent one; I like Guatemalan
1 small apple (roughly 4 ounces), cored, grated
Instructions:
Fill your canning pot (or your largest, tallest stock pot) with water, cover, and set over high heat. Do this first because it takes a long time to bring this much water to a rolling boil. You will need enough water to cover the jars by at least a half-inch.
Ready the appropriate number of jars (3 for this recipe, more if you double) and get out your canning funnel, ladle, lid lifter, hot pads and such. On the counter next to your canning pot, place a dish towel; when you remove your sterilized jars from the water (and, later, your filled and sealed jars from the pot), you can rest them here without worry that they’ll slip or slide.

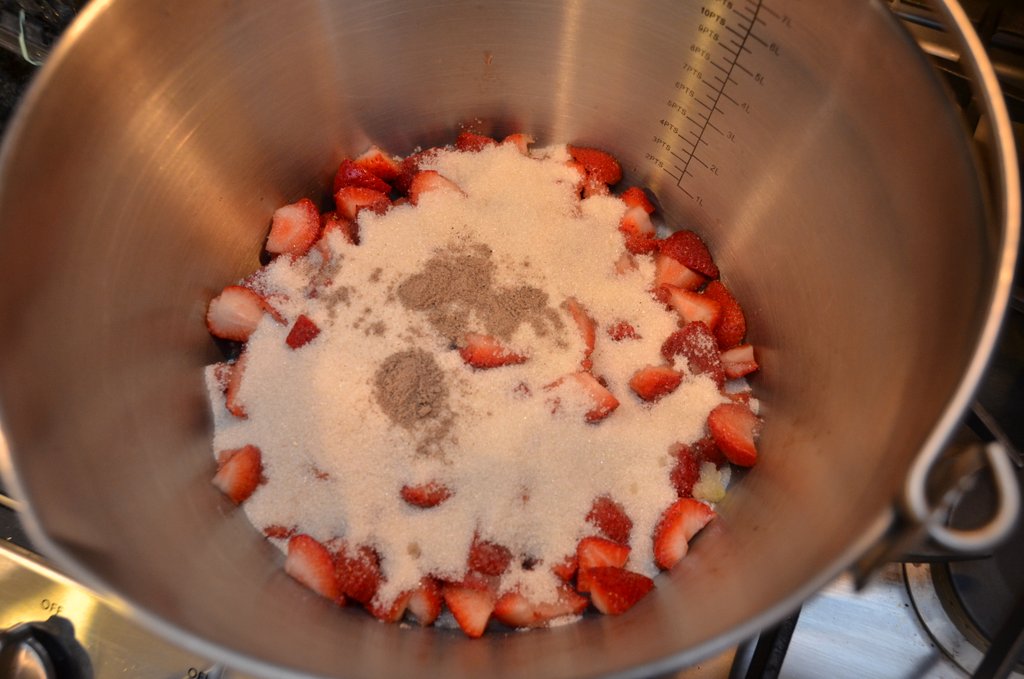
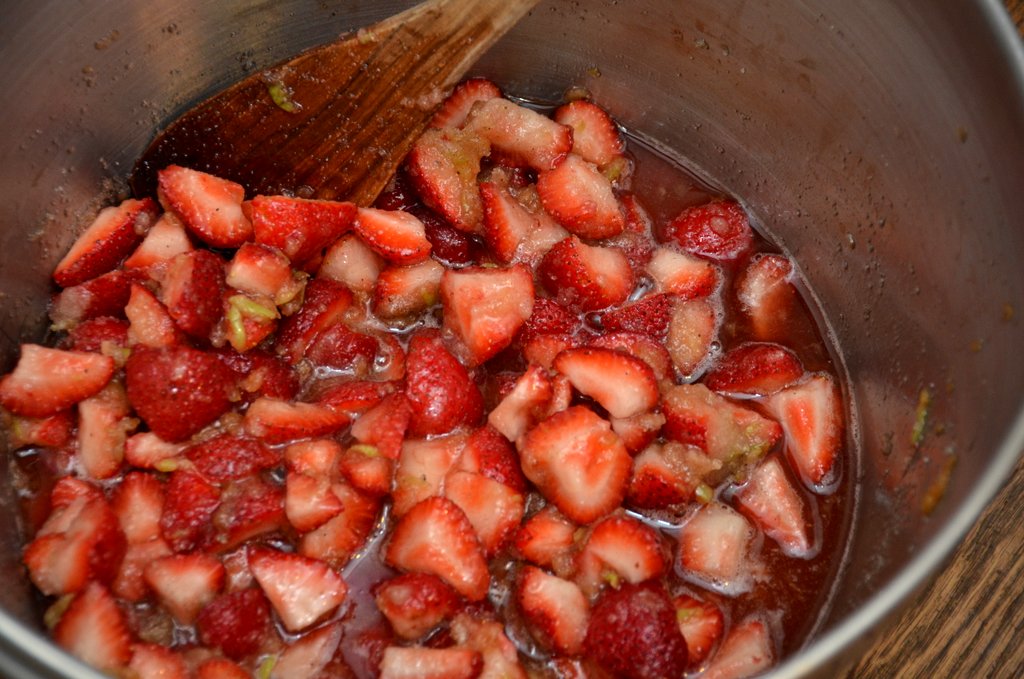
Strawberries macerating
In a jamming pot or other heavy-bottomed stainless pot, stir together all your ingredients. Let sit for a half hour (you can also macerate this overnight; in that instance, don’t start heating your canning pot until you’re ready to actually cook the jam).
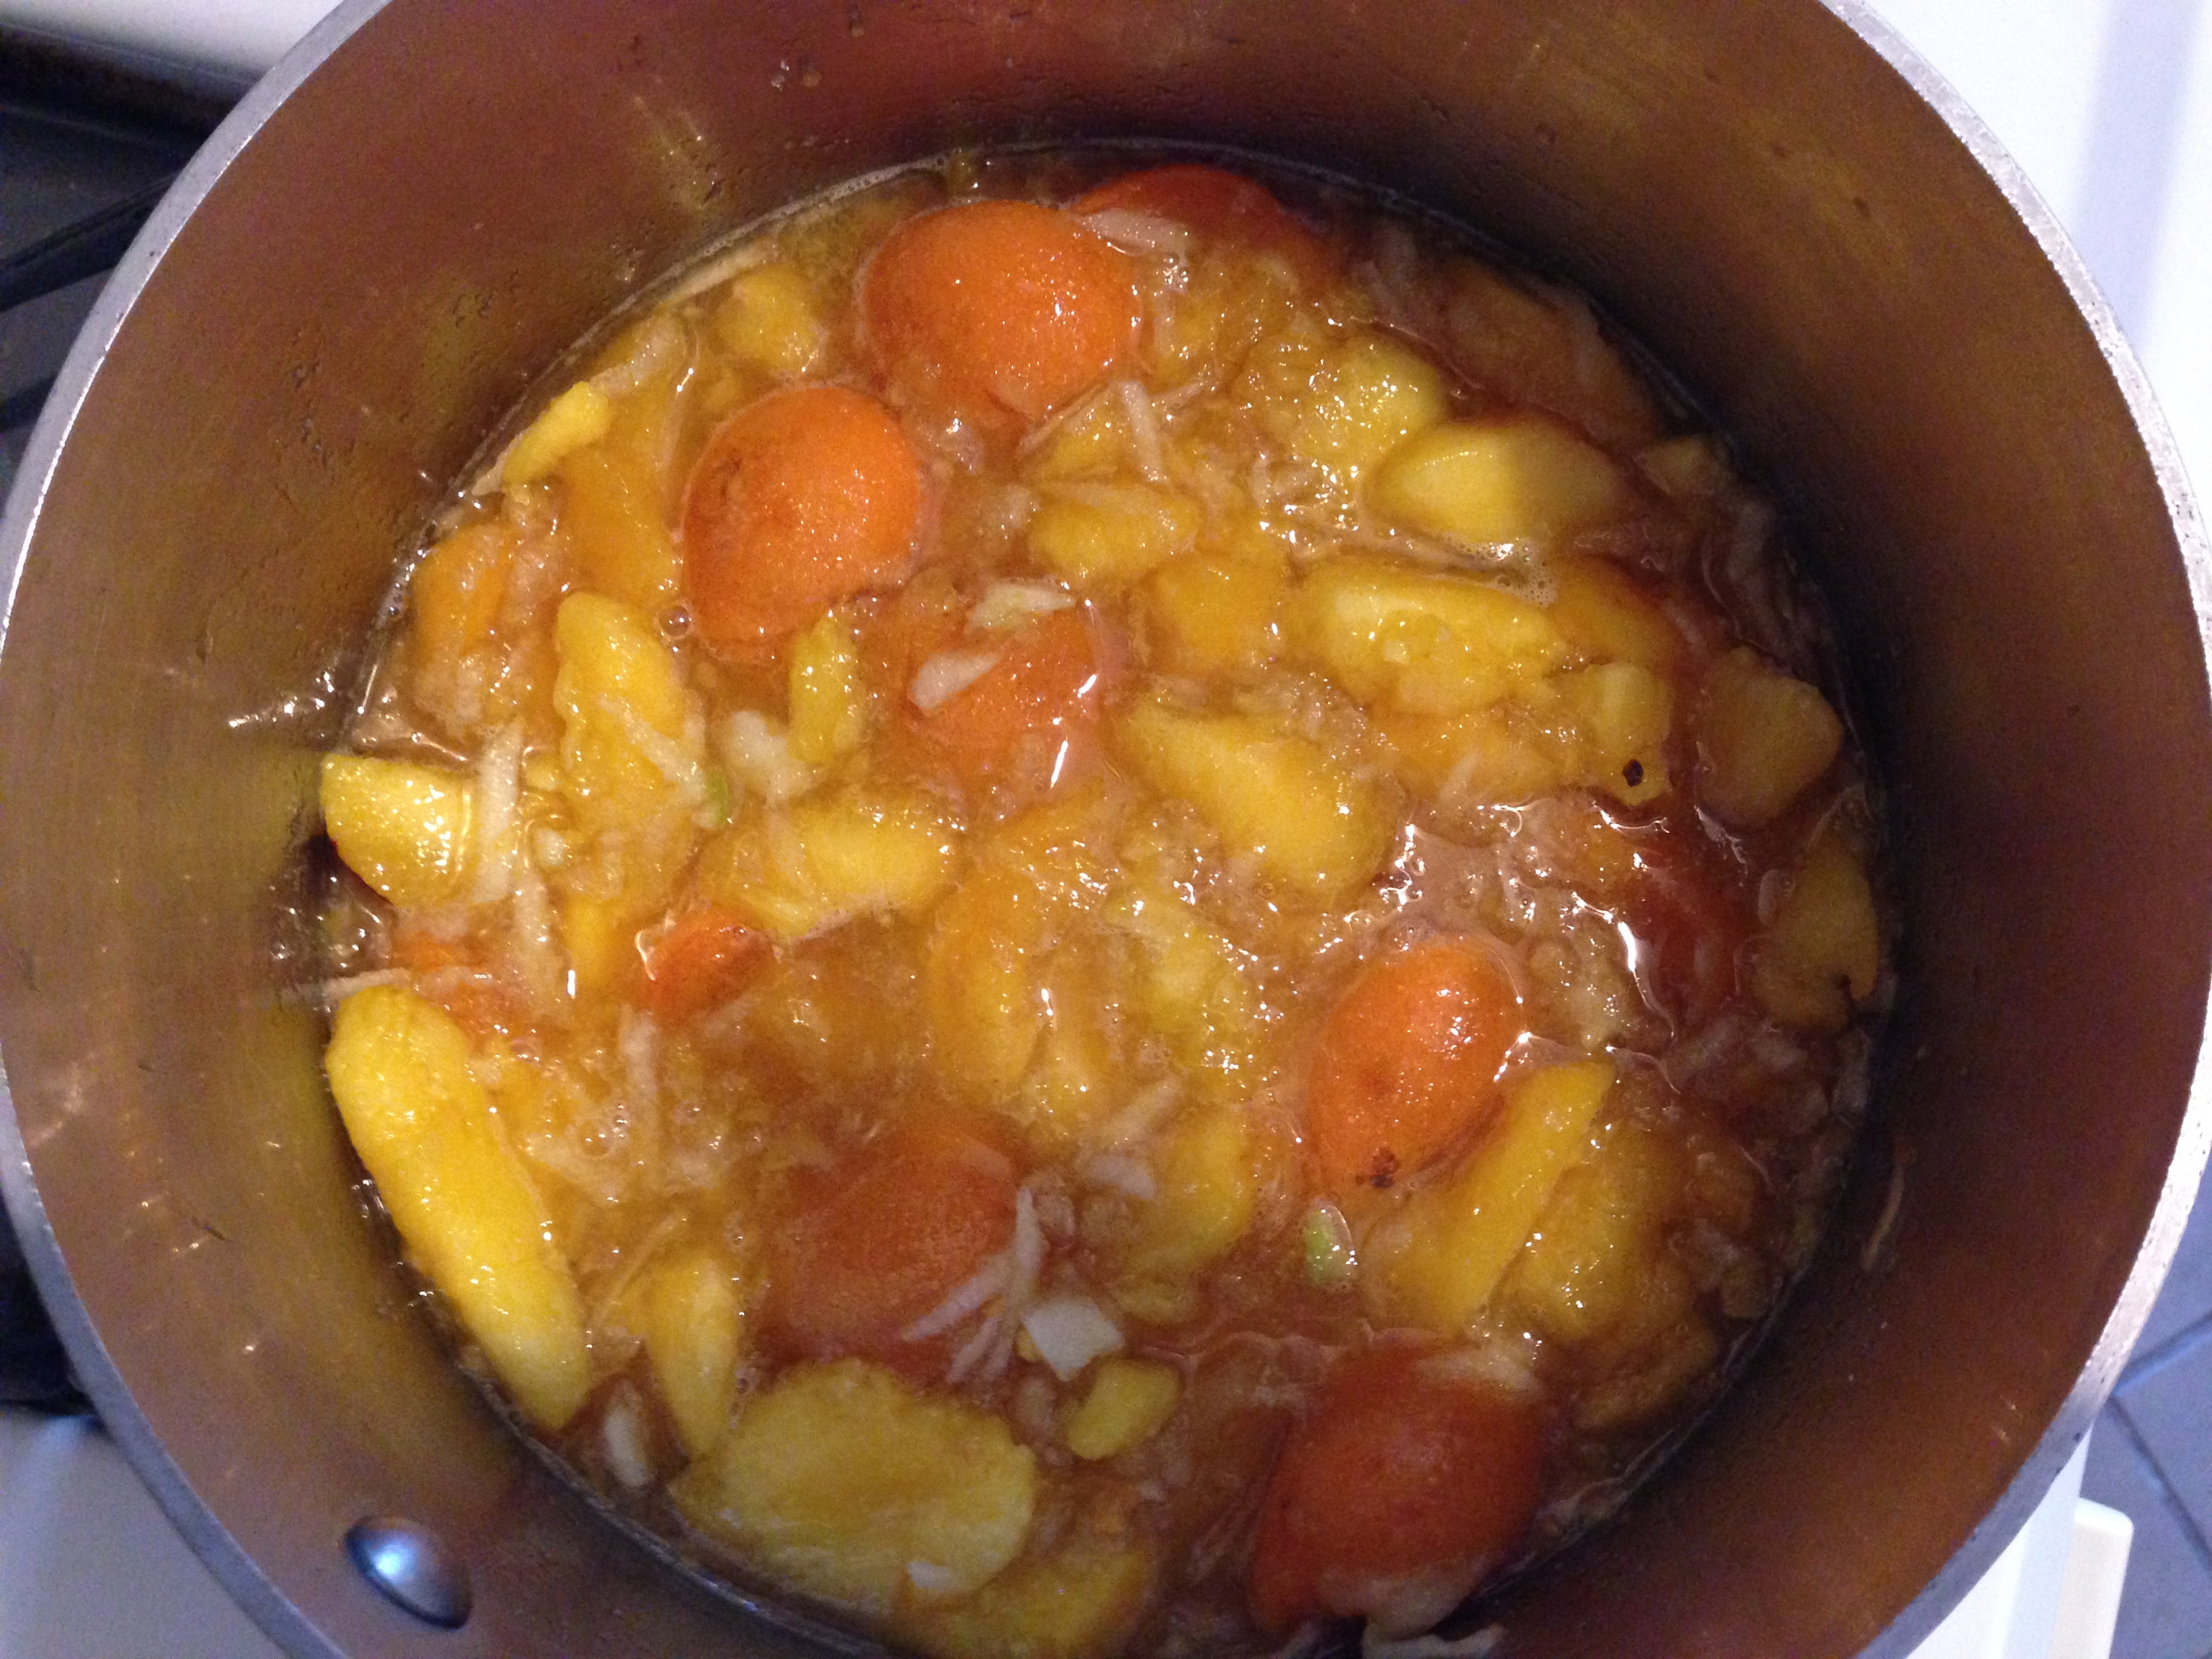
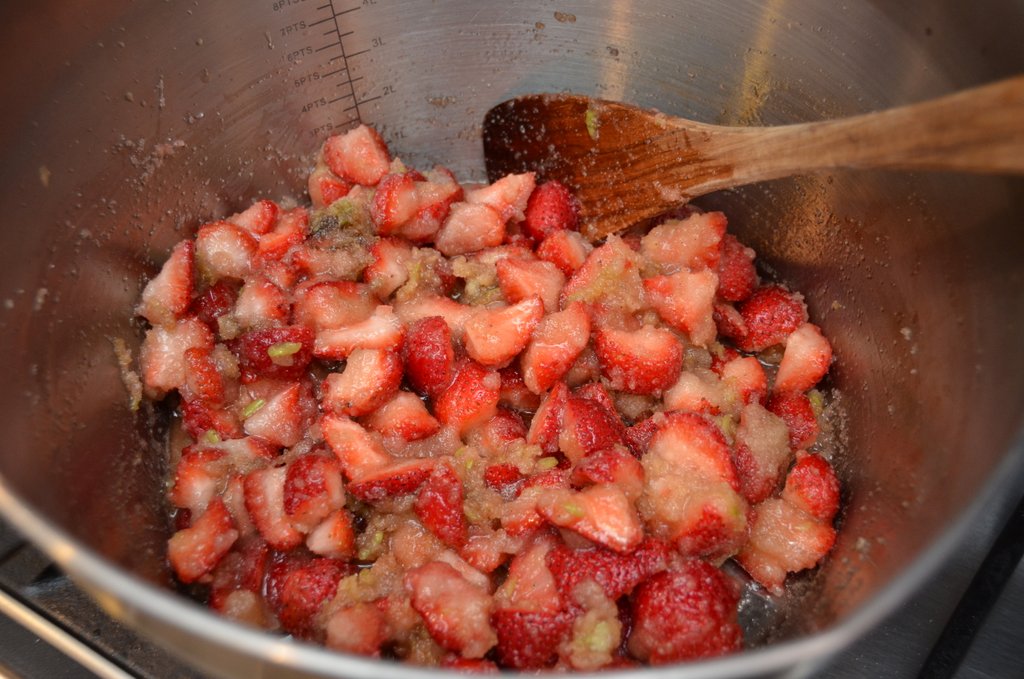
When a decent amount of syrup has pooled around the strawberries, set the pot over high heat, and stir regularly (but not constantly) as the mixture comes to a boil. You want it to boil like crazy so as to evaporate off as much water as possible.

Starting to give off liquid

See the syrup
Strawberries foam a lot as they cook, so if that bothers you visually, skim or carefully spoon the foam off. Keep stirring, and if your berries aren’t breaking down as you’d like, crush them with a potato masher. It really depends on how much “chunk” you like in your jam.
If you’ve not already, sterilize your jars by placing them in the boiling water bath. Sterilize your lids too either by putting them in your canning pot for 2-3 minutes as it boils or by placing them in a smaller pot of boiling water which you then remove from heat. You do not need to sterilize the jar bands.
If you have a Thermapen or similar instant-read thermometer, start checking the temp after about 20 minutes. You want to get to at least 217° F. When things are getting close, a rim of strawberry gunk should have adhered to the sides of your pot (at the level of the jam), the bubbles in the boiling jam should look thick like lava, not loose like boiling water, and the jam should sheet not rain off the back of a wooden spoon

Strawberry rim
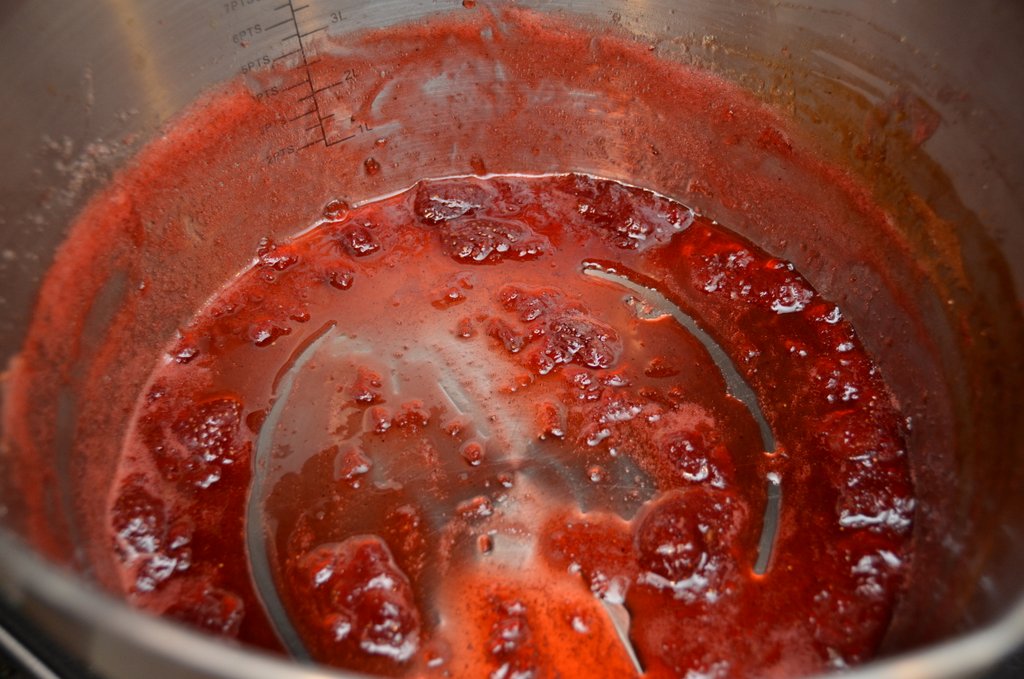
When the jam is ready, carefully ladle it into your prepared jars (leave roughly 1/4″ of headspace) and run a thin tool like a chopstick or knife blade around the inside of each jar to let any air bubbles escape. If the bottom of your jamming pot looks like this, you can feel confident that your jam has achieved a good set.

Thick

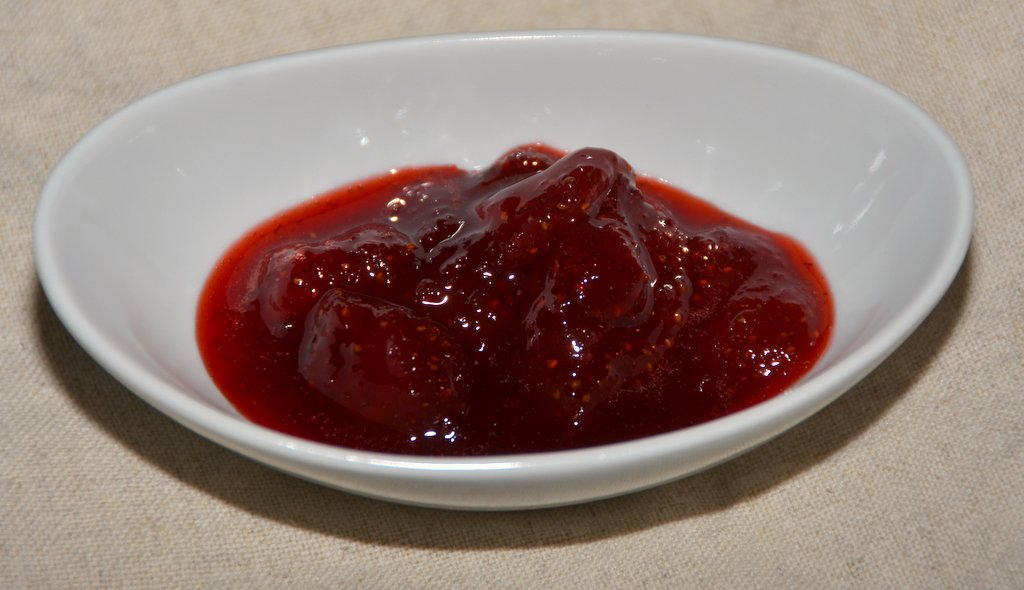
Look at that thick luscious jam
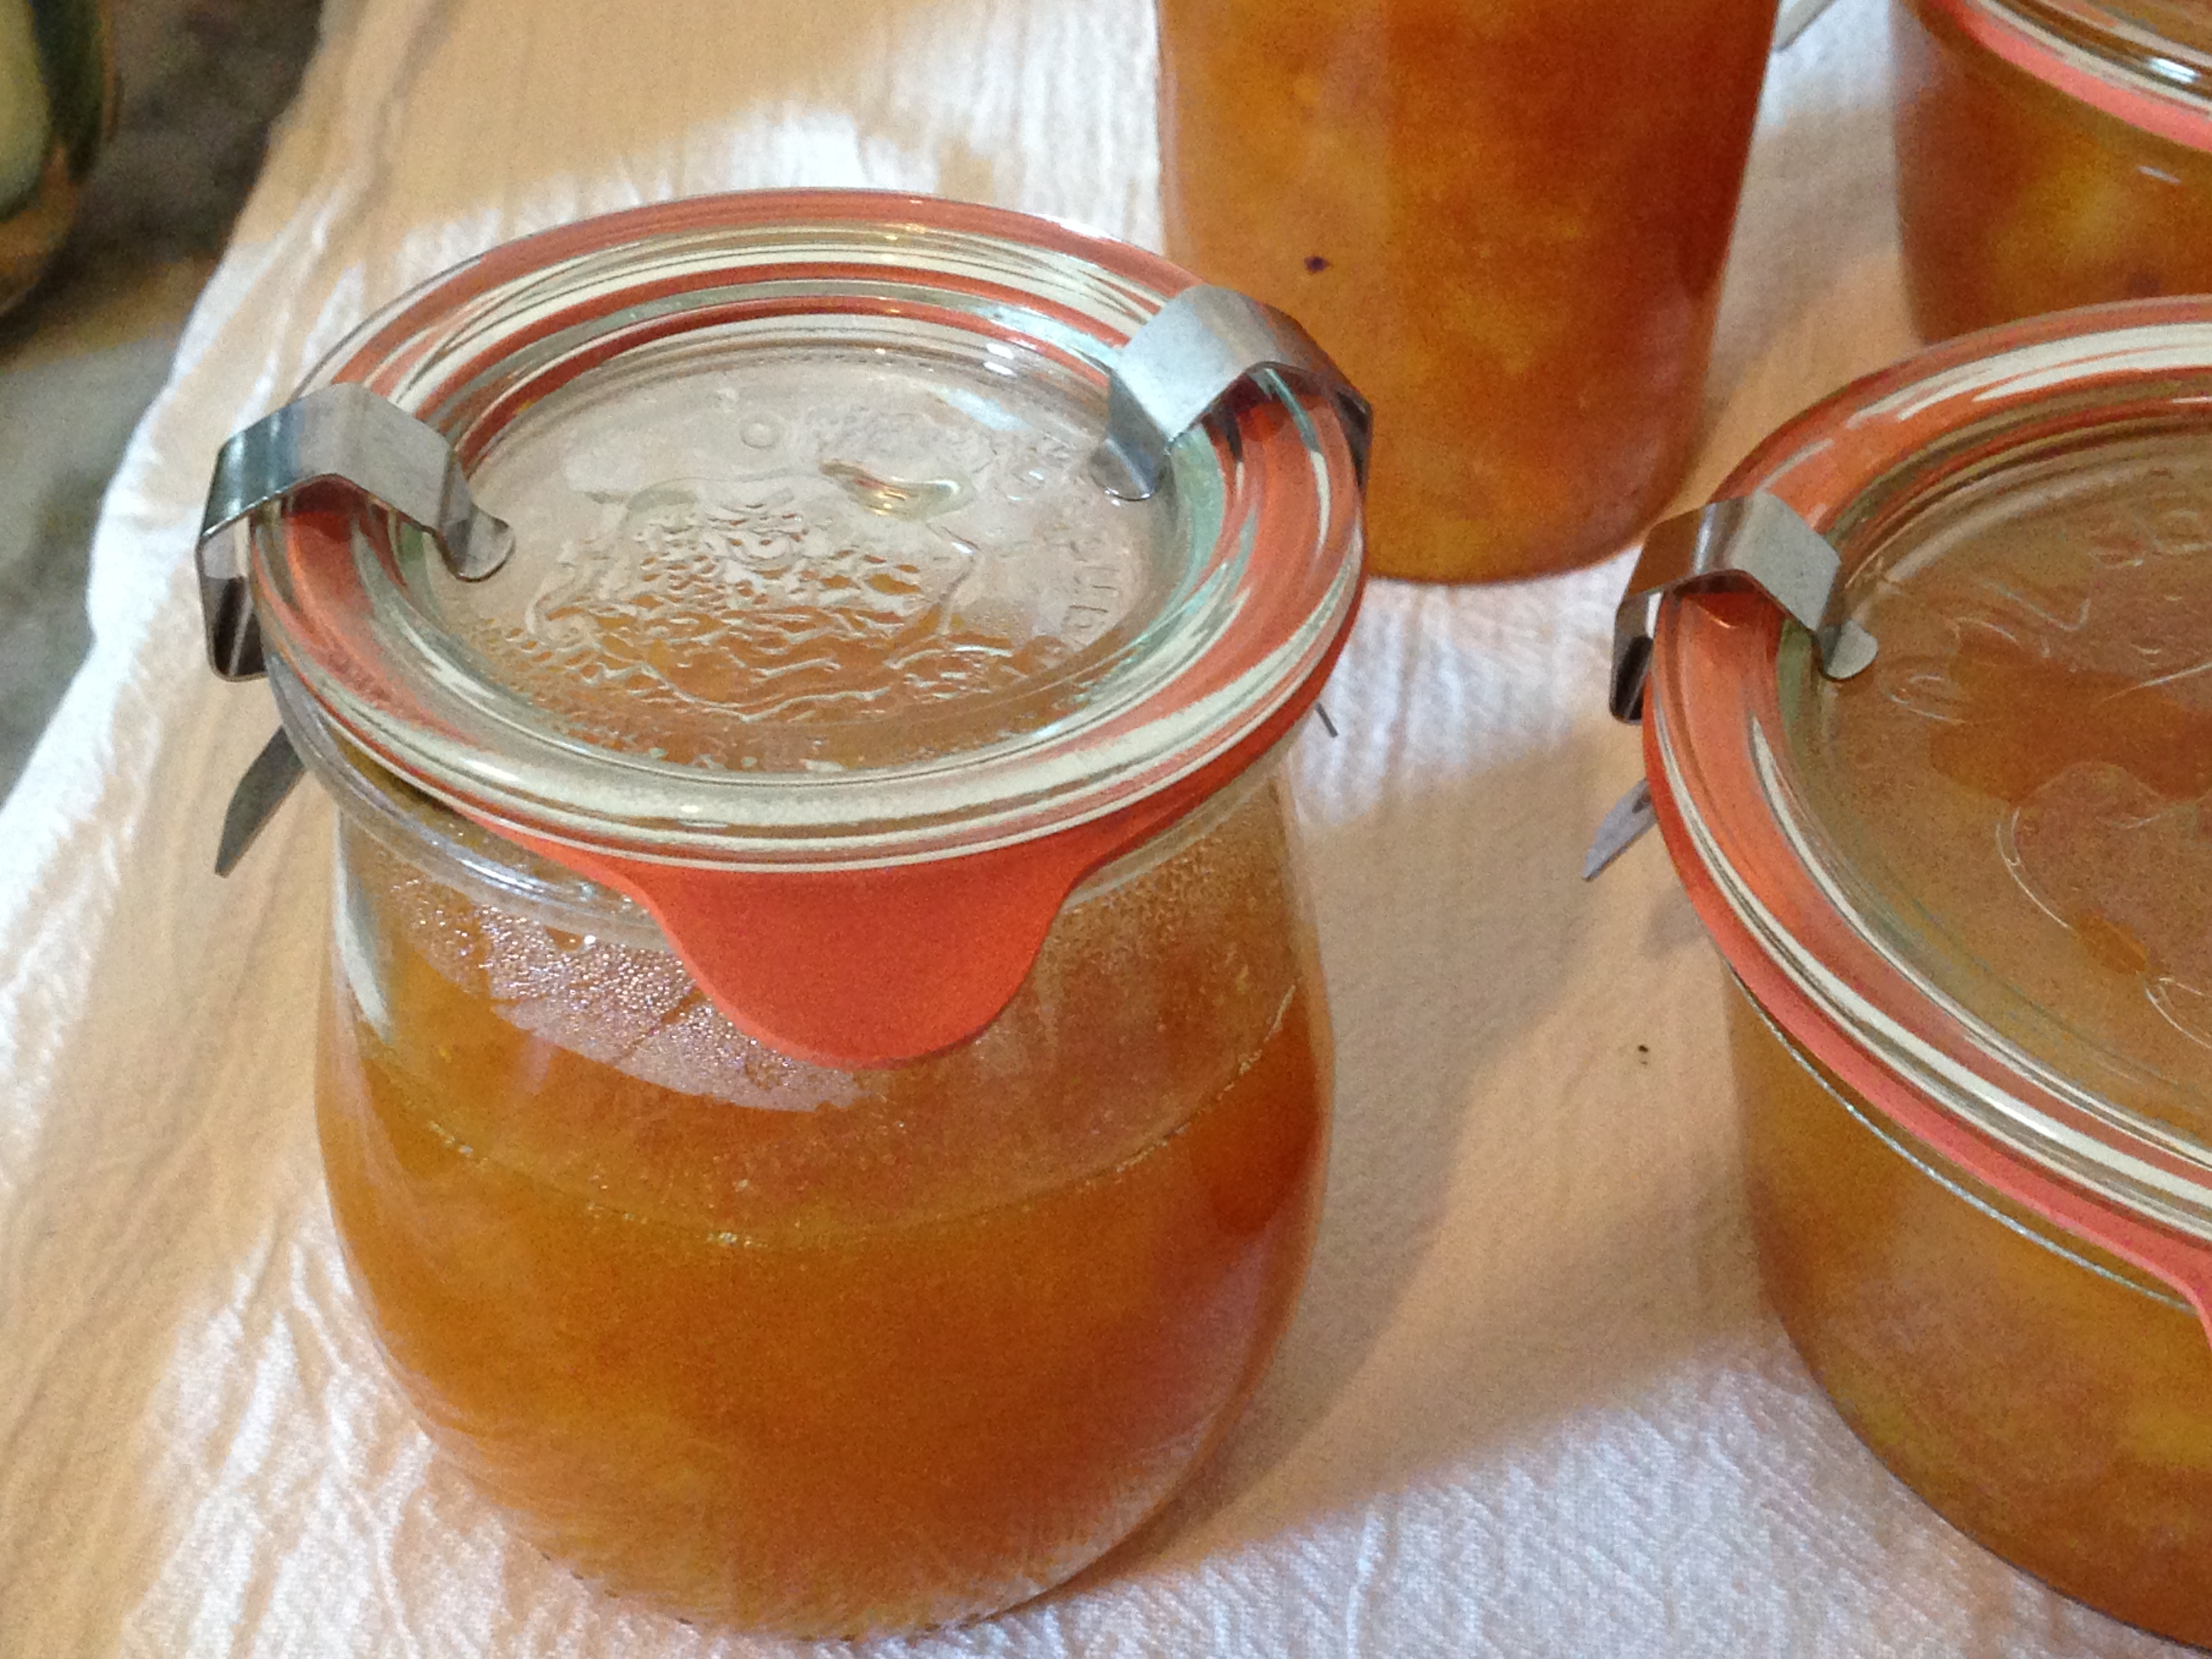
Wipe the rims, apply the lids and bands and carefully place into your canning pot. Process for 10 minutes, remove and sit on a kitchen towel for at least two hours.

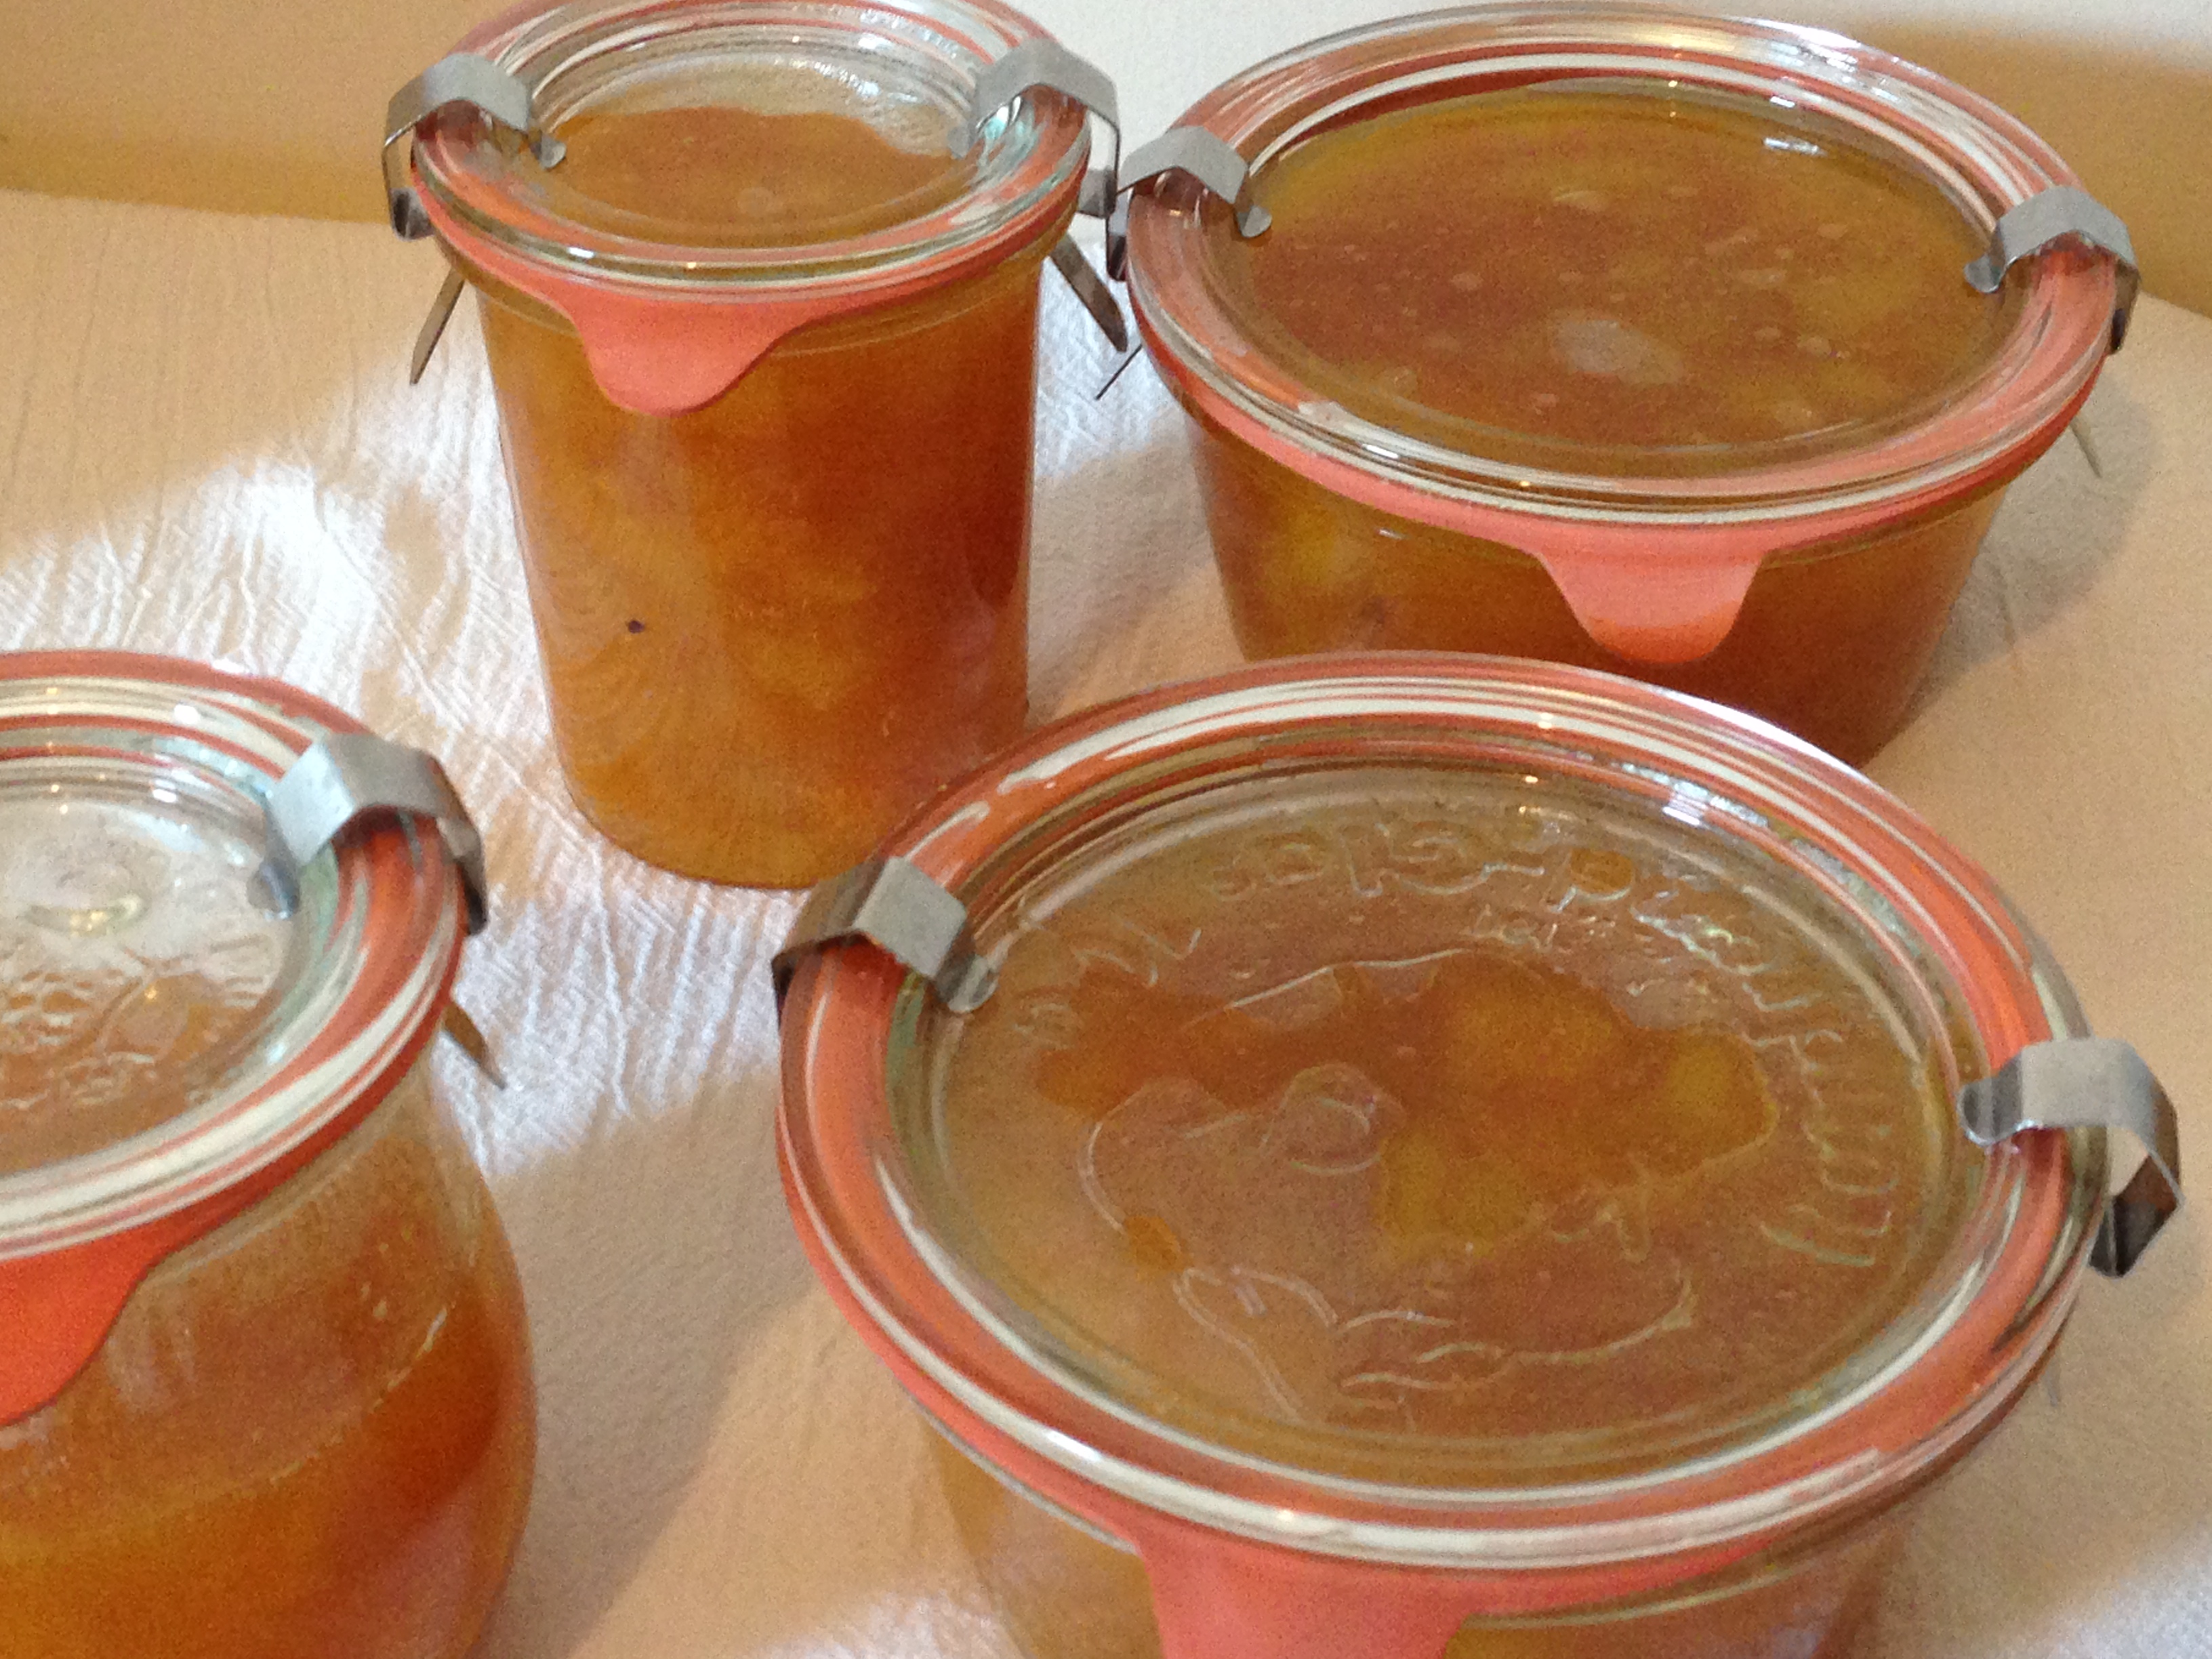
Strawberry Cardamom Jam
For a list of helpful canning resources and equipment, click here: http://em-i-lis.com/wordpress/cooking-eating/a-year-of-canning/